DUHWQ DUHWQ123
User Manual for DUHWQ GHF722AIO-HD F722 Flight Controller & BLHELIS 40A 4in1 ESC
Model: DUHWQ123
1. Product Overview
The DUHWQ GHF722AIO-HD 40A Baro OSD BlackBox 5V BEC F722 Flight Controller with BLHELIS 40A 4in1 ESC is an integrated solution designed for 2-6S RC FPV drones. This compact unit combines a powerful F722 flight controller with a robust 40A 4in1 Electronic Speed Controller, offering advanced flight capabilities and efficient motor control.

Figure 1: Top view of the integrated Flight Controller and ESC unit, showing the F722 processor and OSD chip.
2. Key Features
- Wide Compatibility: Designed for 2-6S RC FPV drones, ensuring versatile use across various setups.
- Integrated Design: Combines GHF722AIO-HD F722 Flight Controller and BLHELIS 40A 4in1 ESC for a compact and efficient solution.
- Barometric OSD: Equipped with a 40A Baro OSD for precise altitude and flight data monitoring directly on your FPV feed.
- BlackBox Functionality: Includes an 8MB BlackBox for easy flight data logging and analysis, aiding in tuning and troubleshooting.
- Stable Power Supply: Features a 5V BEC (2.5A) to provide stable power to additional components such as receivers and cameras.
- Advanced Flight Control: Utilizes an F722 flight controller for advanced flight capabilities and processing power.
- Efficient Motor Control: BLHELIS 40A 4in1 ESC ensures efficient motor control and responsiveness.
3. Technical Specifications
| Component/Feature | Specification |
|---|---|
| Main Control Unit | STM32F722RE (216MHz) |
| Gyroscope | ICM-42688-P |
| OSD Chip | AT7456E |
| Black Box Memory | 8MB |
| Input Voltage | 2-6S LiPo |
| BEC Output | 5V/2.5A |
| Camera Input | Supported |
| USART Ports | UART1, UART2, UART3, UART4, UART5, UART6 |
| Flight Control Firmware | betaflight_4.4.2_jhef7Dual.hex |
| ESC Continuous Current | 40A per channel (4 channels) |
| Current Meter | Yes |
| ESC Firmware | BlueJay G-H-30.HEX (48K) |
| Default ESC Protocol | DSHOT600 |
| Installed Hole Distance | 25.5-26.5mm x 3mm |
| Maximum Shape Size | 33mm x 33mm |
| Weight | 7.6g |
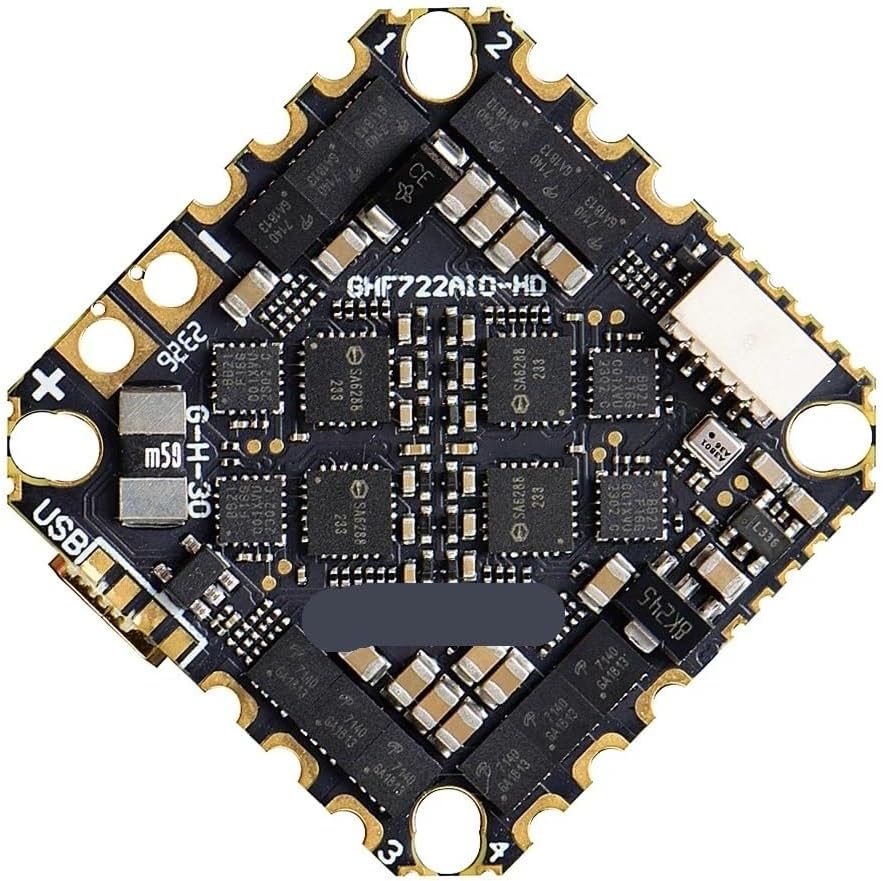
Figure 2: Bottom view of the integrated unit, highlighting the ESC components and mounting holes.
4. Package Contents
Please verify that all items listed below are included in your package:
- GHF722AIO-HD Flight Controller/ESC Unit (x1)
- Welding Practice Board (x1)
- HD O3 Rotor (x1)
- 14AWG Silicone Wire (Red x1, Black x1)
- XT60 Connector (x1)
- TYPE-C Rotation Board (x1)
- Type-C Extension Line (x1)
- Shock Reduction Grommets (x4)

Figure 3: All components included in the product package, including the main unit, wires, connectors, and accessories.
5. Setup and Installation
This section provides general guidelines for installing your GHF722AIO-HD Flight Controller and ESC. For detailed wiring diagrams and specific drone configurations, please refer to the Betaflight documentation and your drone's manual.
5.1 Pre-Installation Checks
- Ensure your drone frame is compatible with 25.5-26.5mm x 3mm mounting holes.
- Gather all necessary tools: soldering iron, solder, flux, wire strippers, heat shrink, multimeter.
- Familiarize yourself with the pinout diagrams of the flight controller and your drone's components (receiver, VTX, camera, GPS, etc.).
5.2 Mounting the Unit
- Carefully place the shock reduction grommets into the mounting holes of the flight controller.
- Mount the GHF722AIO-HD unit onto your drone frame using appropriate screws, ensuring it is securely fastened but not overtightened.
- Ensure the arrow on the flight controller points towards the front of the drone.
5.3 Wiring Connections
Connect the following components to the flight controller. Always double-check polarity before soldering.
- Motors: Solder motor wires to the corresponding pads (M1-M4) on the ESC section.
- Power Input: Solder the XT60 connector (with 14AWG wires) to the main battery pads (+ and -).
- Receiver: Connect your receiver (e.g., SBUS, CRSF, Spektrum) to an available UART port (e.g., UART2 RX).
- Video Transmitter (VTX): Connect VTX power to a 5V or VBAT pad (depending on VTX voltage requirement) and VTX signal to the appropriate video output pad.
- Camera: Connect camera power to a 5V pad and camera signal to the video input pad.
- GPS (Optional): Connect GPS module to an available UART port (e.g., UART3 TX/RX).
- Buzzer (Optional): Connect a buzzer to the dedicated buzzer pads.
Caution: Incorrect wiring can damage the flight controller and other components. If unsure, seek professional assistance.
6. Operating Instructions
6.1 Firmware Flashing and Configuration
- Connect to PC: Use the provided Type-C extension line and rotation board to connect the flight controller to your computer.
- Install Drivers: Ensure necessary DFU drivers are installed for your operating system.
- Betaflight Configurator: Open the Betaflight Configurator software (available at betaflight.com).
- Flash Firmware: Select the target "JHEF7DUAL" and flash the recommended firmware (betaflight_4.4.2_jhef7Dual.hex).
- Initial Setup: Follow the setup wizard in Betaflight Configurator to configure your receiver, motors, OSD, and other peripherals.
- ESC Firmware: The ESC comes pre-flashed with BlueJay G-H-30.HEX (48K). If updating is required, use the BlueJay Configurator.
6.2 Pre-Flight Checks
- Verify motor direction and order in Betaflight.
- Check receiver stick inputs for correct response.
- Ensure all propellers are securely attached and in the correct orientation.
- Perform a range check of your radio system.
- Confirm battery voltage and health.
6.3 Flight
Once all checks are complete and you are in a safe flying environment, arm your drone and begin flight. Monitor OSD data for critical information such as battery voltage, current draw, and altitude.
7. Maintenance
- Regular Inspection: Periodically inspect the flight controller and ESC for any signs of physical damage, loose connections, or corrosion.
- Cleaning: Gently clean the board with isopropyl alcohol and a soft brush if dust or debris accumulates. Ensure the board is completely dry before powering on.
- Firmware Updates: Keep your flight controller and ESC firmware updated to benefit from performance improvements and bug fixes. Always back up your configuration before updating.
- Storage: Store the unit in a dry, anti-static environment when not in use.
8. Troubleshooting
| Problem | Possible Cause | Solution |
|---|---|---|
| Flight controller not recognized by PC | Missing or incorrect DFU drivers. Faulty USB cable/port. | Install Zadig or ImpulseRC Driver Fixer. Try a different USB cable or port. Ensure the Type-C rotation board is correctly connected. |
| Motors not spinning or spinning incorrectly | Incorrect motor wiring. Incorrect motor protocol in Betaflight. ESC calibration issues. | Verify motor wiring (M1-M4). Ensure DSHOT600 is selected in Betaflight. Check ESC firmware and settings. |
| No OSD display | OSD not enabled in Betaflight. Incorrect video signal wiring. | Enable OSD in Betaflight Configurator. Check camera and VTX wiring to the FC. |
| Drone not arming | Safety features preventing arming (e.g., low battery, accelerometer not calibrated, DSHOT beacon enabled). | Check Betaflight 'Motors' tab for arming flags. Calibrate accelerometer. Ensure receiver is properly bound and configured. |
9. Warranty and Support
DUHWQ products are manufactured to high standards. Specific warranty details are not provided in this manual. For warranty claims, technical support, or service inquiries, please contact your retailer or the manufacturer directly through their official channels. Please retain your proof of purchase for any warranty-related requests.
Ask a question about this manual
Ask about setup, troubleshooting, compatibility, parts, safety, or missing instructions. Manuals+ will review the question and use this page’s manual context to help answer it.