1. Important Safety Information
Please read all instructions carefully before assembly and installation. Failure to follow these instructions may result in injury or product damage. Keep this manual for future reference.
- Always ensure the power supply is disconnected before performing any electrical work, such as connecting the LED mirror.
- Wall-mount installation requires secure fastening to appropriate wall studs or anchors. Consult a professional if unsure about wall type or mounting procedures.
- Handle glass components, such as the mirror and basin, with care to prevent breakage.
- Do not overload drawers or cabinets.
- Keep small parts away from children during assembly.
2. Package Contents
Verify that all components are present before beginning assembly.
- Mirror cabinet (Smart LED defogger mirror cabinet)
- One-piece sink countertop
- Under-sink cabinet with drawers and soft-closing doors
- Faucet set
- Hot and cold water valve
- Installation accessories
3. Product Overview & Features
The LUTHXAY 72" floating bathroom vanity combines functionality with a modern aesthetic, featuring a wood-looking finish, an integrated one-piece basin, and a smart LED mirror cabinet.
3.1 Dimensions
The vanity is designed for wall-mounted installation. Refer to the diagram below for approximate dimensions.

3.2 Smart Anti-Fog LED Mirror Cabinet
The upper mirror cabinet includes an integrated LED light and a defogging function for clear visibility after bathing. It also features partitioned storage compartments.

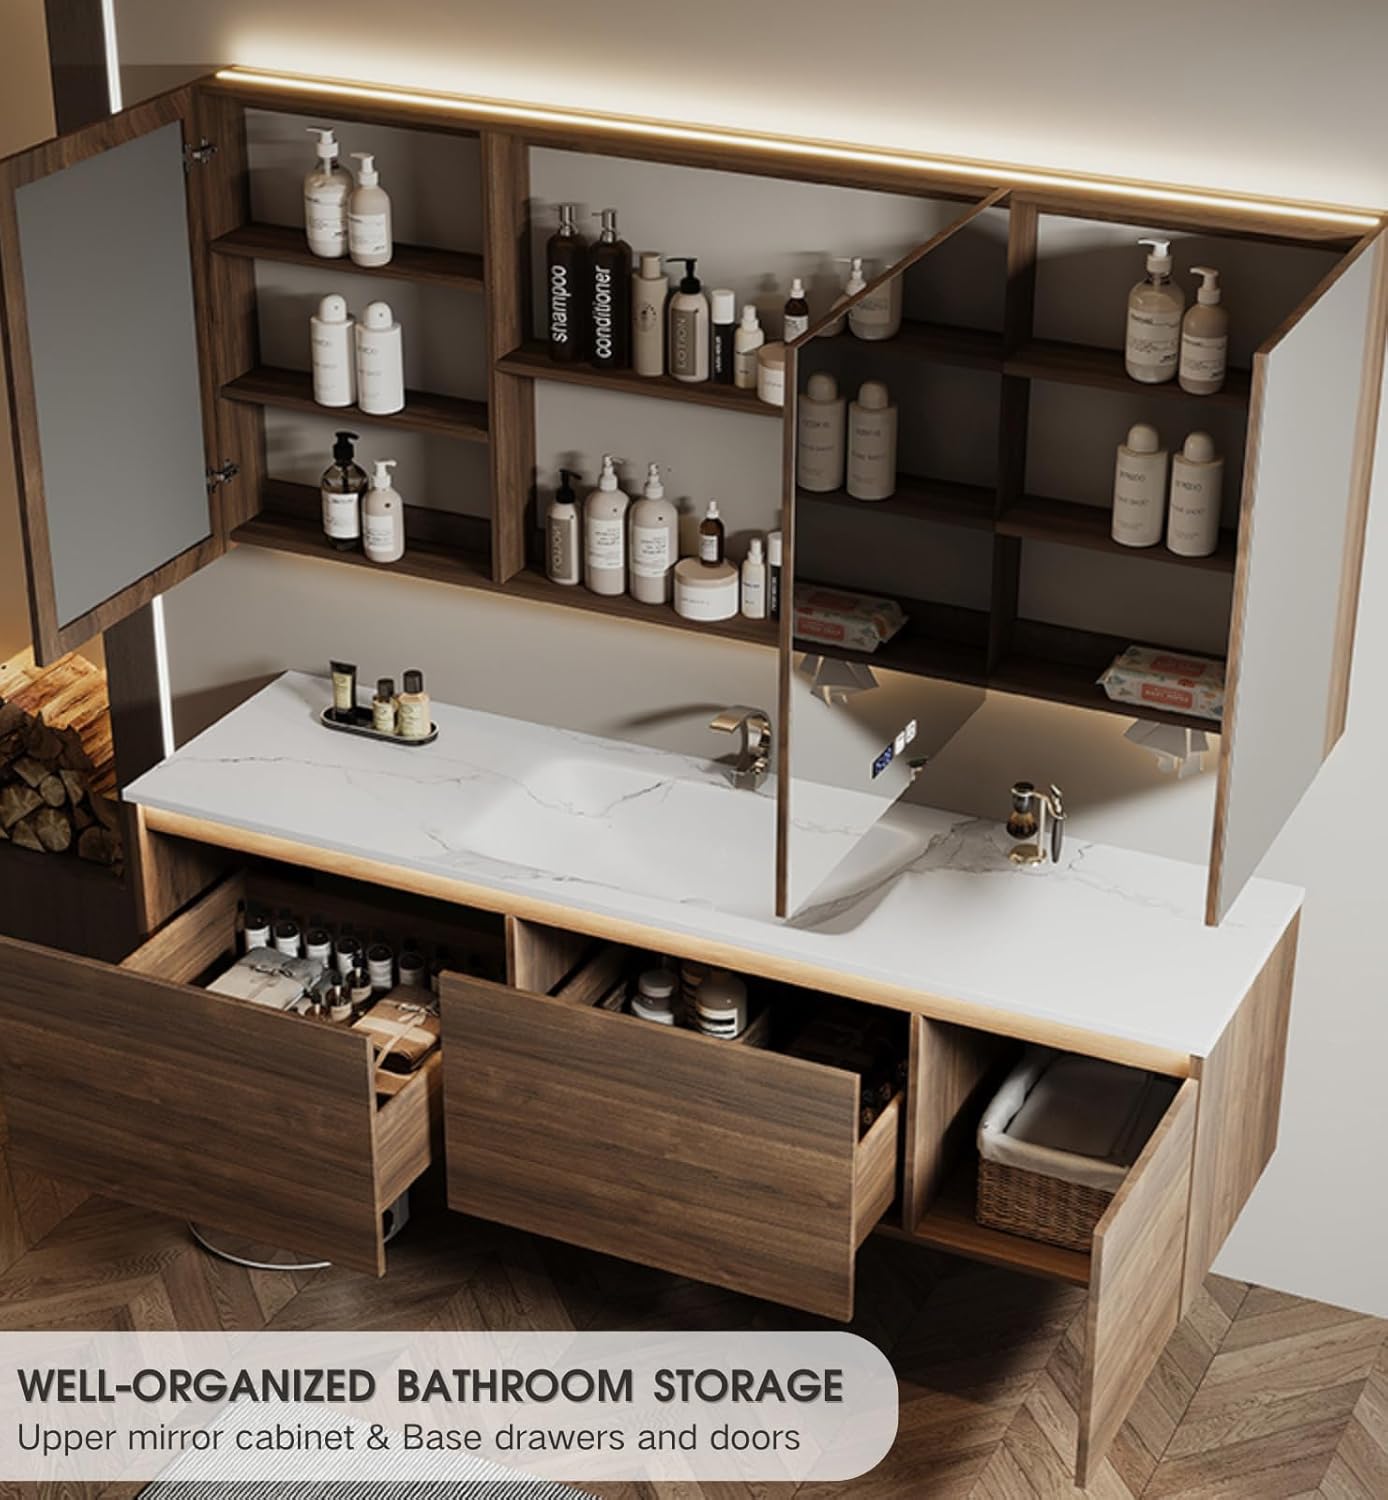
3.3 Storage Solutions
The vanity provides ample storage with a mirror cabinet and an under-sink cabinet featuring soft-closing doors and two drawers.
3.4 Durable Construction & Materials
The vanity is constructed from solid wood, offering moisture resistance. The one-piece basin is seamlessly integrated into the countertop, designed for easy cleaning and to prevent water splashing.


3.5 Quality Hardware
The vanity features stainless steel buffer hinges for soft-closing doors and damping rails for smooth, quiet operation of the drawers.

4. Installation Guide
This vanity requires wall-mount installation. Professional installation is recommended for plumbing and electrical connections.
4.1 Pre-installation Requirements
Before installation, ensure the following are in place:
- Appropriate wall structure for secure mounting.
- Hot and cold water supply pipes.
- Ground drainage connection.
- 220V power supply for the mirror, ideally 60-64 inches from the ground.
- Wall reservation for the mirror cabinet.

4.2 Mirror Wiring Method
The smart LED mirror requires an electrical connection. Choose the appropriate wiring method based on your existing setup.

4.3 General Installation Steps
- Prepare the Wall: Mark the desired height and position for the vanity and mirror cabinet. Ensure the wall can support the weight.
- Install Mounting Brackets: Securely attach the wall mounting brackets for the vanity and mirror cabinet to the wall using appropriate fasteners.
- Mount the Vanity Cabinet: Carefully lift and hang the under-sink cabinet onto the wall brackets. Ensure it is level and secure.
- Install Plumbing: Connect the hot and cold water lines to the faucet and the drain to the basin. Check for leaks.
- Mount the Mirror Cabinet: Hang the mirror cabinet onto its wall brackets.
- Connect Electrical: Wire the LED mirror according to the chosen method (Figure 4.2). Ensure all electrical connections are secure and insulated.
- Final Checks: Test the faucet, drain, and mirror functions. Ensure all doors and drawers operate smoothly.
5. Operation
5.1 Smart LED Mirror
- Power On/Off: Use the touch button on the mirror surface to turn the LED lights on or off.
- Defogging Function: Activate the defogger by pressing the designated touch button. This will clear condensation from the mirror surface.
- Time Display: The mirror features a built-in time display. Refer to the mirror's specific instructions for setting the time.
5.2 Soft-Close Doors and Drawers
The cabinet doors and drawers are equipped with soft-closing mechanisms. Gently push them to close, and they will automatically slow down to prevent slamming.
6. Maintenance & Care
Proper care will ensure the longevity and appearance of your vanity.
- Cleaning: Wipe the cabinet and countertop with a soft, dry cloth. For stubborn spots, use a mild, non-abrasive cleaner and immediately wipe dry.
- Avoid Harsh Chemicals: Do not use abrasive cleaners, ammonia-based products, or solvents, as these can damage the finish and materials.
- Spills: Clean up water spills and splashes promptly to prevent moisture damage, especially on wood surfaces.
- Mirror Care: Clean the mirror with a glass cleaner and a soft, lint-free cloth. Avoid spraying cleaner directly onto the mirror edges or electrical components.
7. Troubleshooting
If you encounter issues, refer to the following common solutions:
- Mirror Lights Not Working: Check the power connection to the mirror. Ensure the power outlet is functional.
- Defogger Not Activating: Verify the mirror is receiving power and the defogger button is pressed.
- Water Leaks: Check all plumbing connections for tightness. Ensure sealant was properly applied during installation.
- Drawers/Doors Not Closing Softly: Inspect hinges and rails for obstructions or damage. Ensure they are properly aligned.
- Vanity Not Level: Adjust wall mounting brackets if possible, or use shims if necessary during installation.
For issues not covered here, please contact customer support.
8. Product Specifications
| Feature | Specification |
|---|---|
| Brand | LUTHXAY |
| Model Number | B0DS2JTKC1 |
| Size (Vanity Width) | 72 inches |
| Color | Wood |
| Material | Solid wood, Slate (countertop) |
| Mounting Type | Wall Mount |
| Number of Doors | 4 (soft-closing) |
| Number of Drawers | 2 |
| Mirror Features | Smart LED, Anti-fog function |
| Basin Type | One-piece integrated |
| Assembly Required | Yes |
9. Warranty & Support
For warranty information or technical support, please contact the seller or manufacturer directly. Keep your purchase receipt as proof of purchase.
Manufacturer: LUTHXAY