ASURE K84X4131
ASURE 13.1" 2K QLED Car Stereo Radio User Manual
Model: K84X4131
Introduction
This manual provides detailed instructions for the installation, operation, and maintenance of your ASURE 13.1" 2K QLED Car Stereo Radio. Please read this manual thoroughly before installation and use to ensure proper function and safety.
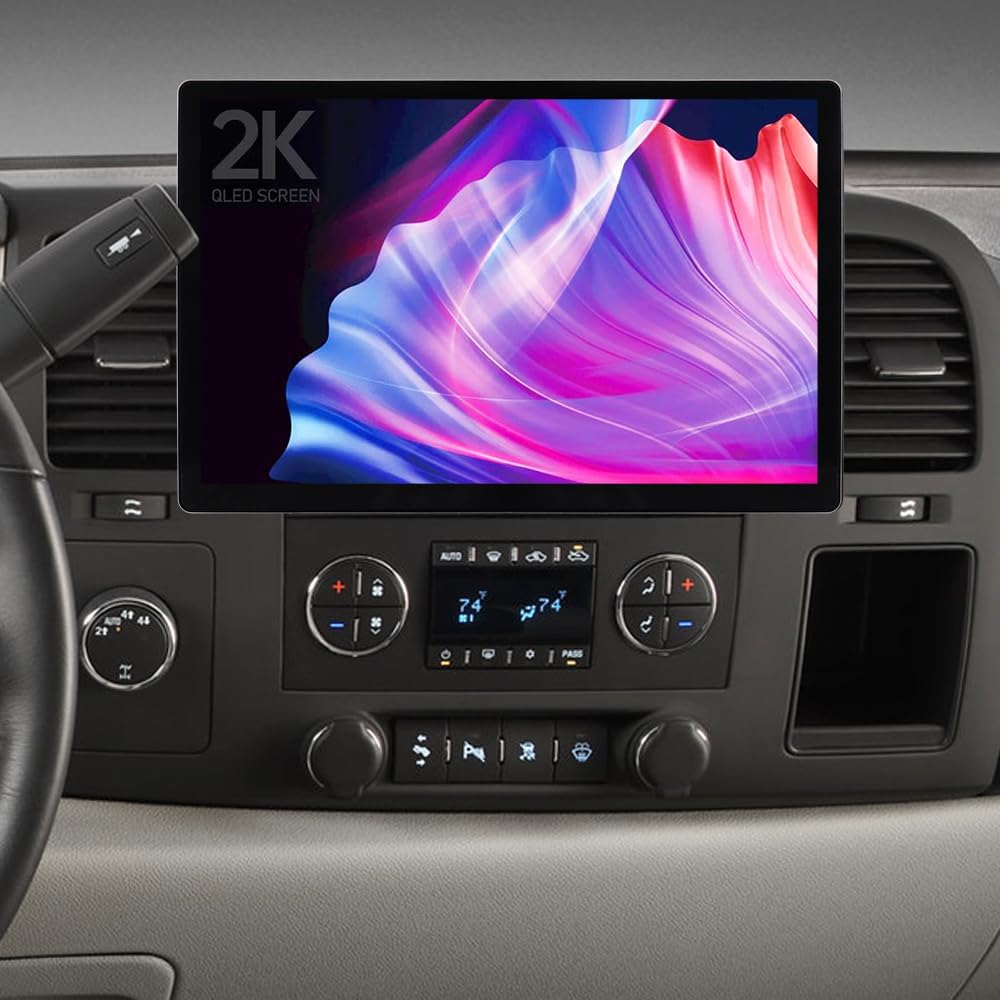
Figure 1: ASURE 13.1" 2K QLED Car Stereo Radio installed in a compatible vehicle.
Vehicle Compatibility
This 13.1-inch car stereo radio is compatible with the following vehicle models:
- Chevy: Silverado/Avalanche (2007-2013), Suburban (2007-2014), Tahoe (2007-2014), Equinox (2007-2009), Express (2008-2014), Impala (2006-2013), Monte Carlo (2006-2007), Traverse (2009-2012)
- GMC: Acadia (2007-2012), Savana (2008-2014), Sierra (2007-2013), Yukon (2007-2014)
- Buick: Enclave (2007-2012), Lucerne (2006-2011)
- HUMMER: H2 (2008-2009)
- SATURN: Outlook (2007-2010), Vue (2008-2010)
- PONTIAC: Torrent (2007-2009)
- SUZUKI: XL-7 (2007-2009)
Note: If your OEM radio came with a 10-Button Navi screen, a separate wiring kit may be required. Please verify your vehicle's specific configuration.

Figure 2: Detailed vehicle compatibility list.
Setup and Installation
Package Contents
Before beginning installation, ensure all components are present:
- 1x 8-core car stereo radio (13.1" 2K QLED Screen)
- 1x Install bezel
- 1x Wiring harness kit (includes high-end power harness with amplifier CAN-BUS decoder and low-end power harness)
- 1x CAN BUS box
- 1x Radio Aerial Connector
- 1x Mini USB Cable
- 1x GPS Cable
- 2x USB Cables
- 1x Microphone
- 1x 4G LTE Antenna
- 1x Reversing Camera Input (WIFI/BT antenna)
- 1x HD Backup Camera
- Screwdriver and User Manual
- Various screws and mounting hardware
Note: After receiving the product, please check if all accessories are included in the package. There are 2 sets of cables. When using the high-spec cable, you must connect it to the CAN bus box. For wiring instructions, please refer to the last picture in the product description.

Figure 3: Included accessories and cables.
Screen and Frame Assembly
The 13.1-inch screen comes with an adjustable base bezel. You can choose the installation position of the screen to decide whether it is positioned higher or lower. The distance between the top and bottom installation positions is 25mm.
After determining the desired screen position, install your dedicated vehicle adapter frame onto the screen base. Fix the screen and the adapter frame together with four screws.
If your dedicated frame is 10.1", first install the screen base, then install the 9" to 10.1" frame adapter, and finally, install your 10.1" dedicated adapter frame.
Video 1: Demonstrates the assembly of the 13.1-inch car stereo screen with its adjustable frame.

Figure 4: The 13.1" 2K QLED display.

Figure 5: Adjustable screen and package list overview.
Wiring Instructions
Refer to the provided wiring harness kit. There are two sets of cables: a high-spec cable and a low-spec cable. When using the high-spec cable, it must be connected to the CAN bus box.
CAN-BUS Setup: After powering up the radio, you need to set CAN-BUS correctly to get your steering wheel controls to work. The procedure is as follows: click Settings in the main menu, go to Factory, and input password 3368. Choose Car Mode XP-GM/Chevrolet-ALL-XP(L) if there isn't an OEM Amplifier in your car. Alternatively, choose XP-GM/Chevrolet-Enclave-XP if there is a factory amplifier in your car.
Wrong or missing CAN-BUS setups can lead to non-working steering wheel controls. The CAN-BUS box should always be connected to the rear power plug beforehand.

Figure 6: High-end harnesses with CAN-BUS box for GM vehicles.
Backup Camera Wiring
- Connect the black power plug to the red socket.
- Connect to the Negative (-) of your car's Reversing Lamp Power.
- Connect the two Red wires to the Positive (+) of your car's Reversing Lamp Power.
- Connect the RCA female to the RCA male.
- Connect the RCA male to the RCA female.
- Connect to your head unit's "REVERSE" wire of the reversing camera input trigger. NOTE: No need to connect this wire if your radio comes with a CAN-BUS box/decoder.
- Connect to your radio's rear 10-Pin socket.

Figure 7: Wiring diagram for the HD backup camera.
Video 2: Installation guide for the ASURE 13.1 inch car stereo in Chevy GMC 2007-2012 models.
Video 3: Installation overview for the 13.1 inch car radio in Chevy Silverado/GMC Sierra 2007-2013.
Operating Instructions
Display and Interface
The unit features a 13.1" capacitive touchscreen with 2K QLED resolution, providing clear visuals for navigation, video, and streaming. The system runs on Android 15 with an Octa-Core processor, 4GB RAM, and 64GB ROM for smooth performance.

Figure 8: Overview of the stereo's core features.

Figure 9: Customizable UI themes and available applications.
Connectivity
- Wireless CarPlay & Android Auto: Seamlessly integrate your smartphone via Bluetooth 5.0 for hands-free control of calls, navigation, music, and messages.
- 4G LTE & Dual Wi-Fi: Stay connected with built-in 4G LTE and dual Wi-Fi (2.4GHz & 5.0GHz) for smooth streaming, browsing, and app downloads.
- Offline Maps: Supports Google Maps offline navigation, allowing access to routes even without a signal.

Figure 10: Dual Wi-Fi band connectivity.

Figure 11: Android Auto interface in use.
Audio and Visual Features
- DSP Audio: Enjoy richer sound quality with Digital Signal Processing.
- HD Backup Camera: The waterproof HD backup camera provides clear day and night vision with a 170° viewing angle for safe reversing.
- OEM Fit: Retains steering wheel controls and AC display functionality.

Figure 12: HD Backup Camera features.
Video 4: Overview of the ASURE 13.1 inch Car Stereo Radio's features and interface.
Maintenance
- Cleaning: Use a soft, dry cloth to clean the screen and exterior. Avoid abrasive cleaners or solvents.
- Software Updates: Periodically check for software updates through the system settings to ensure optimal performance and access to new features.
- Cable Management: Ensure all cables are securely tucked away to prevent interference or damage.
Troubleshooting
- No Power: Check all power connections and ensure the CAN-BUS box is correctly connected if using the high-spec cable. Verify vehicle's fuse box.
- Steering Wheel Controls Not Working: Ensure the CAN-BUS setup is correctly configured in the factory settings (password 3368) for your specific vehicle and amplifier type.
- No Sound: Check speaker connections. If you have a factory BOSE amplifier, you may need to cut the white/black wire on the high-end harness (as indicated in some wiring diagrams) if rear speakers have no sound.
- Backup Camera Not Displaying: Verify all camera wiring connections, especially the trigger wire and RCA connections. Ensure the camera is receiving power.
- Connectivity Issues (CarPlay/Android Auto/Wi-Fi): Ensure Bluetooth is enabled on your phone and the stereo. Check Wi-Fi signal strength. Restart both the stereo and your phone.
- Screen Lag/Unresponsiveness: Restart the unit. Ensure sufficient storage is available.
Specifications
| Feature | Detail |
|---|---|
| Model Number | K84X4131 |
| Display Size | 13.1 Inches |
| Display Resolution | 2K QLED (1920x1200 PX) |
| Operating System | Android 15 |
| Processor | Octa-Core |
| RAM | 4GB |
| ROM (Internal Storage) | 64GB |
| Connectivity | Bluetooth 5.0, Dual Wi-Fi (2.4GHz & 5.0GHz), 4G LTE |
| Special Features | Wireless CarPlay, Android Auto, DSP Audio, HD Backup Camera, Touchscreen |
| Map Type | Worldwide (Offline Google Maps support) |
| Audio Output Mode | Stereo |
| Mounting Type | Dashboard Mount |
| Product Dimensions | 11.8 x 7.7 x 1.4 inches |
| Item Weight | 6.45 pounds |
Warranty and Support
Your ASURE 13.1" 2K QLED Car Stereo Radio comes with a 30-day free return and replacement policy, and a 1-year repair warranty.
For technical support, troubleshooting assistance, or warranty claims, please contact ASURE customer service through the retailer where the product was purchased or visit the official ASURE website for contact information.
Related Documents - K84X4131
 |
Asure ID User Guide Asure ID User Guide: Learn to install, configure, and use Asure ID software for designing and issuing secure identification cards. This guide covers card design, data entry, reporting, and smart card encoding. |
 |
Goodman SD Side Discharge Homeowner Welcome Packet - Enhance Your Home Comfort Welcome to the Goodman SD Side Discharge system. This homeowner packet provides essential information on features, benefits, inverter technology, cloud connectivity, warranty, and helpful tips for optimal comfort and energy efficiency. |
 |
Amana S-Series Inverter HVAC System Welcome Packet & Benefits Guide Welcome to the Amana brand S-Series Inverter HVAC system. This guide covers system benefits, inverter technology, warranty information, helpful tips, cloud connectivity, and extended service plans for optimal home comfort. |
 |
Asure ID® 用户指南 - HID Global (PLT-01386) 本用户指南提供了关于 HID Global Asure ID® 软件的全面介绍,包括安装、配置、卡片设计、数据输入、报告生成以及 iCLASS SE 编码器等功能。适用于 PLT-01386, Rev. 2.4。 |
 |
HID Global Customer Guide to Technical Support and Maintenance This guide provides comprehensive information on HID Global's technical support offerings, including different support levels, how to contact support, case management, and warranty information for various HID products. |
 |
HID Global Product Guide: Secure Identity Solutions for Access Control and More Discover HID Global's comprehensive product guide detailing secure identity solutions. Explore access control readers, Seos credential technology, HID Mobile Access, visitor management systems, card printers, network security, and pivCLASS solutions for enhanced security and convenience. |