Wkzay V39
Wkzay Wireless RV Backup Camera V39 Instruction Manual
Model: V39
Introduction
Thank you for choosing the Wkzay Wireless RV Backup Camera V39. This system is designed to enhance safety and convenience for RVs, trailers, campers, and trucks. Featuring a 7-inch HD 1080P monitor, a solar-powered magnetic camera, and advanced wireless technology, this manual provides essential information for setup, operation, and maintenance.
The Wkzay V39 offers a reliable solution for monitoring your vehicle's rear and blind spots, ensuring a clearer view during driving, reversing, and parking maneuvers. Its robust design and user-friendly features make it an indispensable tool for travelers.

Image Description: This image illustrates the wide range of vehicles compatible with the Wkzay Wireless RV Backup Camera, including various types of RVs, trailers, and trucks, highlighting its versatility.
Setup
1. Camera Installation
The Wkzay V39 camera features a strong magnetic mount for quick and easy installation without drilling or wiring. It attaches securely to any metal surface on your RV, trailer, or truck. For non-metallic surfaces (e.g., aluminum, fiberglass, plastic), use the included iron sheet bracket and adhesive tape/screws for secure attachment.
- Magnetic Attachment: Simply place the camera on a suitable metal surface at the rear of your vehicle. Ensure the surface is clean and dry for optimal adhesion.
- Bracket Installation (for non-metallic surfaces): Affix the iron sheet bracket to your desired location using the provided adhesive tape or screws. Once the bracket is secure, the camera can be magnetically attached to it.

Image Description: This image contrasts the simple magnetic installation of the Wkzay camera with the complex, drilling-required installation of other cameras, emphasizing the ease of setup.

Image Description: The image shows a hand attaching the Wkzay camera with its strong magnetic base to the side of an RV, illustrating the drill-free installation process.
2. Powering the Camera
The camera is equipped with a 15000mAh battery and a 3W solar panel for continuous power. The solar panel recharges the battery during daylight hours, providing up to 25 hours of operation on a full charge.
- Solar Charging: Ensure the solar panel on top of the camera is exposed to direct sunlight for optimal charging.
- USB Charging: For initial charge or when solar charging is insufficient, use the provided USB cable to charge the camera via a standard USB power source.
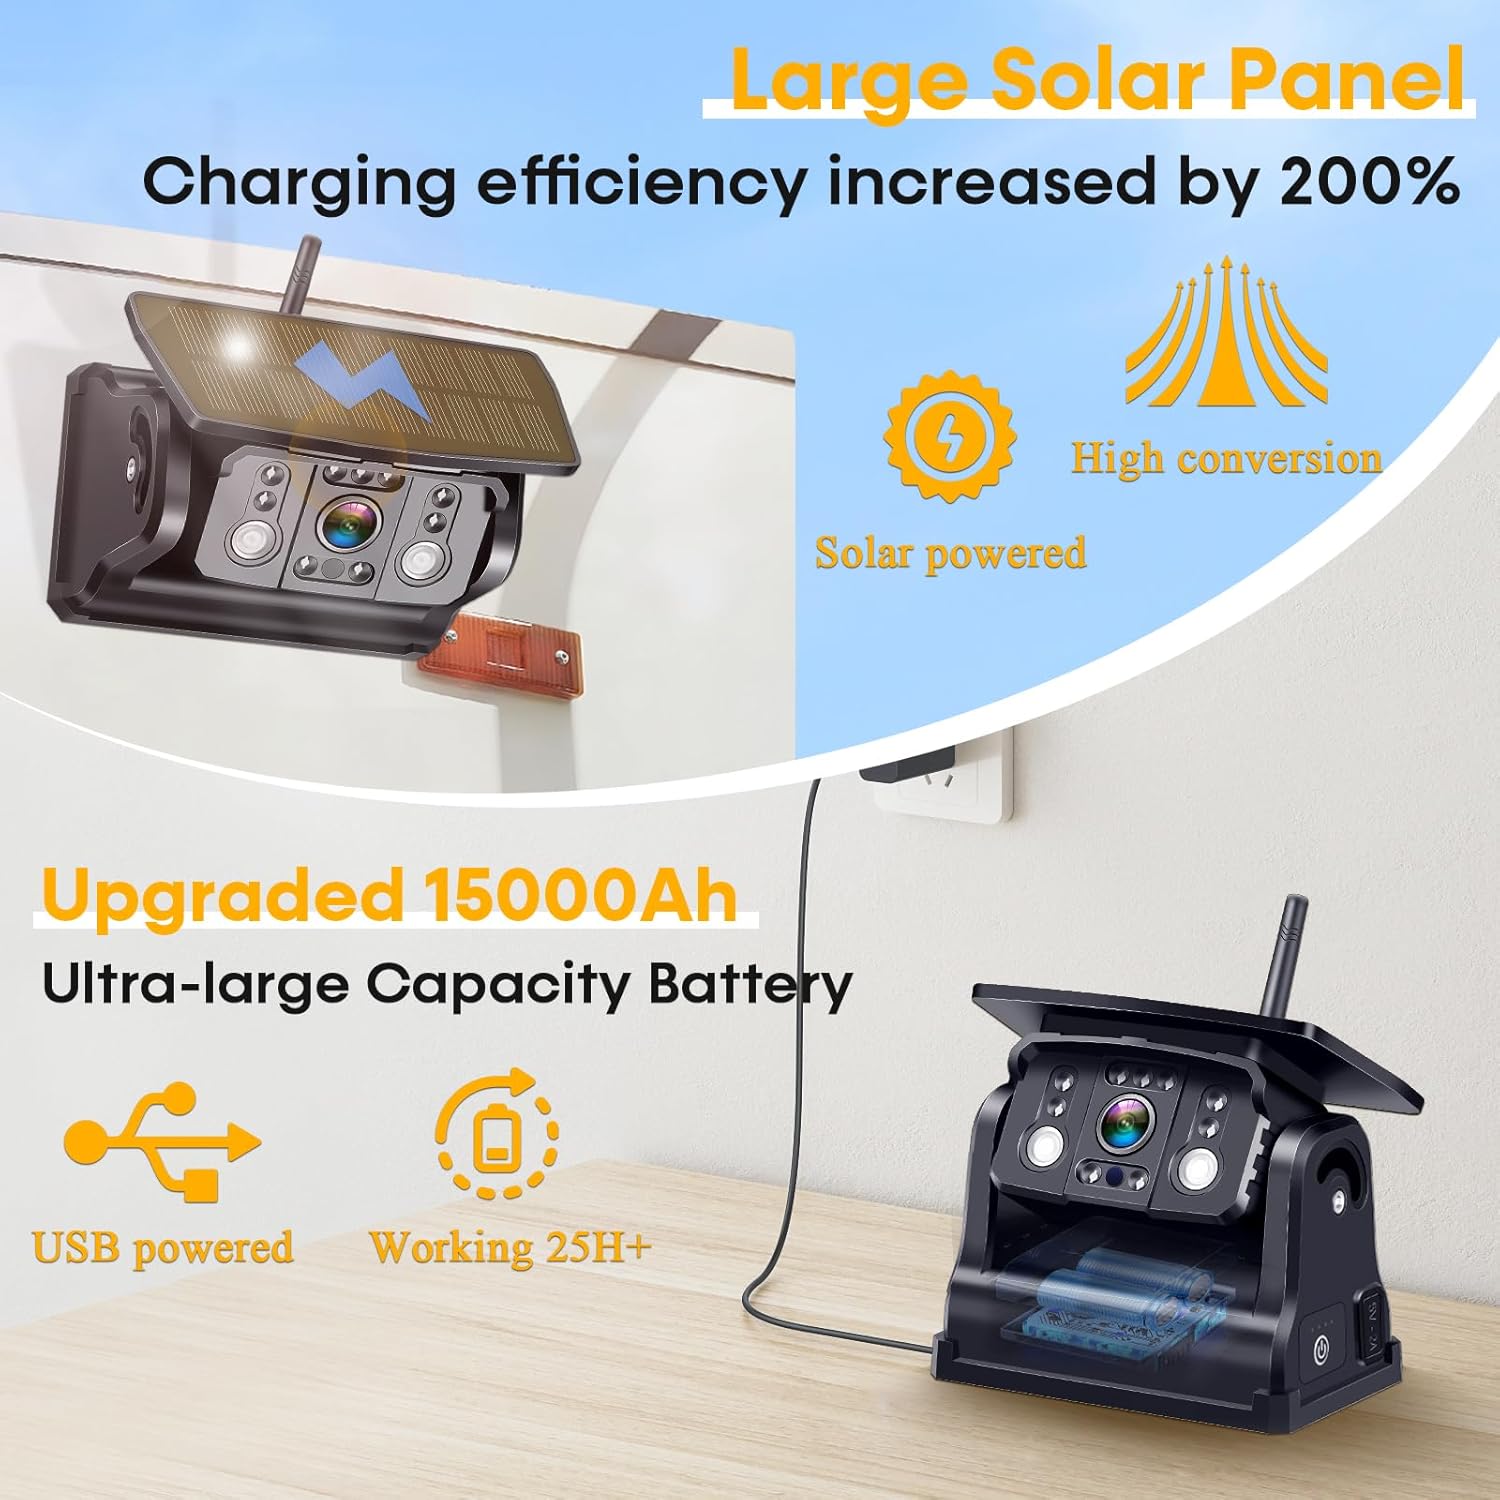
Image Description: This image highlights the camera's large solar panel for efficient charging and its high-capacity 15000mAh battery, indicating long operational life and USB charging capability.
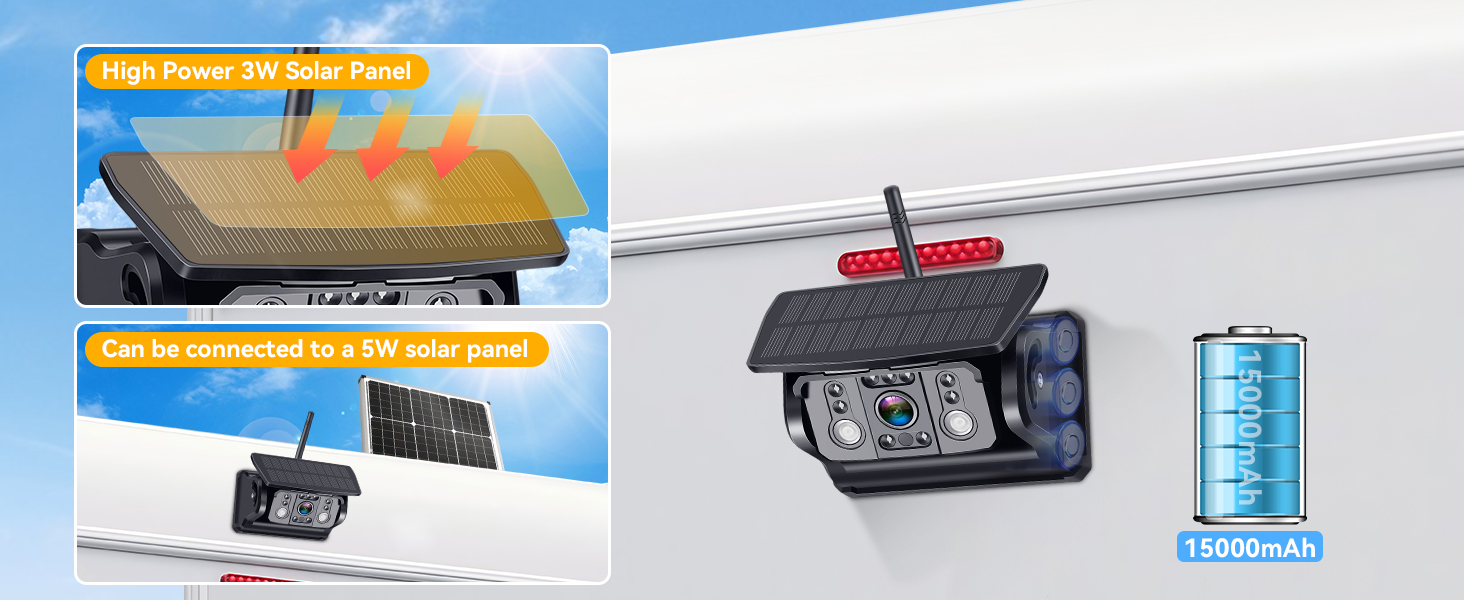
Image Description: The image details the camera's integrated 3W solar panel and mentions the possibility of connecting to an external 5W solar panel, emphasizing its power efficiency and 15000mAh battery.
3. Monitor Setup and Power
Place the 7-inch LCD monitor in a convenient location within your vehicle, such as on the dashboard. The monitor can be powered via the included cigarette lighter adapter or a USB cable.
- Cigarette Lighter Power: Connect the monitor to your vehicle's 12V cigarette lighter socket.
- USB Cable Power: Alternatively, use the USB cable to power the monitor from a compatible USB port.
The camera and monitor are typically pre-paired for immediate use. If pairing is required, refer to the on-screen menu options for wireless connection setup.

Image Description: This image displays the monitor's power options (cigarette lighter and USB) and visually explains the adjustable guide lines and image flip functions.
Operating Instructions
1. Display and Viewing Modes
The 7-inch LCD monitor provides clear HD 1080P visuals. It supports up to four camera feeds, allowing for various viewing configurations.
- Single Camera View: Display the feed from one camera at a time.
- Split-Screen View: View feeds from multiple cameras simultaneously (e.g., two or four cameras). This is useful for monitoring different angles or blind spots.
- Channel Switching: Use the monitor's controls to switch between camera channels or viewing modes.
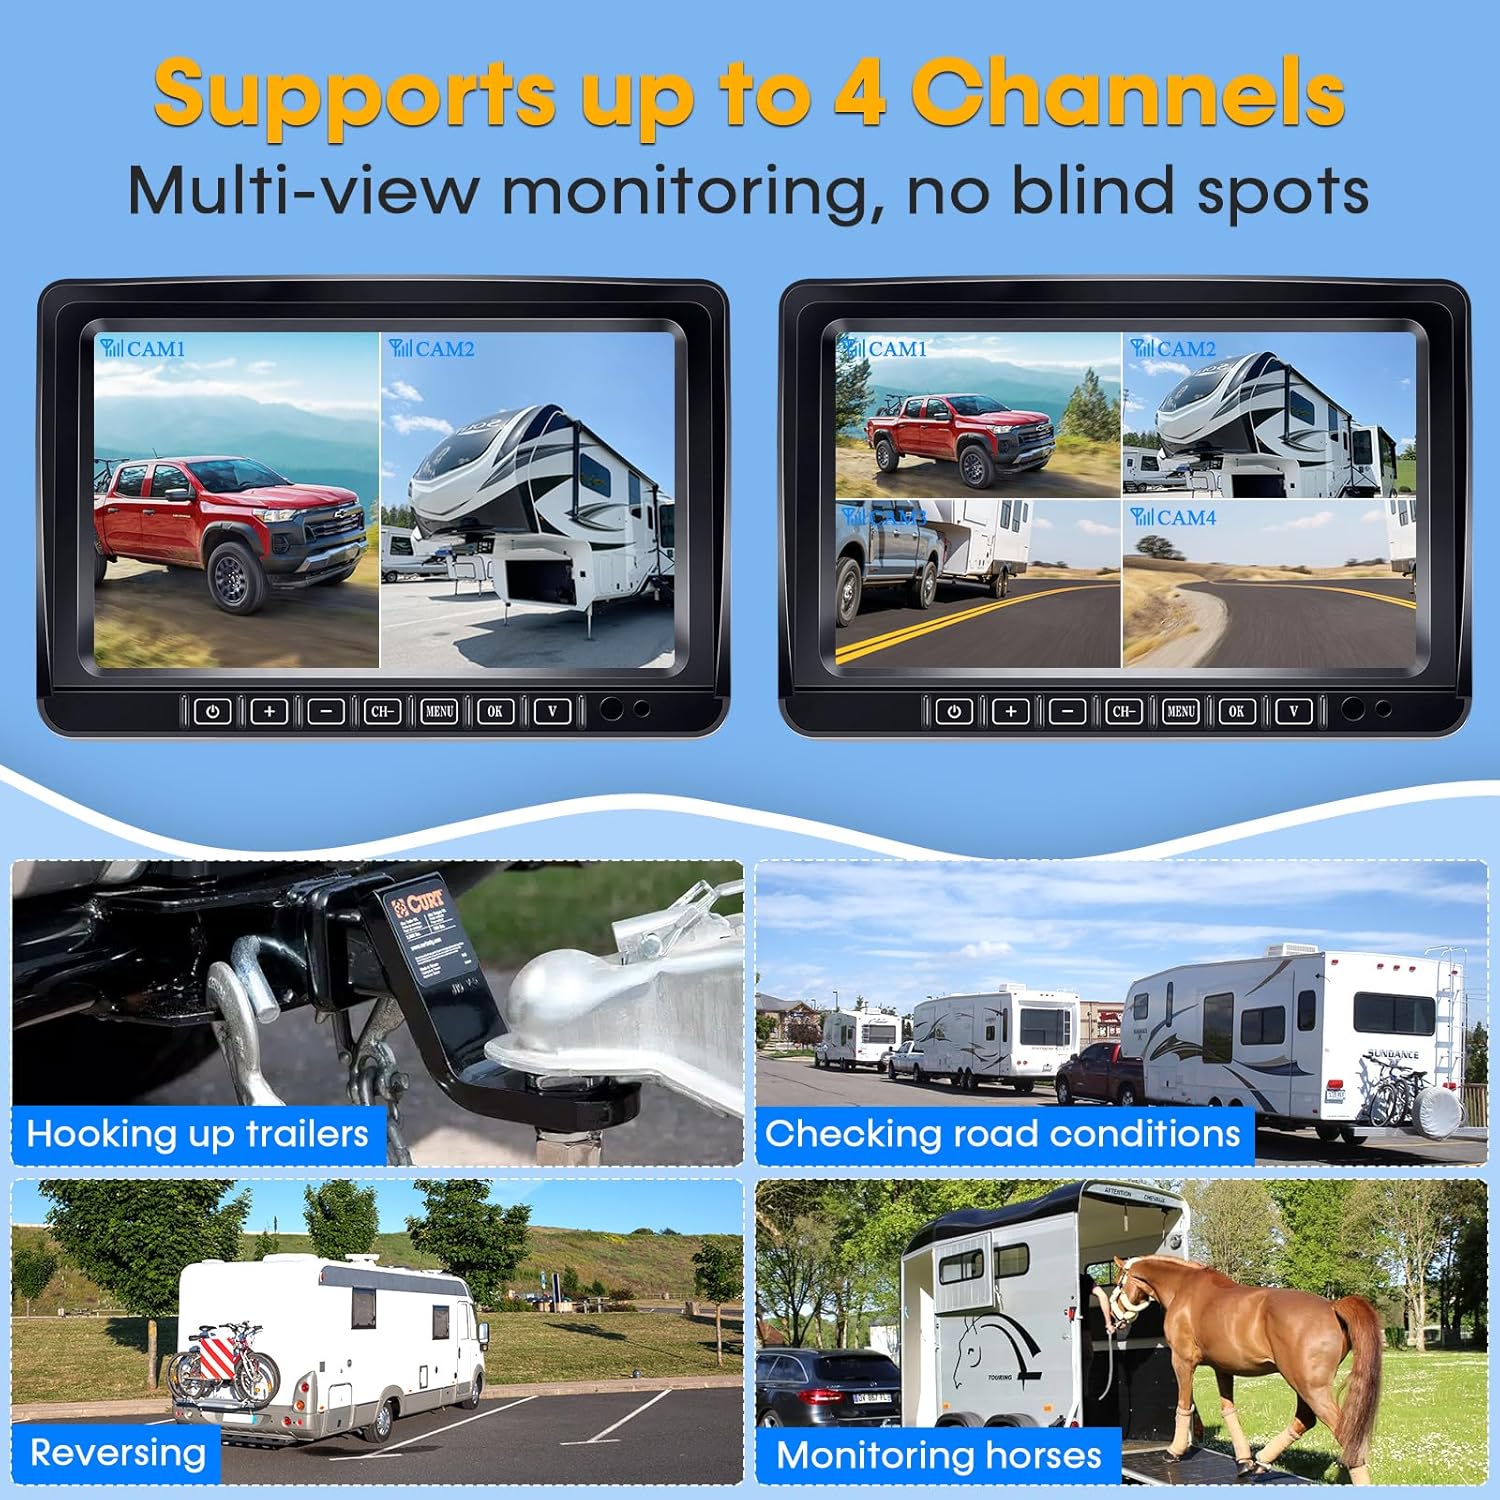
Image Description: This image demonstrates the monitor's capability to display up to four camera feeds simultaneously in a split-screen format, enhancing multi-view monitoring.
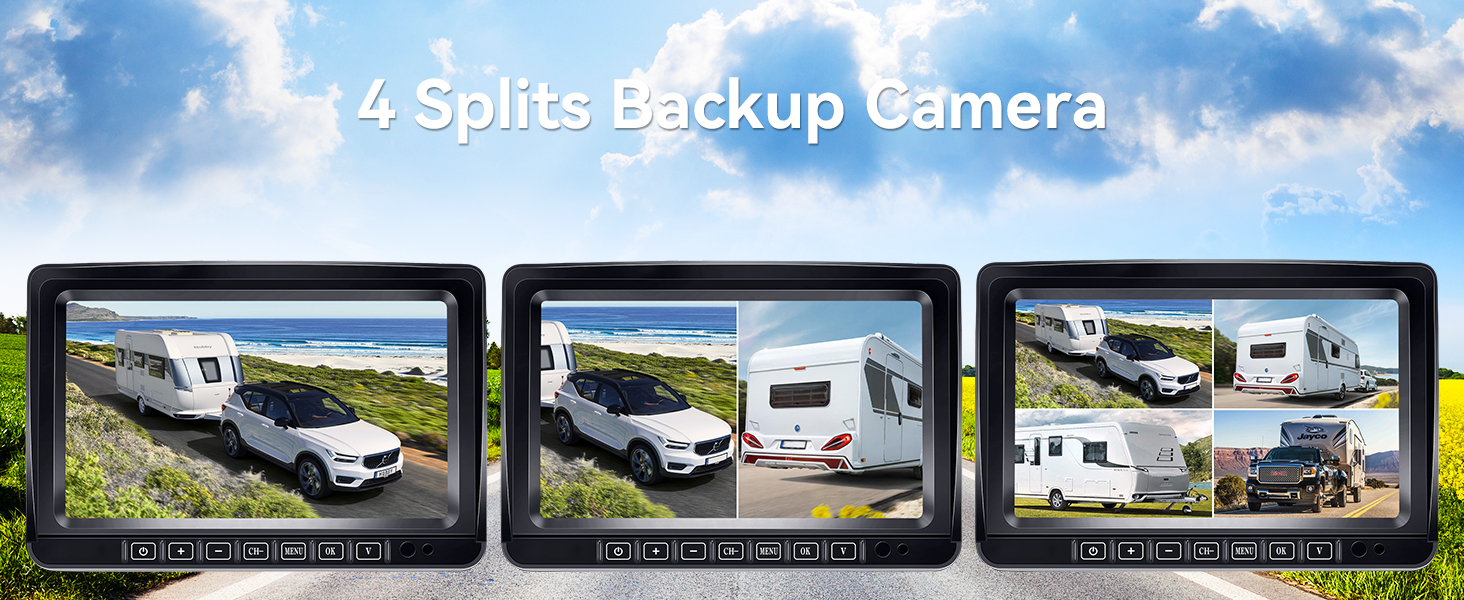
Image Description: The image showcases various split-screen options on the monitor, highlighting the flexibility of the 4-split backup camera system for comprehensive vehicle monitoring.
2. Video Quality and Night Vision
The camera provides sharp HD 1080P video resolution. It is equipped with advanced infrared night vision for clear visibility in low-light conditions or complete darkness.
- HD 1080P: Ensures high-definition images for detailed viewing.
- Infrared Night Vision: Infrared LED lights illuminate the area behind your vehicle without glare, providing clear images for safe nighttime driving and parking.

Image Description: This split image effectively illustrates the camera's infrared night vision by comparing a clear daytime scene with a detailed, monochrome nighttime view, emphasizing its functionality in darkness.
3. Loop Recording
The system supports loop recording, which automatically saves and overwrites older footage. This feature requires a microSD card (not included) inserted into the monitor.
- Recording: Insert a microSD card (up to 128GB) into the monitor to enable continuous recording.
- Automatic Overwrite: When the storage is full, the oldest files are automatically overwritten by new footage.

Image Description: This image visually represents the loop recording function, showing a sequence of recorded video frames and indicating the use of a microSD card for storage.

Image Description: The banner highlights the DVR loop recording feature, indicating support for up to 128GB SD cards, playback functionality, and continuous loop recording.
4. Parking Assistance and Image Orientation
The monitor offers adjustable parking guide lines and image flip functions to assist with precise maneuvering.
- Adjustable Parking Guides: Customize the width, height, and left/right position of the parking lines on the display to match your vehicle and specific parking needs.
- Image Flip: Adjust the image orientation (normal, mirror, inverted front, inverted mirror) to suit the camera's mounting position and your preference.

Image Description: This image illustrates the adjustable parking assisting lines on the monitor, showing how users can customize their width, height, and horizontal position for precise parking.

Image Description: The image visually explains the image flip feature, displaying four different orientations (Normal, Mirror, Inverted Front, Inverted Mirror) to adapt to various camera mounting scenarios.
5. Wide Angle View
The camera features a 170-degree wide-angle lens, providing a broad view of the area behind your vehicle, minimizing blind spots.

Image Description: This image depicts an RV with the camera installed, visually representing the expansive 170-degree wide-angle view it provides for comprehensive rear monitoring.
Maintenance
1. Weather Resistance
The camera boasts an IP69K waterproof rating and a shockproof aluminum alloy construction, designed to withstand harsh weather conditions such as heavy rain, snow, and extreme temperatures.
- Cleaning: Regularly clean the camera lens and solar panel with a soft, damp cloth to ensure optimal performance. Avoid abrasive cleaners.
- Inspection: Periodically check the magnetic mount or bracket for secure attachment, especially after long trips or exposure to rough terrain.

Image Description: The image illustrates the camera's IP69K waterproof design, showing it enduring rain while mounted on an RV, emphasizing its durability in adverse weather.
2. Battery Care
To maximize battery life, ensure the solar panel receives adequate sunlight. If the camera is stored for extended periods, fully charge the battery before storage and periodically recharge it every few months.
Troubleshooting
If you encounter issues with your Wkzay Wireless RV Backup Camera, refer to the following common troubleshooting steps:
- No Image on Monitor:
- Ensure both the camera and monitor are powered on.
- Check power connections for the monitor (cigarette lighter or USB).
- Verify the camera battery is charged (check solar panel exposure or charge via USB).
- Confirm the camera and monitor are paired. If not, initiate pairing through the monitor's menu.
- Poor Signal or Intermittent Connection:
- Ensure there are no large metallic obstructions between the camera and monitor.
- Reposition the camera or monitor slightly to improve signal path.
- The system uses advanced 2.4G wireless frequency with dual antennas for stable connections up to 328ft in open areas. Ensure you are within this range.
- Image Quality Issues (Blurry/Dark):
- Clean the camera lens.
- Adjust monitor brightness and contrast settings.
- For night vision, ensure no obstructions are blocking the infrared LEDs.
- Parking Lines Incorrect:
- Access the monitor's menu to adjust the parking guide lines (width, height, position).

Image Description: This image highlights the system's stable digital signal and frequency hopping technology, showing a clear wireless connection between the camera and monitor, ensuring no delay.
Specifications
| Feature | Detail |
|---|---|
| Model Number | V39 |
| Screen Size | 7 Inches |
| Display Technology | LCD |
| Video Resolution | HD 1080P |
| Wireless Frequency | 2.4G |
| Signal Range | Up to 328ft (open area) |
| Camera Battery Capacity | 15000mAh Lithium Ion |
| Solar Panel Power | 3W |
| Operating Time (Full Charge) | Up to 25 hours |
| Waterproof Rating | IP69K |
| Lens Type | Wide Angle |
| Real Angle of View | 170 Degrees |
| Optical Sensor Technology | CMOS infrared |
| Power Input | 12 Volts (Monitor) |
| Connector Type | USB |
| Installation Type | Surface Mount, Dashboard Mount |
| Item Weight | 3.7 pounds |
| Product Dimensions | 6.5 x 5 x 8.5 inches |
What's in the Box:
- 1 x Solar Magnetic Backup Camera
- 1 x 7 Inch LCD Monitor
- 1 x Iron Sheet Bracket for Magnetic Backup Camera
- 1 x User Manual
Warranty and Support
For technical assistance, troubleshooting, or warranty inquiries regarding your Wkzay Wireless RV Backup Camera V39, please contact Wkzay customer service. Refer to the contact information provided on the product packaging or the official Wkzay website.