1. Introduction
This manual provides essential information for the installation, operation, maintenance, and troubleshooting of the weelye JR1810RX-7P motor controller. This product is designed as a replacement circuit board for specific children's electric ride-on cars. Please read this manual thoroughly before installation and use to ensure proper function and safety.
2. Safety Information
The following safety guidelines must be observed during installation and use:
- Compatibility: Ensure the JR1810RX-7P controller is compatible with your specific children's riding toy. Verify that the appearance and connector types match the original part.
- Professional Installation: If you are unsure about the installation process, seek assistance from a qualified technician.
- Power Disconnection: Always disconnect the vehicle's battery before attempting any installation or maintenance to prevent electrical shock or damage.
- Moisture Protection: Keep the controller away from water, moisture, and extreme temperatures. Exposure to these elements can cause damage or malfunction.
- Child Supervision: Children should always be supervised when operating electric ride-on cars.
- Inspection: Regularly inspect the controller and all connections for signs of wear, damage, or loose wiring.
3. Product Overview
The weelye JR1810RX-7P is a replacement motor controller designed for children's electric ride-on cars. It integrates a slow start function, eliminating the need for additional slow starter components. This unit is a crucial component for the vehicle's drive system.
Key Features:
- Integrated slow start function for smooth acceleration.
- Designed as a direct replacement part for specific children's riding toys.
- Note: Remote control unit is not included with this motor controller.
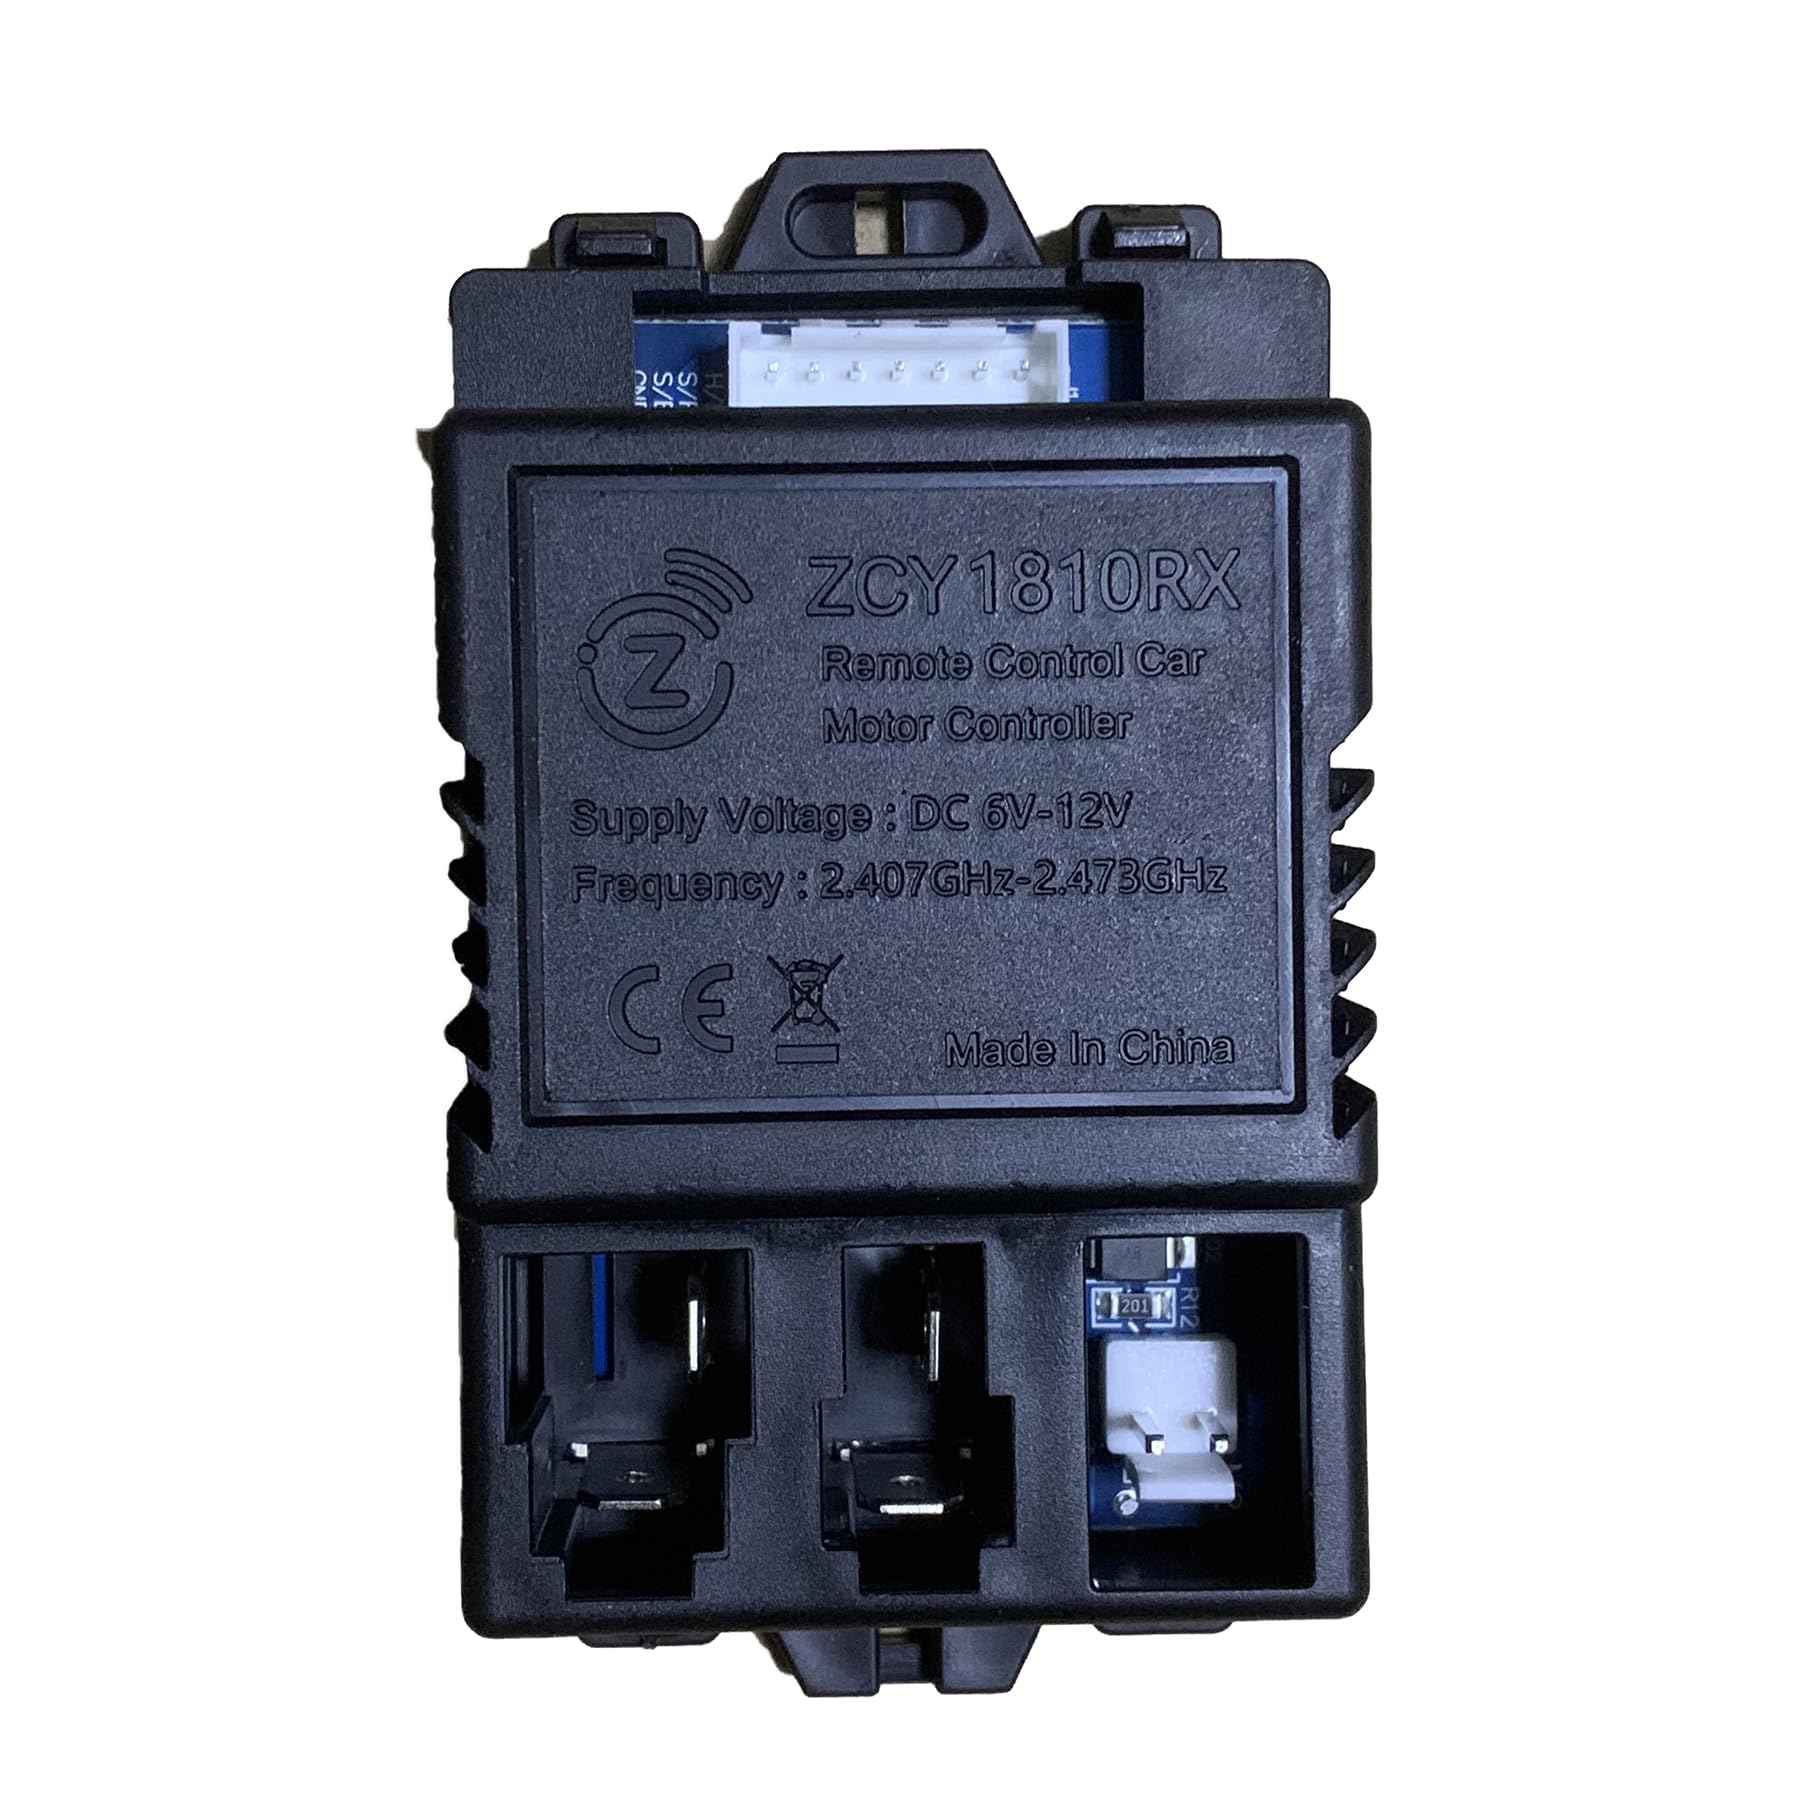
Image 3.1: The weelye JR1810RX-7P motor controller. This image shows the main circuit board with various connectors and components.
4. Setup and Installation
Follow these steps for proper installation of the JR1810RX-7P motor controller:
- Disconnect Power: Before beginning, ensure the ride-on car's battery is completely disconnected to prevent any electrical hazards.
- Locate Original Controller: Identify the existing motor controller within the ride-on car. Note its location and how it is mounted.
- Verify Compatibility: Carefully compare the JR1810RX-7P with the original controller. It is crucial that the purchased part has the same appearance and connector configuration as the original one for proper function.
- Disconnect Wiring: Systematically disconnect all wires from the old controller. It is recommended to take photos or label wires to ensure correct re-connection.
- Remove Old Controller: Unmount and remove the old controller from the vehicle.
- Install New Controller: Mount the JR1810RX-7P in the same location as the original controller.
- Connect Wiring: Reconnect all wires to the new JR1810RX-7P controller, ensuring each connection is secure and matches the original configuration.
- Reconnect Battery: Once all connections are secure, reconnect the vehicle's battery.
- Test Functionality: Perform a test run of the ride-on car to ensure all functions (forward, reverse, steering, pedal, and remote control if applicable) are working correctly.
5. Operating Instructions
The JR1810RX-7P is a motor controller, not a user-operated device. Once correctly installed, it facilitates the operation of the children's electric ride-on car through its existing controls (e.g., foot pedal, steering wheel, and compatible remote control if the vehicle is equipped with one). The integrated slow start function ensures a gradual and smooth acceleration when the vehicle begins to move, enhancing safety and comfort for the child.
No direct user interaction with the controller itself is required during normal operation of the ride-on car.
6. Maintenance
Proper maintenance ensures the longevity and reliable performance of your JR1810RX-7P motor controller:
- Keep Clean and Dry: Periodically inspect the controller area and keep it free from dust, dirt, and moisture. Use a dry, soft cloth for cleaning.
- Inspect Connections: Regularly check all wire connections to the controller to ensure they are tight and free from corrosion or damage. Loose connections can lead to intermittent operation or complete failure.
- Avoid Physical Damage: Protect the controller from impacts or excessive vibrations, which can damage internal components.
- Temperature Control: Avoid exposing the ride-on car, and thus the controller, to extreme temperatures (very hot or very cold) for extended periods.
7. Troubleshooting
If the ride-on car experiences issues after installing the JR1810RX-7P controller, consider the following troubleshooting steps:
- Car Not Moving:
- Check if the battery is fully charged and properly connected.
- Verify all wiring connections to the controller are secure.
- Ensure the foot pedal or other activation switches are functioning correctly.
- Erratic Operation:
- Re-check all wiring for any loose or incorrect connections.
- Confirm that the controller is indeed the correct replacement part for your specific ride-on car model. Incompatible parts can cause unexpected behavior.
- No Power to Controller:
- Inspect the main power fuse (if present in the vehicle's wiring) for continuity.
- Ensure the battery terminals are clean and making good contact.
- Slow Start Not Functioning:
- While the JR1810RX-7P has an integrated slow start, if the car accelerates abruptly, double-check all connections and ensure the controller is receiving stable power.
If issues persist after performing these checks, it may indicate a faulty component or a more complex electrical problem. Professional assistance is recommended.
8. Specifications
| Feature | Detail |
|---|---|
| Model Number | JR1810RX-7P |
| Product Type | Remote Control Car Motor Controller / Circuit Board |
| Product Dimensions | 3 x 3 x 2.6 inches |
| Item Weight | 3.2 ounces |
| Manufacturer | weelye |
| Recommended Age | 36 months - 6 years (for compatible ride-on cars) |
| Special Feature | Slow start function integrated |
9. Warranty and Support
For information regarding product warranty, returns, or technical support, please contact the seller or manufacturer directly. Warranty terms may vary depending on the point of purchase and regional regulations.
You can find more information about weelye products by visiting the official weelye Store.


