
1. Introduction
This manual provides detailed instructions for the assembly, operation, and maintenance of your Tangkula 8.3FT Windmill. Please read this manual thoroughly before assembly and use to ensure proper function and longevity of the product.

Image 1.1: The Tangkula 8.3FT Windmill installed in a garden.
Product Features:
- Durable Construction: Made from powder-coated steel for high resistance to rust and water, ensuring long-lasting outdoor use.
- Versatile Functionality: Acts as a decorative element and a functional weather vane, indicating wind speed and direction.
- Eco-Friendly Operation: Generates wind power without the need for batteries or external power sources. Features roller bearings for smooth and quiet rotation.
- Attractive Design: Enhances outdoor spaces such as gardens, backyards, and lawns with its eye-catching appearance.
- Easy Assembly: Designed for straightforward setup with provided instructions.
2. Safety Information
Please observe the following safety precautions during assembly and use:
- Ensure all components are securely fastened before use.
- Install the windmill on level ground and use the provided ground stakes to prevent tipping, especially in strong winds.
- Avoid assembling the windmill on windy days to prevent injury or damage to the product.
- Keep children and pets away from the windmill during assembly and operation.
- Regularly inspect the windmill for any loose parts or damage.
3. Package Contents
Verify that all parts are present before beginning assembly:
- 1 x Windmill (disassembled components)
- 1 x User Manual
- 4 x Ground Stakes
- Hardware (bolts, nuts, washers)
4. Setup and Assembly
Detailed instructions are provided with the product. It is recommended to assemble the base first, then the spinning part, and finally attach them outdoors. Assembly is easier with two people.

Image 4.1: Crafted details of the windmill components.
Assembly Steps:
- Unpack Components: Carefully remove all parts from the packaging and lay them out on a clean, flat surface. Verify against the package contents list.
- Assemble the Base Structure: Connect the leg sections using the provided bolts and nuts. Ensure all connections are firm but do not fully tighten until the entire base is assembled. The X-shaped metal braces should be correctly oriented for stability.
- Assemble the Fan and Weathervane: Attach the 12 fan blades to the central hub. Ensure the roller bearings are correctly seated for smooth rotation. Connect the weathervane to the main fan assembly.
- Attach Fan Assembly to Base: Carefully lift the fan assembly and secure it to the top of the base structure using the designated bolts.
- Position and Anchor: Choose a level outdoor location. Once positioned, insert the 4 ground stakes through the designated holes at the base of the windmill and firmly into the soil. This is crucial for stability, especially in strong winds.
- Final Tightening: Once the windmill is upright and anchored, go back and fully tighten all bolts and nuts.

Image 4.2: Illustration of ground stake installation for enhanced stability.
5. Operating Instructions
The Tangkula Windmill operates passively using wind power. No external power source is required.
- Wind Speed Indication: The 12 fan blades will rotate smoothly with the wind, providing a visual indication of wind speed.
- Wind Direction Indication: The integrated weathervane will pivot to show the current wind direction.
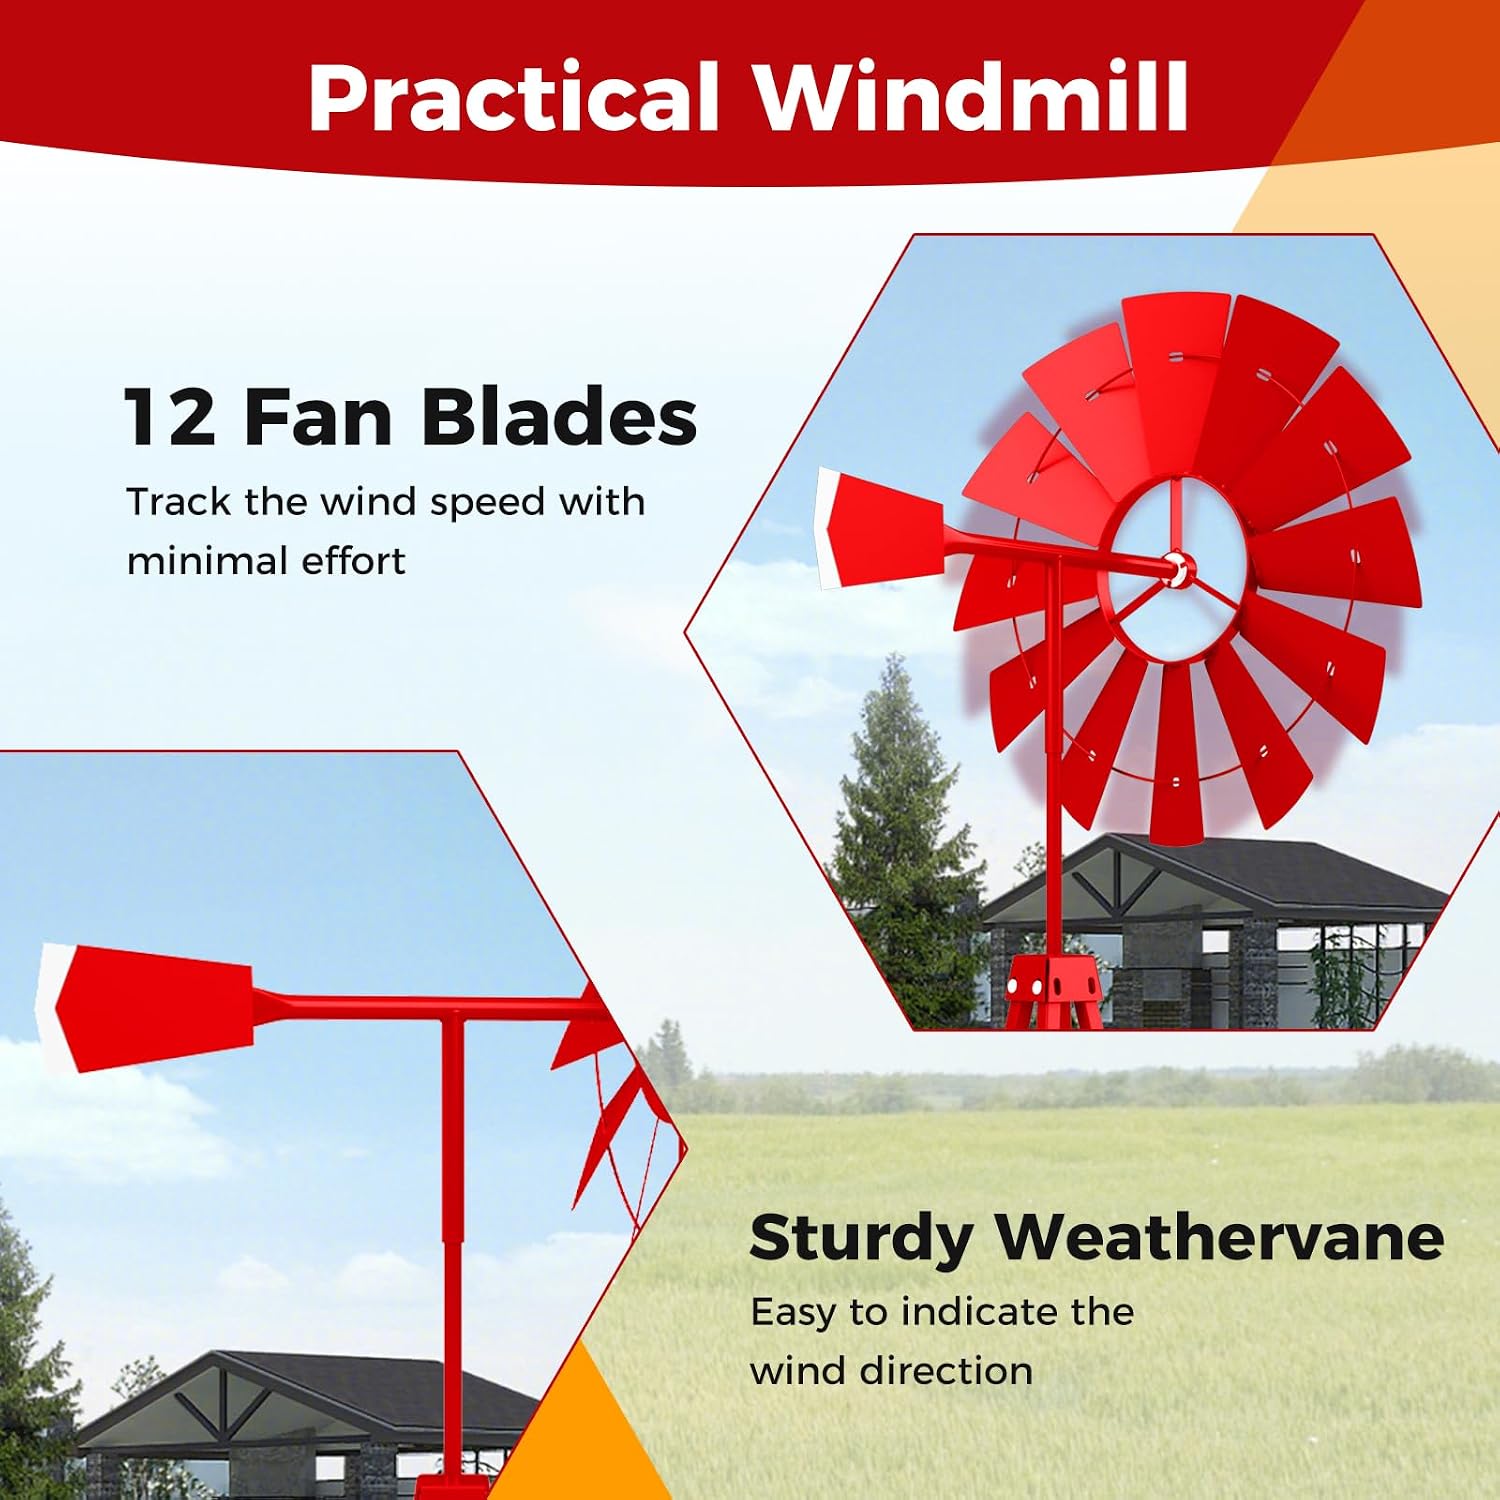
Image 5.1: The windmill's fan blades and weathervane in action.
6. Maintenance
Regular maintenance ensures the longevity and optimal performance of your windmill.
- Cleaning: Periodically wipe down the metal frame and blades with a damp cloth to remove dirt and debris. Avoid abrasive cleaners.
- Inspection: Annually, or after severe weather, inspect all bolts and nuts for tightness. Re-tighten as necessary. Check the ground stakes to ensure they are still firmly in place.
- Bearing Check: Ensure the roller bearings on the fan assembly are rotating freely and quietly. If any resistance or noise is noted, clean the area around the bearings.
- Rust Prevention: Although powder-coated for rust resistance, inspect for any chips or scratches in the coating. Touch up with appropriate outdoor metal paint if needed to prevent rust.

Image 6.1: The powder-coated metal frame provides weather and rust resistance.
7. Troubleshooting
| Problem | Possible Cause | Solution |
|---|---|---|
| Windmill does not spin or spins slowly. | Insufficient wind; bearings are dirty or obstructed; blades are bent or damaged. | Ensure adequate wind conditions. Clean bearings. Inspect blades for damage and gently straighten if possible. |
| Windmill is unstable or wobbles. | Ground stakes are not fully inserted; loose connections; uneven ground. | Push ground stakes deeper into the soil. Tighten all bolts and nuts. Relocate to a more level surface. |
| Noise during operation. | Dirty bearings; loose components. | Clean the roller bearings. Check and tighten all connections. |
8. Specifications
| Feature | Detail |
|---|---|
| Brand | Tangkula |
| Model Number | AM10083HM |
| Material | Powder-coated Metal (Steel) |
| Product Dimensions (W x H) | 26.5"W x 100"H (approx. 8.3 ft tall) |
| Item Weight | 20.5 pounds |
| Color | Red |
| Additional Features | Rust Resistant, Weather Resistant |
| UPC | 798470402676 |

Image 8.1: Key dimensions of the Tangkula 8.3FT Windmill.
9. Warranty and Support
For warranty information or technical support, please refer to the retailer's return policy or contact Tangkula customer service directly. Keep your purchase receipt for any warranty claims.
Typically, products sold on Amazon by Amazon come with a 30-day return/replacement policy. For specific warranty details beyond this period, please consult the manufacturer's official website or contact their support channels.