Introduction
Thank you for choosing the Locksworth AZ4304-GR Digital Electronic Security Safe. This manual provides essential information for the safe's proper setup, operation, and maintenance. Please read these instructions carefully before use and keep them for future reference.

Image: Locksworth AZ4304-GR Digital Electronic Security Safe.
Product Features
- Military-Grade Security: Constructed with reinforced steel and advanced one-piece bending technology, featuring dual 20mm locking bolts for anti-pry strength. Concealed hinges and a recessed door resist drilling, prying, and impacts. Scratch-proof powder coating prevents rust.
- Smart Capacity: Exterior dimensions: 9.84"D x 13.78"W x 9.84"H. Interior dimensions: 8.66"D x 13.38"W x 9.05"H, offering 0.6 cubic feet of storage. Ideal for cash, jewelry, documents, passports, and handguns.
- Versatile Interior Organization: Features a practical double-layer design with a removable shelf for easy organization. Anti-moisture fabric lining protects delicate items from scratches.
- Combination Lock: Digital code lock provides multiple access options. Unlock using a custom code and knob. Includes two emergency keys for backup in case of forgotten password or dead battery.
- Double Warning System: Triggers a loud 70-decibel alarm after three incorrect password attempts or any forceful breach, deterring intruders.
- Extra Fireproof Bag: Includes a fire-resistant bag to protect documents, cash, and valuables during emergencies.
- LED Sensor Light: Internal LED light for easy access in dark environments.
- Mounting Options: Includes expansion screws for secure wall or floor mounting to deter theft.
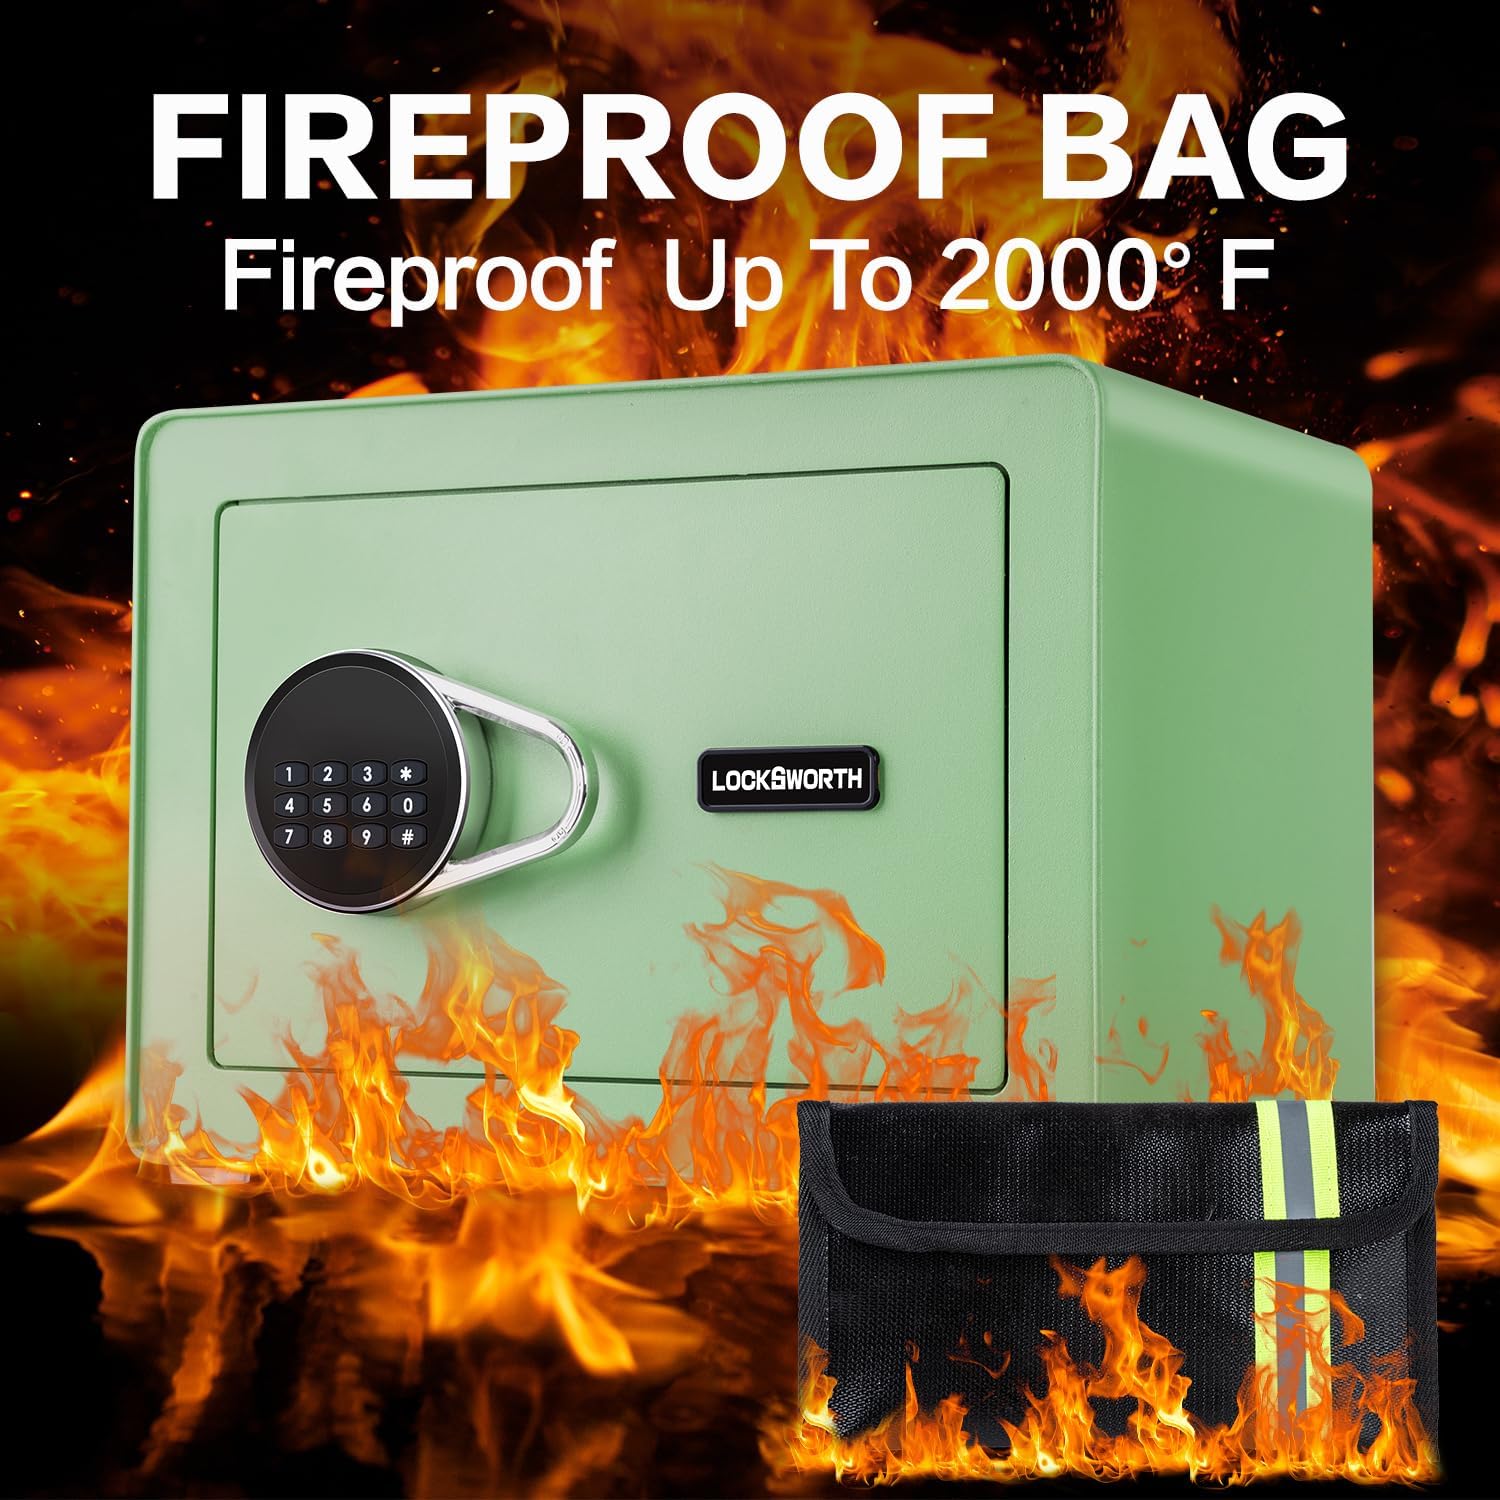
Image: Fireproof Bag. This image highlights the included fire-resistant bag, capable of withstanding temperatures up to 2000°F.
Setup
1. Initial Opening (Using Emergency Key)
Before installing batteries or setting a passcode, you must open the safe using the emergency key.
- Remove the cover on the right side of the electronic keypad to reveal the emergency keyhole.
- Insert one of the provided emergency keys into the keyhole and turn it counterclockwise.
- While holding the key turned, turn the knob clockwise to open the safe door.
- Once open, remove the emergency key. Keep emergency keys in a secure location outside the safe.
Video: How to Use Locksworth Safe. This video demonstrates the initial opening, battery installation, and passcode programming for the Locksworth safe.
2. Battery Installation
The safe requires 4 AA batteries (included) for the electronic keypad to function.
- With the safe door open, locate the battery compartment on the inside of the door.
- Remove the battery compartment cover.
- Insert 4 AA batteries, ensuring correct polarity (+/-).
- Replace the battery compartment cover.

Image: Professional Design. This image highlights the battery compartment cover, reset button, internal light, and removable shelf.
3. Setting Your Passcode
You can set a personal passcode of 1 to 8 digits.
- With the safe door open, press the red reset button located on the inside edge of the door (near the hinges). The safe will emit two beeps.
- On the electronic keypad, enter your desired passcode (1 to 8 digits).
- Press the "#" button to confirm. The safe will emit two beeps, and the yellow indicator light will turn off, indicating the passcode is set.
- Test your new passcode with the door open to ensure it works correctly before closing the safe.
4. Mounting the Safe
For enhanced security, the safe can be mounted to a wall or floor using the provided expansion screws.
- Identify a suitable location for mounting.
- Using the pre-drilled holes on the back or bottom of the safe as a template, mark the drilling points on the wall or floor.
- Drill pilot holes at the marked locations.
- Align the safe with the drilled holes and secure it using the expansion bolts.

Image: Easy to Install. This diagram illustrates the steps for securely mounting the safe to a wall or floor.
Operating the Safe
1. Opening with Your Passcode
- Enter your programmed passcode on the electronic keypad.
- Press the "#" button to confirm. The green indicator light will illuminate.
- Within 5 seconds, turn the knob clockwise to open the safe door.
2. Opening with Emergency Key
The emergency key can be used if you forget your passcode or if the batteries are depleted.
- Remove the cover on the right side of the electronic keypad.
- Insert an emergency key and turn it counterclockwise.
- While holding the key turned, turn the knob clockwise to open the safe door.

Image: 2 Methods of Opening. This image displays both the digital keypad and the emergency keyhole for opening the safe.
3. Dual Warning System
The safe is equipped with a dual warning system for enhanced security:
- Incorrect Passcode Alarm: If three incorrect passcodes are entered consecutively, a loud 70-decibel alarm will sound.
- Forceful Breach Alarm: Any forceful attempt to open or move the safe will also trigger the 70-decibel alarm.
The alarm will sound for a set period and then reset. To stop the alarm, open the safe using the correct passcode or an emergency key.

Image: Dual Alarm System. This image visually explains how the safe's alarm system is triggered by violent vibrations or incorrect passcode entries.
Maintenance
1. Battery Replacement
When the batteries are low, the keypad indicator light may flash red or the safe may beep differently during operation. Replace all 4 AA batteries promptly to ensure continuous functionality.
- Open the safe door.
- Remove the battery compartment cover on the inside of the door.
- Remove the old batteries and insert 4 new AA batteries, observing correct polarity.
- Replace the battery compartment cover.
2. Cleaning
To clean the safe, use a soft, damp cloth. Avoid abrasive cleaners or solvents that could damage the finish or electronic components.
Troubleshooting
| Problem | Possible Cause | Solution |
|---|---|---|
| Safe does not open with passcode. | Incorrect passcode entered; batteries are low or dead. | Re-enter the correct passcode. If unsuccessful, replace batteries or use the emergency key. |
| Keypad does not respond. | Batteries are dead or incorrectly installed. | Replace batteries, ensuring correct polarity. Use the emergency key to open if necessary. |
| Alarm sounds unexpectedly. | Three incorrect passcode attempts; safe has been subjected to forceful impact or movement. | Open the safe with the correct passcode or emergency key to reset the alarm. |
| Forgotten passcode. | Passcode cannot be recalled. | Use the emergency key to open the safe. Once open, reset the passcode following the "Setting Your Passcode" instructions. |
Specifications
| Feature | Detail |
|---|---|
| Brand | Locksworth |
| Model Number | AZ4304-GR |
| Product Dimensions (Exterior) | 9.84"D x 13.78"W x 9.84"H |
| Product Dimensions (Interior) | 8.66"D x 13.38"W x 9.05"H |
| Capacity | 0.6 Cubic Feet (Note: Product title states 1.0 Cubic Feet, but detailed specifications list 0.6 Cubic Feet.) |
| Lock Type | Electronic Combination Lock, Key |
| Color | Green |
| Material | Alloy Steel |
| Special Features | Alarm System, Anti-Theft, Combination Lock, Removable Shelf, Sensor Light |
| Mounting Type | Under Counter Mount, Wall Mount, Floor Mount |
| Included Components | 1 Fireproof bag, 1 Safe box, 2 Sets Expansion Bolts, 4 Floor Protectors, 2 Emergency Keys |
| Item Weight | 8.5 Pounds |
| Alarm | Audible (70-decibel) |
| Water Resistance Level | Water Resistant |
| Batteries Required | Yes (4 x AA Alkaline) |

Image: Product Information. This image details the safe's dimensions and lists all components included in the package.
Important Safety Information
- Always keep emergency keys in a secure location, separate from the safe, and not inside the safe itself.
- Do not expose the safe to extreme temperatures or humidity.
- Ensure the safe is securely mounted if you choose to use the wall/floor mounting feature.
- Keep the safe away from children to prevent unauthorized access.
- Regularly check and replace batteries to avoid being locked out.
Warranty and Support
Locksworth is committed to providing quality products and customer satisfaction. For any questions, technical support, or warranty claims, please contact Locksworth customer service. Refer to your purchase documentation for specific warranty details and contact information.