1. Introduction
Thank you for choosing the Srliya Car Battery Charger. This manual provides essential information for the safe and efficient operation of your new battery charger. Please read this manual thoroughly before use and retain it for future reference.
Important Safety Information:
- Always wear eye protection and protective clothing when working with batteries.
- Ensure adequate ventilation during charging to prevent the accumulation of explosive gases.
- Never charge frozen batteries.
- Keep the charger away from children and pets.
- Do not expose the charger to rain or excessive moisture.
- Prohibit charging lithium batteries. This charger is designed for 12V/24V lead-acid batteries (AGM, water battery, dry battery, maintenance-free battery).
2. Product Overview
The Srliya Car Battery Charger is a portable, intelligent charging device designed for various 12V and 24V lead-acid batteries. It features multiple protection mechanisms and an intelligent fan for efficient and safe charging.

Figure 2.1: Front view of the Srliya Car Battery Charger with attached battery clamps and power cord (US plug).
Key Features:
- Multi-Protection: Includes overvoltage, low voltage, overcharge, short circuit, reverse connection, anti-thunder, and leakage protection.
- Intelligent Fan: Ensures optimal operating temperature.
- 0V Start Function: Capable of initiating charging for deeply discharged batteries.
- Adjustable Charging Current: 5A/10A/20A three-speed adjustable charging current.
- Wide Compatibility: Suitable for 12V/24V AGM, water, dry, and maintenance-free batteries.

Figure 2.2: Top-front view of the charger, highlighting the handle and display screen.
3. Package Contents
Please check the package contents upon receipt to ensure all items are present and undamaged:
- 1 x Srliya Car Battery Charger (Model: 12V24V/10A DC100)
- 1 x User Manual (this document)

Figure 3.1: The battery charger with its power cord and battery clamps laid out, showing all components.
4. Setup
Follow these steps to set up your battery charger:
- Initial Inspection: Before connecting, inspect the charger, cables, and clamps for any damage. Do not use if damaged.
- Connect to Battery:
- Connect the RED (+) clamp to the positive (+) terminal of the battery.
- Connect the BLACK (-) clamp to the negative (-) terminal of the battery.
- Ensure a secure connection to prevent sparks.
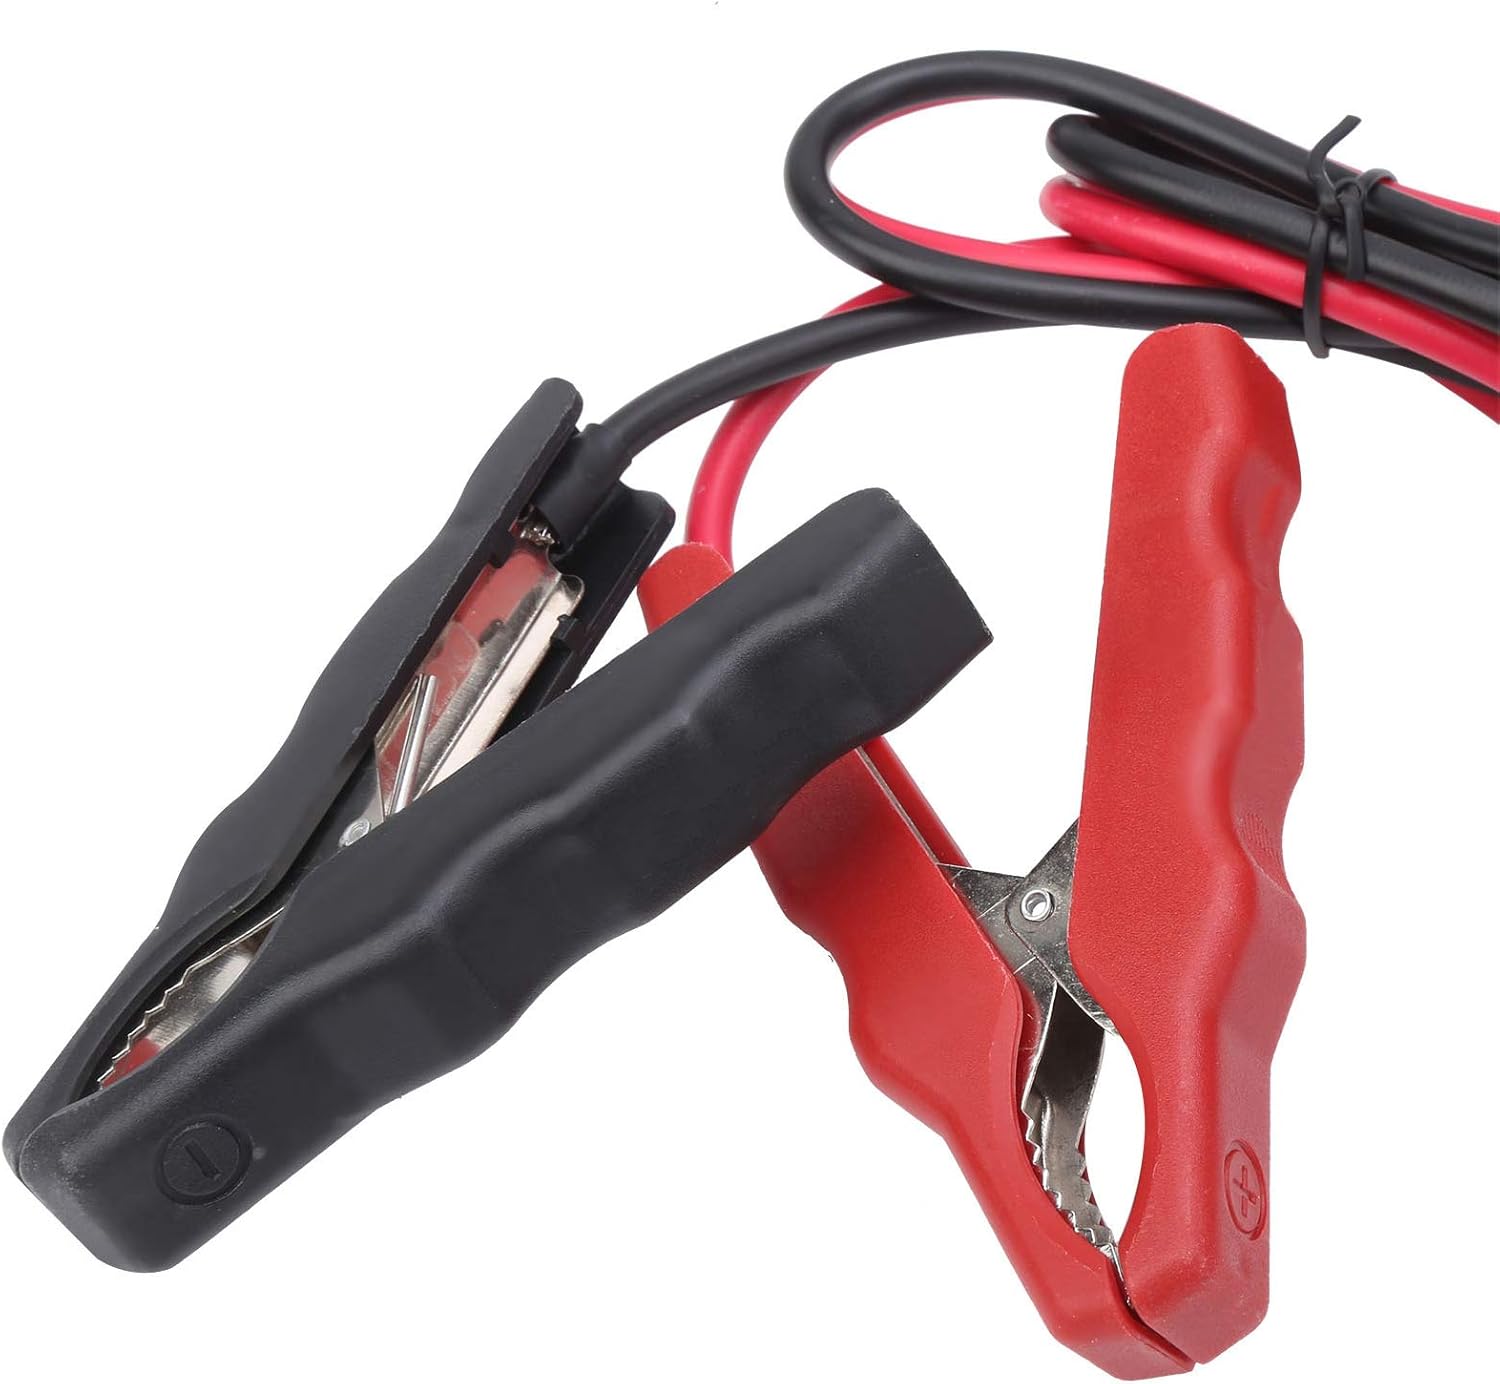
Figure 4.1: Close-up view of the red (positive) and black (negative) battery clamps.
- Connect to Power: Plug the charger's power cord into a standard AC power outlet (US Plug).
- Power On: Locate the power switch on the rear of the charger and switch it to the 'ON' position. The display screen will illuminate.

Figure 4.2: Rear view of the charger, showing the cooling fan, power switch, and power input.
5. Operating Instructions
Once the charger is set up and powered on, follow these steps to begin charging:
- Display Overview: The LCD screen will show battery voltage, charging current, and battery percentage.
- Select Charging Current: Press the 'CURRENT' button to cycle through the available charging current options (5A, 10A, 20A). Select the appropriate current for your battery size and type.
- Automatic Mode: The charger automatically detects 12V or 24V batteries and adjusts accordingly. It also identifies the battery type (e.g., AGM) and displays it.
- 0V Start Function: If a deeply discharged battery (0V) is connected, the charger will attempt to initiate charging. This process may take some time.
- Charging Process: The charger will begin charging. Monitor the display for progress. The intelligent fan will activate as needed to maintain optimal temperature.
- Charging Completion: The display will indicate when charging is complete (e.g., 100% VOL).
- Disconnecting:
- First, switch off the charger using the power switch.
- Unplug the power cord from the AC outlet.
- Disconnect the BLACK (-) clamp from the battery's negative terminal.
- Disconnect the RED (+) clamp from the battery's positive terminal.

Figure 5.1: Detailed view of the LCD display and control buttons (ON/SET, CURRENT, BATTERY, MAINTENANCE).

Figure 5.2: Another close-up of the display, clearly showing the charging status indicators.
6. Maintenance
Proper maintenance ensures the longevity and optimal performance of your charger:
- Cleaning: Disconnect the charger from power and battery before cleaning. Use a dry, soft cloth to wipe the exterior. Do not use harsh chemicals or abrasives.
- Storage: Store the charger in a cool, dry place when not in use. Keep cables neatly coiled and clamps protected.
- Cable Inspection: Periodically inspect the power cord and battery cables for cuts, fraying, or damage. Replace if necessary.
7. Troubleshooting
If you encounter issues with your charger, refer to the following common problems and solutions:
| Problem | Possible Cause | Solution |
|---|---|---|
| Charger does not power on. | No power from outlet; Power switch off; Damaged power cord. | Check AC outlet; Ensure power switch is ON; Inspect power cord for damage. |
| Battery not charging. | Incorrect battery connection; Battery type incompatible; Deeply discharged battery. | Verify correct polarity (+ to + / - to -); Ensure battery is a compatible lead-acid type; Allow time for 0V start function. |
| Error message on display. | Reverse polarity; Short circuit; Overvoltage/Low voltage. | Check battery clamp connections; Inspect cables for shorts; Ensure battery voltage is within charger's range. |
| Charger gets hot. | Normal operation; Blocked ventilation. | Some heat is normal. Ensure fan is not blocked and charger is in a well-ventilated area. |
If the problem persists after attempting these solutions, please contact customer support.
8. Specifications
Technical specifications for the Srliya Car Battery Charger (Model: 12V24V/10A DC100):
| Feature | Detail |
|---|---|
| Model | 12V24V/10A DC100 |
| Input Frequency | 50Hz/60Hz |
| Output Cable Length | Approx. 100cm / 39.4in |
| Peak Power | AC-230W (Note: Product description mentions AC-300W for applicable type) |
| Dimensions (L x W x H) | Approx. 195 x 145 x 115mm / 7.7 x 5.7 x 4.5in |
| Applicable Battery Types | 12V/24V Lead-acid batteries (AGM, water battery, dry battery, maintenance-free battery) |
| Prohibited Battery Types | Lithium batteries |
| Adjustable Charging Current | 5A/10A/20A |
| Item Weight | Approx. 3.76 pounds |

Figure 8.1: Dimensions of the Srliya Car Battery Charger.
9. Warranty and Support
For warranty information or technical support, please refer to the purchase platform or contact the manufacturer directly. Keep your purchase receipt as proof of purchase.


