1. Product Overview
This manual provides instructions for the installation, operation, and maintenance of your Extra Large Black Galvanized Steel Parcel Mailbox. This mailbox is designed to provide a secure solution for receiving packages, letters, and magazines, protecting them from theft and weather elements.
Key features include:
- Secure Deliveries: Protects packages from theft and ensures safekeeping.
- Premium Galvanized Steel Construction: Built with rust-resistant and scratch-resistant galvanized steel for durability.
- Enhanced Security & Anti-Theft: Features a key lock and an anti-theft mechanism to prevent unauthorized access.
- Spacious Capacity: Accommodates a wide range of deliveries, including parcels, letters, magazines, and large envelopes.
- Easy Installation: Designed for straightforward installation with pre-drilled holes and included mounting hardware.
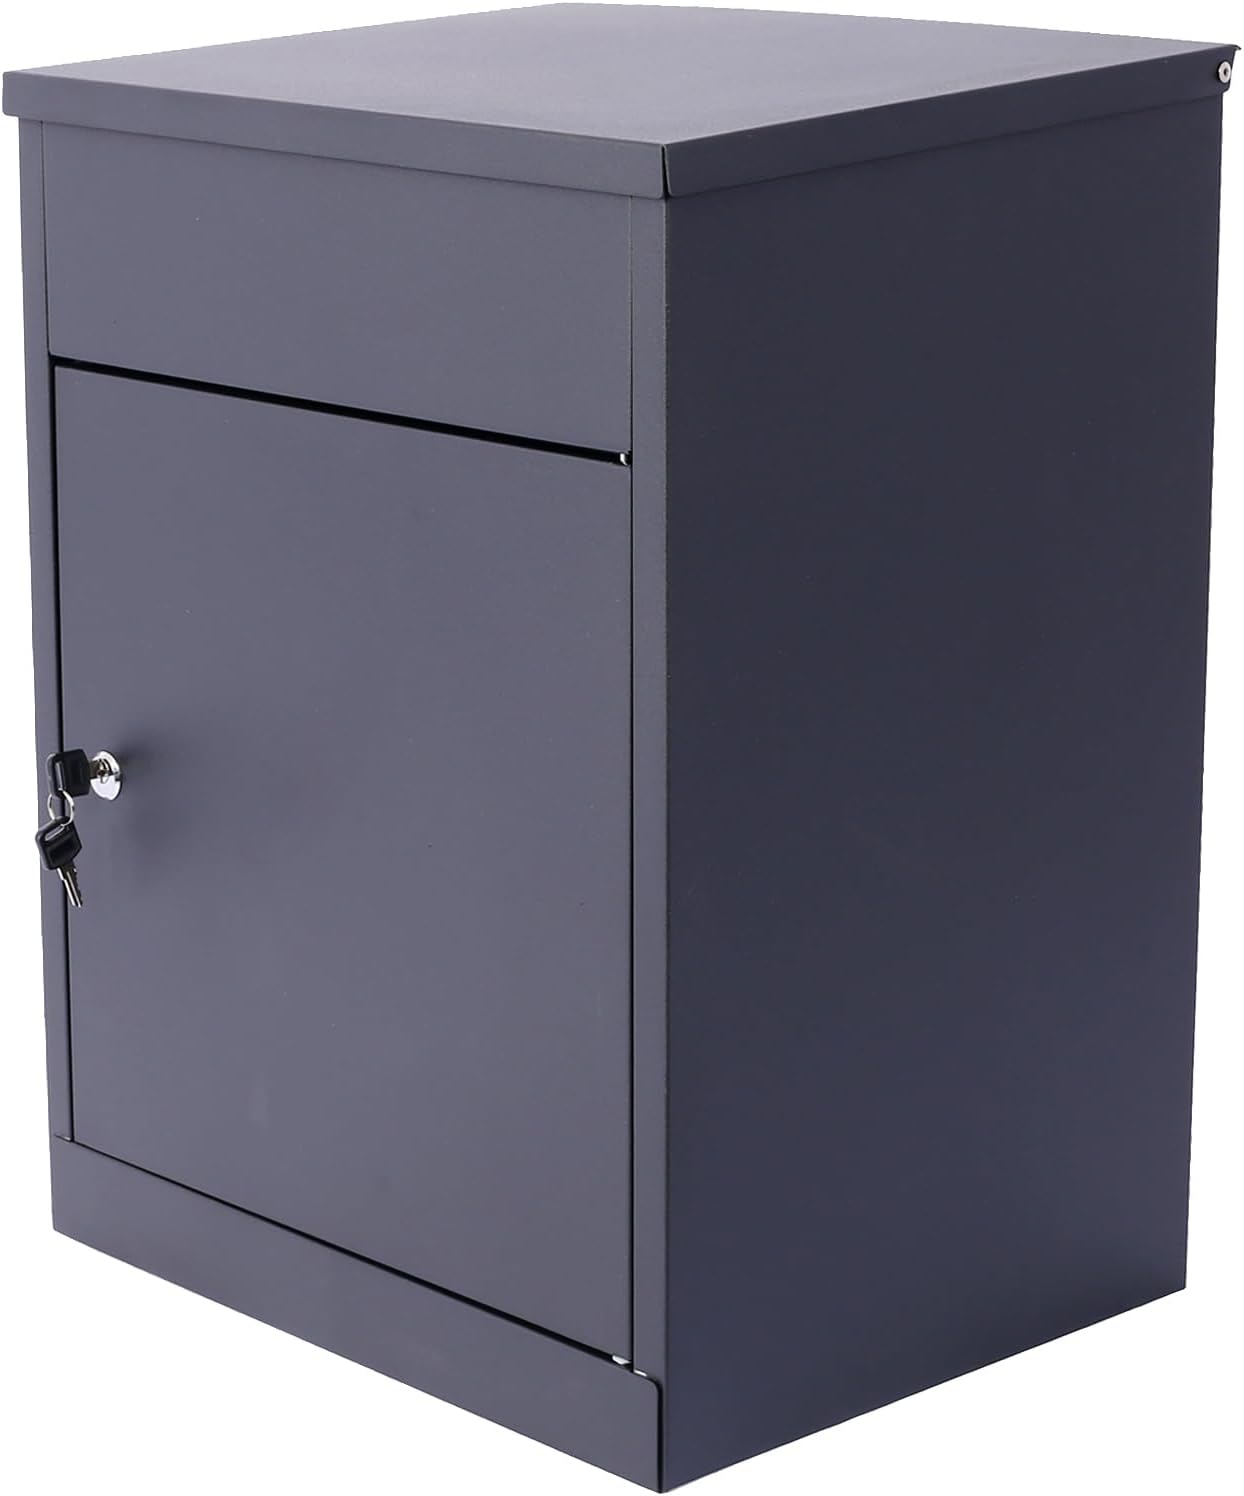
Figure 1: Side view of the mailbox, showing the lockable access door and keys.
2. Safety Information
Please read all safety instructions before installation and use. Failure to follow these instructions may result in injury or damage to the product.
- Always wear appropriate safety gear, such as gloves and eye protection, during installation.
- Ensure the mounting surface is structurally sound and can support the weight of the mailbox and its contents.
- Keep children and pets away from the installation area.
- Do not attempt to modify the mailbox in any way, as this may compromise its security and durability.
- Periodically check all mounting hardware to ensure it remains secure.
3. Package Contents
Verify that all components are present before beginning installation. If any parts are missing or damaged, contact customer support.
- Extra Large Black Galvanized Steel Parcel Mailbox (1)
- Keys for lock (2)
- Mounting Hardware (screws, anchors)
4. Setup and Installation
The mailbox is designed for wall-mounted installation. Ensure you have the necessary tools before starting.
Tools Required:
- Drill
- Drill bits appropriate for mounting surface and anchors
- Pencil or marker
- Level
- Measuring tape
- Screwdriver
Installation Steps:
- Choose Location: Select a suitable wall location that is easily accessible for deliveries and retrieval, and where the mailbox will be protected from extreme weather if possible. Ensure there are no electrical wires or plumbing pipes behind the drilling area.
- Mark Drilling Points: Hold the mailbox against the desired mounting surface. Use a pencil or marker to mark the positions of the pre-drilled mounting holes on the back of the mailbox onto the wall. Use a level to ensure the marks are aligned horizontally.
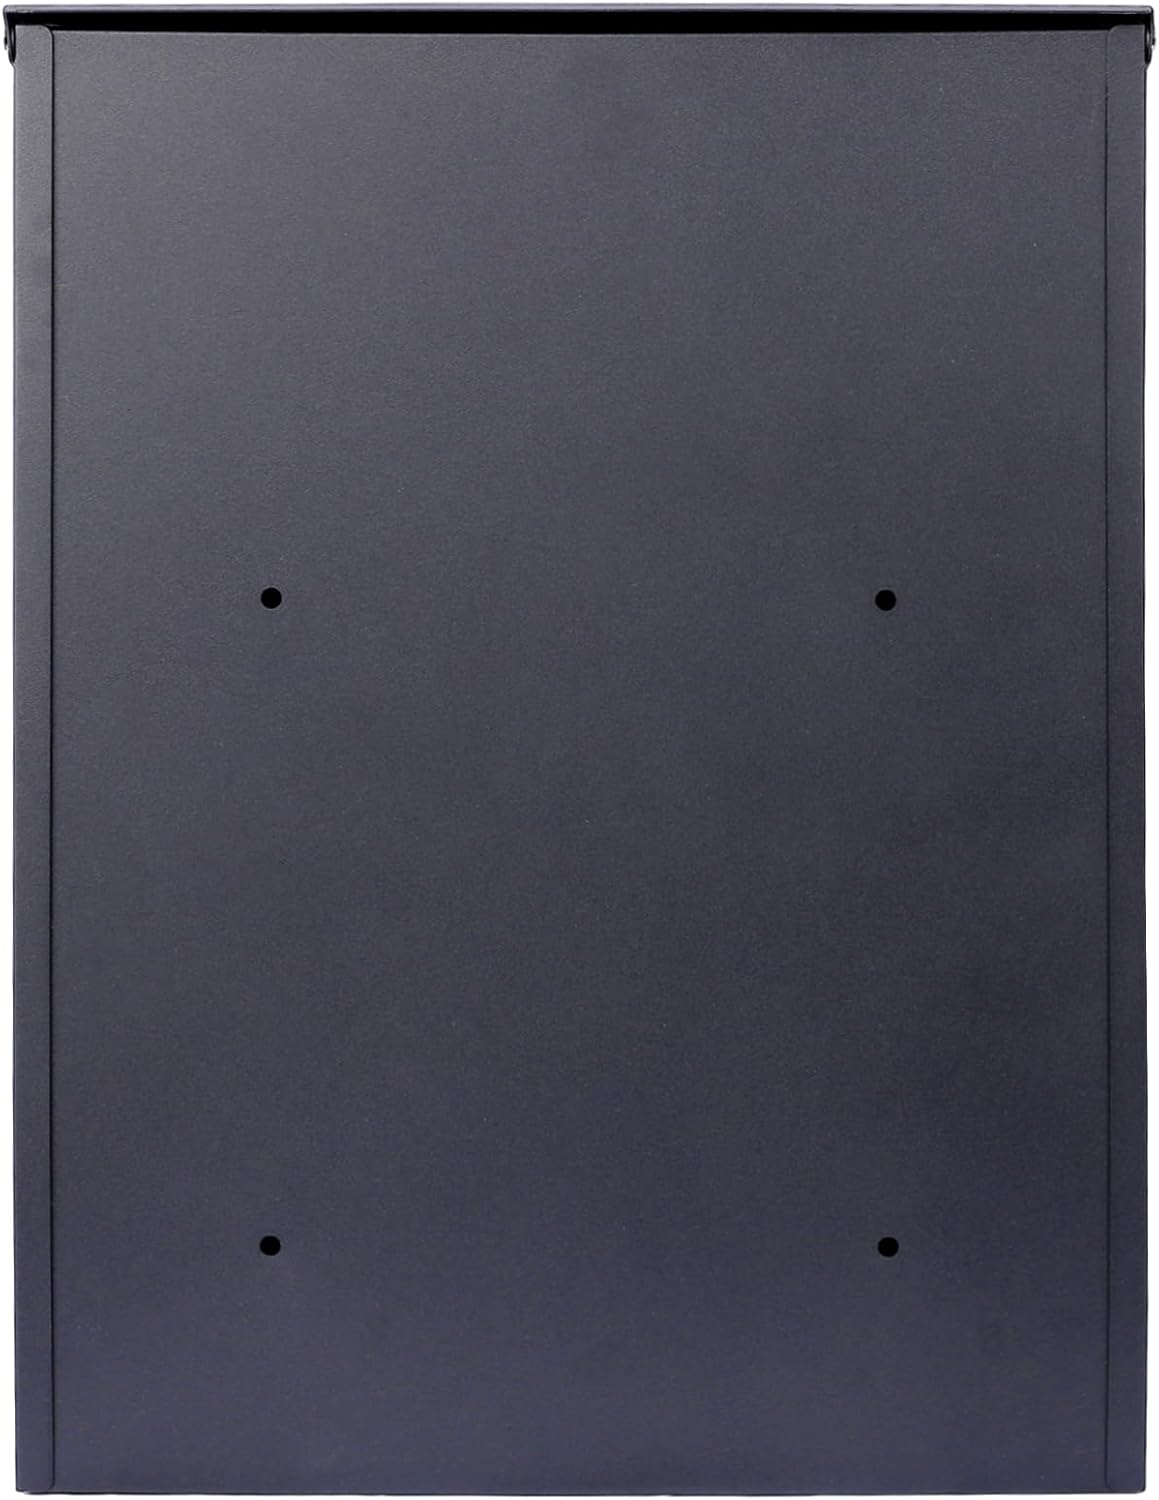
Figure 2: Rear view of the mailbox indicating mounting points.
- Drill Pilot Holes: Using the appropriate drill bit for your mounting surface (e.g., masonry bit for brick, wood bit for studs), drill pilot holes at the marked locations. If installing into drywall, insert the provided wall anchors into the pilot holes.
- Mount Mailbox: Align the mailbox's mounting holes with the drilled holes (or anchors) on the wall. Insert the provided screws through the mailbox and into the wall/anchors. Tighten the screws securely with a screwdriver, ensuring the mailbox is firmly attached to the wall. Do not overtighten.
- Test Security: Once mounted, gently pull on the mailbox to ensure it is stable and securely fastened.
5. Operating Instructions
Receiving Deliveries:
- The top lid of the mailbox is designed for package insertion. Lift the top lid to reveal the drop slot.
- Place the package or mail item into the slot. The internal mechanism will guide the item into the secure storage compartment below.
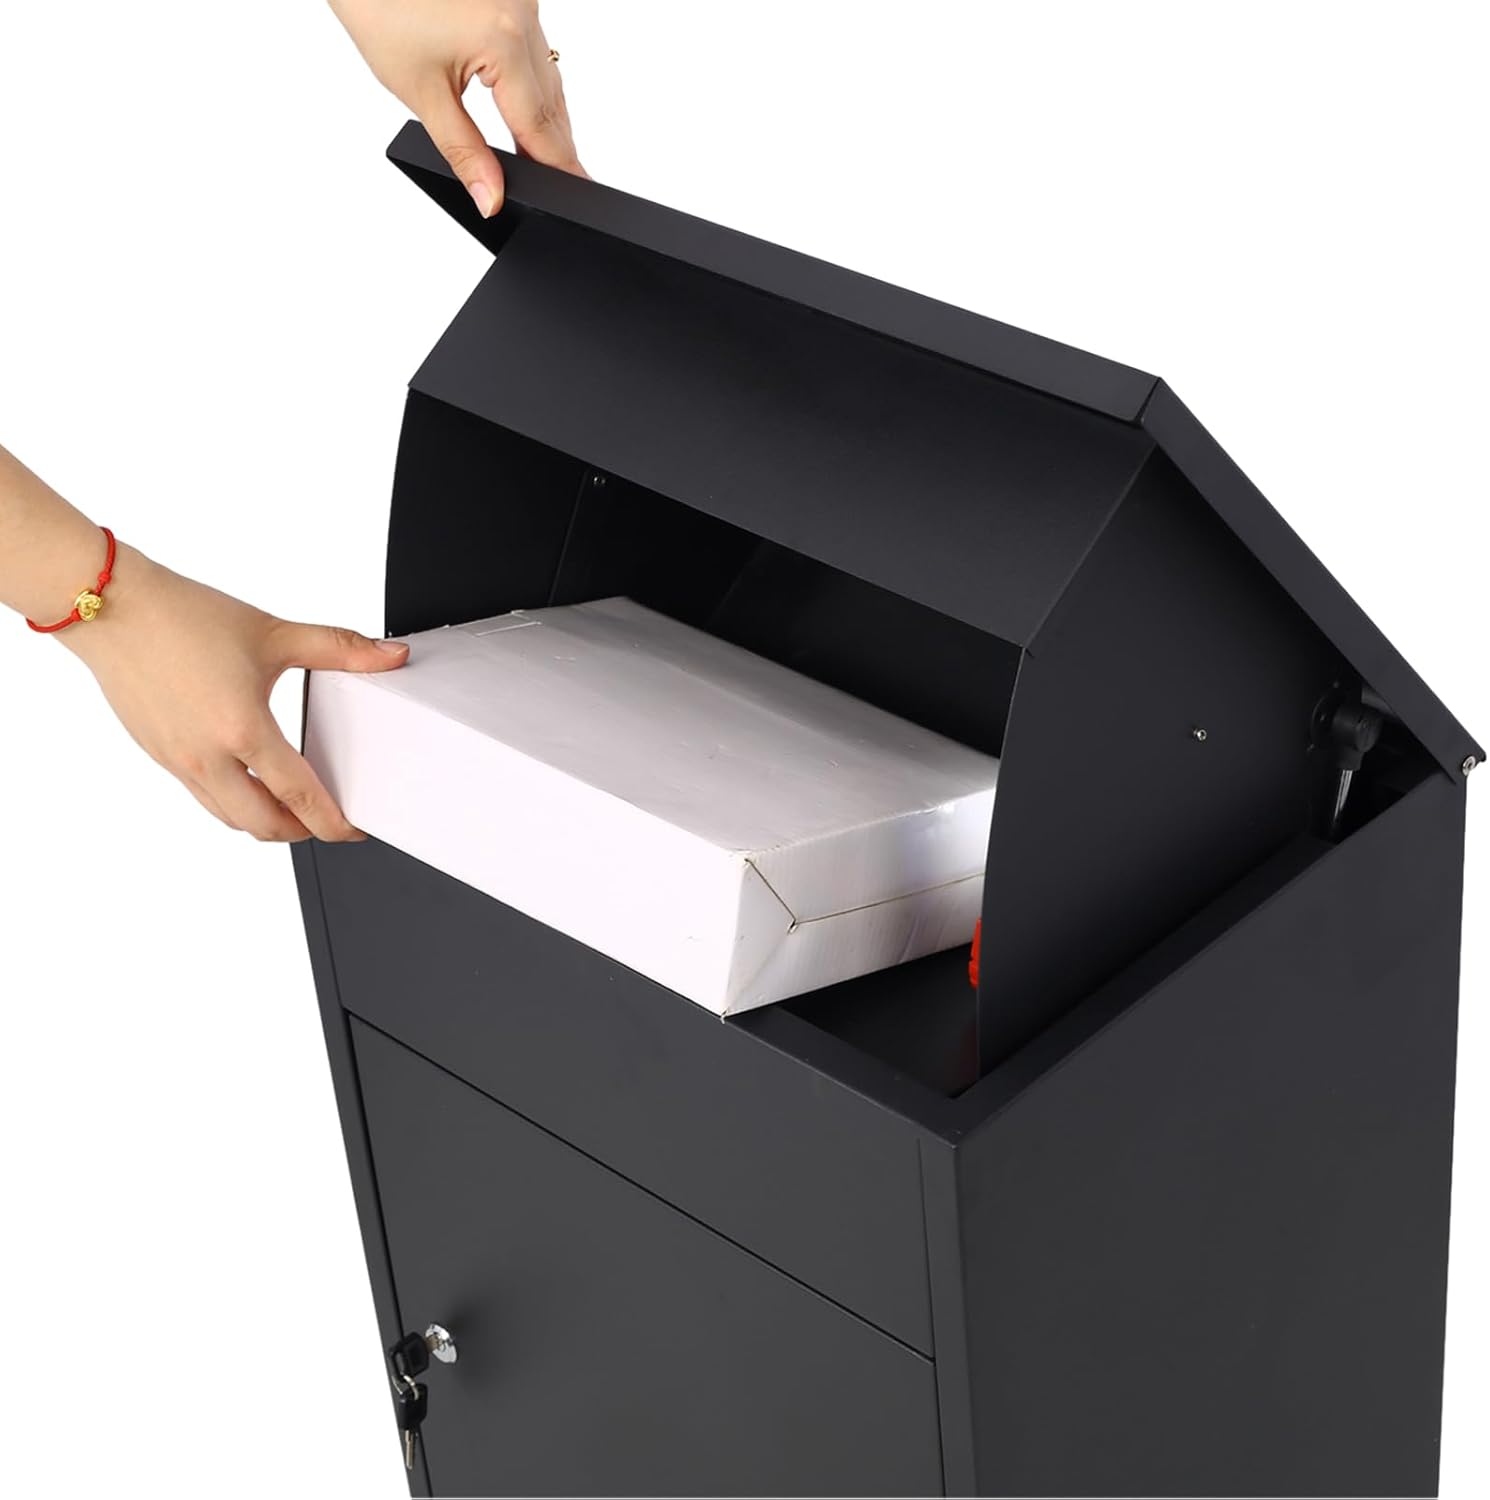
Figure 3: Inserting a package into the mailbox.
- Close the top lid securely after placing the item. The item is now safely stored and inaccessible without the key.

Figure 4: Mailbox with the top lid open, ready for package insertion.
Retrieving Deliveries:
- Locate the lock on the front access door of the mailbox.
- Insert one of the provided keys into the lock and turn it to unlock the door.
- Open the front access door to retrieve your packages and mail from the storage compartment.

Figure 5: Interior of the mailbox with the access door open.
- After retrieving your items, close the front access door and turn the key to lock it securely. Remove the key.
6. Maintenance
- Cleaning: Wipe the exterior of the mailbox with a soft, damp cloth and mild soap as needed. Avoid abrasive cleaners or solvents that could damage the finish.
- Lubrication: Periodically apply a small amount of graphite lubricant to the lock mechanism to ensure smooth operation.
- Inspection: Regularly inspect the mailbox for any signs of wear, damage, or loose mounting hardware. Tighten screws as necessary. Check the hinges and the drop mechanism for smooth movement.

Figure 6: Close-up of the lid hinge for maintenance inspection.
7. Troubleshooting
| Problem | Possible Cause | Solution |
|---|---|---|
| Key does not turn in lock. | Lock mechanism is stiff or obstructed. | Apply graphite lubricant to the keyhole and gently try turning the key. Ensure the correct key is being used. |
| Package gets stuck in drop slot. | Package is too large for the slot. | Ensure packages fit within the dimensions of the drop slot. Do not force oversized items. |
| Mailbox feels loose after installation. | Mounting screws are not fully tightened or anchors are not secure. | Re-tighten all mounting screws. If necessary, remove the mailbox, inspect anchors, and re-install with new anchors if old ones are damaged. Ensure the mounting surface is appropriate. |
8. Specifications
| Feature | Detail |
|---|---|
| Product Dimensions | 17.3 x 14.2 x 22.8 inches (L x W x H) |
| Item Weight | 25 pounds |
| Material | Alloy Steel (Galvanized) |
| Color | Black |
| Manufacturer | Generic |
| ASIN | B0DRNF923H |
9. Warranty and Support
This product comes with a standard manufacturer's warranty against defects in materials and workmanship. For specific warranty details, please refer to the documentation included with your purchase or contact the retailer.
For technical support, missing parts, or warranty claims, please contact the seller or manufacturer directly. Keep your purchase receipt as proof of purchase.