1. Introduction
Thank you for choosing the EAFC 12V 8A Car Battery Charger. This manual provides essential information for the safe and efficient operation, maintenance, and troubleshooting of your battery charger. Please read this manual thoroughly before using the device and retain it for future reference.
Important Safety Information
- Always wear eye protection and protective clothing when working with batteries.
- Ensure adequate ventilation during charging to prevent the accumulation of explosive gases.
- Never charge a frozen battery.
- Keep the charger away from flammable materials.
- Disconnect the AC power before making or breaking connections to the battery.
- This charger is designed for 12V lead-acid (Calcium, Gel, AGM, Wet, EFB) and LiFePO4 batteries only. Do not use it for other battery types.
2. Product Overview
The EAFC 12V 8A Car Battery Charger is a microprocessor-controlled, automatic switch-mode charger designed for various 12V battery types. It features an LCD display for clear status indication and multiple protection mechanisms to ensure safe and efficient charging.

Figure 2.1: Front view of the EAFC 12V 8A Car Battery Charger, showing the LCD screen, control button, and connected alligator clips.
Key Features:
- Microprocessor controlled for optimal charging.
- Automatic switch mode operation.
- LCD display for real-time charging status.
- Pulse repair charge function to restore battery performance.
- Comprehensive safeguards: overheat, overcharge, short circuit, and reverse polarity protection.
- Automatic temperature compensation (Summer/Winter mode).
- Maximizes battery life.

Figure 2.2: Dimensions of the EAFC 12V 8A Car Battery Charger, measuring approximately 14.6cm (5.74 inches) in length and 8.1cm (3.18 inches) in width.
3. Setup and Connection
- Prepare the Battery: Ensure the battery terminals are clean and free of corrosion. If the battery is a wet-cell type, check the electrolyte levels and top up with distilled water if necessary (refer to your battery manufacturer's instructions).
- Connect to Battery:
- Connect the red (+) positive clamp to the positive (+) battery terminal.
- Connect the black (-) negative clamp to the negative (-) battery terminal.
- For vehicles, if connecting to the chassis, connect the black (-) clamp to a heavy gauge metal part of the chassis away from the battery and fuel line.
- Connect to Power: Plug the charger's AC power cord into a standard 120V AC wall outlet. The charger will power on, and the LCD display will illuminate.
- Initial Check: The charger will automatically detect the battery voltage and type. Ensure the connections are secure and the display shows appropriate information. The minimum start voltage for charging is 0.3V.
This charger is compatible with most types of 12V lead-acid batteries (Calcium, Gel, AGM, Wet, EFB) and LiFePO4 batteries, with a battery range of 2-150Ah.
4. Operating Instructions
4.1 Automatic Charging Process
Once connected to the battery and power, the charger will automatically begin the charging process. It will detect the battery type and condition, then apply the appropriate charging current and voltage. The LCD display will show the charging status, voltage, current, and battery percentage.
4.2 Mode Selection

Figure 4.1: The 'MODE' button on the charger, used for selecting different charging programs.
Press the "MODE" button to cycle through available charging programs. The charger supports modes for various battery types and conditions, including:
- Car/Truck Mode: Standard charging for automotive batteries.
- AGM/GEL/LiFePO4 Mode: Specific charging profiles for AGM, Gel, and Lithium Iron Phosphate batteries.
- Motorcycle/Trickle Mode: Lower current charging suitable for smaller batteries or for maintaining charge over long periods.
- Pulse Repair Mode: Designed to desulfate and recondition old or deeply discharged batteries.

Figure 4.2: The charger is compatible with a wide range of 12V vehicles and battery types, including cars, trucks, motorcycles, and various battery chemistries.
4.3 Automatic Temperature Compensation

Figure 4.3: The charger automatically adjusts charging parameters based on ambient temperature, switching between winter and summer modes.
The charger features an intelligent temperature sensor that automatically adjusts the charging voltage based on the ambient temperature. This ensures optimal charging performance and prevents overcharging or undercharging in extreme conditions:
- Below 0°C (32°F): The charger will automatically enter Winter Mode.
- Above 10°C (50°F): The charger will automatically enter Summer Mode.
4.4 Pulse Repair Charge
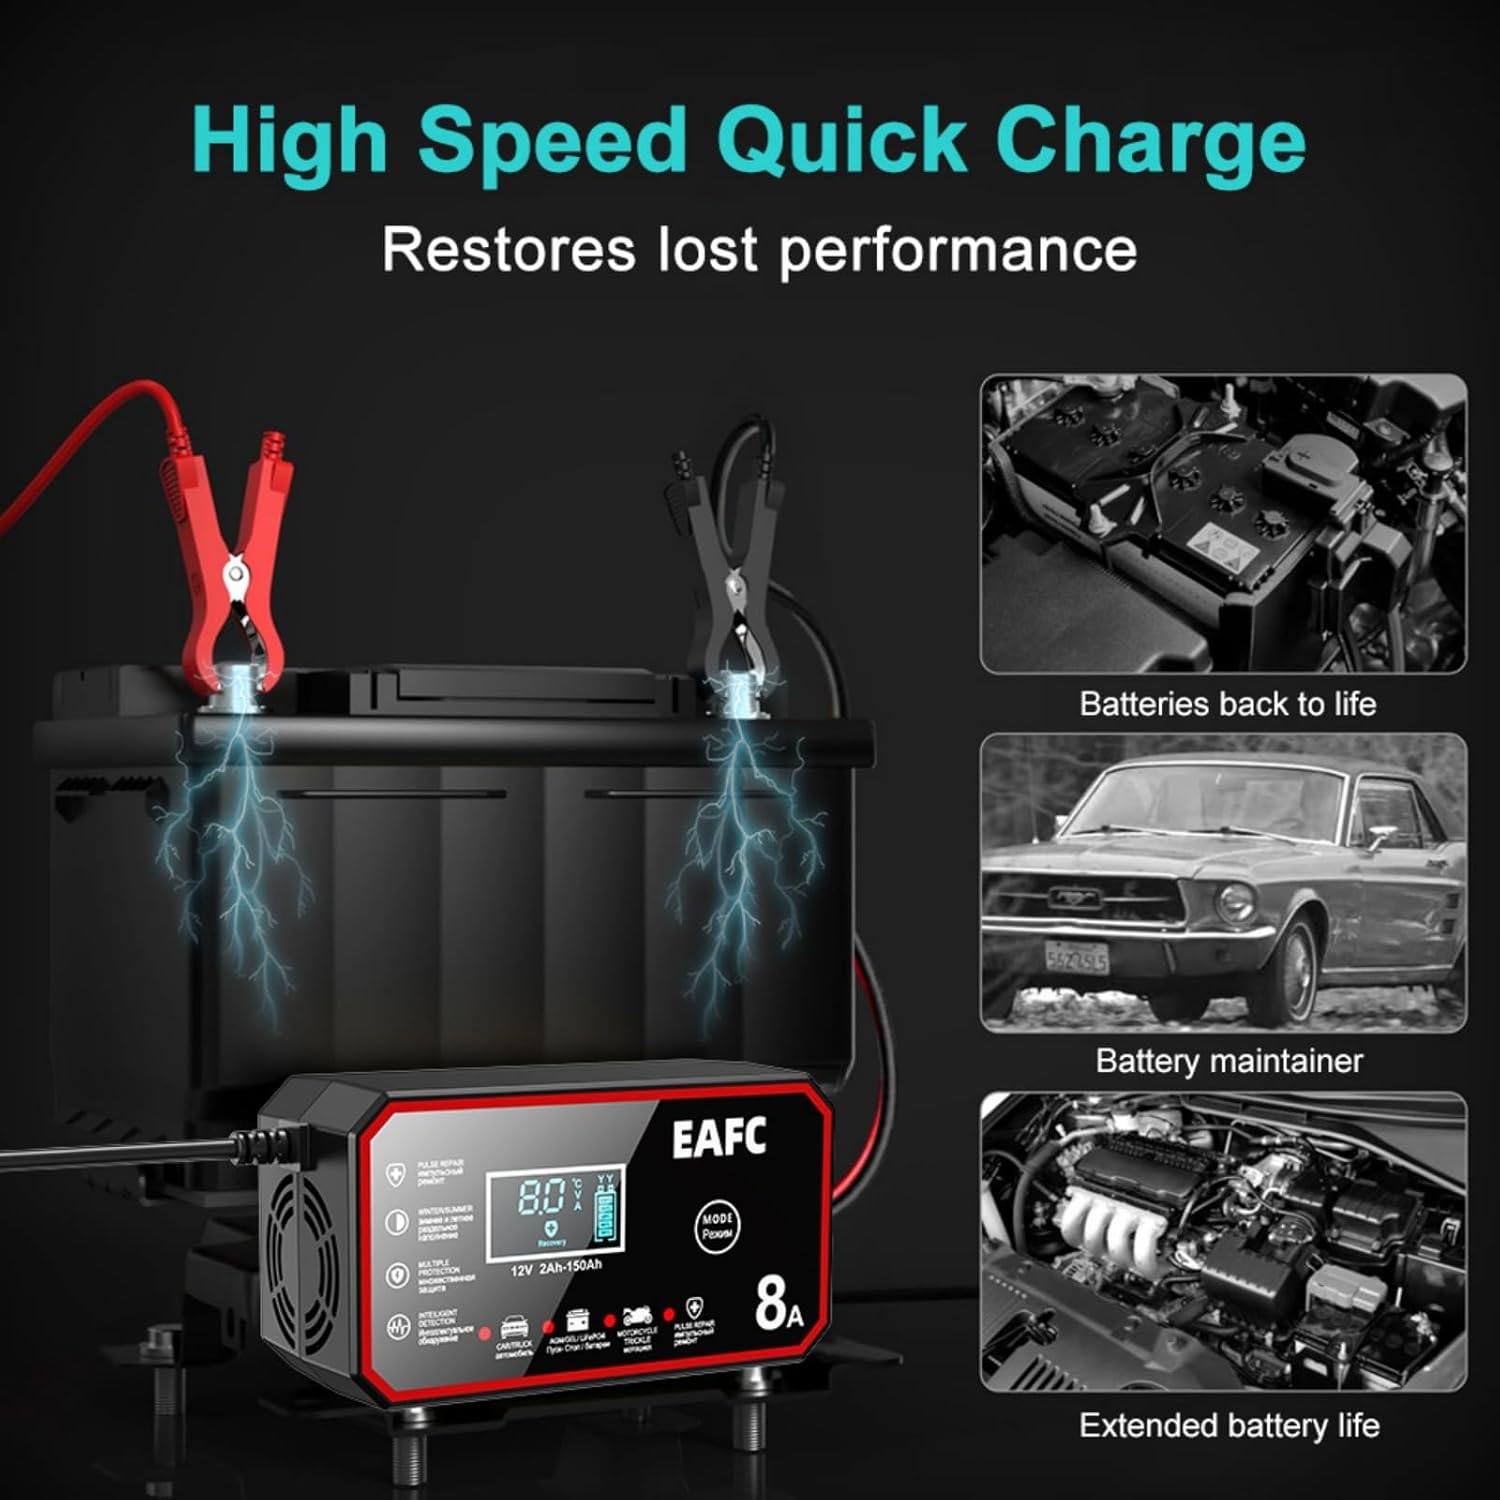
Figure 4.4: The pulse repair function can help restore lost battery performance and extend battery life.
The pulse repair function uses high-frequency and low-frequency pulse technology to desulfate and recondition batteries, potentially restoring lost performance and extending battery life. This mode is particularly useful for older, neglected, or deeply discharged batteries. Select this mode using the "MODE" button when needed.
4.5 Disconnecting the Charger
- Unplug the AC power cord from the wall outlet.
- Remove the negative (-) black clamp from the battery terminal or chassis.
- Remove the positive (+) red clamp from the battery terminal.
5. Maintenance
- Cleaning: Disconnect the charger from all power sources before cleaning. Wipe the exterior with a soft, damp cloth. Do not use harsh chemicals or abrasive cleaners.
- Storage: Store the charger in a cool, dry place when not in use. Ensure the cables are neatly coiled and not kinked.
- Inspection: Periodically inspect the charger, cables, and clamps for any signs of damage, wear, or corrosion. Do not use the charger if any damage is observed.
6. Troubleshooting
| Problem | Possible Cause | Solution |
|---|---|---|
| Charger does not turn on. | No AC power; faulty outlet; damaged power cord. | Check AC power connection and outlet. Inspect power cord for damage. |
| Charger not charging battery. | Incorrect battery connection; battery voltage too low (below 0.3V); battery is severely damaged. | Ensure correct polarity and secure connections. This charger requires a minimum of 0.3V to initiate charging. If the battery is below this, it may be too damaged to charge. |
| "Error" or specific code on LCD. | Reverse polarity; short circuit; overheat protection activated. | Disconnect immediately. Check connections for reverse polarity. Inspect cables for shorts. Allow charger to cool down if overheated. |
| Charger gets warm during operation. | Normal operation; poor ventilation. | Some warmth is normal. Ensure adequate ventilation around the charger. If it becomes excessively hot, disconnect and allow to cool. |
7. Specifications
| Feature | Detail |
|---|---|
| Model | 12V 8A Car Battery Charger |
| Input Voltage | 12 Volts AC (Standard Wall Outlet) |
| Output Voltage | 12 Volts DC |
| Charging Current | 8A |
| Battery Type Compatibility | Most types of 12V lead-acid batteries (Calcium, Gel, AGM, Wet, EFB) and LiFePO4 batteries. |
| Battery Range | 2-150Ah |
| Minimum Start Voltage | 0.3V |
| Cooling | Fan |
| Product Dimensions | 5.9 x 2.36 x 3.54 inches (14.99 x 5.99 x 8.99 cm) |
| Item Weight | 1.2 pounds (0.54 kg) |
| Manufacturer | EAFCAuto |
8. Warranty and Support
For warranty information, technical support, or service inquiries, please contact the seller or manufacturer directly. Retain your proof of purchase for any warranty claims.