Product Overview
This manual provides detailed instructions for the assembly, operation, and maintenance of your JOINICE 66" Fluted Mid-Century Modern TV Stand. Please read all instructions carefully before beginning assembly and retain this manual for future reference.

Image: The JOINICE 66" Fluted Mid-Century Modern TV Stand, showcasing its design and integration into a living room environment.
Specifications
- Brand: JOINICE
- Model: B0DRHZM5V3
- Color: Walnut
- Style: Mid-Century Modern
- Item Weight: Approximately 90 Pounds
- Suitable TV Size: Up to 75 inches
- Top Weight Capacity: 110 lbs
- Lower Platen Weight Capacity: 22 lbs

Image: Detailed dimensions of the TV stand, including overall length (66.1 in), height (20.5 in), depth (15.7 in), and drawer dimensions (17.1 in wide, 11.8 in deep, 4.6 in high). Weight capacities for the top (110 lbs) and lower platen (22 lbs) are also indicated.
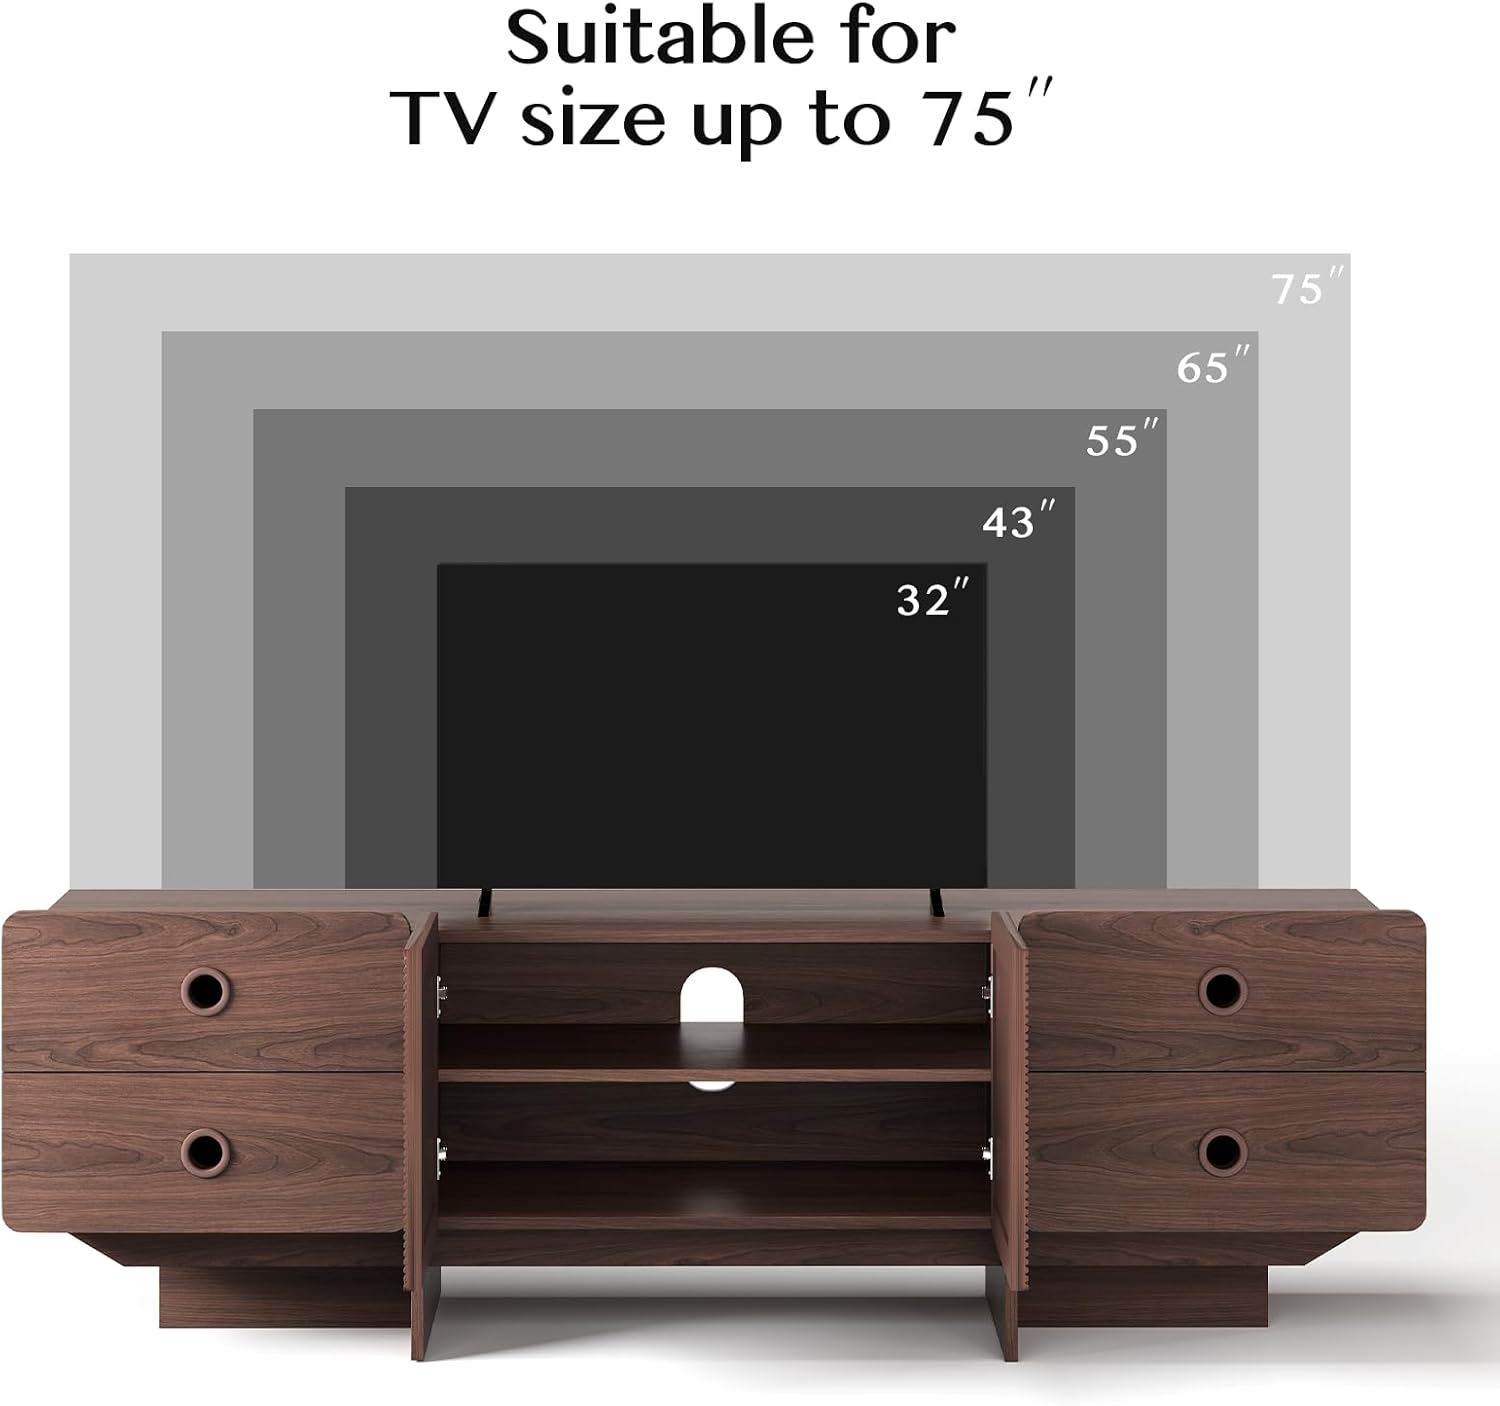
Image: Visual representation indicating the TV stand is suitable for TV sizes up to 75 inches, with examples of 32", 43", 55", 65", and 75" TVs.
Assembly Instructions
Please follow the steps below carefully. It is recommended to have a Phillips head screwdriver for assembly. Ensure all parts are present before you begin.
Video: Detailed assembly guide for the JOINICE TV Stand, demonstrating each step of the construction process.
- Step 1: Prepare Drawer Panels
Attach Cam Bolts (A) to panels No. 14, 15, 21, and 22. Assemble panels 17, 18, and 19 using Screws (D) to form the drawer sides. Repeat for all four drawers. - Step 2: Assemble Drawer Boxes
Connect the assembled drawer sides (from Step 1) to panels No. 14, 15, 21, and 22 using Cam Locks (B) to form the complete drawer boxes. - Step 3: Attach Drawer Slides to Drawer Boxes (Left Side)
Attach the left drawer slide kits (DL) to panels No. 14 and 21 using Screws (J). Ensure the slides are oriented correctly. - Step 4: Attach Drawer Slides to Drawer Boxes (Right Side)
Attach the right drawer slide kits (DR) to panels No. 15 and 22 using Screws (J). Ensure the slides are oriented correctly. - Step 5: Attach Drawer Slides to Cabinet Sides
Attach the remaining drawer slide kits (CL/CR) to the inner sides of panels No. 2, 3, 5, and 6 using Screws (J). - Step 6: Prepare Top and Bottom Panels
Attach Cam Bolts (A) to the top panel (No. 1) and bottom panel (No. 8). - Step 7: Assemble Main Cabinet Structure
Insert Wood Dowels (C) into panel No. 8. Connect panels No. 2, 3, 5, and 6 to panel No. 8 using Wood Dowels (C) and Screws (D). - Step 8: Install Back Support Panels
Insert Wood Dowels (C) into panel No. 8. Attach panel No. 10 to panel No. 8 using Cam Locks (B). Attach panel No. 9 to the main structure using Wood Dowels (C) and Screws (D). - Step 9: Assemble Center Shelf Unit
Insert Wood Dowels (C) into panel No. 12. Attach panel No. 13 to panel No. 12 using Screws (D). Attach Pads (E) to the bottom of panel No. 12. Attach hinges (K) to panels No. 20 using Screws (M). - Step 10: Integrate Center Shelf Unit
Insert Wood Dowels (C) into the main structure. Connect the assembled center shelf unit (from Step 9) to the main structure using Cam Locks (B). - Step 11: Secure Main Structure
Secure the main structure by inserting Screws (D) into the designated holes on panels No. 8, 10, 11, 12, and 13. - Step 12: Attach Back Panels
Slide back panels No. 7 (x2) and 23 into their respective grooves on the main cabinet structure. - Step 13: Attach Top Panel
Insert Wood Dowels (C) into the top edges of panels No. 2, 3, 5, and 6. Carefully place the top panel (No. 1) onto the assembled structure and secure it using Cam Locks (B). - Step 14: Secure Back Panels with Wedges
Insert wedges (O) into the back of the cabinet, aligning them with the back panels. Secure the wedges using Screws (L). - Step 15: Install Adjustable Shelf
Insert Shelf Supports (N) into the desired holes within the central compartment. Place panel No. 4 onto the shelf supports. - Step 16: Attach Cabinet Doors
Attach the cabinet doors (No. 20) to the central compartment using the pre-attached hinges and Screws (M). Initially, tighten screws to approximately 50% tightness. - Step 17: Cabinet Door Adjustment
Adjust the cabinet doors for proper alignment. If the gap between the doors or with the partition panel is too wide or too narrow, turn the indicated screw on the hinge to adjust the horizontal position. To move the door forward or backward, adjust the screw as shown in the video. Once satisfied with the alignment, tighten all hinge screws completely. - Step 18: Insert Drawers
Carefully slide the assembled drawers into their respective compartments.
Operating Instructions
Storage and Organization
- Drawers: The TV stand features four spacious drawers with smooth slide rails for easy access. Use these for storing DVDs, remote controls, gaming accessories, and other items to keep your living space tidy.
- Adjustable Shelves: The central compartment includes an adjustable shelf (Panel No. 4). You can reposition this shelf to accommodate various media devices or decorative items. Simply remove the shelf supports (N), adjust their position to the desired height, and reinsert the shelf.
- Cable Management: The back panel includes a cutout for cable management, allowing you to route power cords and AV cables neatly, reducing clutter and improving safety.

Image: Close-up view highlighting the large capacity drawers, adjustable shelves, and the ventilation/cable management cutout in the back panel.
Maintenance
To ensure the longevity and appearance of your TV stand, follow these maintenance guidelines:
- Cleaning: Wipe surfaces with a soft, dry cloth. For stubborn marks, use a slightly damp cloth with a mild wood cleaner, then dry immediately.
- Avoid Harsh Chemicals: Do not use abrasive cleaners, solvents, or polishes containing silicone, as these can damage the finish.
- Protect from Heat and Moisture: Avoid placing hot items directly on the surface. Use coasters or protective pads. Protect from excessive moisture and direct sunlight to prevent warping or fading.
- Regular Checks: Periodically check and tighten all screws and fasteners to ensure stability.
Troubleshooting
Common Issues and Solutions
- Wobbly Stand: Ensure all cam locks and screws are fully tightened. Check that the stand is on a level surface.
- Drawers Not Sliding Smoothly: Verify that the drawer slides are correctly installed and aligned. Apply a silicone-based lubricant to the slides if necessary.
- Cabinet Doors Misaligned: Refer to Step 17 in the Assembly Instructions for detailed guidance on adjusting the hinges to correct gaps or alignment issues.
- Missing Parts: If any parts are missing or damaged, please contact customer support immediately.
Warranty and Support
JOINICE is committed to the quality of its products. If you encounter any quality problems or require assistance, please contact our customer service team. We are dedicated to providing support and ensuring your satisfaction.
For further assistance, please visit the JOINICE Store on Amazon or refer to your purchase documentation for specific contact details.