1. Introduction
This manual provides detailed instructions for the setup, operation, and maintenance of your Avisontek 893MAX Universal Garage Door Opener Remote. Please read these instructions carefully before use to ensure proper functionality and safety.
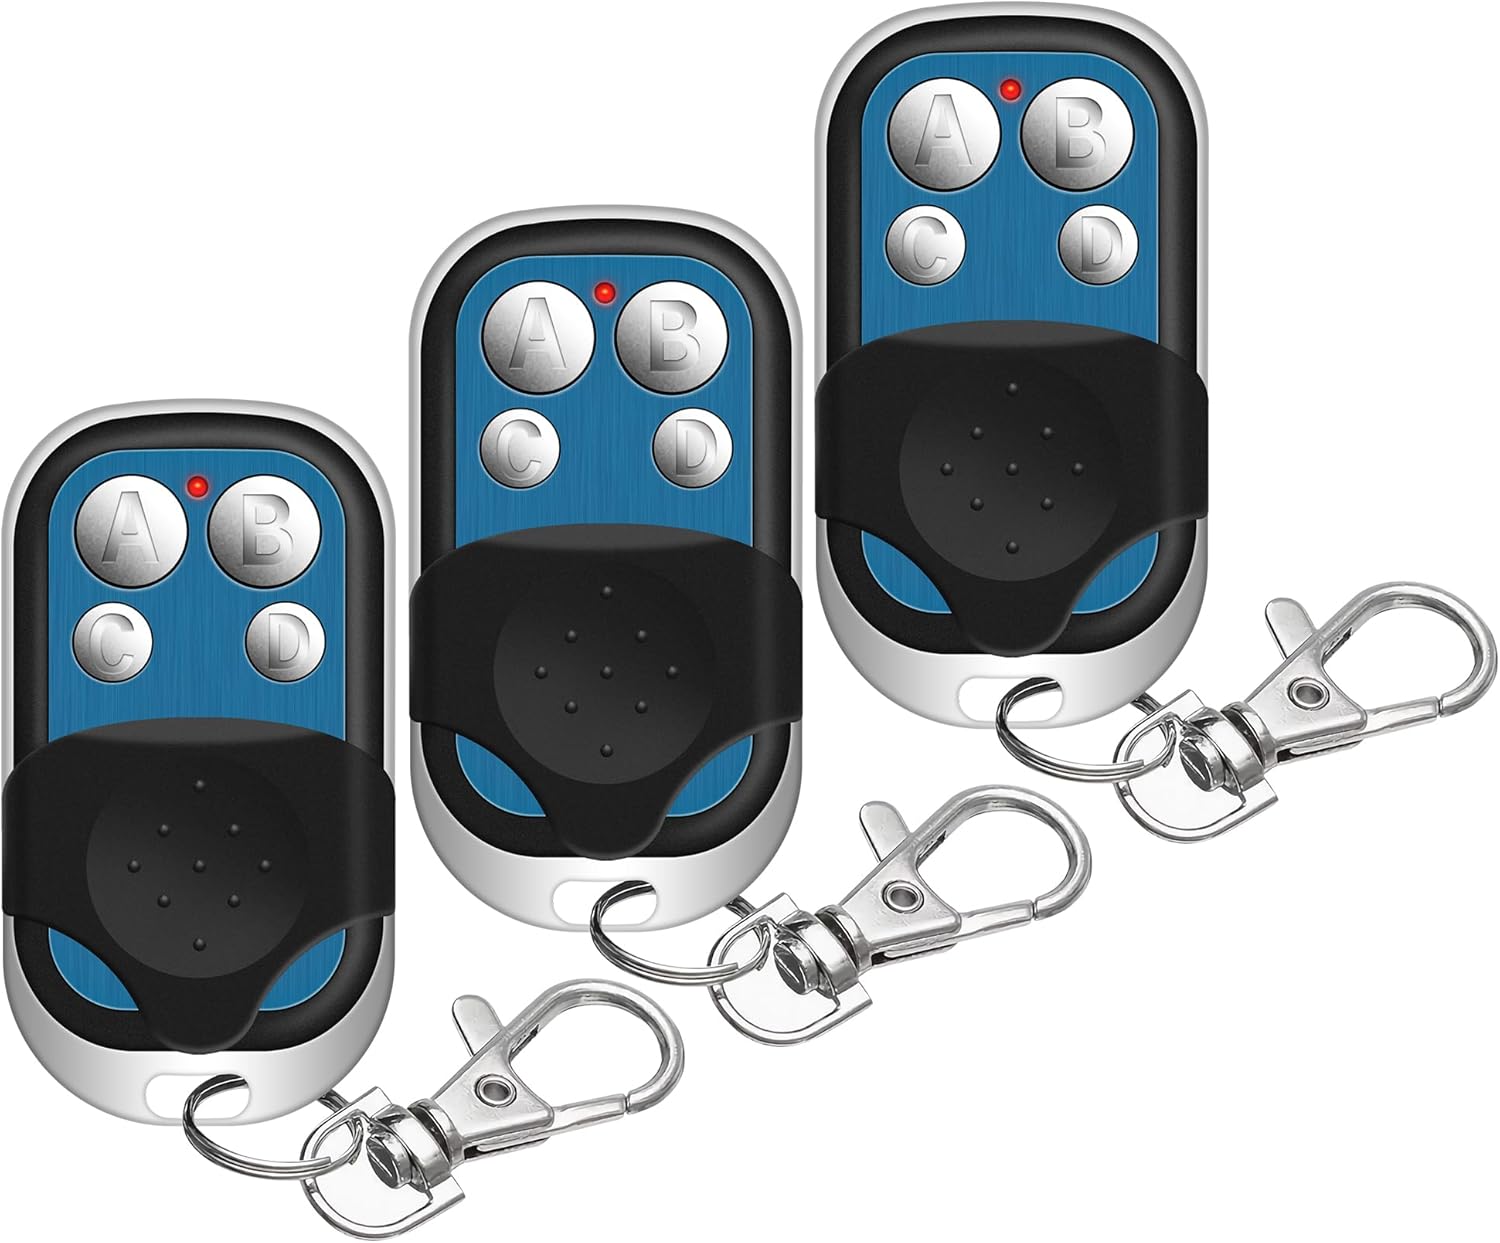
Image: Three Avisontek 893MAX universal garage door opener remotes, each with four blue buttons (A, B, C, D) and a black protective slide cover, attached to a metal keychain clip.
2. Compatibility
The Avisontek 893MAX remote is designed for wide compatibility with various garage door opener systems.
- Compatible with 1993-Current LiftMaster, Chamberlain, and Sears Craftsman Garage Door Openers.
- Supports openers with Purple, Red, Orange, Yellow, or Green Learn buttons.
- Replaces models such as 371LM, 373LM, 971LM, 973LM, 81LM, 83LM, 891LM, 893LM.
- Operates on universal frequencies: 310/315/390MHz.
Important: This remote does NOT support Dip Switch Openers or Craftsman Series 100.

Image: A graphic illustrating compatibility with LiftMaster, Chamberlain, and Sears Craftsman brands, and various learn button colors (Yellow, Purple, Orange, Red, Green) from 1993 to present. It also explicitly states incompatibility with Dip Switch Openers and Craftsman Series 100.
3. Setup and Programming Instructions
Follow these steps to program your Avisontek 893MAX remote to your garage door opener.
- Identify Learn Button Color: Locate the learn button on your garage door opener motor unit. This button is usually found on the back or side of the motor. Note its color (Yellow, Purple, Orange, Red, or Green).

Image: Illustration showing the location of a garage door opener's learn button.
- Initiate Programming on Remote: Press and hold buttons C and D on your Avisontek remote simultaneously until the LED indicator on the remote stays on. This indicates the remote is ready for programming.
Image: Illustration showing buttons C and D being pressed on the remote.
- Choose Code Type: Press the desired button (A, B, C, or D) on your remote a specific number of times according to the color of your opener's learn button. Refer to the table below:
Learn Button Color Number of Presses Yellow 1 Purple 2 Orange / Red 3 Green 4 Image: Illustration showing the remote and the learn button color chart.
- Confirm Remote Setting: After pressing the button the required number of times, press any button on the remote (except the one chosen in step 3) to confirm. The LED on the remote will turn off.
- Garage Door Opener Learning: Press and release the learn button on the back of your garage door opener motor. The learn LED on the opener will glow steadily. Within 30 seconds, press and hold the remote button you chose in step 3 until the opener lights flash or you hear two clicks. This indicates successful programming.
Image: Illustration showing a hand pressing the learn button on the opener and another hand pressing the remote button.
Your remote is now programmed. Test its functionality by pressing the programmed button.

Image: A technician pointing to a garage door opener motor unit, with an inset showing a hand pressing the learn button and the remote, illustrating the ease of setup.
4. Operating Instructions
Once programmed, operating your Avisontek 893MAX remote is straightforward:
- Press the programmed button (A, B, C, or D) on the remote to open or close your garage door.
- The remote features three dedicated buttons, allowing independent control of up to three different garage doors.
- The remote has an effective operating range of up to 164 feet.

Image: A person inside a car using the remote to open a garage door from a distance, illustrating the 164-foot effective range.
5. Features and Design
5.1. Secure Rolling Code Technology
The remote utilizes Rolling Code technology, generating a new 128-bit code with every use. This advanced encryption prevents signal theft and enhances the security of your property. It is FCC-certified for reliable performance.

Image: An X-ray view of the remote control, highlighting the internal industrial-grade chip and indicating "Rolling Code Encryption" for security.
5.2. Durable Construction
Constructed from ultra-light ABS alloy, the remote is designed to withstand drops from up to 10 feet and operate reliably in temperatures as low as -40°F. Its robust design ensures long-term durability.

Image: Two panels showing the remote covered in snow at -30°C and another panel showing the remote being dropped, illustrating its cold and shock resistance due to ABS alloy material.
5.3. High-Capacity Battery
The remote is powered by a 3V CR2032 lithium battery with a capacity of 240mAh, ensuring extended usage. Batteries are included with the product.

Image: An X-ray view of the remote control showing the internal battery layers, highlighting a 240 mAh lithium battery and indicating 100,000+ rigorous tests.
6. Specifications
| Feature | Detail |
|---|---|
| Model Number | 893MAX |
| Working Range | Up to 164 feet |
| Frequency | 310/315/390MHz |
| Channels | 4 (control up to 3 doors independently) |
| Battery Type | 3V CR2032 Lithium (included) |
| Shell Material | ABS Alloy |
| Product Dimensions | 2.16 x 1.18 x 0.55 inches |
| Item Weight | 2.89 ounces (approx. 40g) |
| Color | Black |
| Code Type | Rolling Code |

Image: A diagram detailing the product parameters including dimensions, working range, frequency, battery type, and material.
7. Maintenance
7.1. Battery Replacement
The remote uses a 3V CR2032 lithium battery. When the remote's LED indicator becomes dim or the range decreases significantly, it's time to replace the battery.
- Carefully open the remote casing.
- Remove the old CR2032 battery.
- Insert a new 3V CR2032 battery, ensuring correct polarity.
- Close the remote casing securely.
Dispose of old batteries responsibly according to local regulations.
8. Troubleshooting
- Remote Not Responding:
- Check the battery. Replace if necessary.
- Ensure the remote is within the 164-foot operating range of the garage door opener.
- Re-attempt the programming steps outlined in Section 3.
- Garage Door Not Opening/Closing After Programming:
- Verify the learn button color and the corresponding number of presses during programming (Section 3, Step 3).
- Ensure the garage door opener's learn LED flashed or clicked twice, indicating successful pairing.
- Confirm your garage door opener is compatible (Section 2). This remote does not work with Dip Switch Openers or Craftsman Series 100.
- Intermittent Operation:
- Low battery can cause inconsistent performance. Replace the battery.
- Ensure there are no obstructions between the remote and the garage door opener.
- External radio frequency interference can sometimes affect performance.
If issues persist, please contact customer support.
9. Warranty and Support
Avisontek provides a 3-Year Ironclad Warranty for this product. This warranty covers any defects and allows for free replacements without the need for a receipt.
For any queries or support, please contact Avisontek customer service. We offer 24-hour Amazon Online Tech Support.
You can reach us through our store homepage by clicking "Ask a question" or via our support email. We aim to respond within 24 hours.

Image: A customer service representative wearing a headset, with text indicating "24 Hours Amazon Online Tech Support" and "3-Year Warranty".