1. Introduction
This manual provides detailed instructions for the installation, operation, and maintenance of the BeesMith 1006801R Control Board. This circuit board serves as a central component for managing and coordinating various functions within compatible electric furnaces, ensuring efficient and reliable performance.
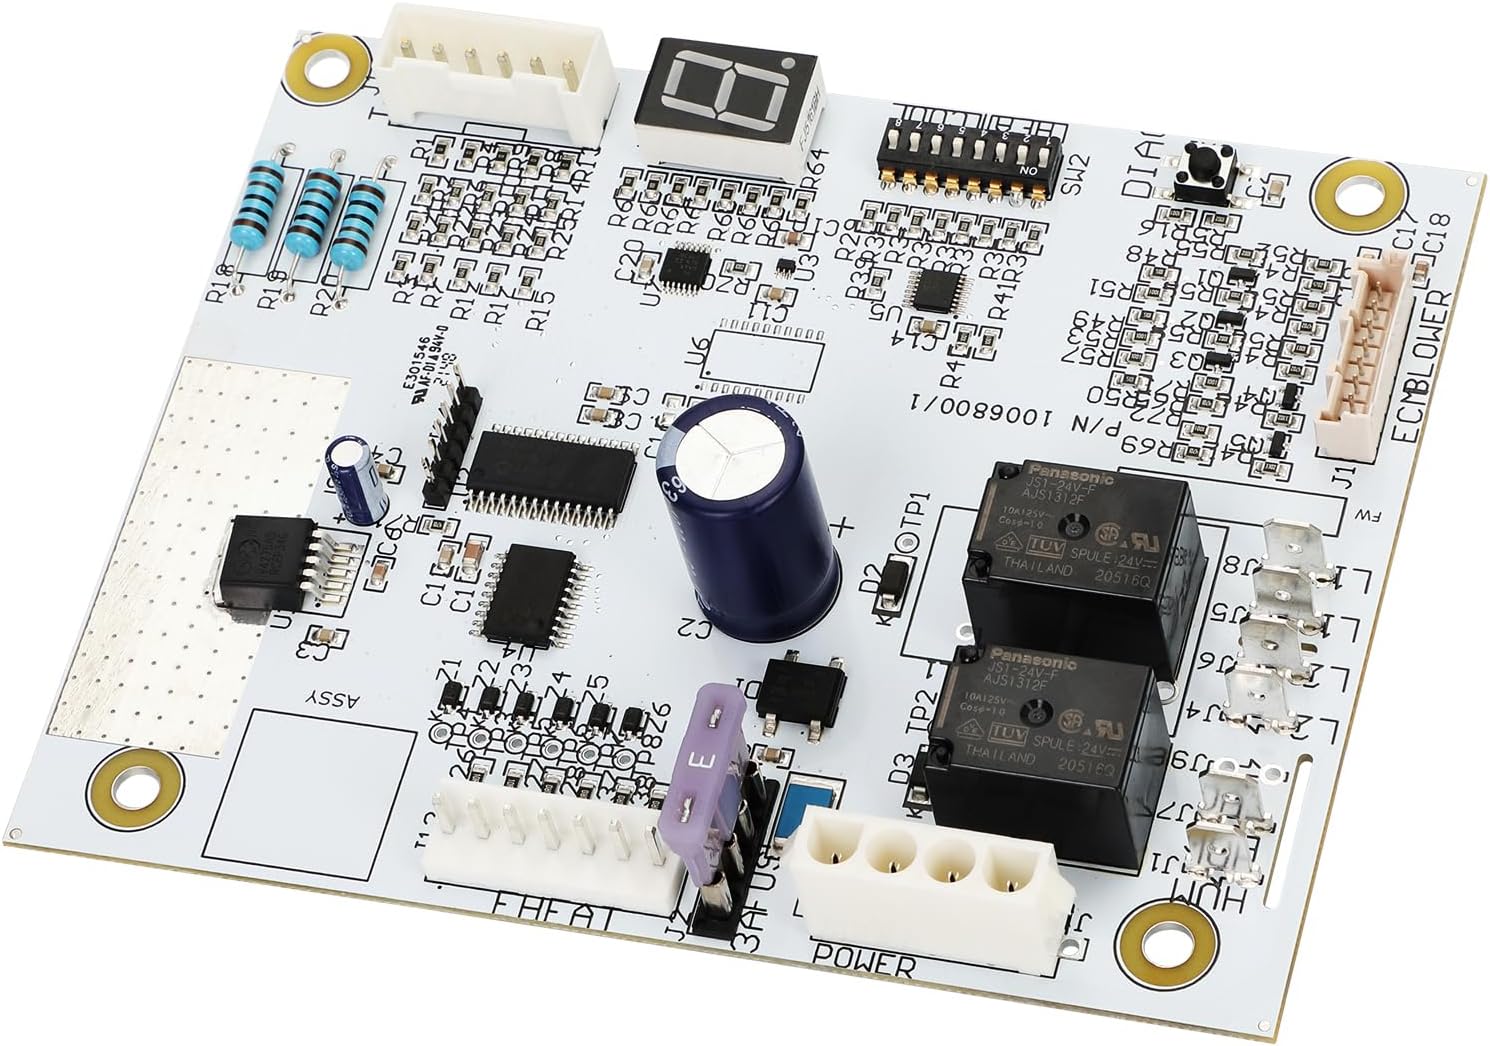
Image 1.1: The BeesMith 1006801R Control Board, showing its various components and connectors.
2. Compatibility
The 1006801R Control Board is designed for compatibility with various electric furnaces, including specific Nordyne, Intertherm, Miller, Gibson, and Frigidaire models. It is a direct replacement for OEM part numbers 1006801R and 1006800/1.
Compatible Series and Models (10kW-23kW):
- E7EB Series: E7EB-010H, E7EB-012H, E7EB-015H, E7EB-017H, E7EB-020H, E7EB-023H
- E7ED Series: E7ED-010H1, E7ED-012H1, E7ED-015H1, E7ED-017H1, E7ED-020H1, E7ED-023H1
- E7EM Series: E7EM-010H1, E7EM-012H1, E7EM-015H1, E7EM-017H1, E7EM-020H1, E7EM-023H1
- E7EU Series: E7EU-010H1, E7EU-012H1, E7EU-015H1, E7EU-017H1, E7EU-020H1, E7EU-023H1
- B6 Series (2017+ models): B6BMMX60K-C, B6EMMX24K-A, B6EMMX24K-B, B6EMMX30K-A, B6EMMX30K-B, B6EMMX36K-B, B6EMMX42K-B, B6EMMX48K-C, B6EMMX60K-C

Image 2.1: Visual representation of compatible Nordyne E7 and B6 series models.
3. Key Features
- Durable Construction: Manufactured from high-quality PCB materials, offering heat resistance, corrosion resistance, and long-term reliability.
- Microprocessor Technology: Utilizes microprocessor soldering and assembly technology for precise control.
- Diagnostic Display: Equipped with a 7-segment display for real-time diagnostics and fault code feedback.
- Adjustable Blower Speed: Features dip switches for adjusting blower speed in both heating (pins 1-4) and cooling (pins 5-8) modes.
- Advanced Programming: Incorporates advanced programming functions to optimize temperature changes and system efficiency.
- Safety Protection: Designed to monitor operation status, preventing hazards such as overheating and short circuits.

Image 3.1: Illustration of the advanced microprocessor technology integrated into the control board.
4. Installation Instructions
Safety First: Before beginning any installation, ensure the power supply to the furnace is completely disconnected at the circuit breaker. Failure to do so can result in electrical shock or injury.
- Power Disconnection: Turn off the main power to the furnace at the electrical panel. Verify power is off using a voltage tester.
- Access the Existing Board: Locate and carefully open the furnace access panel to expose the existing control board.
- Document Wiring: Before disconnecting any wires, take clear photographs of the current wiring configuration. Note the position and color of each wire connected to the old board. This will be crucial for correct re-connection.
- Disconnect Old Board: Carefully disconnect all wires and connectors from the old control board. Remove any mounting screws or clips securing the old board.
- Install New Board: Position the BeesMith 1006801R Control Board in the same location as the old board. Secure it using the original mounting hardware.
- Connect Wiring: Refer to your photographs and the provided wiring diagram (if applicable) to connect all wires and connectors to the new board. Ensure each connection is secure and matches the original configuration.
- Set Dip Switches: Adjust the dip switches for heating (pins 1-4) and cooling (pins 5-8) modes according to your furnace's specific requirements and desired blower speeds. Consult your furnace's original manual for recommended settings or use the provided step-by-step manual for guidance.
- Close Access Panel: Once all connections are secure and verified, close the furnace access panel.
- Restore Power: Restore power to the furnace at the circuit breaker.
- Test Operation: Initiate a heating or cooling cycle to verify proper operation of the furnace and the new control board.
The control board features a plug-and-play design, compatible with original wiring for simplified installation. A step-by-step manual and toggle switch settings for heating/cooling modes are included with the product.

Image 4.1: A technician performing an installation of a control board within a furnace unit.
5. Operation
Once installed, the 1006801R Control Board operates automatically to manage your furnace's functions. The board continuously monitors system parameters and adjusts operations as needed to maintain desired temperatures.
5.1 Diagnostic Display
The integrated 7-segment display provides real-time diagnostic information. This display will show status codes or fault codes that can assist in identifying operational issues. Refer to the product's accompanying documentation for a complete list of diagnostic codes and their meanings.
5.2 Blower Speed Adjustment
Blower speeds for heating and cooling can be adjusted using the onboard dip switches. Pins 1-4 control heating blower speeds, and pins 5-8 control cooling blower speeds. Adjustments should be made with the power disconnected and according to your specific HVAC system requirements to ensure optimal airflow and efficiency.
6. Maintenance
The 1006801R Control Board is designed for long-term reliability and generally requires minimal maintenance. However, periodic inspection can help ensure continued optimal performance.
- Annual Inspection: During routine furnace maintenance, have a qualified technician inspect the control board for any signs of wear, corrosion, or loose connections.
- Keep Clean and Dry: Ensure the furnace environment remains clean and dry to prevent dust accumulation or moisture exposure, which can affect electronic components.
- Ventilation: Verify that the furnace's ventilation pathways are clear to prevent overheating of internal components, including the control board.
7. Troubleshooting
If your furnace experiences issues after installing the 1006801R Control Board, refer to the following troubleshooting steps. Always disconnect power before inspecting internal components.
- No Power to Furnace:
- Check the circuit breaker for the furnace.
- Ensure all wiring connections to the control board are secure.
- Furnace Not Starting:
- Verify thermostat settings are correct and calling for heat/cool.
- Check the 7-segment display for any diagnostic fault codes. Consult the accompanying manual for code interpretations.
- Ensure dip switch settings for heating/cooling are correctly configured.
- Blower Not Operating Correctly:
- Check dip switch settings for blower speed.
- Ensure blower motor connections are secure.
- Intermittent Operation:
- Inspect for loose wiring connections on the control board.
- Check for signs of overheating or component damage on the board.
For complex issues or if troubleshooting steps do not resolve the problem, it is recommended to contact a qualified HVAC technician.
8. Product Specifications
| Feature | Detail |
|---|---|
| Manufacturer | BeesMith |
| Part Number | 1006801R Control Board |
| Item Weight | 6.5 ounces |
| Product Dimensions | 6.5 x 6.5 x 1.5 inches |
| Item Model Number | 1006801R Control Board |
| Item Package Quantity | 1 |
| Included Components | 1006801R Control Board |
| Batteries Required? | No |
9. Warranty and Support
The BeesMith 1006801R Control Board comes with a 1-year warranty from the date of purchase. This warranty covers defects in materials and workmanship under normal use.
For warranty claims, technical support, or further assistance, please contact BeesMith customer service through the retailer where the product was purchased or refer to the contact information provided with your product packaging.