1. Important Safety Instructions
Please read all instructions carefully before using the appliance and retain them for future reference. Incorrect operation may cause damage to the appliance and injury to the user.
- Always ensure the appliance is unplugged from the power outlet before assembling, disassembling, or cleaning.
- Do not immerse the motor base, cord, or plug in water or any other liquid.
- This appliance is not intended for use by persons (including children) with reduced physical, sensory, or mental capabilities, or lack of experience and knowledge, unless they have been given supervision or instruction concerning use of the appliance by a person responsible for their safety.
- Children should be supervised to ensure that they do not play with the appliance.
- Avoid contact with moving parts. Keep hands and utensils out of the blender jug while blending to prevent personal injury and damage to the blender.
- Never blend hot liquids in the blender. Allow hot ingredients to cool before blending.
- Do not operate any appliance with a damaged cord or plug, or after the appliance malfunctions or has been damaged in any manner.
- Ensure the lid is securely in place before operating the blender.
- Do not overload the blender. Refer to the maximum fill line on the jug.
- Place the blender on a stable, flat, and dry surface during operation.
2. Product Overview
The Kooper Electric Blender is designed for efficient blending, mixing, and chopping. Familiarize yourself with its components:
- Motor Base: Contains the 500W motor and control dial.
- Glass Jug (1.5L): Graduated for precise measurements, with a side handle for easy pouring.
- Blade Assembly: Features 6 durable stainless steel blades.
- Lid: Secures the jug during operation.
- Measuring Cap: Removable cap in the lid for adding ingredients during blending.
- Control Dial: For selecting speed settings (0, 1, 2) and pulse (P).
- Non-slip Feet: Rubber feet on the base for stability.
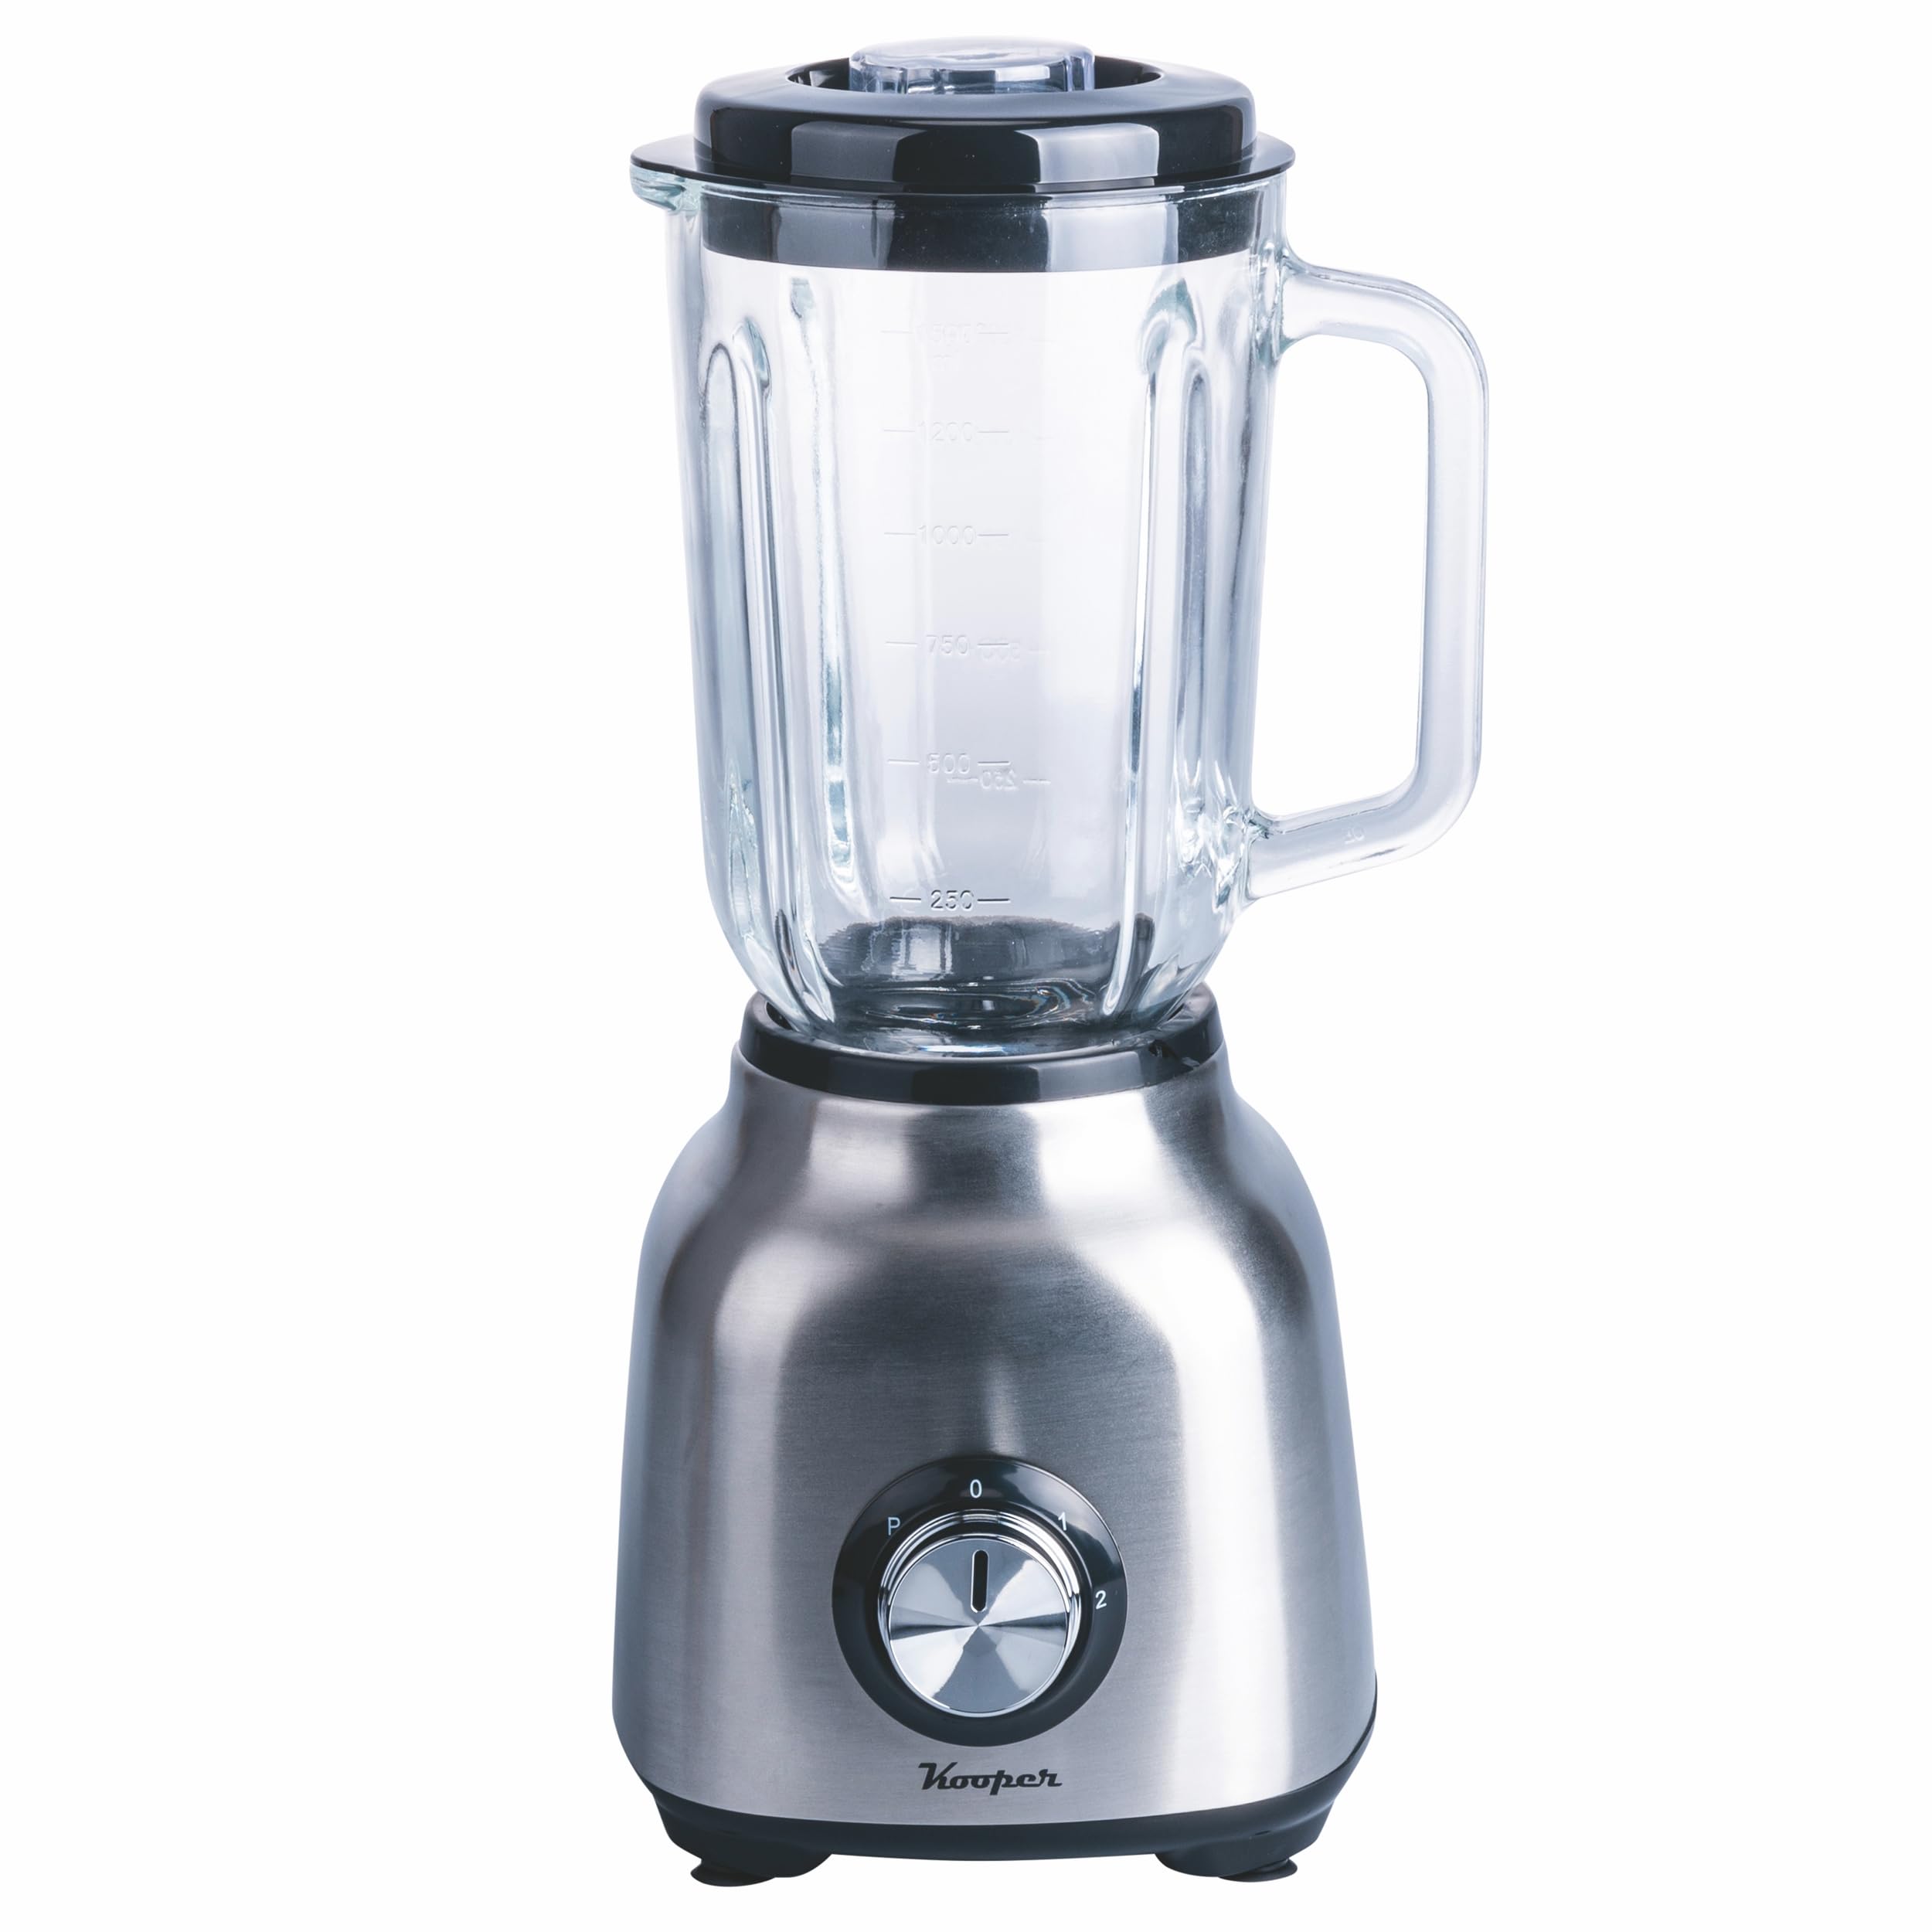
Figure 2.1: Assembled Kooper Electric Blender showing the motor base, glass jug, and lid.

Figure 2.2: Close-up of the control dial on the Kooper Electric Blender base, showing 'P' (Pulse), '0' (Off), '1' (Speed 1), and '2' (Speed 2) settings.

Figure 2.3: Disassembled components of the Kooper Electric Blender, including the motor base, glass jug, and lid with measuring cap.
3. Setup and Assembly
- Unpacking: Carefully remove all components from the packaging. Retain packaging for future storage or transport.
- Initial Cleaning: Before first use, wash the glass jug, lid, and measuring cap in warm soapy water. Rinse thoroughly and dry. Wipe the motor base with a damp cloth. Do not immerse the motor base in water.
- Assemble the Jug: Ensure the blade assembly is securely attached to the bottom of the glass jug.
- Place the Jug: Position the assembled glass jug onto the motor base. Ensure it is seated correctly and locked into place (if applicable to your model, though this model appears to simply sit on top).
- Secure the Lid: Place the lid onto the glass jug and ensure it is firmly secured. Insert the measuring cap into the lid opening.
- Power Connection: Place the blender on a stable, flat, and dry surface. Plug the power cord into a suitable electrical outlet (220-240V ~ 50/60Hz).
4. Operating Instructions
Follow these steps for safe and effective blending:
- Prepare Ingredients: Cut solid ingredients into small pieces (approximately 2-3 cm) to facilitate blending.
- Add Ingredients: Place ingredients into the glass jug. Do not exceed the maximum fill line (1.5 Liters). For best results, add liquids first, then soft ingredients, and finally harder ingredients or ice.
- Secure Lid: Place the lid firmly on the jug and insert the measuring cap.
- Select Speed: Turn the control dial to the desired speed setting:
- Speed 1: For lighter blending tasks, softer ingredients, or initial mixing.
- Speed 2: For heavier blending tasks, harder ingredients, or achieving a smoother consistency.
- Pulse (P): Turn the dial to 'P' and hold for short bursts of maximum power. Release to stop. This is ideal for chopping, crushing ice, or controlling consistency.
- Blending: Start blending. If ingredients stick to the sides, turn off the blender, remove the lid, and use a spatula to push them down. Never use your hands or other utensils while the blender is operating.
- Adding During Blending: For adding ingredients during operation, remove the measuring cap from the lid and carefully pour or drop items through the opening.
- Finish Blending: Once desired consistency is achieved, turn the control dial to '0' (Off) and unplug the appliance.
- Pouring: Carefully remove the lid and pour the blended contents using the jug's handle.
5. Cleaning and Maintenance
Regular cleaning ensures optimal performance and extends the life of your blender.
- Unplug: Always unplug the blender from the power outlet before cleaning.
- Disassemble: Carefully remove the glass jug from the motor base. Disassemble the lid, measuring cap, and blade assembly from the jug.
- Cleaning the Jug and Blades: Wash the glass jug, lid, measuring cap, and blade assembly in warm soapy water. Use a brush to clean around the blades carefully. Rinse thoroughly and dry immediately. These parts are not dishwasher safe.
- Cleaning the Motor Base: Wipe the motor base with a damp cloth. Do not use abrasive cleaners or scourers. Never immerse the motor base in water or any other liquid.
- Storage: Ensure all parts are completely dry before reassembling and storing the blender. Store in a cool, dry place.
6. Troubleshooting
If you encounter issues with your blender, refer to the following common problems and solutions:
| Problem | Possible Cause | Solution |
|---|---|---|
| Blender does not turn on. | Not plugged in; power outlet not working; jug not correctly seated; control dial not on a speed setting. | Ensure the power cord is securely plugged in. Test the outlet with another appliance. Re-seat the glass jug firmly onto the motor base. Turn the control dial to '1', '2', or 'P'. |
| Ingredients are not blending smoothly. | Too little liquid; too many ingredients; ingredients are too large or hard; air pocket around blades. | Add more liquid. Reduce the amount of ingredients. Cut ingredients into smaller pieces. Use the pulse function or stop and stir ingredients with a spatula. |
| Blender leaks from the bottom of the jug. | Blade assembly not securely tightened; seal ring is damaged or missing. | Ensure the blade assembly is tightly screwed onto the jug. Check if the seal ring is correctly placed and undamaged. Replace if necessary. |
| Motor smells or overheats. | Overloading the blender; continuous operation for too long. | Reduce the amount of ingredients. Do not operate continuously for more than 1 minute. Allow the motor to cool down for at least 10-15 minutes before resuming use. |
7. Specifications
- Model Number: 5921367
- Power: 500 Watts
- Voltage: 220-240V ~ 50/60Hz
- Capacity: 1.5 Liters (Glass Jug)
- Speeds: 2 speeds + Pulse function
- Blades: 6-blade stainless steel (304)
- Material: Stainless steel and ABS motor base, Glass jug, PE plastic lid, PS plastic pouring cap
- Cable Length: 120 cm
- Dimensions (L x W x H): 18 x 15.5 x 38 cm
- Special Feature: Pulse Technology, Non-slip feet
- Cleaning: Hand wash recommended for jug and blade assembly. Motor base wipe clean only.