1. Introduction
Thank you for choosing the GROOKPET A5 Automatic Cat Feeder. This device is designed to provide scheduled and portion-controlled meals for your cat, ensuring consistent feeding habits and convenience for pet owners. Please read this manual thoroughly before operation to ensure proper use and maintenance.

Image 1.1: The GROOKPET A5 Automatic Cat Feeder, a black and silver unit with two stainless steel feeding bowls.
2. Safety Instructions
- Always place the feeder on a stable, level surface to prevent tipping.
- This appliance is intended for indoor use only.
- Do not immerse the main unit in water or other liquids.
- Keep out of reach of children and pets to prevent tampering or injury.
- Use only the original power adapter provided with the feeder.
- Ensure the power cord is not chewed by pets. If damaged, discontinue use immediately.
- Only use dry pet food with this feeder. Do not use wet food, canned food, or treats.
- Regularly clean the feeder components to maintain hygiene and prevent food spoilage.
3. Package Contents
Please check the package contents to ensure all items are present:
- GROOKPET A5 Automatic Cat Feeder Main Unit
- Stainless Steel Feeding Bowls (x2)
- Power Adapter
- User Manual
4. Product Diagram
Familiarize yourself with the components of your GROOKPET A5 Automatic Cat Feeder:

Image 4.1: Overview of the control panel and buttons on the GROOKPET A5 Automatic Cat Feeder.
- Food Storage Container: Holds dry pet food.
- Transparent Lid: Allows easy monitoring of food levels.
- Control Panel: Digital display and buttons for programming.
- Dispenser Outlet: Where food is released into the bowls.
- Stainless Steel Bowls: Removable bowls for feeding.
- Power Port: For connecting the AC adapter.
- Battery Compartment: For optional battery backup (batteries not included).
5. Setup
5.1 Unpacking and Assembly
- Remove all components from the packaging.
- Place the main feeder unit on a flat, stable surface.
- Insert the two stainless steel bowls into their designated slots at the base of the feeder.
5.2 Power Supply
The feeder can be powered by the included AC adapter or by optional D-cell batteries (not included) for backup.

Image 5.1: The feeder supports dual power options: AC adapter and battery backup.
- AC Power: Connect the power adapter to the feeder's power port and plug it into a standard wall outlet.
- Battery Backup: For uninterrupted operation during power outages, install 3 D-cell batteries (not included) into the battery compartment at the bottom of the unit. Ensure correct polarity.
5.3 Filling the Food Container
- Open the transparent lid on top of the feeder.
- Pour dry pet food into the storage container. The feeder has a capacity of 5 liters.
- Close the lid securely to maintain food freshness and prevent spills.

Image 5.2: The clear lid allows for quick visual inspection of food levels.
6. Operating Instructions
6.1 Control Panel Overview
The control panel consists of a digital display and several buttons:
- SET Button: Enters programming mode and confirms settings.
- PLUS (+) Button: Increases values or navigates forward.
- REDUCE (-) Button: Decreases values or navigates backward.
- FEED Button: Dispenses one portion of food manually.
- LOCK Button: Prevents accidental changes to settings.
6.2 Setting the Current Time
- Press and hold the SET button until the hour digit flashes.
- Use the PLUS (+) or REDUCE (-) buttons to adjust the hour.
- Press SET to confirm the hour and move to the minute setting.
- Use the PLUS (+) or REDUCE (-) buttons to adjust the minute.
- Press SET to confirm the minute and exit time setting mode.
6.3 Programming Feeding Schedules
The feeder allows you to set up to 4 meals per day, with 1 to 10 portions per meal.
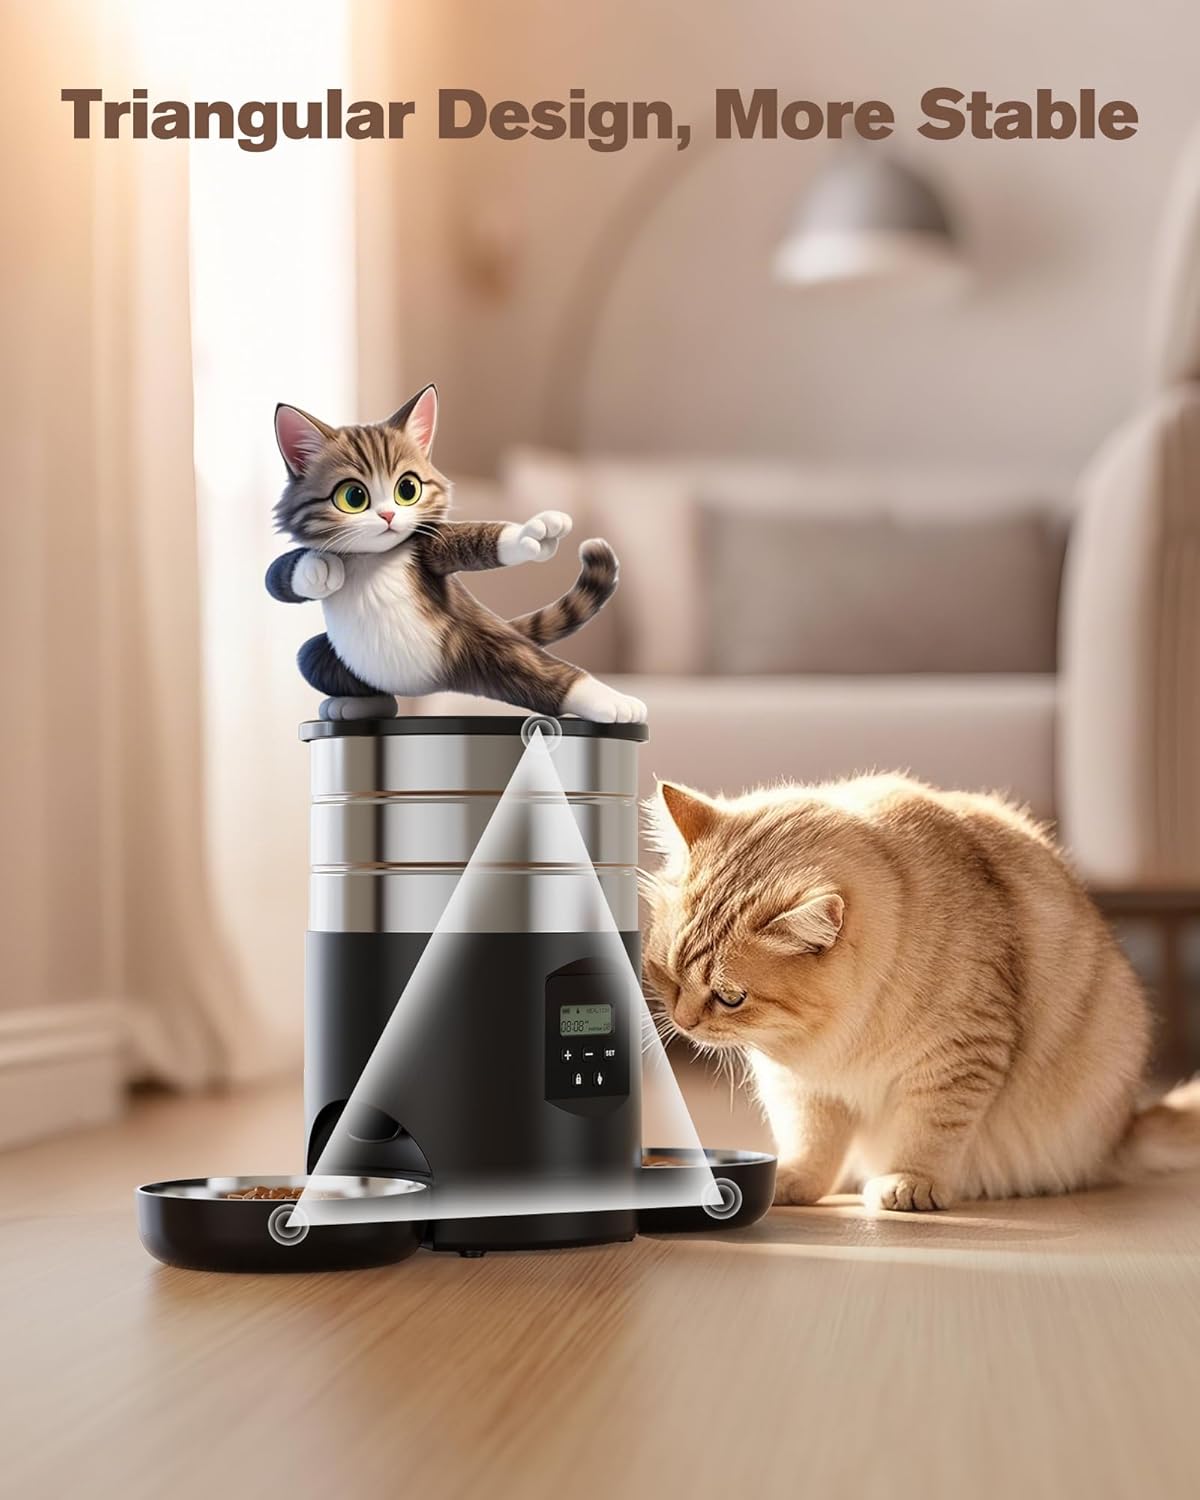
Image 6.1: The display interface for customizing feeding times and portion sizes.
- Press the SET button once to enter meal programming mode. The display will show "Meal 1" and the hour will flash.
- Use PLUS (+) or REDUCE (-) to set the desired hour for Meal 1. Press SET.
- Set the minutes for Meal 1. Press SET.
- The portion size will flash. Use PLUS (+) or REDUCE (-) to select the number of portions (1-10) for Meal 1. Press SET.
- Repeat steps 1-4 for Meal 2, Meal 3, and Meal 4 if desired. If you do not wish to set all 4 meals, simply press SET repeatedly to skip through the remaining meal settings until you exit programming mode.
6.4 Manual Feeding
To dispense a single portion of food immediately, press the FEED button once. This will not affect your programmed feeding schedule.
6.5 Locking the Control Panel
To prevent accidental changes to your settings, press the LOCK button. The display will show a lock icon. Press the LOCK button again to unlock the panel.
7. Maintenance and Cleaning
Regular cleaning ensures the longevity and hygiene of your feeder.
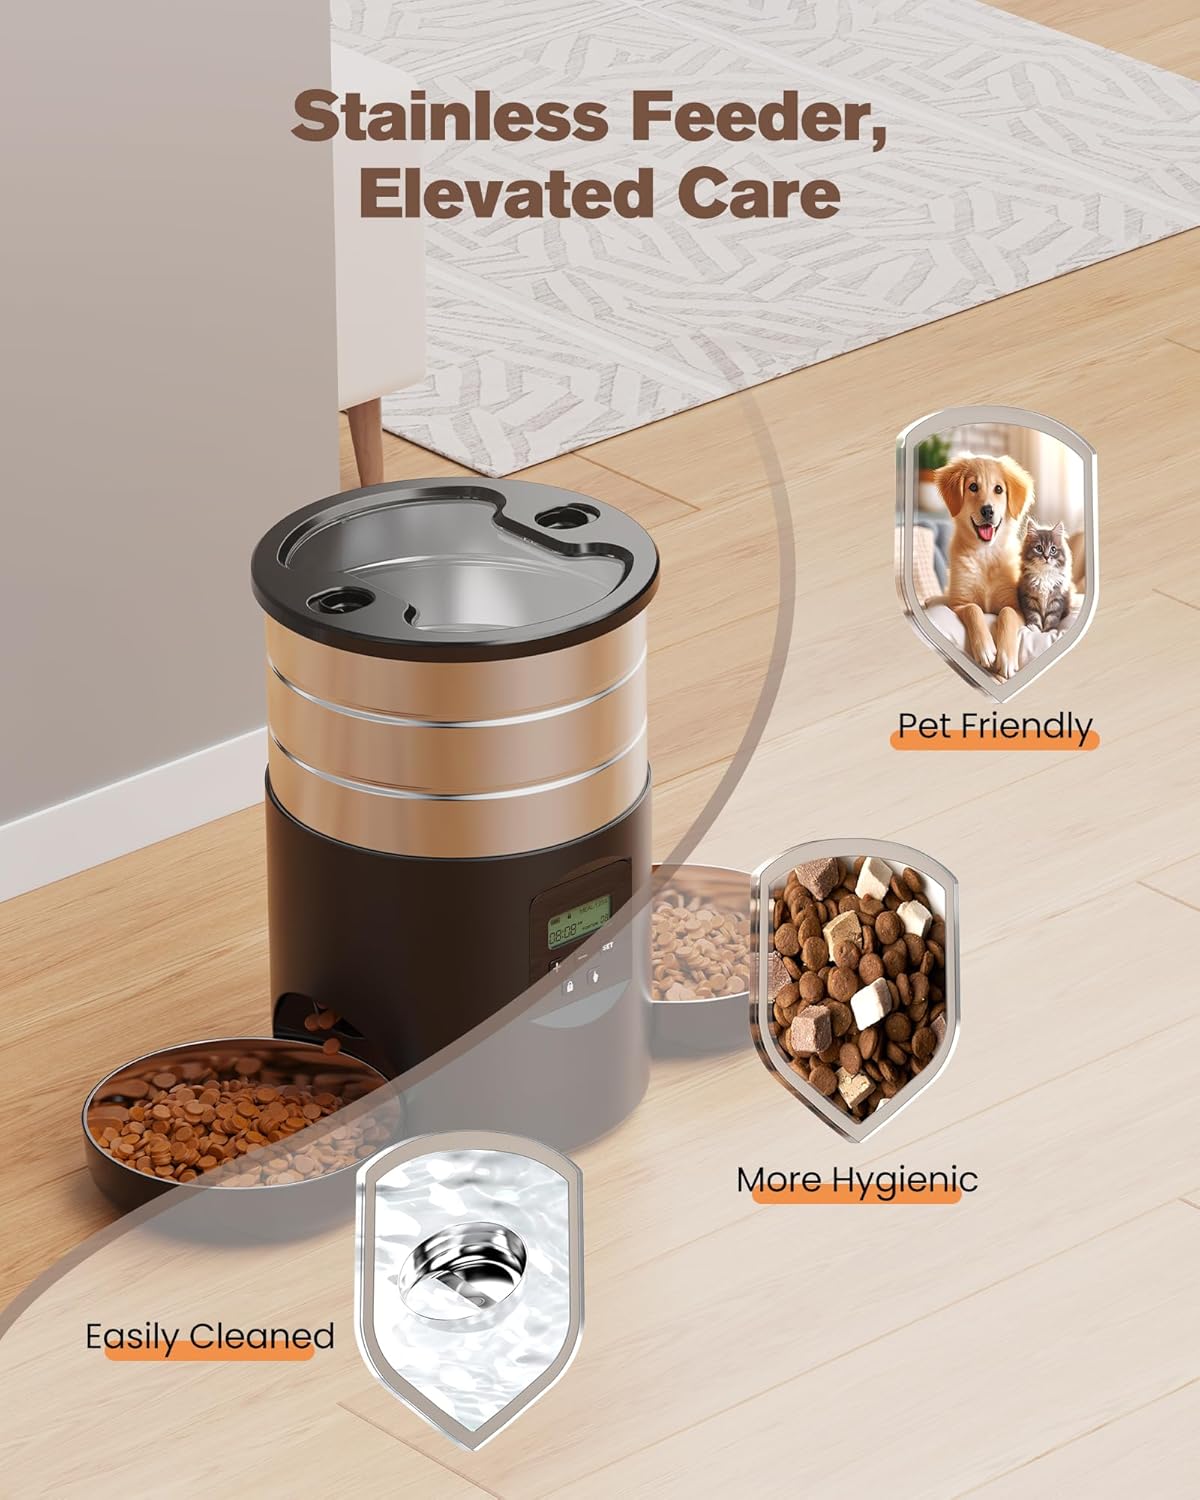
Image 7.1: The stainless steel components of the feeder are designed for easy cleaning and improved hygiene.
- Disconnect Power: Always unplug the feeder from the power outlet and remove any backup batteries before cleaning.
- Remove Bowls: Take out the stainless steel feeding bowls. These can be washed with warm soapy water and rinsed thoroughly. Dry completely before reinserting.
- Clean Food Container: The food storage container can be detached from the main unit for cleaning. Wash with warm soapy water, rinse, and dry completely.
- Clean Main Unit: Wipe the exterior of the main unit with a soft, damp cloth. Do not immerse the main unit in water. Ensure no water enters the control panel or battery compartment.
- Reassemble: Once all parts are dry, reassemble the feeder.
8. Troubleshooting
- Feeder not dispensing food:
- Check if the food container is empty.
- Ensure the feeder is powered on and connected to a power source or has working backup batteries.
- Verify that the feeding schedule is correctly programmed.
- Check for food blockages in the dispenser outlet.
- Display not working:
- Ensure the power adapter is securely connected and the outlet is functional.
- If using battery backup, check if batteries are installed correctly and have sufficient charge.
- Food getting stuck:
- Ensure you are using dry pet food of appropriate size for the dispenser mechanism.
- Clean the food container and dispenser regularly to prevent residue buildup.
9. Specifications
| Feature | Specification |
|---|---|
| Model Number | A5 |
| Product Dimensions | 20 x 31.21 x 19.5 cm |
| Item Weight | 1.57 Kilograms |
| Material | Stainless Steel |
| Capacity | 5 Liters |
| Operation Mode | Automatic |
| Special Features | Timer, Dual Power (AC/Battery Backup) |
| Recommended Use | Dry Food |
| Target Species | Cat |
10. Warranty and Support
The GROOKPET A5 Automatic Cat Feeder comes with a standard manufacturer's warranty. For specific warranty details, please refer to the warranty card included in your package or contact GROOKPET customer support.
If you encounter any issues or have questions regarding your product, please contact our customer support team through the retailer's platform or the official GROOKPET website. Please have your model number (A5) and purchase information ready when contacting support.