
1. Introduction
Thank you for purchasing the Portable Mini Projector. This device is designed to provide a versatile and immersive viewing experience, supporting high-definition decoding and various connectivity options for both indoor and outdoor use. Please read this manual thoroughly before operating the projector to ensure proper use and to maximize its performance and lifespan.
2. Safety Information
To prevent fire, electric shock, or damage to the projector, please observe the following safety precautions:
- Do not block the ventilation openings. Ensure adequate airflow around the projector.
- Do not expose the projector to rain or moisture. Keep it away from water sources.
- Use only the power adapter supplied with the projector.
- Avoid looking directly into the projector lens when the lamp is on, as the bright light can cause eye strain or damage.
- Do not attempt to disassemble or modify the projector. Refer all servicing to qualified personnel.
- Place the projector on a stable, level surface to prevent it from falling.
- Keep the projector away from direct sunlight, heat sources, and extreme temperatures.
3. Package Contents
Please check the package contents upon unboxing:
- Portable Mini Projector
- Power Adapter
- Remote Control (Batteries not included)
- HDMI Cable
- User Manual
4. Product Features and Components
Familiarize yourself with the projector's key features and components:
- Projection Lens: Emits the image onto the screen or surface.
- Focus Ring: Adjusts the clarity of the projected image.
- Input Ports: HDMI, USB, AV, Memory Card slot for various device connections.
- Built-in Speaker: Provides audio output.
- Ventilation Grilles: For heat dissipation.
- Power Button: Turns the projector on/off.
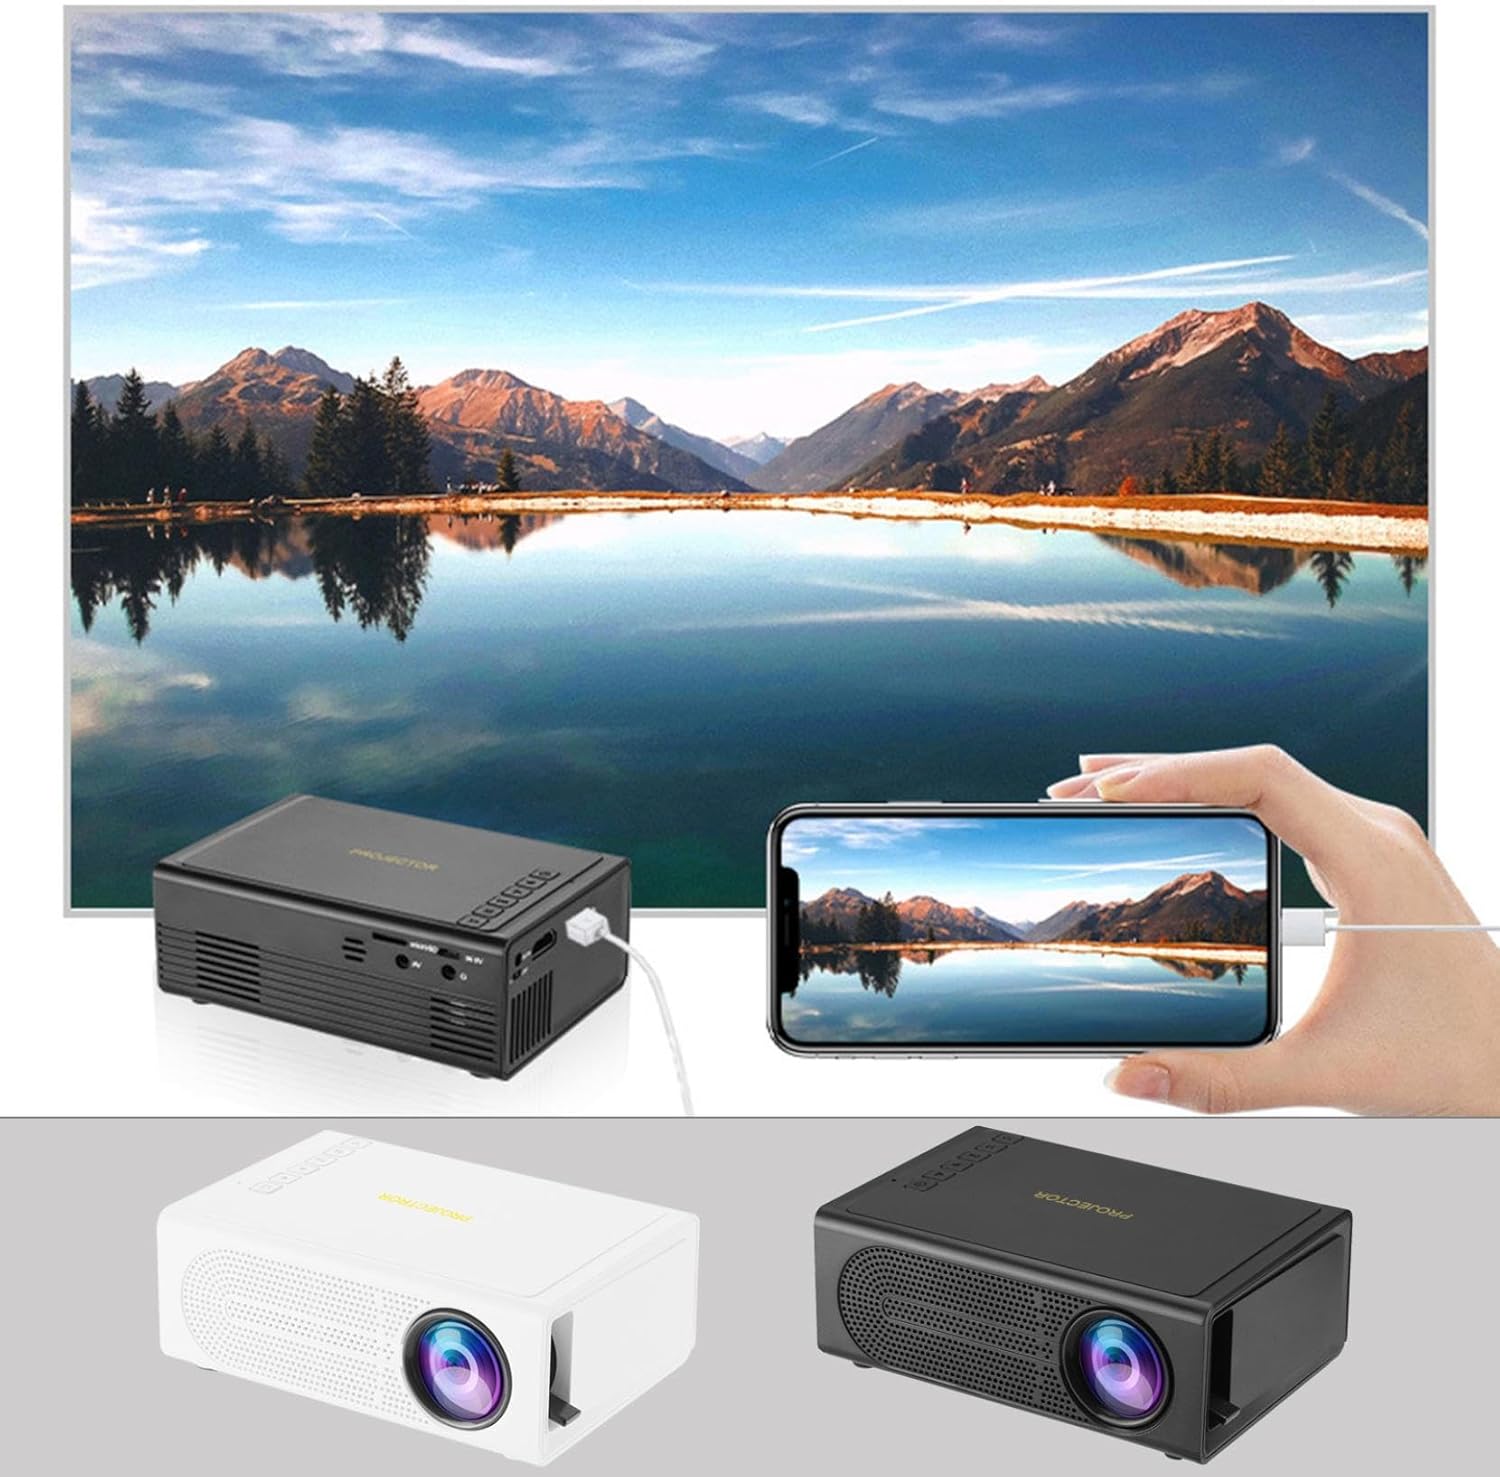
Image: The Portable Mini Projector in use, demonstrating its ability to mirror a smartphone screen onto a large display. Both black and white color options of the projector are shown.

Image: Physical dimensions of the projector, indicating its compact size.
5. Setup
- Power Connection: Connect the supplied power adapter to the projector's power input port and then plug it into a power outlet.
- Placement: Place the projector on a stable, flat surface. For optimal viewing, position the projector perpendicular to the projection surface (wall or screen).
- Power On: Press the power button on the projector or the remote control to turn on the device.
- Focus Adjustment: Once powered on, rotate the focus ring on the projector until the projected image appears clear and sharp.
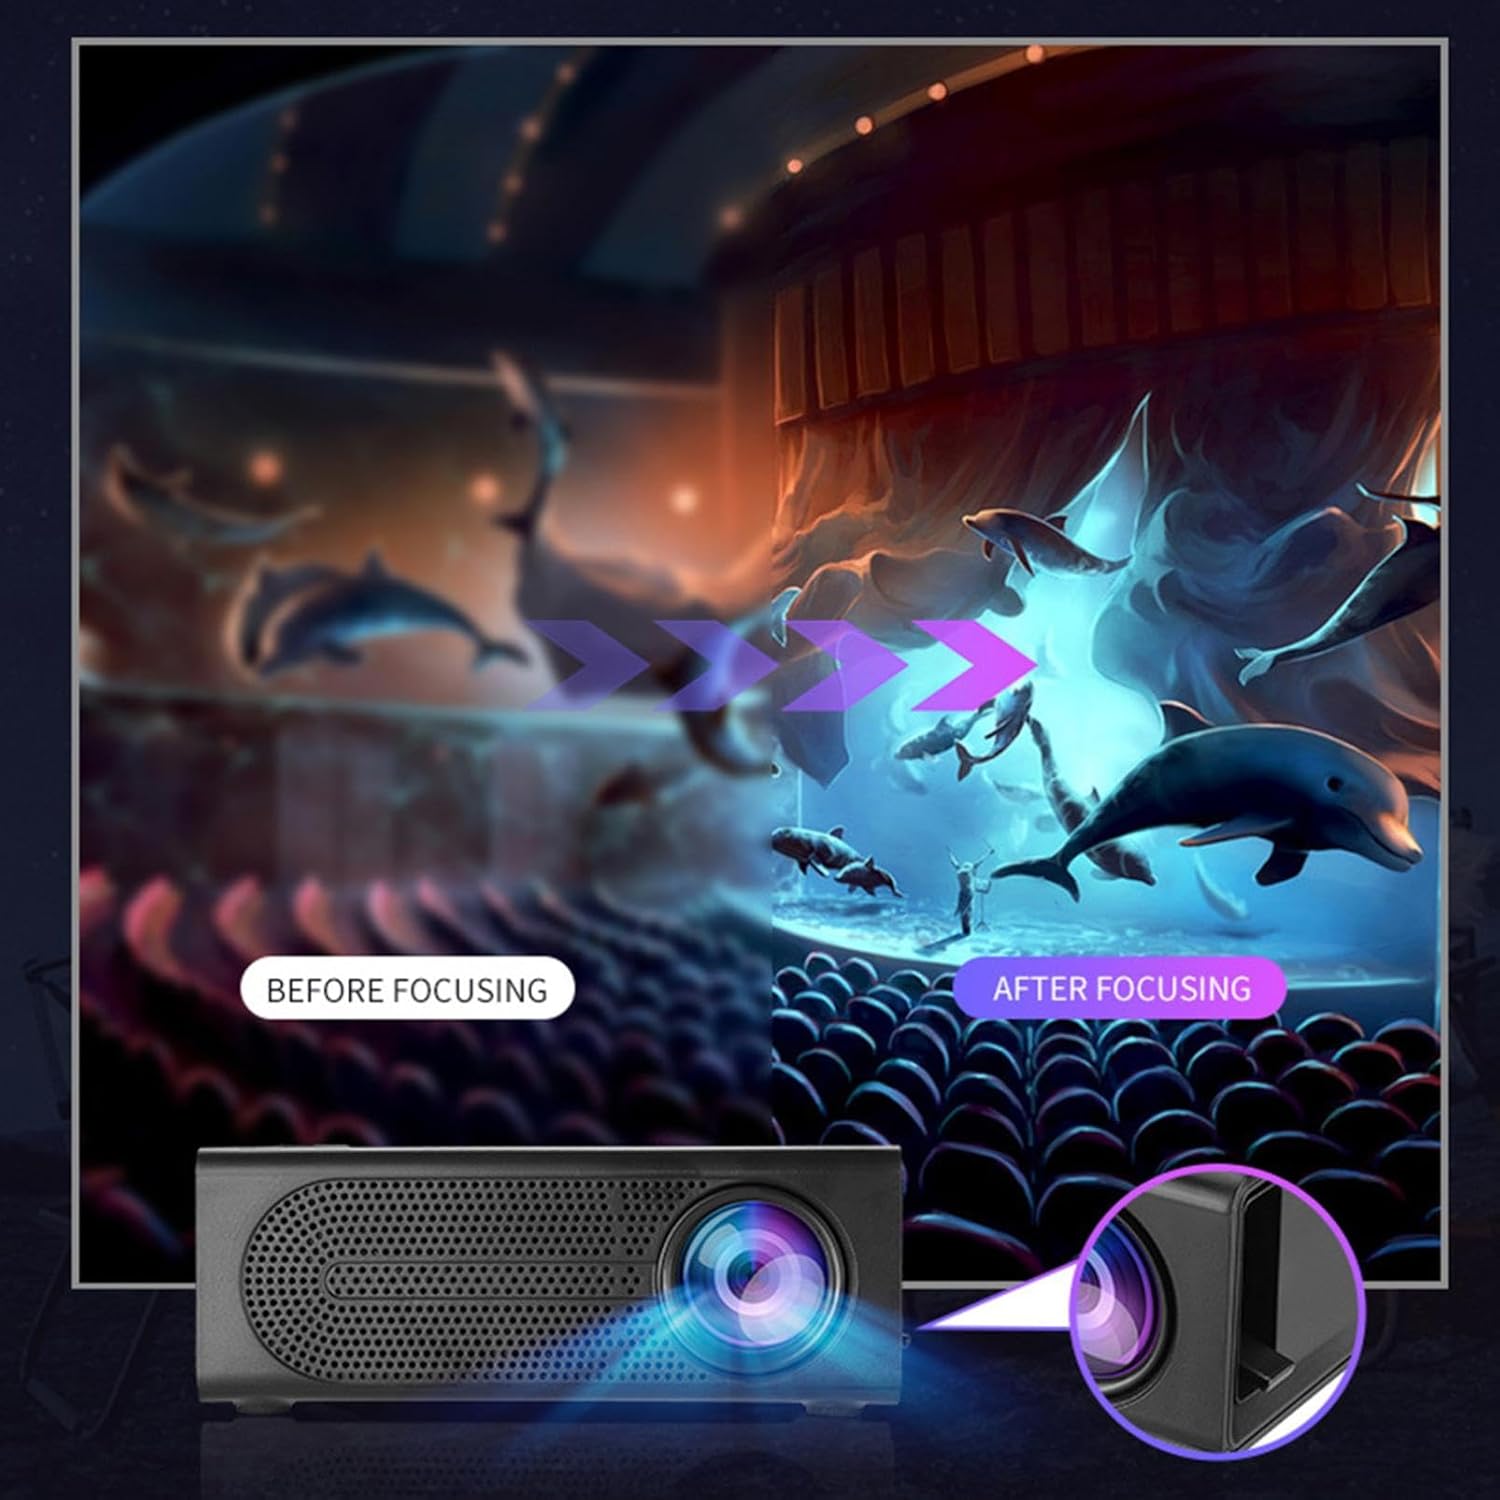
Image: Visual demonstration of focus adjustment, showing the difference between a blurry and a sharp image.
6. Operating Instructions
6.1 Connecting Devices
The projector supports various input sources. Select the appropriate input mode from the projector's menu after connecting your device.
- HDMI: Connect laptops, gaming consoles, DVD players, or other HDMI-enabled devices using an HDMI cable.
- USB: Insert a USB flash drive to play media files directly.
- AV: Use an AV cable to connect older devices like VCRs or some set-top boxes.
- Memory Card: Insert a compatible memory card to view photos or videos.
- Smartphone/Tablet: For wired phone same screen playback, connect your smartphone or tablet via a compatible cable (e.g., USB to Lightning/USB-C for screen mirroring, if supported by your device and the projector).

Image: Connectivity diagram illustrating the wide range of devices compatible with the projector.
6.2 Adjusting Projection Size
The projector can project images ranging from 32 to 100 inches. The projection size is determined by the distance between the projector and the projection surface. Move the projector closer to the surface for a smaller image, and further away for a larger image.
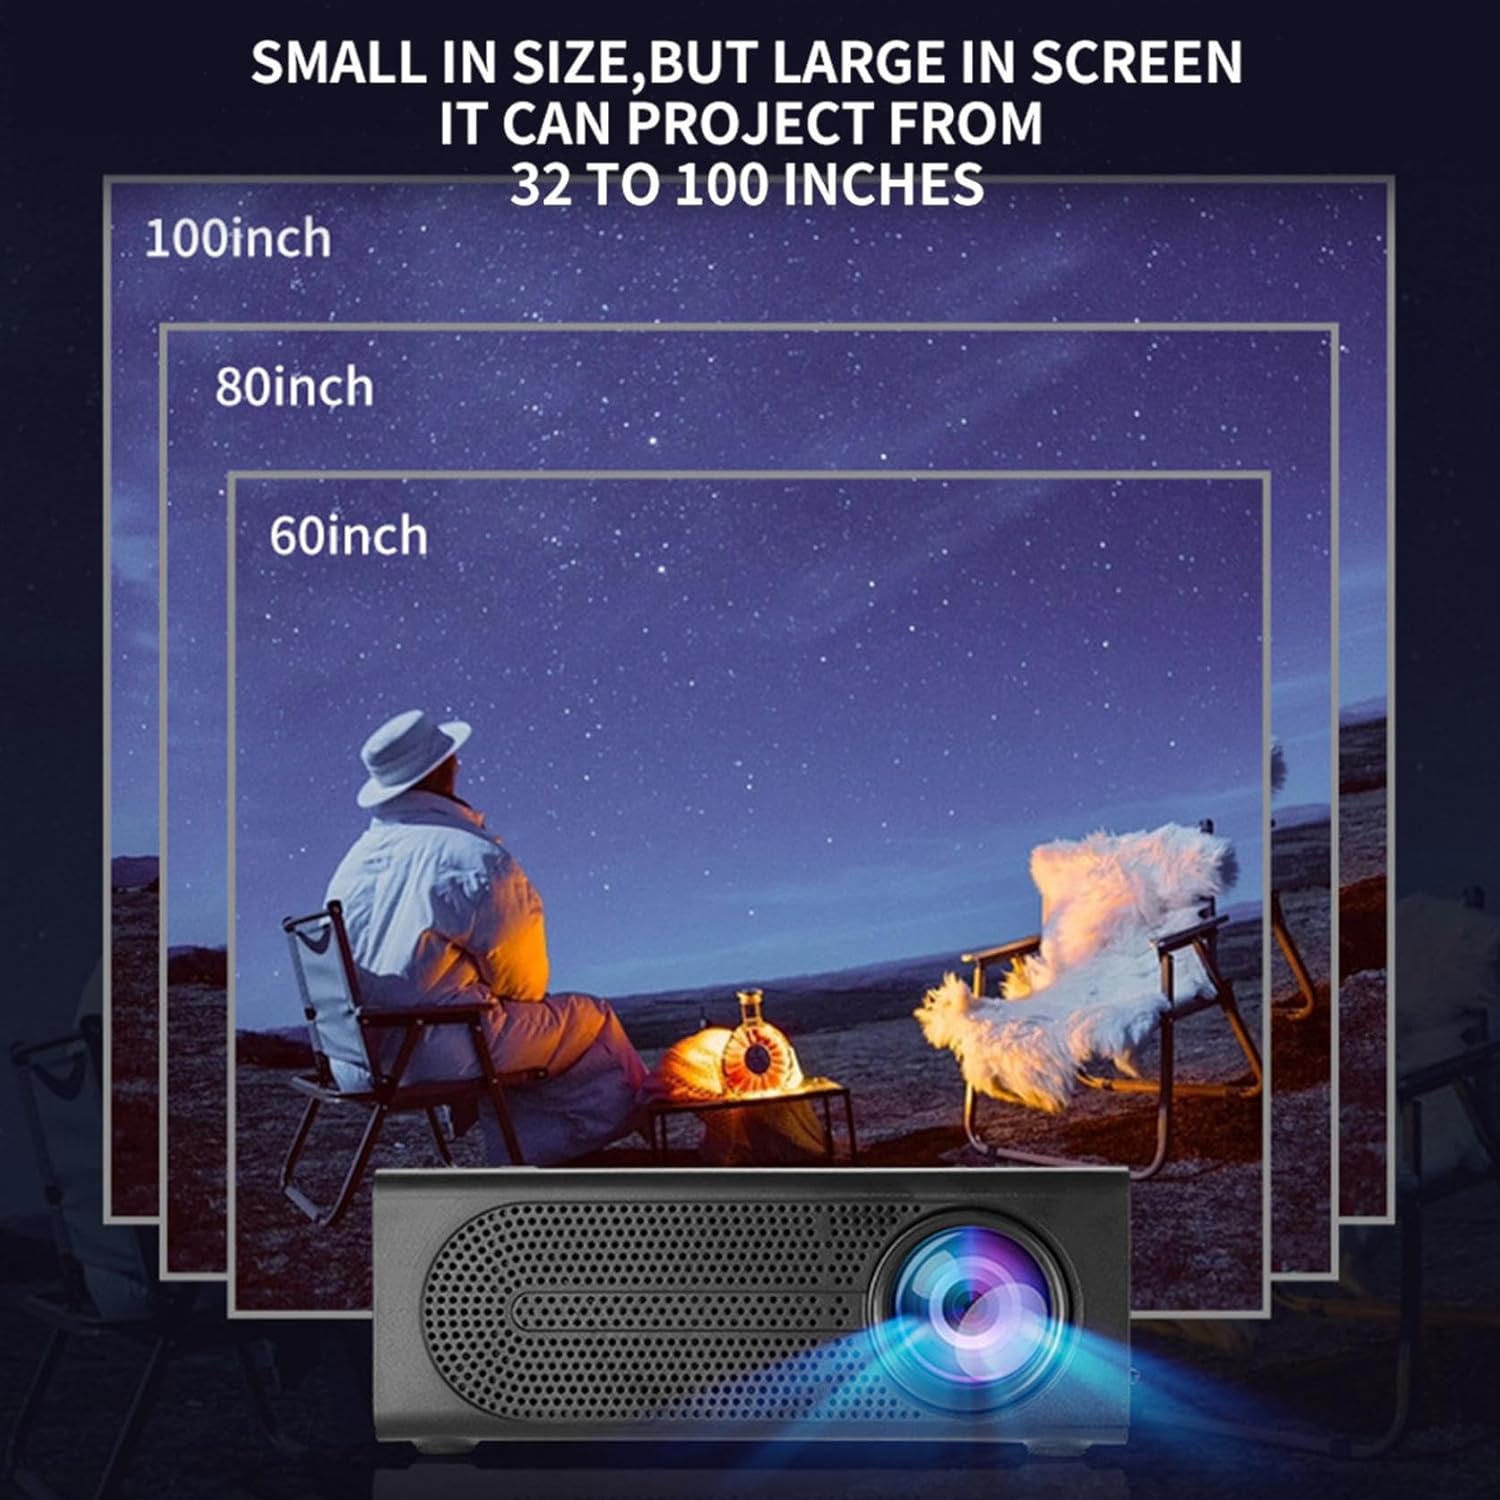
Image: Illustration of various projection sizes achievable with the projector, from 32 to 100 inches.
6.3 Usage Scenarios
This projector is suitable for a variety of environments and uses:
- Parent-child interaction: Enjoy movies or educational content with family.
- Outdoor cinema: Set up a movie night in your backyard.
- Bedroom projection: Watch content comfortably from your bed.
- Living room cinema: Transform your living space into a home theater.

Image: Examples of diverse usage scenarios for the projector, from indoor home theater to outdoor entertainment.

Image: Depiction of family entertainment using the projector, alongside a technical diagram explaining the benefit of diffuse reflection for eye comfort compared to direct-ray light from a TV.
7. Maintenance
Proper maintenance ensures the longevity and optimal performance of your projector:
- Lens Cleaning: Use a soft, lint-free cloth specifically designed for optical lenses to gently wipe the projector lens. Do not use abrasive cleaners or excessive force.
- Dust Removal: Regularly clean the ventilation grilles with a soft brush or compressed air to prevent dust buildup, which can affect cooling and performance.
- Storage: When not in use for extended periods, store the projector in a cool, dry place, away from direct sunlight and extreme temperatures.
- Power Off Properly: Always turn off the projector using the power button and allow it to cool down before unplugging or moving it.
8. Troubleshooting
If you encounter issues with your projector, refer to the following common problems and solutions:
| Problem | Possible Cause | Solution |
|---|---|---|
| No image projected | Power not connected; Input source not selected; Lens cap on. | Ensure power is connected and unit is on; Select correct input source; Remove lens cap. |
| Image is blurry | Focus not adjusted; Projector too close/far from screen. | Adjust the focus ring; Adjust projection distance. |
| No sound | Volume too low; Audio cable not connected; Muted. | Increase volume; Check audio connections; Unmute projector/source device. |
| Remote control not working | Batteries dead/incorrectly inserted; Obstruction between remote and projector. | Replace batteries; Ensure clear line of sight to IR receiver. |
If the problem persists after trying these solutions, please contact customer support.
9. Specifications
- Product Type: Portable Mini Projector
- Brand: Generic
- Compatible Devices: Laptop, Gaming Console, Tablet, Camera, Smartphone
- Image Contrast Ratio: High
- Projection Size: 32 to 100 inches
- Video Decoding: H.264, H.265
- Connectivity: HDMI, USB, AV, Memory Card
- Dimensions: Approximately 5in (L) x 3.2in (W) x 1.9in (H) / 12.7cm (L) x 8.15cm (W) x 4.85cm (H)
10. Warranty and Support
This product comes with a standard manufacturer's warranty. Please refer to the warranty card included in your package for specific terms and conditions. For technical support, troubleshooting assistance, or warranty claims, please contact the retailer or manufacturer's customer service department.
Customer Support Contact: Please refer to retailer or manufacturer website for contact details.


