1. Introduction
Thank you for choosing the Ridstar Q20 Electric Bike. This manual provides essential information for the safe assembly, operation, and maintenance of your new e-bike. Please read it thoroughly before your first ride to ensure optimal performance and safety. The Ridstar Q20 is designed for adults, featuring a powerful 1500W brushless hub motor, a 48V 20AH UL-certified battery, 20-inch fat tires, and a dual suspension system, making it suitable for various terrains including mountains, snow, sand, and city roads.

Figure 1.1: The Ridstar Q20 Electric Bike, showcasing its robust design and included accessories.
2. Safety Guidelines
Your safety is paramount. Always adhere to the following guidelines:
- Helmet Use: Always wear a certified helmet when riding.
- Local Regulations: Familiarize yourself with and obey all local traffic laws and regulations regarding electric bikes.
- Pre-Ride Check: Before each ride, inspect brakes, tire pressure, battery charge, and ensure all quick releases and fasteners are secure.
- Front Tire Installation: The front tire must be securely installed. Self-modification may pose safety risks. Contact support if needed.
- Weather Conditions: Exercise caution when riding in wet conditions. Hydraulic dual brakes reduce braking distance by 50% in wet conditions, but increased stopping distance is still required.
- Night Riding: Use the integrated headlight and taillight for visibility during night rides. Consider additional reflective gear.
- Weight Limit: Do not exceed the maximum weight recommendation of 330 pounds.
- Battery Safety: Use only the provided charger. Do not expose the battery to extreme temperatures or puncture it. The battery is UL certified and IP54 waterproof.

Figure 2.1: Ensure visibility with the integrated headlight and taillight during night rides.
3. Assembly
Your Ridstar Q20 Electric Bike arrives 90% pre-assembled. The primary steps involve installing the front wheel, handlebars, pedals, and seat. An assembly tool kit is included.
3.1 Package Contents
Verify that all components are present:
- Ridstar Q20 Ebike (partially assembled)
- Battery Charger
- User Manual
- Assembly Tool Kit
- Pedals
3.2 Step-by-Step Assembly
- Unpacking: Carefully remove the bike and all components from the packaging.
- Front Wheel Installation: Attach the front wheel to the front fork. Ensure the quick release or axle nuts are securely tightened. This step is critical for safety.
- Handlebar Installation: Mount the handlebars to the stem and adjust to a comfortable riding position, then tighten all bolts.
- Pedal Installation: Identify the left (L) and right (R) pedals. Thread them into the crank arms by hand, then tighten securely with a wrench. Note that the left pedal is reverse-threaded.
- Seat Post Adjustment: Insert the seat post into the frame and adjust the height for comfortable pedaling. Secure with the quick release lever.
- Battery Installation: If the battery is not pre-installed, slide it into its compartment and lock it securely with the key.
If you encounter any difficulties during assembly, refer to the instructional videos provided by Ridstar or contact customer support.
4. Components Overview
Familiarize yourself with the key components of your Ridstar Q20 Electric Bike:
- 1500W Brushless Hub Motor: Provides powerful assistance and speeds up to 33 mph.
- 48V 20AH UL Certified Battery: Detachable, lockable, and offers a range of up to 80 miles in pedal-assist mode.
- 20" x 4" Fat Tires: Puncture-resistant and designed for stability and traction across various terrains.
- Hydraulic Dual Disc Brakes: Front and rear hydraulic disc brakes for reliable stopping power.
- Dual Suspension System: Includes front fork shock absorbers and a rear hydraulic shock absorber for a smooth ride.
- 3.5" LCD Display: Shows speed, battery level, PAS level, odometer, and other ride data.
- 7-Speed Gear System: Shimano 7-speed shifter for versatile riding.
- Integrated Lighting: Bright headlight and taillight for visibility.
- Phone Holder with USB Charging Port: Convenient for navigation and charging devices on the go.

Figure 4.1: The powerful 1500W brushless hub motor.

Figure 4.2: The detachable 48V 20AH UL certified battery.
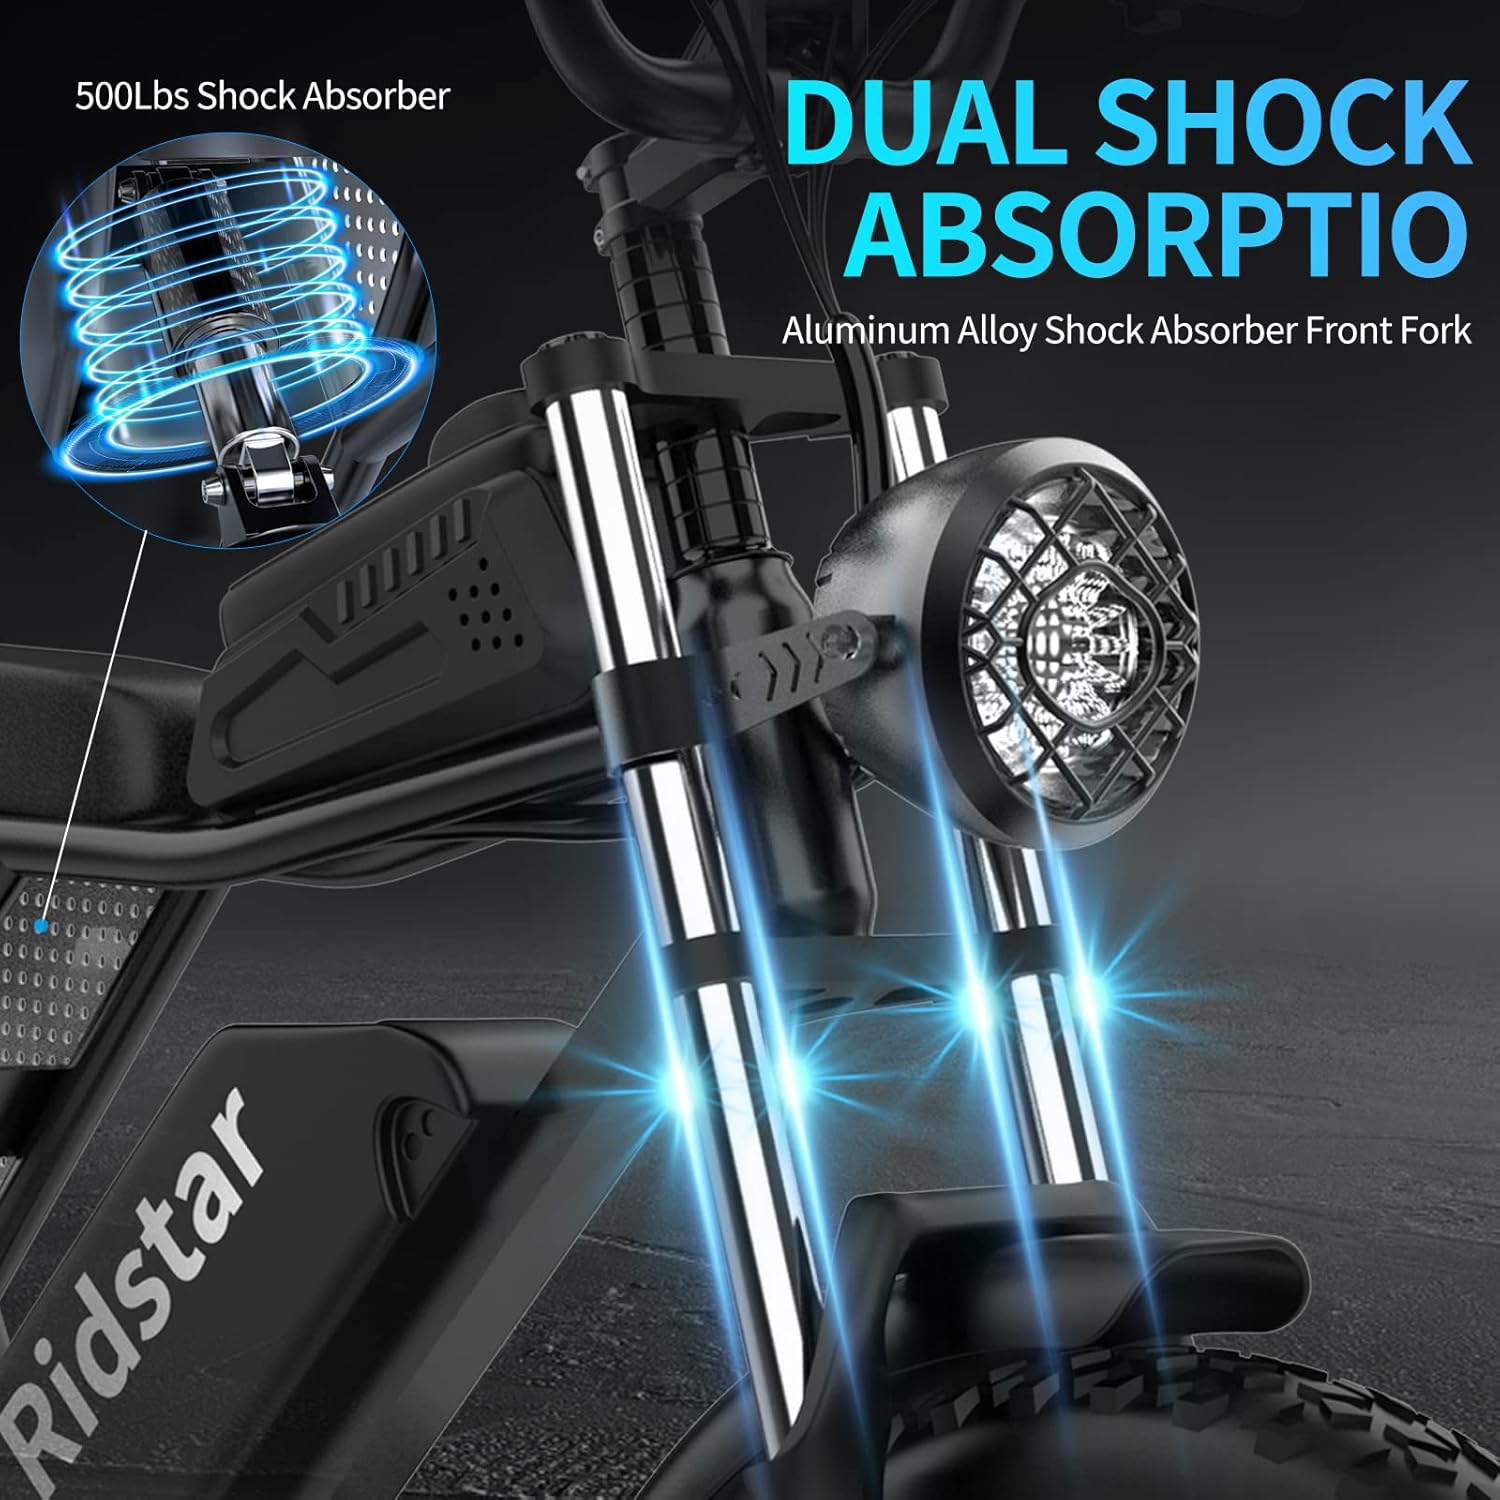
Figure 4.3: Close-up view of the display, phone holder, headlight, taillight, comfortable seat, hydraulic dual brakes, and Shimano 7-speed shifter.
5. Operating Instructions
5.1 Powering On/Off
To power on the bike, ensure the battery is securely installed and unlocked. Press and hold the power button on the display unit for a few seconds. The LCD display will illuminate. To power off, press and hold the power button again.
5.2 Riding Modes
The Ridstar Q20 offers three riding modes:
- Pure Electric Mode: Engages the motor without pedal input. Use the throttle to control speed. Ideal for quick acceleration or when you prefer not to pedal.
- Pedal Assist Mode (PAS): Provides motor assistance as you pedal. The level of assistance can be adjusted via the display (typically PAS 1-5). This mode extends battery life and reduces rider effort.
- Normal Biking Mode: The motor is off, and the bike operates like a traditional bicycle. You rely solely on pedal power.
5.3 Gear Shifting
The Shimano 7-speed gear system allows you to adjust your pedaling effort to suit different terrains and speeds. Use the shifter on the right handlebar to change gears. Shift to lower gears for climbing hills and higher gears for flat terrain or downhill riding.
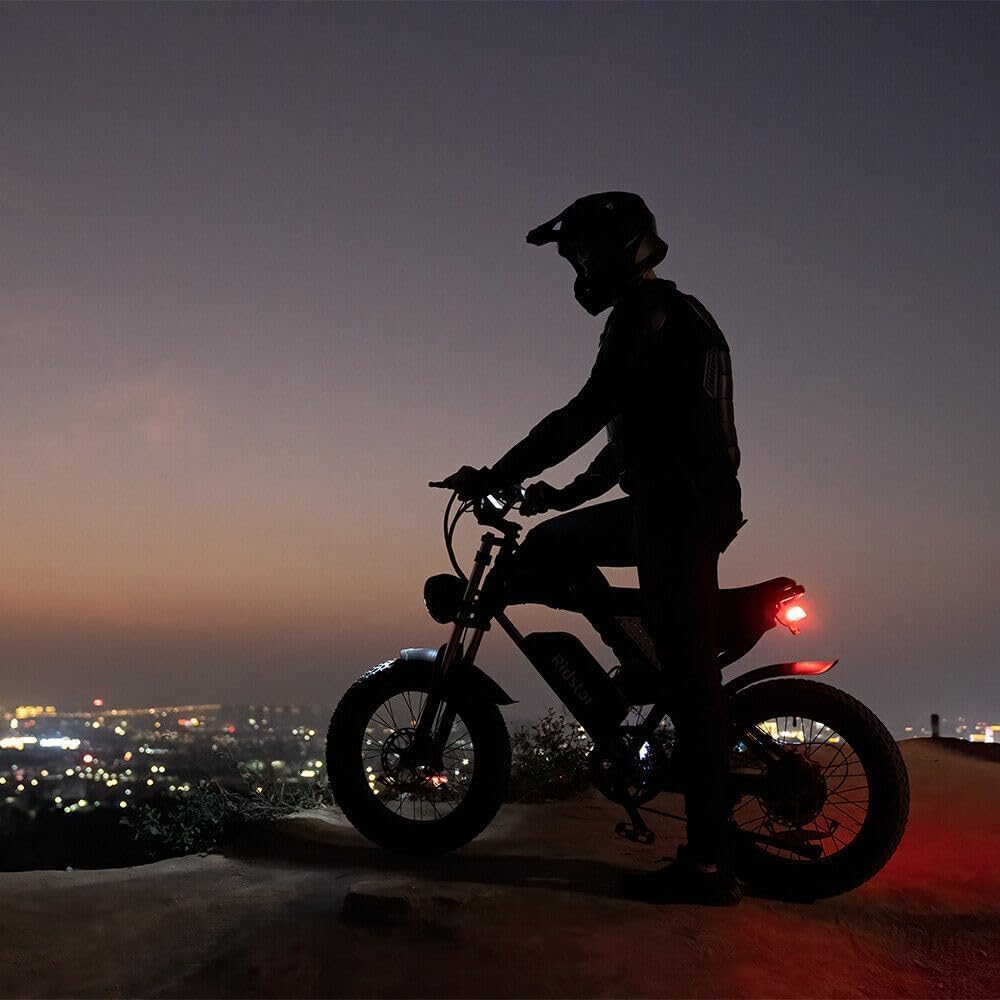
Figure 5.1: The Shimano 7-speed gear shifter for adjusting riding effort.
5.4 LCD Display Functions
The 3.5" LCD display provides real-time information:
- Speed: Current riding speed.
- Battery Level: Indicates remaining battery charge.
- PAS Level: Shows the current pedal assist level (0-5).
- Odometer/Trip Distance: Tracks total distance or current trip distance.
5.5 Battery Charging
To charge the battery, connect the charger to the battery charging port and then to a standard power outlet. The battery can be charged while installed on the bike or detached. A full charge typically takes 4-6 hours. The charger indicator light will change when charging is complete.

Figure 5.2: The integrated phone holder includes a USB charging port for convenience.
6. Maintenance
Regular maintenance ensures the longevity and safe operation of your e-bike.
- Tires: Check tire pressure before each ride. Maintain recommended pressure for optimal performance and to prevent punctures. Inspect for wear and damage.
- Brakes: Regularly check brake pads for wear and ensure brake levers provide firm, responsive stopping power. Adjust or replace as necessary.
- Chain: Keep the chain clean and lubricated to ensure smooth gear changes and prevent premature wear.
- Fasteners: Periodically check all bolts, nuts, and quick releases to ensure they are securely tightened.
- Battery Care:
- Charge the battery regularly, even if not using the bike for extended periods (at least once every 2-3 months).
- Store the battery in a cool, dry place, away from direct sunlight and extreme temperatures.
- Avoid fully discharging the battery frequently.
- The battery has an IP54 waterproof rating, but avoid submerging it in water.
- Cleaning: Clean your e-bike with a damp cloth and mild soap. Avoid high-pressure washing directly on electrical components.
7. Troubleshooting
Here are solutions to common issues you might encounter:
| Problem | Possible Cause | Solution |
|---|---|---|
| Bike does not power on. | Low battery, loose battery connection, power button issue. | Charge the battery. Ensure the battery is fully seated and locked. Press and hold the power button firmly. |
| Motor not assisting. | PAS level set to 0, throttle not engaged (in pure electric mode), brake levers engaged, motor connection issue. | Increase PAS level. Ensure throttle is fully engaged. Check that brake levers are not squeezed. Inspect motor cable connections. |
| Brakes feel weak. | Worn brake pads, air in hydraulic system, misaligned calipers. | Inspect and replace brake pads if worn. Consult a bike mechanic for hydraulic system bleeding or caliper adjustment. |
| Gears are not shifting smoothly. | Dirty or unlubricated chain, misaligned derailleur, stretched cable. | Clean and lubricate the chain. Adjust the derailleur. If issues persist, a bike mechanic may be needed. |
For persistent issues or error codes displayed on the LCD, please contact Ridstar customer support for assistance.
8. Specifications
Detailed specifications for the Ridstar Q20 Electric Bike (Model Q20-1500W 48V20AH):
| Feature | Detail |
|---|---|
| Bike Type | Electric Bike, Mountain Bike, City Bike, Commuting Bike, Beach Ebike, Fat Tire Electric Bike, Electric Commuter Bike, Urban E-bike, Road Bike |
| Age Range | Adult |
| Brand | Ridstar |
| Model Name | QQ20 |
| Number of Speeds | 7 |
| Color | Q20-1500W 48V20AH |
| Wheel Size | 20 Inches |
| Frame Material | Aluminum |
| Suspension Type | Dual (Front Fork, Rear Shock Absorber) |
| Special Features | Digital Display, Taillight, Odometer, Headlight, Rechargeable, Dual Disc Brake, USB Charging Port, Phone Holder |
| Included Components | Ebike, Charger, Manual, Assembly Tool, Pedals |
| Brake Style | Disc (Hydraulic Dual) |
| Specific Uses | All-Terrain |
| Item Weight | 66 Pounds |
| Power Source | Battery |
| Wattage | 1500 watts |
| Lithium Battery Energy Content | 9.6E+2 Watt Hours (960 Wh) |
| Maximum Weight Recommendation | 330 Pounds |
| Minimum User Height | 64 Inches |
| UPC | 745431452720 |

Figure 8.1: Key dimensions and rider height recommendations for the Ridstar Q20 Electric Bike.
9. Warranty & Support
Ridstar is committed to providing high-quality products and excellent customer service.
- Warranty: Your Ridstar Q20 Electric Bike comes with a one-year manufacturer warranty covering e-bike components.
- Technical Support: Ridstar offers lifetime technical support for your product.
- Contact: For any questions, technical assistance, or warranty claims, please contact Ridstar customer support. Refer to the contact information provided with your purchase or visit the official Ridstar website.