Introduction
Thank you for choosing the JWPEHOE Raised Garden Bed. This manual provides essential information for the safe assembly, operation, and maintenance of your new garden bed. Please read these instructions carefully before use and retain them for future reference.
Safety Information
- Always assemble the garden bed on a flat, stable surface.
- Ensure all screws and fasteners are securely tightened before use.
- Do not overload the garden bed with excessive soil or weight beyond its capacity.
- Keep children and pets away from the assembly area to prevent accidents.
- When moving the garden bed, ensure the path is clear and move slowly to prevent tipping.
Package Contents
Please verify that all components are present before beginning assembly. If any parts are missing or damaged, contact customer service.
- Raised Garden Bed Panels (Metal)
- Legs with Wheels
- Storage Shelf Grid
- Handles
- Drainage Plugs/Holes
- Assembly Hardware (Screws, Nuts, Wrench)
- 2 Hooks for Utensils
Setup and Assembly
Follow these steps to assemble your JWPEHOE Raised Garden Bed:
- Unpack Components: Carefully remove all parts from the packaging and lay them out on a clean, flat surface. Check against the package contents list.
- Attach Legs: Securely attach the four legs to the main planter box using the provided screws and wrench. Ensure the legs with wheels are positioned at one end for mobility.
- Install Storage Shelf: Connect the grid storage shelf to the lower section of the legs. This shelf provides additional storage space for gardening tools or other items.
- Attach Handles: Fasten the handles to the sides of the planter box, typically at the end opposite the wheels, for easy maneuvering.
- Verify Drainage: Ensure the built-in drainage holes at the bottom of the planter are clear. If plugs are included, insert them if you wish to temporarily retain water, but remove for proper drainage.
- Final Tightening: Double-check all screws and connections to ensure the garden bed is stable and secure before filling with soil.
Video: Assembly demonstration for a metal raised garden bed. This video illustrates the general steps for putting together a similar metal raised garden bed, including attaching panels and legs.
Video: Assembly guide for a raised garden bed with legs. This video provides a visual guide to assembling the raised garden bed, focusing on the leg and frame construction.

Image: This diagram highlights the ample planting space, the large storage area on the lower shelf, and the robust thickened square tubes used in the construction of the garden bed.
Operating Instructions
Using your JWPEHOE Raised Garden Bed is straightforward:
- Filling with Soil: Fill the planter box with a suitable potting mix or garden soil. The 9-inch deep planting space provides ample room for various plants.
- Planting: Plant your desired vegetables, flowers, or herbs according to their specific requirements. The elevated design reduces the need for bending.
- Watering: Water your plants as needed. The integrated drainage holes will prevent waterlogging and promote healthy root growth.
- Mobility: To move the garden bed, grasp the handles firmly and gently push or pull it using the sturdy wheels. Ensure the path is clear of obstacles.
- Utilizing Storage: Use the additional grid layer and the complimentary hooks to store gardening tools, watering cans, or other accessories.

Image: A woman easily moving the raised garden bed, demonstrating the functionality of the heavy-bearing wheels for enhanced mobility.
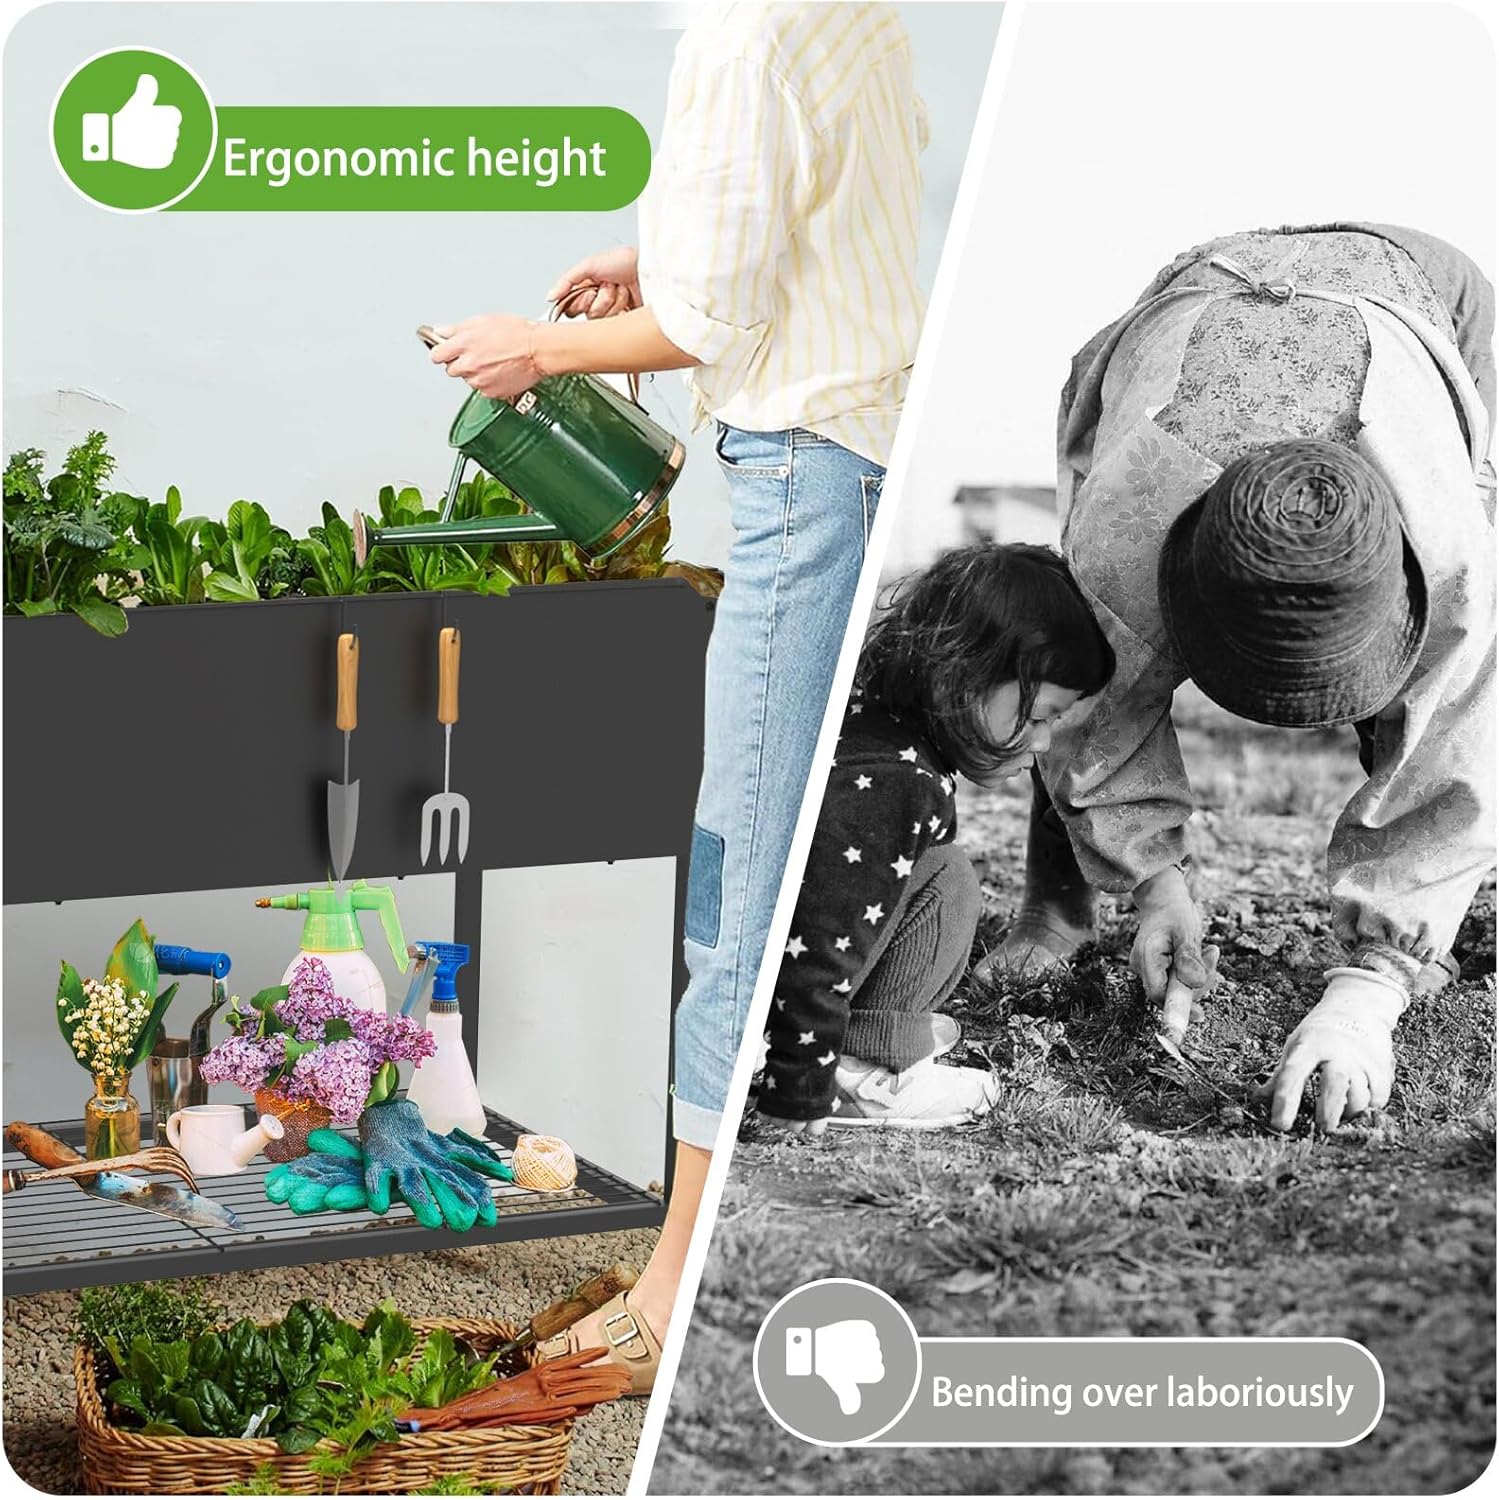
Image: This image contrasts the comfortable, ergonomic height of the raised garden bed, which allows gardening without bending, against the strenuous posture required for ground-level gardening.
Maintenance
Proper maintenance will extend the life of your raised garden bed:
- Cleaning: Periodically wipe down the metal surfaces with a damp cloth to remove dirt and debris. Avoid abrasive cleaners that could damage the anti-rust coating.
- Drainage: Regularly check the drainage holes to ensure they are not clogged with soil or roots. Clear any obstructions to maintain efficient water flow.
- Rust Prevention: While the bed features an anti-rust coating, inspect for any signs of wear or damage to the coating. Touch up any exposed metal areas if necessary to prevent rust.
- Wheel Inspection: Periodically check the wheels for any damage or debris that might hinder movement. Clean as needed.

Image: A visual representation of the proper drainage system within the elevated planter box, showing water flowing through the built-in holes to prevent root rot and salt buildup.
Troubleshooting
Here are solutions to common issues you might encounter:
- Issue: Water is pooling in the planter.
Solution: Check the drainage holes for blockages. Ensure they are clear of soil, roots, or debris. If using drainage plugs, ensure they are removed. - Issue: The garden bed feels unstable.
Solution: Re-check all assembly screws and connections. Tighten any loose fasteners. Ensure the garden bed is placed on a level surface. - Issue: Difficulty moving the garden bed.
Solution: Inspect the wheels for any debris or damage. Ensure the path is clear. If the bed is very heavy, consider removing some soil before moving. - Issue: Rust spots appearing.
Solution: Clean the affected area and apply a rust-inhibiting paint or coating to prevent further corrosion.
Specifications
| Feature | Detail |
|---|---|
| Model | 51 × 26 × 31.5 In |
| Material | Metal |
| Color | Black |
| Dimensions (L x W x H) | 51" x 26" x 31.5" (Approximate, based on product title and specifications) |
| Planting Depth | 9 inches |
| Special Features | Drainage Hole, Mobile (with wheels), Storage Shelf, Ergonomic Height |
| Item Weight | 30 Pounds |

Image: This diagram clearly labels the key dimensions of the raised garden bed, including its length, width, height, and the depth of the planting area.
Warranty and Support
JWPEHOE is committed to customer satisfaction. If you have any questions or require assistance with your raised garden bed after purchase, please do not hesitate to reach out to our 24/7 customer service. We are dedicated to ensuring your gardening journey is smooth and enjoyable.