Introduction
Thank you for choosing the PawHut 23" Bird Cage. This cage (Model D10-018V03BK) is designed to provide a comfortable and secure living space for small birds such as finches, canaries, and budgies. Its thoughtful design includes ample space, easy access points, and essential accessories to ensure your feathered companions thrive. Please read this manual thoroughly before assembly and use to ensure proper setup and long-term enjoyment.
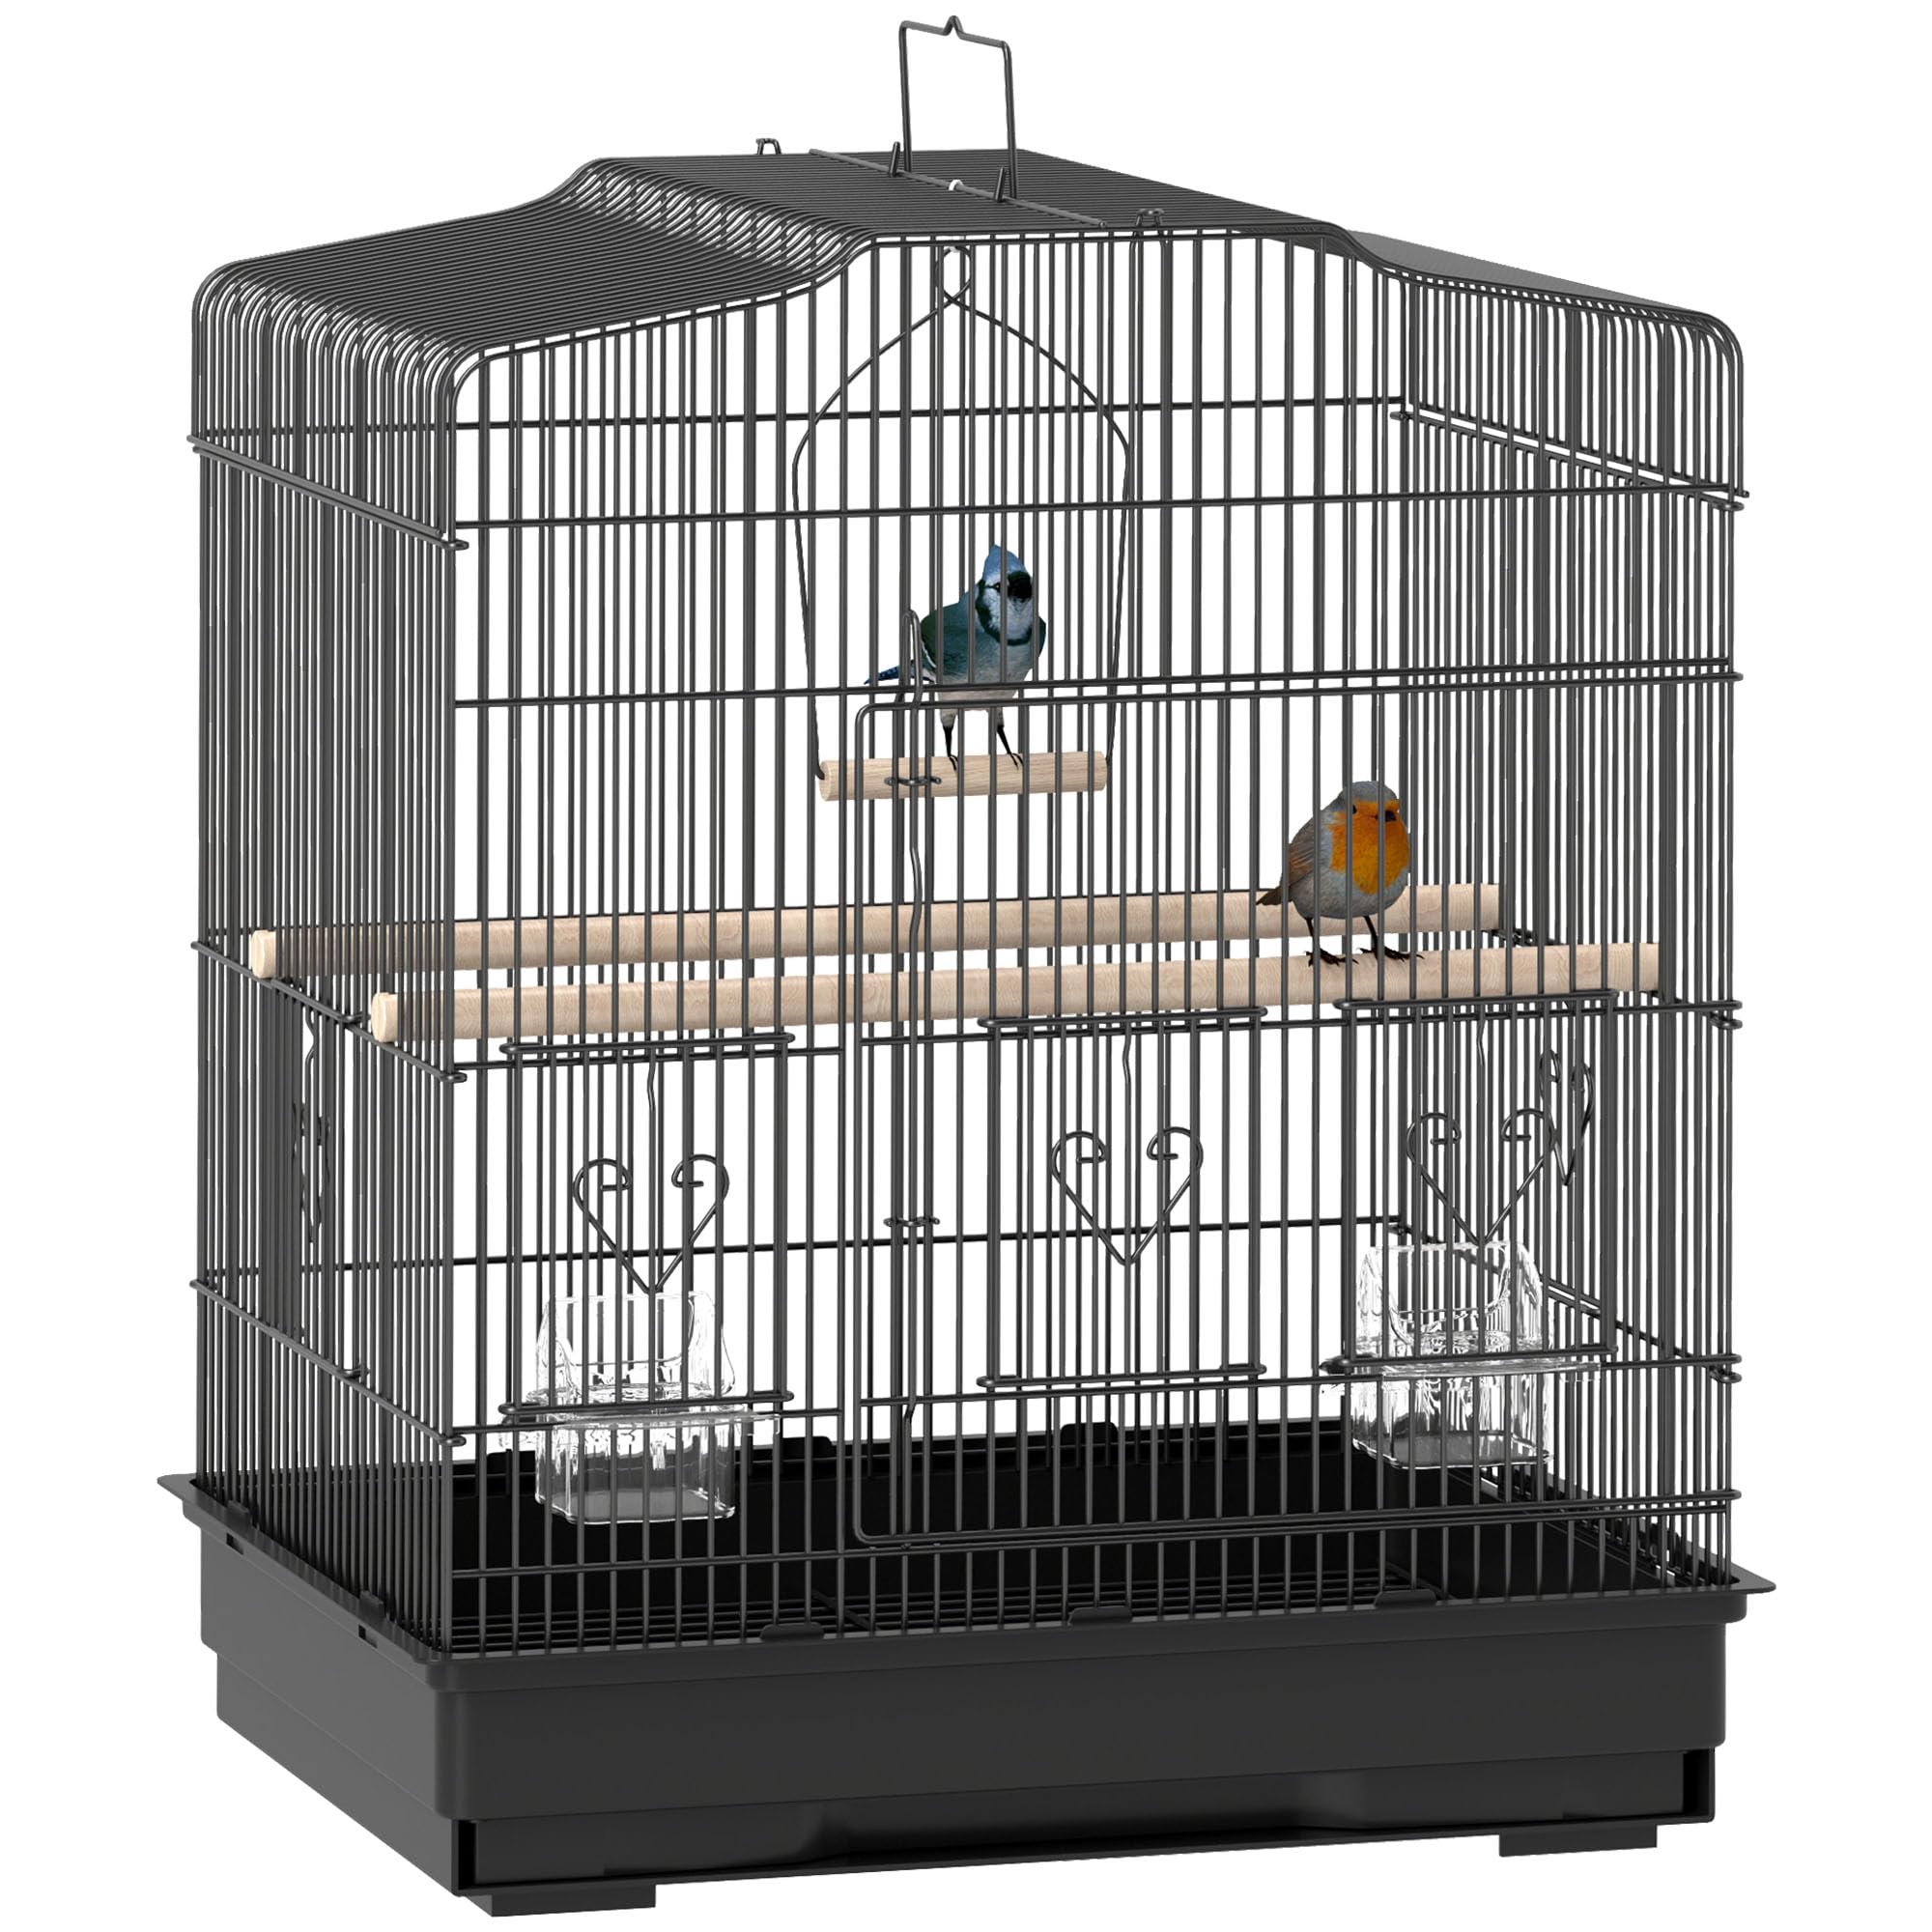
Image: The PawHut 23-inch bird cage, black, with two small birds inside, positioned on a white cabinet in a living room setting.
Safety Information
- Always ensure the cage is placed on a stable, level surface to prevent tipping.
- Keep the cage away from direct sunlight, drafts, and extreme temperatures.
- Regularly inspect the cage for any damaged or loose parts that could harm your bird.
- Ensure all doors and latches are securely closed to prevent escapes.
- Keep small children and other pets supervised around the bird cage.
- Do not use harsh chemicals for cleaning; use bird-safe cleaning solutions.
Package Contents
Before assembly, please verify that all components are present and undamaged:
- Bird Cage Frame (Foldable sections)
- Base Tray
- Bottom Grid
- 2 x Wooden Perches
- 2 x Plastic Feeders
- 1 x Swing
- Top Handle

Image: A detailed view of the bird cage components, including the main frame, wooden perches, plastic feed cups, and a swing.
Setup Instructions
Follow these steps to assemble your PawHut bird cage:
- Unfold the Cage Frame: Carefully unfold the three pre-assembled sides of the cage.
- Attach the Fourth Side: Connect the remaining side panel to the unfolded sections, ensuring all clips and hooks align and secure properly.
- Secure to the Base: Place the assembled cage frame onto the base tray, ensuring it sits firmly and is clipped into place.
- Insert Bottom Grid: Before attaching the top, slide the bottom grid into its designated slots above the base tray. This grid prevents birds from accessing droppings.
- Attach the Top: Secure the top section of the cage, ensuring all latches are engaged.
- Install Perches and Swing: Insert the wooden perches through the cage bars at desired heights. Hang the swing from the top of the cage.
- Place Feeders: Attach the plastic feeders to the designated small doors or openings on the cage.
- Attach Handle: Secure the top handle for easy relocation of the cage.

Image: A partially assembled bird cage, illustrating the process of securing the top section and the placement of internal accessories.
Operating Instructions (Daily Use)
This cage is designed for convenient daily interaction and care:
- Feeding and Watering: Utilize the two plastic feeders for food and water. These can be easily accessed through the small doors without opening the main cage door, minimizing stress for your birds.
- Bird Access: The cage features a spacious front door for easy access to your birds for handling or cage rearrangement. Additionally, five smaller doors provide convenient access for specific tasks like refilling feeders or adding toys.
- Relocation: Use the integrated top handle to safely move the cage when needed. Always ensure the bottom tray is securely in place before moving.

Image: The bird cage highlighting its easy access features, including a large front door and five smaller doors for convenient feeding and interaction.
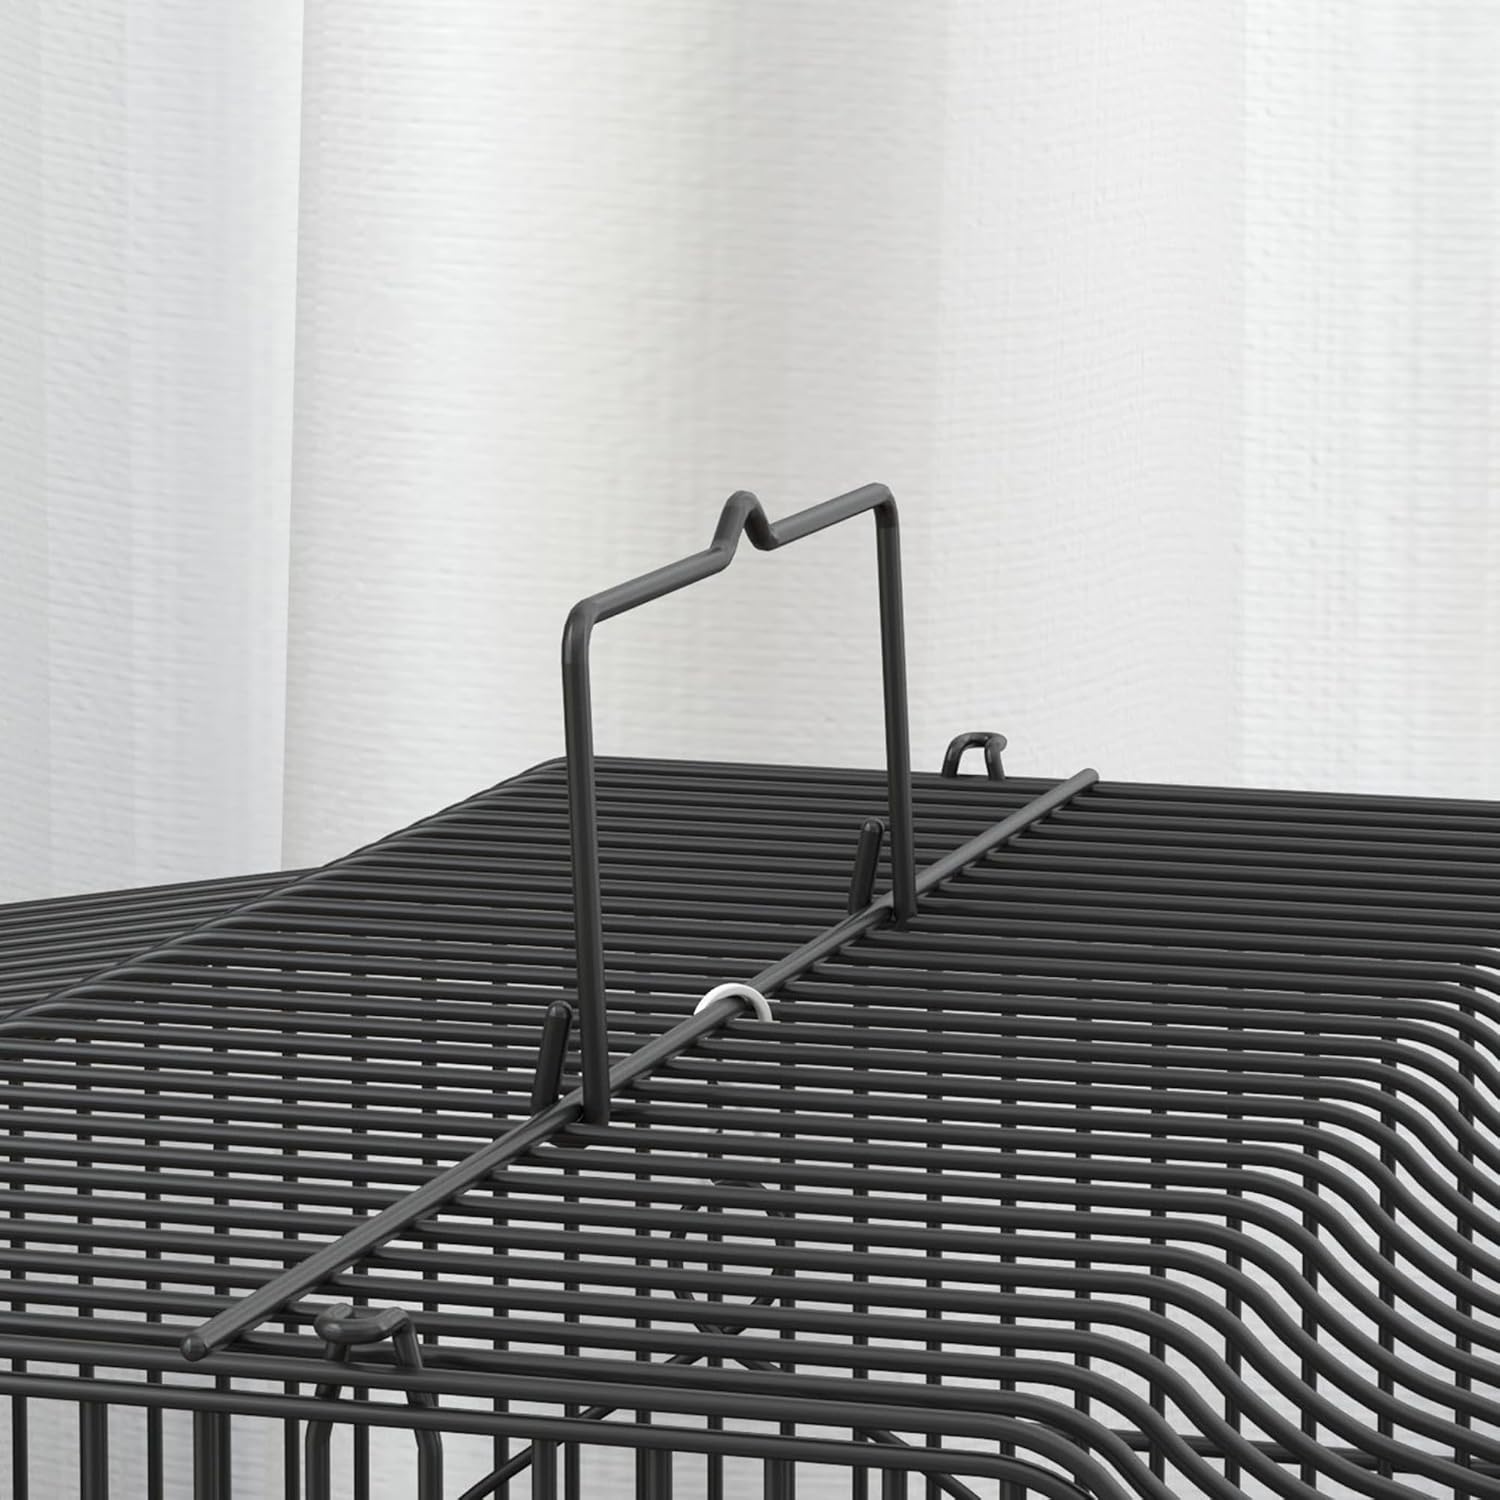
Image: A close-up of one of the small access doors on the cage, demonstrating how feeders can be easily inserted and removed.
Maintenance and Cleaning
Regular cleaning is essential for your bird's health and hygiene:
- Daily Cleaning: Remove and clean food and water dishes daily. Wipe down any visible droppings on perches or cage bars.
- Tray Cleaning: The front slide-out tray is designed to catch bird seeds and droppings. Simply pull out the tray, dispose of waste, and clean it with warm, soapy water. Rinse thoroughly and dry before returning it to the cage.
- Deep Cleaning: Periodically, perform a thorough cleaning of the entire cage. This may involve disassembling the cage to clean all surfaces. Use a bird-safe disinfectant or a solution of mild soap and water. Ensure all parts are completely dry before reassembly.
- Perch Maintenance: Clean wooden perches regularly to prevent bacterial buildup. Replace worn or chewed perches as needed.
Image: A hand demonstrating the easy removal of the slide-out tray from the bird cage for cleaning purposes.
Troubleshooting
| Problem | Possible Cause | Solution |
|---|---|---|
| Cage feels unstable after assembly. | Sections not fully clipped or latched. | Review assembly steps, ensuring all clips and latches are securely engaged. Press firmly on all connections. |
| Doors do not close properly. | Misalignment or obstruction. | Check for any bent wires or debris blocking the door mechanism. Gently adjust the door if slightly misaligned. |
| Perches are loose. | Not inserted correctly or worn. | Ensure perches are fully inserted into the cage bar openings. If worn, consider replacing them. |
| Slide-out tray is difficult to remove/insert. | Debris buildup or misalignment. | Clean the tray and its runners thoroughly. Ensure the tray is aligned correctly with the tracks. |
Specifications
| Feature | Detail |
|---|---|
| Model Number | D10-018V03BK |
| Overall Dimensions (L x W x H) | 47L x 36W x 59H cm (18.5"L x 14.2"W x 23.2"H) |
| Bar Spacing (Gap Size) | 0.4 inches (1 cm) |
| Material | Alloy Steel |
| Color | Black |
| Number of Doors | 6 (1 large front, 5 small access) |
| Included Components | 2 Wooden Perches, 2 Plastic Feeders, 1 Swing, 1 Slide-out Tray |
| Target Species | Finch, Canary, Budgie |
| Usage Environment | Indoor |
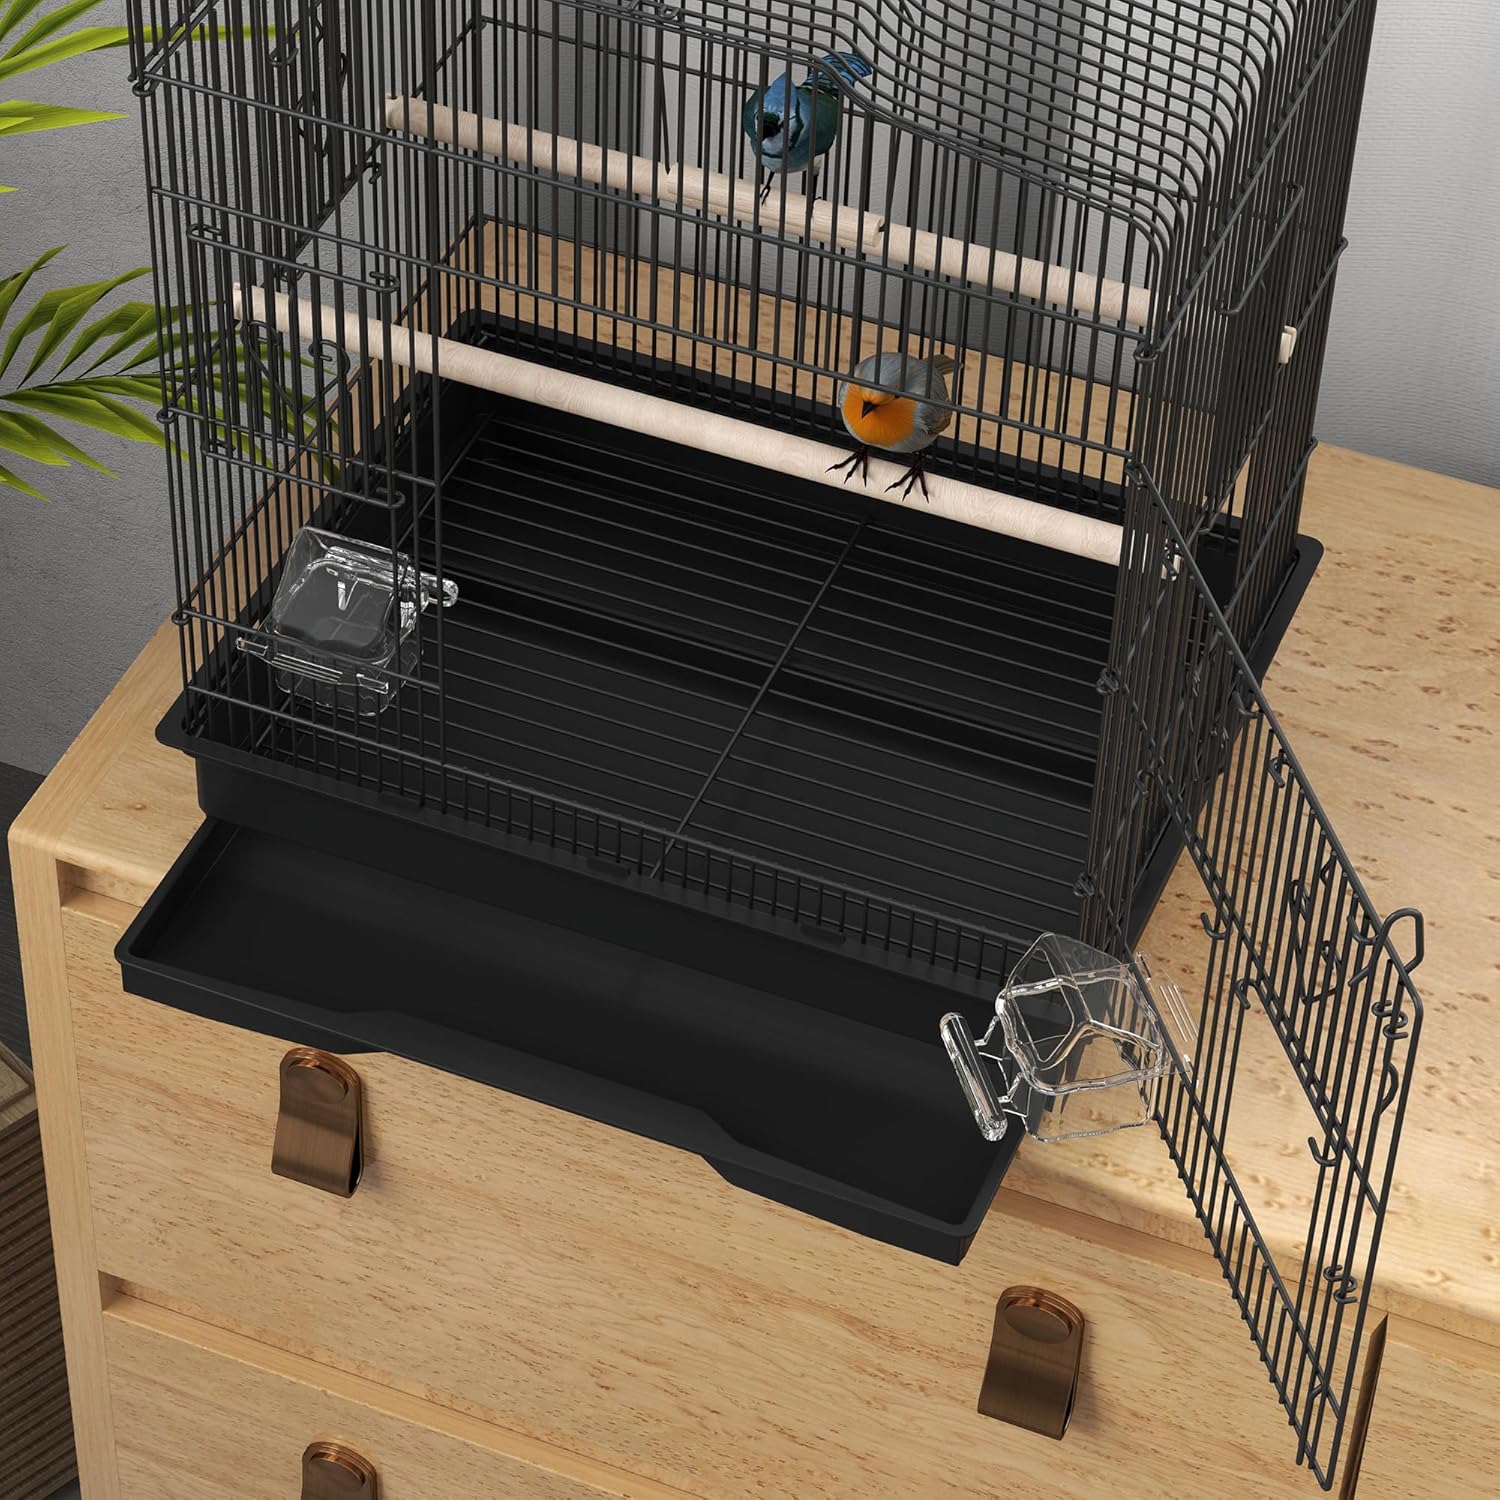
Image: A diagram illustrating the precise dimensions of the bird cage in both centimeters and inches.

Image: The bird cage displayed alongside illustrations of various small bird species, indicating its suitability for finches, canaries, and budgies.
Warranty and Support
Warranty: This PawHut bird cage comes with a 90-day warranty against manufacturer defects. Please retain your proof of purchase for warranty claims.
Customer Support: For any questions, concerns, or assistance with assembly or product issues, please contact Aosom Canada, the manufacturer, directly.
- Manufacturer: Aosom Canada
- Place of Business: Markham, Ontario, CA
- Telephone: 1-416-792-6088
When contacting support, please have your model number (D10-018V03BK) and purchase information readily available.