Introduction
This manual provides comprehensive instructions for the assembly, operation, maintenance, and troubleshooting of your LOUVIXA Model 17-LFY03 Hydraulic Reclining Salon Chair. Please read this manual thoroughly before use to ensure safe and proper operation.
Important Safety Instructions
- Ensure all components are securely fastened before use.
- Do not exceed the maximum weight recommendation of 440 pounds.
- Keep hands and feet clear of moving parts during adjustment.
- Use caution when operating the hydraulic pump and reclining mechanism.
- Regularly inspect the chair for any loose parts or damage. Do not use if damaged.
- This chair is designed for indoor use only.
Package Contents
Please verify that all parts are present before beginning assembly:
- Seat Cushion
- Backrest
- Armrests (2)
- Hydraulic Pump Assembly (Base, Pump, Foot Lever)
- Footrest
- Adjustable Headrest
- Assembly Hardware (Screws, Nuts, Allen Wrench)

Setup and Assembly
Follow these steps to assemble your LOUVIXA salon chair. A power tool can expedite the process.
Step 1: Install Pump and Base
- Place the hydraulic pump into the center hole of the base.
- Secure the pump to the base by tightening the 6 nuts and screws.
- Install the foot lever onto the left side of the hydraulic pump's protrusion. Ensure the lever is bent downwards.
Step 2: Assemble Armrests to Seat Cushion
- Remove the pre-installed screws from the bottom of the seat cushion.
- Attach the L-shaped iron brackets to the armrests using screws.
- Secure the armrests to the seat cushion using the provided screws. Ensure the armrest with the recline control is installed on the right side, aligning with the gas bar under the seat.
Step 3: Connect Backrest to the Seat
- Loosen the two embedded screws on the backrest attachment point.
- Align the backrest with the seat and insert the two screws to connect them.
- Tighten the two small screws on the top to secure the backrest.
Step 4: Assemble Recliner Gas Pump
- Remove the fixed bolt from the gas pump.
- Align the gas pump with the air rod and fix it with the pin.
- Remove the screw on the other end of the air rod.
- Align it with the screw hole on the backrest and re-insert the screw.
- Tighten the middle screw to ensure a stable backrest.
Step 5: Attach Foot Pedal with Chair Body
- Attach the footrest pedal to the footrest frame.
- Remove the two screws on the bottom of the seat where the footrest attaches.
- Align the footrest frame with the holes and tighten the screws to secure it to the chair body.
Step 6: Final Assembly - Seat to Hydraulic Pump
- Carefully place the assembled seat onto the hydraulic pump.
- Ensure the seat's central opening aligns with the top of the hydraulic pump.
- Insert the gas bar into the slot on the hydraulic pump.
- Insert the adjustable headrest into the designated slots on the backrest.
Operating Instructions
Height Adjustment
To adjust the chair's height, gently and continuously step on the foot lever located at the base of the hydraulic pump. The chair will rise. To lower the chair, press the foot lever directly to the bottom while seated. Release the lever to lock the height.

Reclining Function
To recline the backrest, pull the lever located on the right armrest. The backrest can be adjusted from 90 degrees (upright) to 135 degrees (reclined). Release the lever to lock the backrest in your desired position.

360-Degree Swivel
The chair features a 360-degree swivel function for easy maneuverability. Simply rotate the chair to your desired orientation.

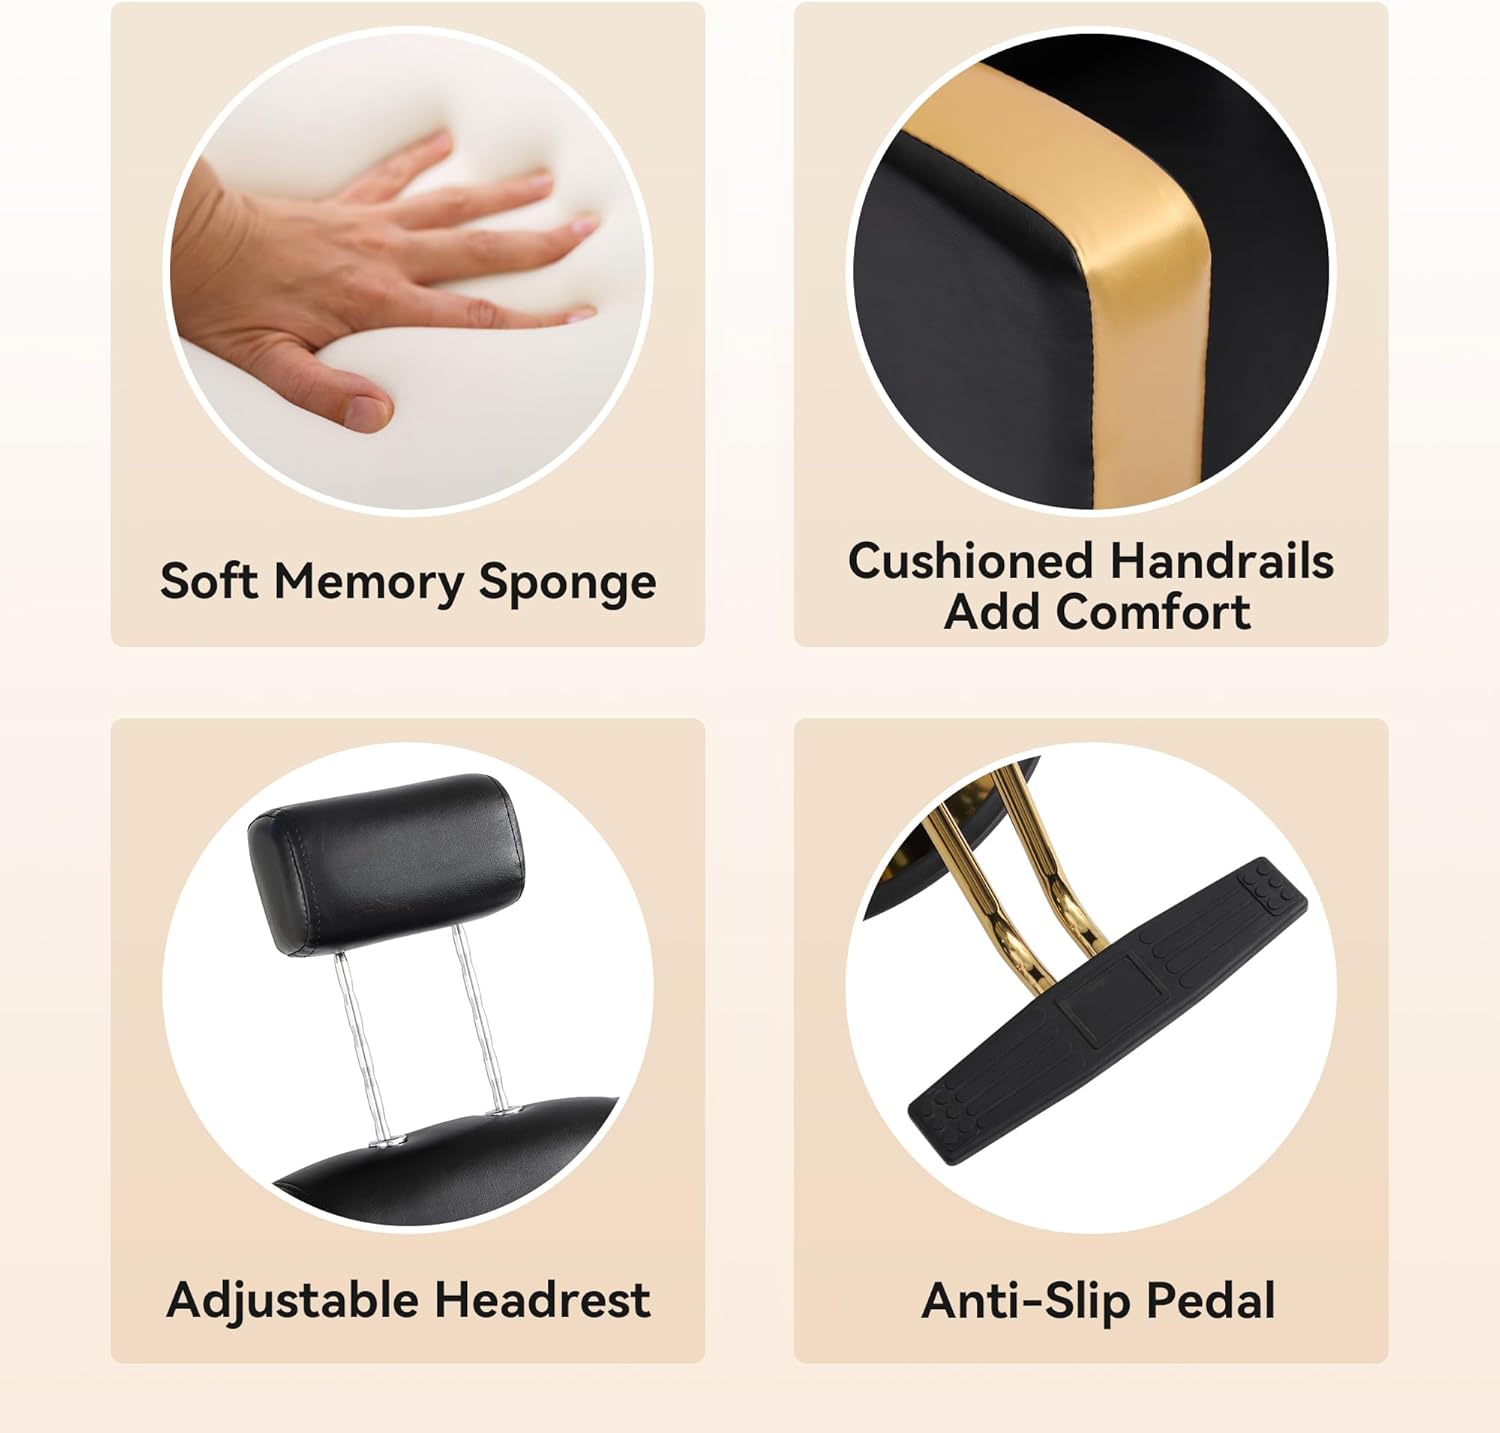
Adjustable Headrest
The headrest can be adjusted vertically to accommodate different client heights and preferences. Simply pull up or push down to adjust its position.
Maintenance
To ensure the longevity and optimal performance of your LOUVIXA salon chair, follow these simple maintenance guidelines:
- Cleaning: Wipe clean with a damp cloth and mild soap. Avoid harsh chemicals or abrasive cleaners that may damage the faux leather or metal finishes.
- Inspection: Periodically check all screws and bolts to ensure they are tight. Re-tighten as necessary.
- Hydraulic System: If the hydraulic system becomes stiff or noisy, consult a professional for lubrication or repair.
Troubleshooting
If you encounter issues with your salon chair, refer to the following common problems and solutions:
Issue: Chair does not recline or automatically tilts.
Solution: This issue is often related to the recliner gas pump mechanism. Ensure the screws connecting the gas pump to the backrest are properly aligned and tightened. Refer to the troubleshooting video for detailed steps.
Issue: Chair height adjustment is inconsistent.
Solution: Ensure the hydraulic pump is correctly installed and the foot lever is fully engaged when adjusting. If the issue persists, check for any obstructions or consult a professional.
Specifications
| Brand | LOUVIXA |
| Model Name | Salon Chair 17-LFY03 |
| Color | Black-golden |
| Product Dimensions | 18.8"D x 22.4"W x 40"H |
| Material | Faux Leather, Sponge |
| Maximum Weight Recommendation | 440 Pounds |
| Special Features | Adjustable Headrest, Adjustable Height, Ergonomic, Foot Rest, Reclining, Swivel |
| Reclining Position Count | 3 (90°, 100°, 135°) |
| Item Weight | 61.6 pounds |

Warranty and Support
For warranty information or technical support, please contact LOUVIXA customer service through your purchase platform. Keep your purchase receipt as proof of purchase.