
1. Introduction
Thank you for purchasing the Hasegawa 1/24 Honda Civic SiR (EF9) (1990) plastic model kit. This kit allows you to recreate the iconic 1990 Honda Civic SiR (EF9) in a highly detailed 1/24 scale. This product is a plastic model kit that requires assembly, painting, and the use of various tools and adhesives. Please read this manual carefully before beginning assembly to ensure a smooth and enjoyable building experience.

Image 1.1: Completed Hasegawa 1/24 Honda Civic SiR (EF9) model.
2. Safety Information
This model kit contains small parts and requires the use of sharp tools, adhesives, and paints. Please observe the following safety precautions:
- Adult Supervision: This product is intended for adult modelers. Keep out of reach of small children due to choking hazards and sharp components.
- Ventilation: When using adhesives and paints, ensure adequate ventilation to avoid inhaling fumes. Work in a well-ventilated area or use a respirator.
- Tool Safety: Handle hobby knives, clippers, and other tools with extreme care to prevent injury. Always cut away from your body.
- Adhesive and Paint Handling: Follow the safety instructions provided by the manufacturers of your chosen adhesives and paints. Avoid contact with skin and eyes.
- Disposal: Dispose of waste materials, including empty paint cans and adhesive tubes, according to local regulations.
3. Required Tools and Materials
The following items are not included in this kit and must be purchased separately:
- Plastic cement (model glue)
- Hobby knife or sprue cutters
- Sandpaper or sanding sticks (various grits)
- Paints (acrylic, enamel, or lacquer) and brushes or airbrush
- Masking tape
- Tweezers
- Small files (optional)
- Clear coat (optional, for protection and finish)
4. Setup and Preparation
Before starting assembly, prepare your workspace:
- Clean Area: Ensure your work surface is clean, well-lit, and free from clutter.
- Organize Parts: Carefully open the plastic bags containing the sprues (frames with parts). Identify each sprue by its letter designation. Do not remove parts from the sprues until instructed.
- Review Instructions: Familiarize yourself with the entire instruction manual included in the kit. Pay attention to part numbers, assembly order, and painting guides.

Image 4.1: Kit packaging illustrating parts and basic paint scheme.
5. Assembly Instructions
This kit consists of 106 parts. Follow the step-by-step diagrams in the included instruction sheet for precise assembly. The general process involves:
- Part Removal: Carefully cut parts from the sprues using sprue cutters or a hobby knife. Avoid pulling or twisting, which can damage parts.
- Cleaning Parts: Trim any excess plastic (flash) from the parts using a hobby knife or sandpaper. This ensures a clean fit.
- Test Fitting: Before applying glue, test fit parts together to ensure they align correctly. If parts are too tight, gently sand them down.
- Gluing: Apply plastic cement sparingly to the joining surfaces. Hold parts together firmly until the glue sets.
- Sub-Assemblies: Build smaller sections (e.g., engine, interior, chassis) first, then combine them into the main body.
5.1. Chassis and Suspension
Assemble the chassis components, including the suspension arms and wheels. Ensure all parts are securely attached and aligned for proper stance.

Image 5.1.1: Sprue containing chassis and suspension parts.

Image 5.1.2: Sprue showing suspension arm components.

Image 5.1.3: Sprue with wheel components.
5.2. Interior Assembly
Assemble the interior components, including the dashboard, seats, and door panels. Pay attention to detail for a realistic finish.

Image 5.2.1: Sprue showing the dashboard part.
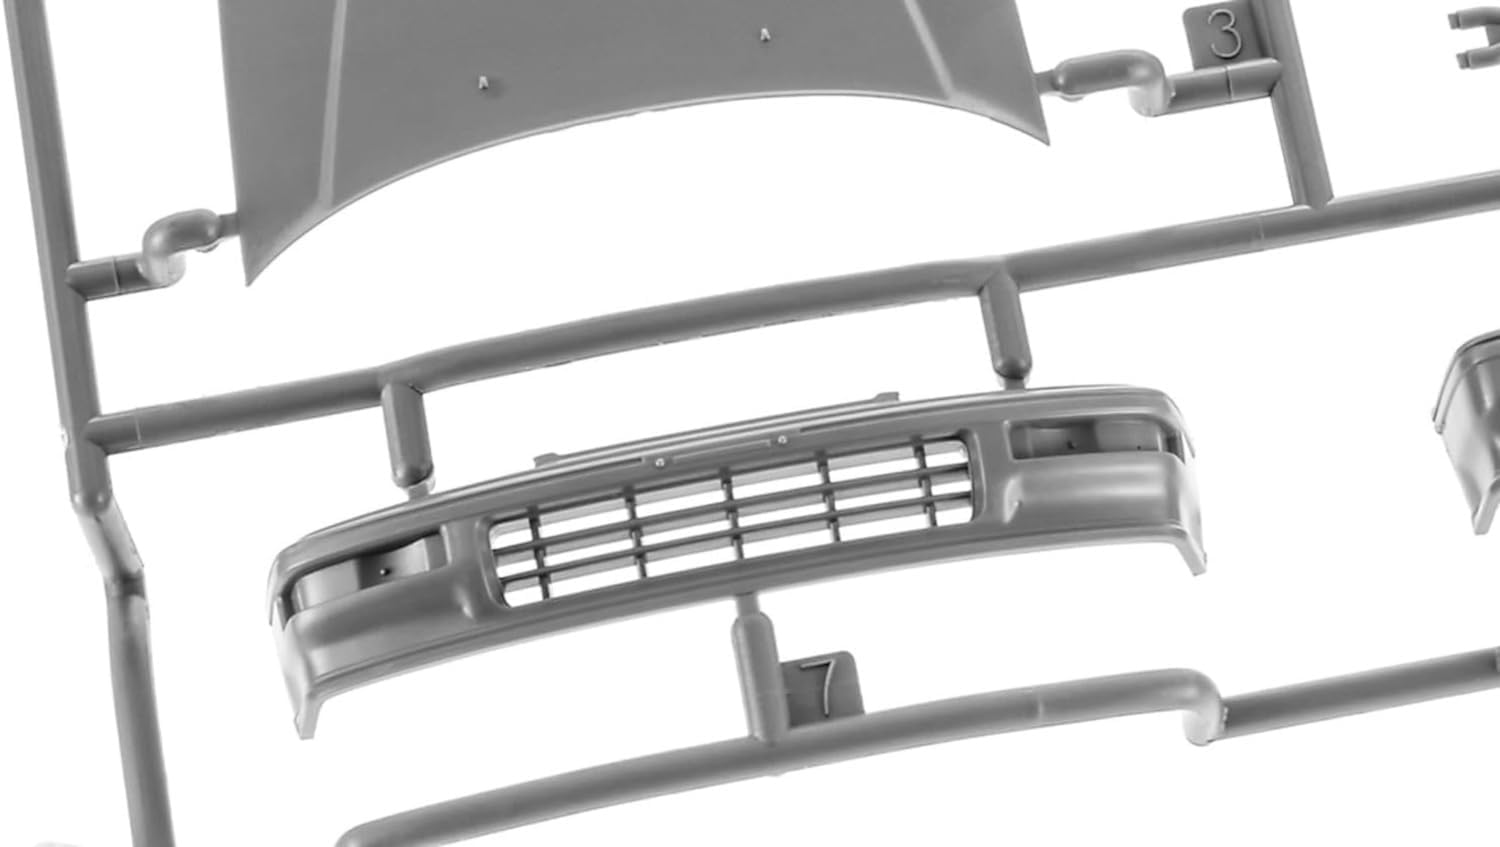
Image 5.2.2: Sprue showing door panel parts.
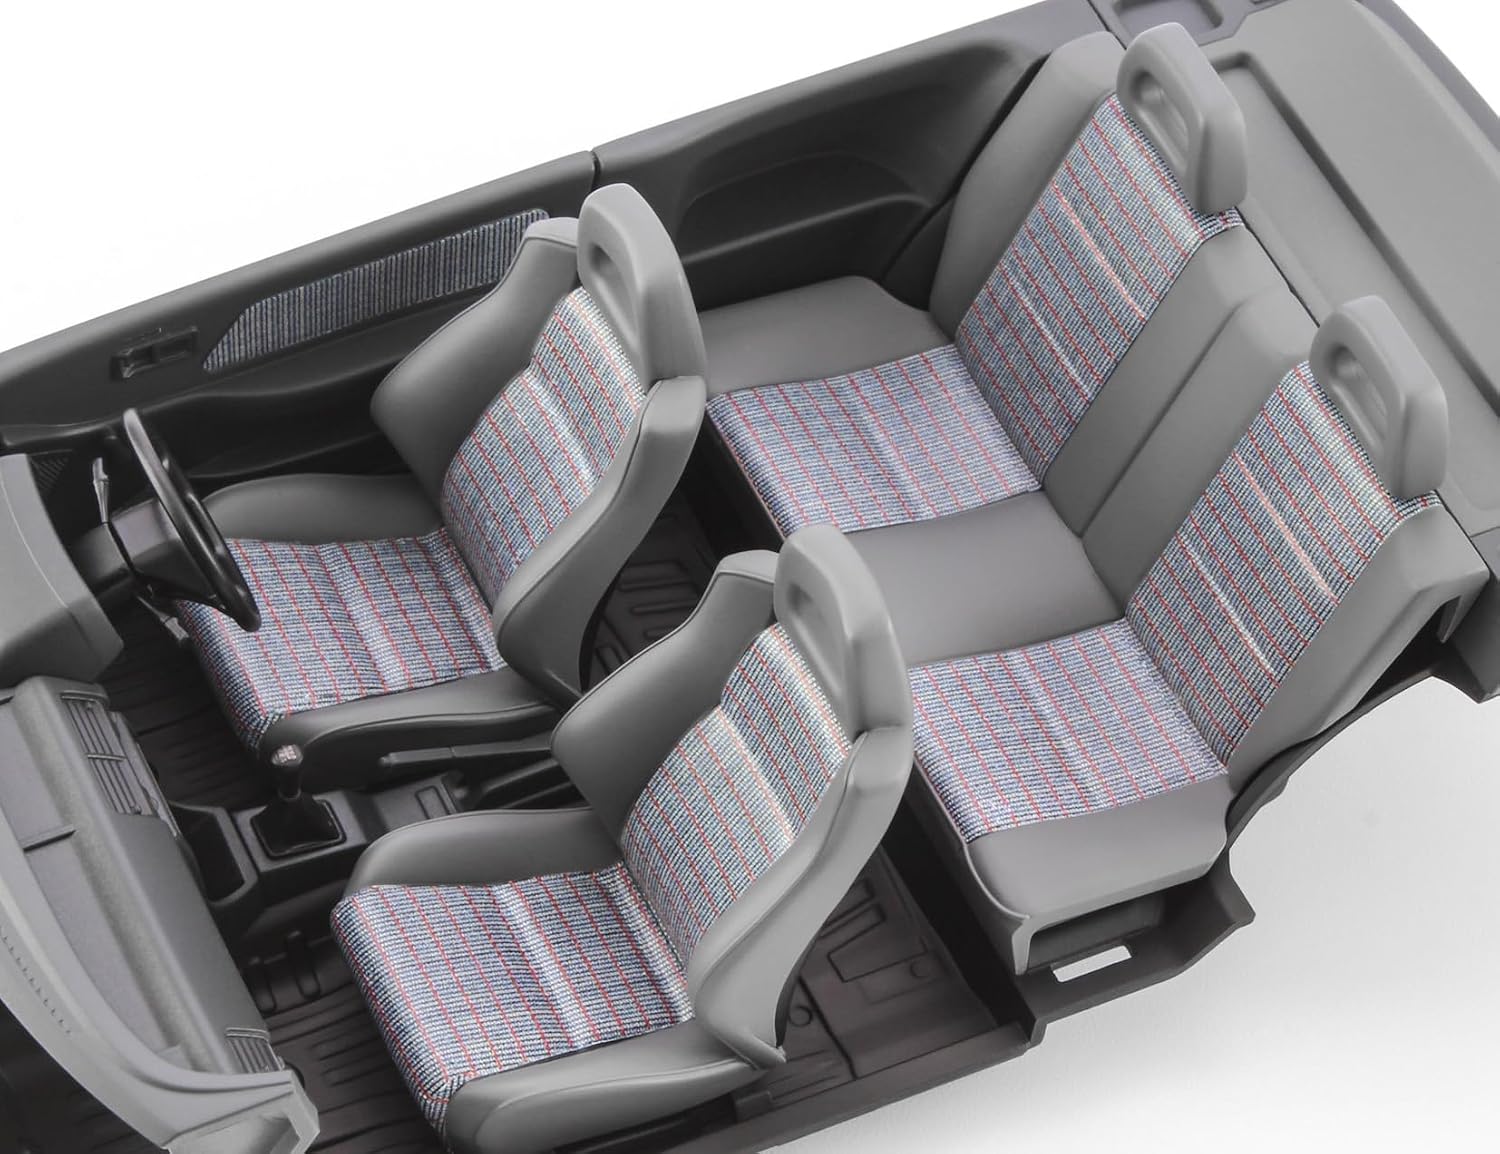
Image 5.2.3: Assembled interior showing seats and dashboard.
5.3. Body and Exterior
Attach exterior parts such as bumpers, lights, and mirrors to the main body. Ensure a clean fit and smooth seams.

Image 5.3.1: Sprue showing the front bumper part.

Image 5.3.2: Front view of the completed model.
6. Painting and Finishing
Painting is an essential step to achieve a realistic appearance for your model. Refer to the color guide in the kit's instruction sheet for recommended paint colors and locations.
- Surface Preparation: Before painting, ensure all parts are clean and free of dust, grease, or fingerprints. You may wash parts with mild soap and water, then let them dry completely.
- Priming: Applying a primer coat can improve paint adhesion and provide a uniform base color.
- Painting Techniques: Apply paint in thin, even coats to avoid obscuring details. Multiple thin coats are better than one thick coat. Allow each coat to dry thoroughly before applying the next.
- Detail Painting: Use fine brushes for small details like lights, trim, and interior elements.
- Decals: Apply decals according to the kit instructions. Use decal setting solutions for better adhesion and to conform to irregular surfaces.
- Clear Coat: A final clear coat (gloss or matte, depending on the desired finish) can protect the paint and decals and provide a uniform sheen.

Image 6.1: Example of a finished model with paint and decals applied.
7. Display and Handling
Once your model is complete, it is ready for display. Handle your finished model with care to preserve its details and paint finish.
- Display Location: Choose a stable, level surface away from direct sunlight, extreme temperatures, and high humidity.
- Dust Protection: Consider displaying your model in a dust-proof display case to keep it clean and protected.
- Handling: Always pick up the model by its sturdy base or chassis, avoiding delicate parts like mirrors, antennas, or spoilers.
8. Maintenance
Regular, gentle cleaning will help maintain the appearance of your model over time.
- Dusting: Use a soft, dry brush (like a makeup brush) or a can of compressed air to gently remove dust. Avoid wiping with cloths, which can scratch the paint.
- Cleaning Stains: For stubborn marks, lightly dampen a cotton swab with water or a very mild, non-abrasive cleaner. Test on an inconspicuous area first.
- Avoid Chemicals: Do not use harsh chemical cleaners, as they can damage plastic and paint.
9. Troubleshooting Common Issues
Here are solutions to some common challenges encountered during model building:
- Parts Not Fitting: If parts are too tight, gently sand the mating surfaces. If too loose, apply a small amount of filler or a thicker glue.
- Seam Lines: After gluing, minor gaps or seam lines may appear. These can be filled with putty, sanded smooth, and then painted over.
- Paint Issues:
- Orange Peel: Paint applied too thickly or drying too quickly can result in a textured finish. Apply thinner coats or adjust paint consistency.
- Dust in Paint: Ensure your painting area is clean and dust-free.
- Runs/Sags: Too much paint applied at once. Apply lighter coats.
- Decal Silvering: If decals show a silvery film, it's usually due to air trapped underneath. Use decal setting solutions to help them conform and eliminate air.
10. Specifications
| Feature | Detail |
|---|---|
| Brand | Hasegawa |
| Model Name | Honda Civic SiR (EF9) (1990) |
| Model Number | HC64 |
| Scale | 1:24 |
| Material | Plastic |
| Number of Parts | 106 |
| Finished Size (L x W x H) | 16.7 x 7.8 x 5 cm (6.57 x 3.07 x 1.97 inches) |
| Country of Origin | Japan |
11. Warranty and Support
This product is a plastic model kit. While specific warranty details are not provided, the kit includes a detailed instruction manual to guide you through the assembly process.
For missing or defective parts, please contact Hasegawa customer support directly. Keep your purchase receipt and the product packaging (including the UPC: 4967834211643) as proof of purchase.
For general inquiries or further assistance, please visit the official Hasegawa website or contact their customer service department.


