
1. Introduction
This manual provides detailed instructions for the installation, operation, and maintenance of your Mengshen MS-Z23 Rechargeable Bike Headlight and Tail Light Set. This set is designed to enhance cycling visibility and safety during various riding conditions, including night riding and low-light environments. Please read this manual thoroughly before using the product to ensure proper function and safety.
2. Package Contents
Verify that all items listed below are included in your package:
- 1 x Head Light
- 1 x Tail Light
- 1 x Remote Control
- 2 x Charging Cables (USB-C)
- 1 x User Manual (this document)
- 1 Set of Installation Holders (includes Remote control holder, Head Light Holder, 2 x Tail Light holders)

Image: All components included in the Mengshen MS-Z23 Bike Light Set, including the headlight, tail light, remote control, charging cables, and various mounting brackets.
3. Specifications
| Feature | Specification |
|---|---|
| Brand | Mengshen |
| Model Number | MS-Z23 |
| Material | Aluminum Alloy (Lights), Acrylonitrile Butadiene Styrene (Mounts/Remote) |
| Power Source | DC, Rechargeable Lithium Battery |
| Head Light Brightness | Up to 160 Lumens |
| Battery Capacity | 3.7V 600mAh Lithium (Head Light & Tail Light) |
| Waterproof Rating | IP66 |
| Remote Control Power | CR2032 Battery |
| Remote Control Range | 5-20 meters (16-66 ft) |
| Light Dimensions (approx.) | 40*34mm (1.6*1.3 inch) |
| Light Weight (approx.) | 100g (3.53 oz) |

Image: Illustration highlighting the IP66 waterproof and dustproof rating of the bike lights, indicating their durability in various weather conditions.

Image: Depiction of the bike lights' ability to adapt to various harsh environments, featuring waterproof, drop resistance, UV protection, wide temperature range, and automatic brake light highlighting with brightness sensing.
4. Setup and Installation
Follow these steps to properly install your bike light set:
4.1. Headlight Installation
- Select the appropriate holder for your handlebar.
- Securely attach the headlight holder to your bike's handlebar using the provided strap or clamp. Ensure it is stable and does not obstruct your view or controls.
- Slide the headlight onto the mounted holder until it clicks into place.
- Adjust the angle of the headlight to illuminate the path ahead without blinding oncoming traffic.
4.2. Tail Light Installation
- Choose a suitable tail light holder for your seat post or bike frame.
- Attach the tail light holder firmly to the desired location.
- Slide the tail light onto the mounted holder.
- Ensure the tail light is visible from the rear and is not obstructed by bags or clothing.
4.3. Remote Control Installation
- Attach the remote control holder to an easily accessible position on your handlebar, typically near your thumb.
- Insert the remote control into its holder.
- Test the remote control to ensure it can activate both the headlight and tail light from its mounted position.
5. Operating Instructions
The Mengshen MS-Z23 light set offers various modes and features for optimal cycling safety.
5.1. Powering On/Off
- Press the main power button on the remote control to turn on both the headlight and tail light.
- Press the main power button again to turn off both lights.
5.2. Headlight Modes
The front light provides three brightness levels:
- High: Maximum brightness for dark conditions.
- Medium: Balanced brightness for varied conditions.
- Flashing: For increased visibility during the day or in low-light.
Cycle through these modes using the designated button on the remote control.
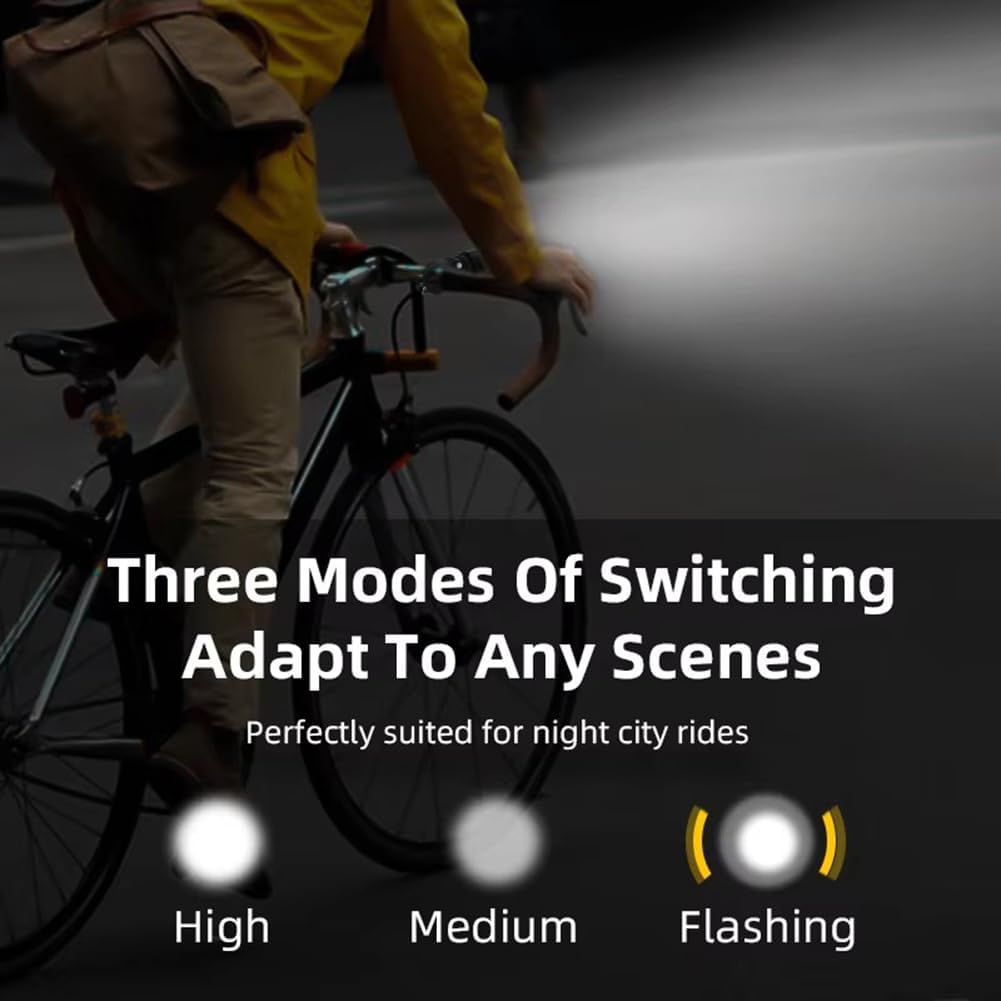
Image: Visual representation of the three headlight modes: High, Medium, and Flashing, designed to adapt to different riding scenes.
5.3. Tail Light Features
- Brake Sensing Technology: The tail light automatically illuminates a bright red light for 2 seconds upon detecting braking action, alerting surrounding pedestrians and vehicles.
- Auto-Adjustment Brightness: Equipped with a smart brightness sensor, the tail light automatically turns off after 30 seconds in well-lit environments and reactivates when riding in the dark, conserving battery while ensuring visibility.
- Turn Signal Indicators: Activate left or right turn signals using the remote control. The corresponding light will flash and emit an audible alert to notify vehicles behind you. Signals automatically turn off after 2 minutes or can be manually stopped via the remote.
- Emergency Double Flash Mode: Use the remote control to activate an emergency double flash for enhanced visibility in critical situations.
- Personalized Lighting: The tail light offers various color-changing modes for additional visibility and personalization.

Image: The tail light displaying left and right turn signals, along with multiple personalized lighting color options.
5.4. Using the Remote Control
The remote control allows for convenient operation of both lights. Familiarize yourself with the button layout:
- Central Button: Main power On/Off for both lights.
- Arrow Buttons (Left/Right): Activate corresponding turn signals.
- Up/Down Arrows: Cycle through headlight brightness modes.
- Other Buttons: Activate emergency flash or personalized tail light modes.
6. Charging Instructions
Both the headlight and tail light are rechargeable via USB-C.
6.1. Charging Procedure
- Locate the USB-C charging port on each light.
- Connect the provided USB-C charging cable to the light and plug the other end into a standard USB power adapter (not included) or a computer USB port.
- The charging indicator on the light will show its charging status.
- Once fully charged, disconnect the cable.

Image: The bike light connected to a USB-C charging cable, with visual indicators showing battery charge levels (25%, 50%, 75%, 100%).
6.2. Battery Life and Standby
- Each light is equipped with a 600mAh lithium battery.
- Working time typically ranges from 1 to 3 months depending on usage patterns and mode selection.
- Standby time can extend from 4 to 8 months.
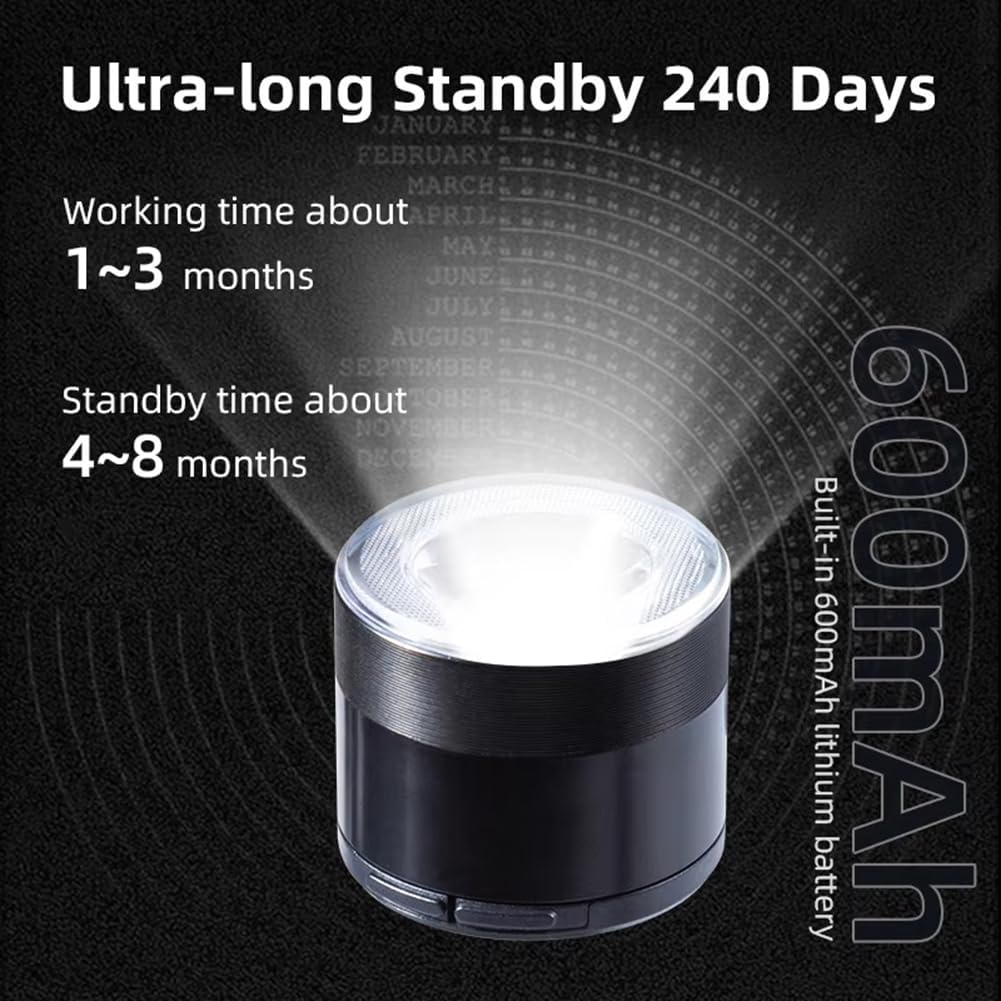
Image: A Mengshen bike light illustrating its ultra-long standby capability of up to 240 days, powered by a built-in 600mAh lithium battery.
7. Maintenance
Proper maintenance ensures the longevity and optimal performance of your bike lights.
- Cleaning: Wipe the lights with a soft, damp cloth to remove dirt and dust. Avoid using abrasive cleaners or solvents.
- Waterproofing: The lights have an IP66 waterproof rating, meaning they are protected against powerful water jets and dust. While suitable for rain, avoid submerging them in water.
- Storage: Store the lights in a cool, dry place when not in use. If storing for an extended period, ensure they are partially charged (around 50%) to preserve battery health.
- Battery Care: Recharge the batteries regularly, even if not fully depleted, to maintain battery capacity.
8. Troubleshooting
If you encounter issues with your Mengshen bike light set, refer to the following common solutions:
- Lights not turning on: Ensure the lights are charged. Check if the remote control battery (CR2032) needs replacement.
- Remote control not responding: Verify the remote control battery. Ensure there are no obstructions between the remote and the lights.
- Lights dim or inconsistent: Recharge the lights fully. Clean the light lenses if they appear dirty.
- Turn signals not working: Check remote control battery. Ensure the tail light is properly mounted and not obstructed.
If problems persist, contact customer support for further assistance.
9. Safety Information
Adhere to these safety guidelines when using your bike lights:
- Always ensure lights are fully charged before night rides.
- Mount lights securely to prevent them from falling off during rides.
- Adjust headlight angle to avoid dazzling oncoming pedestrians or drivers.
- While the lights enhance visibility, always remain vigilant and follow all traffic laws.
- Do not look directly into the headlight beam to avoid temporary vision impairment.
- Keep out of reach of children.
10. Warranty and Support
For warranty information or technical support, please refer to the product packaging or contact Mengshen customer service directly. Keep your purchase receipt as proof of purchase.