1. Introduction
This instruction manual provides essential information for the safe and effective use of your H2ofloss USB Charging Cable, Model USB-1. This cable is designed to charge specific H2ofloss portable water flossers that utilize a 2-round pin charging interface. Please read this manual thoroughly before use and retain it for future reference.
2. Product Overview
The H2ofloss USB Charging Cable (Model USB-1) is a replacement or spare charging cable for compatible H2ofloss portable water flossers. It features a standard USB Type-A connector on one end and a 2-round pin connector on the other, designed for a secure and efficient charging connection.

Image 2.1: H2ofloss USB Charging Cable, showing the USB-A and 2-round pin connectors.
Key Features:
- Compatibility: Specifically designed for H2ofloss portable water flossers with a 2-round pin charging interface.
- USB Charging: Connects to any standard USB Type-A power source (e.g., wall adapter, power bank, computer, car charger).
- Durable Construction: Features a copper core wire for strength and reliability.
- Fast Charging: Supports efficient power delivery for quick charging.
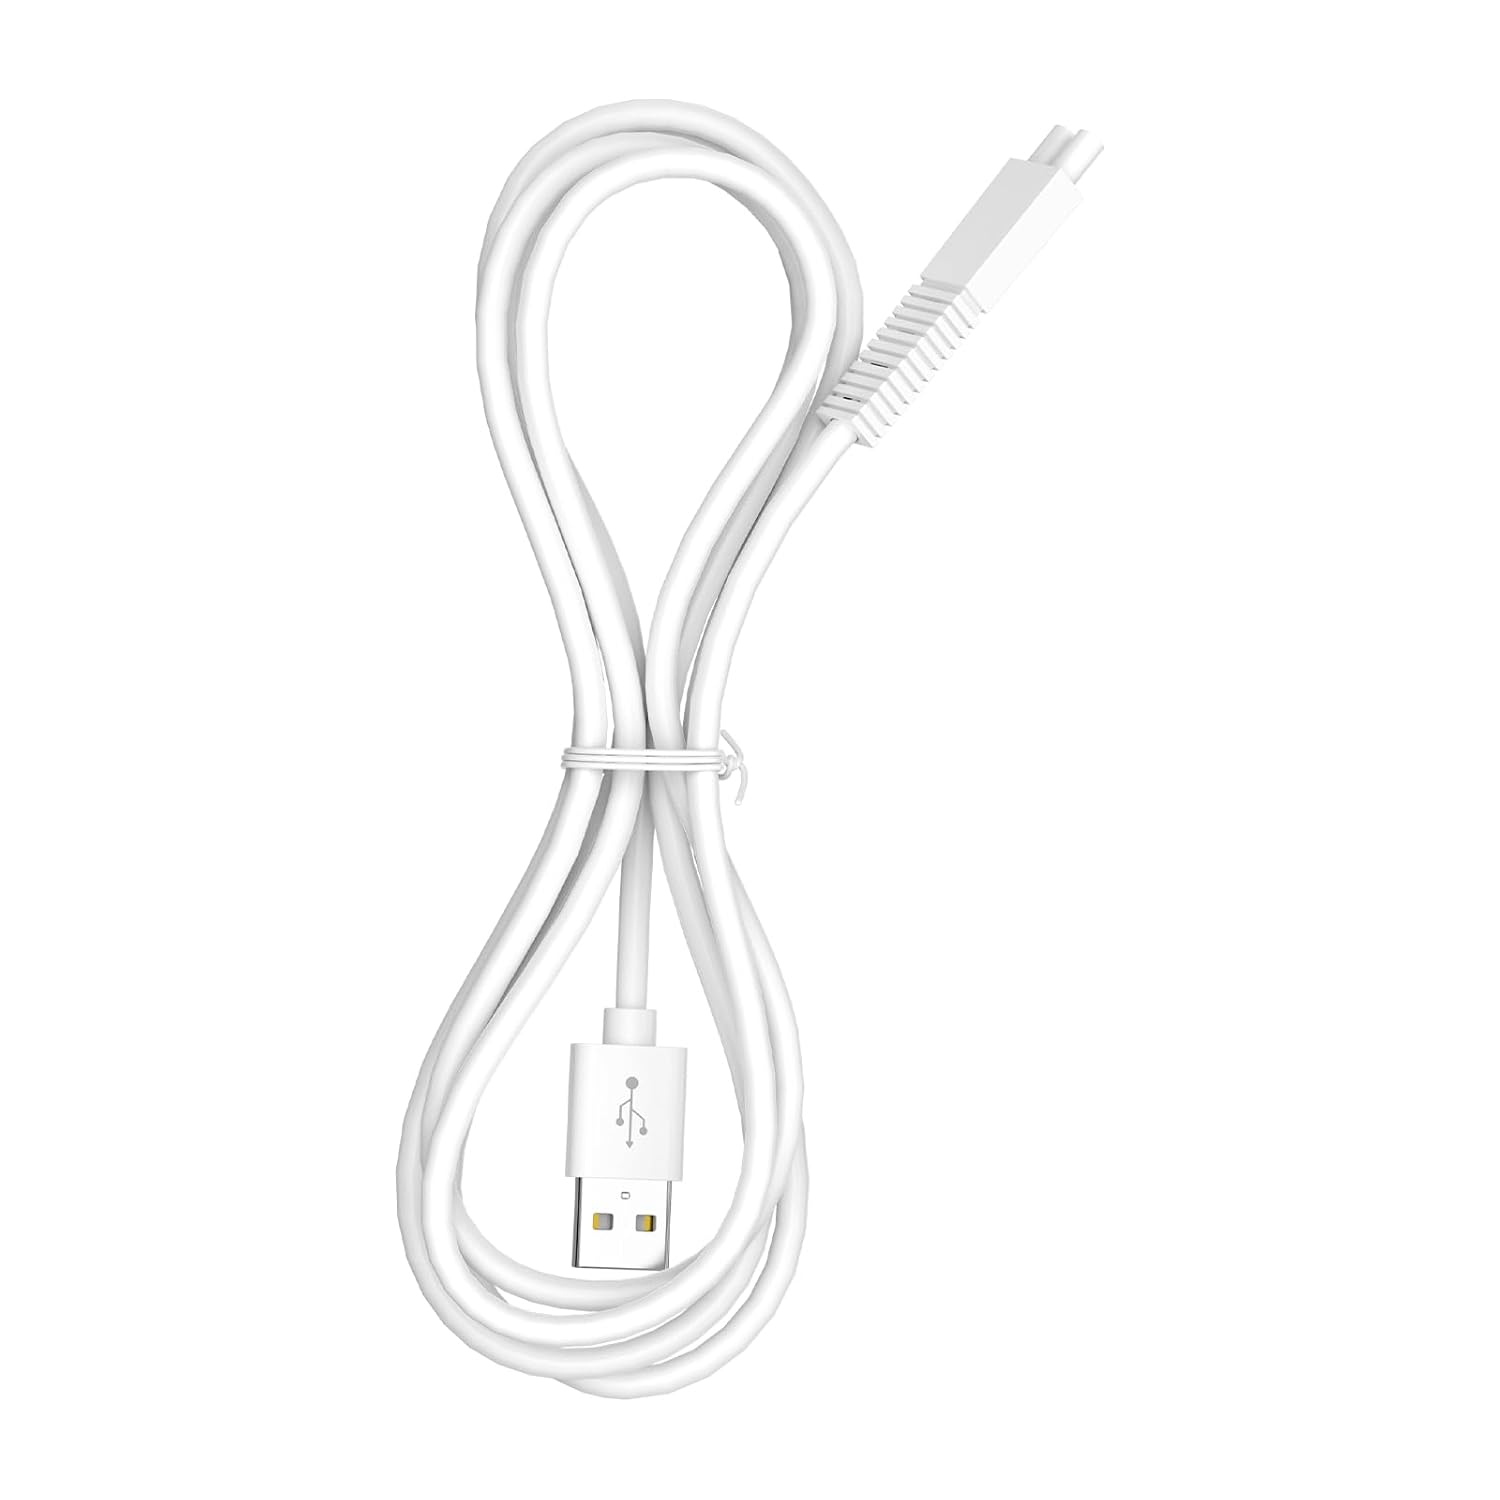
Image 2.2: The USB charging cable can be connected to various 5V power sources such as adapters, power banks, computers, and car chargers.

Image 2.3: Internal structure of the cable, highlighting the high-grade copper core wire and PVC insulation jacket for durability.
3. Setup
Before charging your H2ofloss water flosser, ensure that the charging interface on your device matches the 2-round pin connector of this cable.
- Verify Compatibility: Visually inspect the charging port on your H2ofloss water flosser. It must have a 2-round pin configuration that aligns with the cable's connector.
- Connect to Water Flosser: Gently insert the 2-round pin connector of the USB charging cable into the charging port of your H2ofloss water flosser. Ensure a snug fit. Do not force the connection.
- Connect to Power Source: Insert the USB Type-A end of the cable into a compatible 5V USB power source (e.g., a USB wall adapter, computer USB port, power bank, or car charger).

Image 3.1: Ensure the 2-round pin connector of the cable matches the charging interface of your H2ofloss water flosser for proper connection.
4. Operating Instructions
Once the cable is properly connected to both your water flosser and a power source, the water flosser should begin charging. Refer to your specific H2ofloss water flosser's manual for indicators of charging status (e.g., LED lights).
- The cable supports fast charging, allowing your water flosser to recharge efficiently.
- Disconnect the cable from the power source and the water flosser once charging is complete to conserve energy and prolong battery life.
5. Maintenance
Proper care of your charging cable will ensure its longevity and reliable performance.
- Cleaning: Wipe the cable with a soft, dry cloth if it becomes dirty. Do not use harsh chemicals or abrasive cleaners.
- Storage: When not in use, store the cable in a cool, dry place, away from direct sunlight and extreme temperatures. Avoid tightly coiling or bending the cable sharply, as this can damage the internal wires.
- Inspection: Periodically inspect the cable for any signs of damage, such as frayed wires, bent pins, or cracked insulation. If damage is observed, discontinue use and replace the cable.
- Handling: Always grasp the connector ends when plugging or unplugging the cable, rather than pulling on the cord itself.
6. Troubleshooting
If your H2ofloss water flosser is not charging, consider the following troubleshooting steps:
- Check Connections: Ensure both the 2-round pin connector and the USB Type-A connector are fully and securely inserted into their respective ports.
- Verify Compatibility: Double-check that your water flosser's charging port is indeed a 2-round pin interface compatible with this cable. Refer to Image 3.1.
- Try a Different Power Source: Connect the USB end of the cable to a different USB wall adapter, computer port, or power bank to rule out an issue with the power source.
- Inspect Cable for Damage: Examine the entire length of the cable for any visible damage, such as cuts, kinks, or bent pins. A damaged cable should not be used.
- Check Water Flosser: If the cable and power source appear functional, the issue might be with the water flosser's charging port or internal battery. Refer to your water flosser's manual or contact H2ofloss customer support.
7. Specifications
| Feature | Detail |
|---|---|
| Brand | H2ofloss |
| Model Name | USB-1 |
| Connector Type | USB Type A (Male) to 2-Round Pin (Male) |
| Cable Type | USB |
| Compatible Devices | Portable Water Flosser (H2ofloss, 2-round pin interface) |
| Special Feature | Fast Charging |
| Number of Pins | 2 |
| Recommended Uses | Charging |
| Specification Met | USB-IF |
| Indoor/Outdoor Usage | Indoor |
| Color | White |
| Item Weight | 0.04 Kilograms |
| Number of Items | 1 |
8. Warranty and Support
For warranty information or technical support regarding your H2ofloss USB Charging Cable, please refer to the documentation provided with your H2ofloss water flosser or visit the official H2ofloss website. You may also contact H2ofloss customer service directly for assistance.
H2ofloss Official Store: Visit H2ofloss Store on Amazon