
Coolski IM90BX-B-1
Coolski Commercial Ice Maker Machine User Manual
Model: IM90BX-B-1
1. Introduction
Thank you for choosing the Coolski Commercial Ice Maker Machine. This appliance is engineered to provide a reliable and efficient supply of clear, high-quality ice cubes for various settings, including homes, bars, restaurants, and outdoor events. This manual contains important information regarding the installation, operation, maintenance, and troubleshooting of your ice maker. Please read it thoroughly before use to ensure proper function and longevity of the unit.
2. Safety Instructions
To prevent injury to yourself and others, or damage to the appliance, please observe the following safety precautions:
- Electrical Safety: Ensure the power supply matches the specifications (115V / 60Hz). Do not operate with a damaged power cord or plug. Always plug into a grounded outlet.
- Placement: Position the ice maker on a firm, level surface. Allow adequate ventilation around the unit; do not block air vents. Maintain a safe distance from heat sources and direct sunlight.
- Water Connection: Connect the unit to a potable water supply using the provided hoses. Ensure all connections are secure to prevent leaks.
- Initial Setup: After transportation, allow the ice maker to stand upright for at least 24 hours before plugging it in. This allows the refrigerant to settle.
- Protective Film: Remove any protective film from the stainless steel exterior before initial use.
- Maintenance: Disconnect power before cleaning or performing any maintenance.
3. Product Features
The Coolski Commercial Ice Maker Machine is designed with advanced features for optimal performance and user convenience:
- High Ice Production: Capable of producing up to 150 pounds of clear ice cubes per 24 hours.
- Large Storage Capacity: Features a thickened ice bin with a 35-pound storage capacity, designed to minimize ice melting.
- Durable Construction: Constructed with a high-quality, rust-free, corrosion-resistant stainless steel exterior and a polyethylene interior for solid construction and excellent insulation.
- Compact Design: External dimensions of approximately 20 inches (W) × 15 inches (D) × 33 inches (H), allowing for freestanding or under-counter installation.
- Intelligent Operation Panel: Equipped with a simple LCD screen for quick fault diagnosis and user-friendly control buttons to adjust ice production time and cube thickness.
- Self-Cleaning Function: Integrated one-click self-cleaning cycle for easy maintenance.
- Adjustable Ice Cube Size: Produces cube ice with a standard size of 0.9'' × 0.9'' × 0.9'' inches, with options to adjust thickness.
- Energy Efficient: Passed DOE energy certification, ensuring efficient operation.
4. Setup
Follow these steps for proper installation of your ice maker:
4.1 Unpacking and Placement
Carefully remove the ice maker from its packaging. Choose a location that is level, stable, and has adequate space for ventilation. The unit can be used freestanding or built-in under a counter.

4.2 Leveling the Unit
The ice maker is equipped with adjustable legs. Use a level to ensure the unit is perfectly level. Proper leveling is crucial for efficient ice production and drainage.
4.3 Water Connection
Connect the ice maker to a cold water supply using the provided water inlet hose. Ensure the water filter is installed inline for clean ice production. Connect the drain hose to a suitable drainage point. All connections must be tight to prevent leaks.

4.4 Power Connection
After all water connections are secure and the unit has been upright for 24 hours, plug the power cord into a grounded electrical outlet.
5. Operation
Operating your Coolski ice maker is straightforward with its intelligent control panel.
5.1 Control Panel Overview

- Power Button: Short press to turn on/off the blue light. Long press (3 seconds) to enter or exit the self-cleaning mode.
- Mode Button: Used to cycle through different operating modes (if applicable).
- Clean Button: Initiates the self-cleaning cycle (long press for 3 seconds).
- Set Button: Press for more than 3 seconds to adjust the ice cube thickness setting.
5.2 Adjusting Ice Cube Thickness
To adjust the ice cube thickness, press and hold the "Set" button for more than 3 seconds. The display will allow you to modify the ice production time, which directly influences the thickness of the ice cubes.

5.3 Ice Production
Once connected and powered on, the machine will automatically begin the ice-making process. The LCD display will show the current status. The unit is designed to produce 45 ice cubes in approximately 6 minutes, with a total daily output of 150 pounds.

6. Maintenance
Regular maintenance ensures the longevity and optimal performance of your ice maker.
6.1 Self-Cleaning Function
The ice maker features an automatic self-cleaning function. To activate, press and hold the "Clean" button for 3 seconds. The cleaning cycle typically takes 16 minutes to complete.

6.2 Regular Cleaning
In addition to the self-cleaning function, periodically clean the interior of the ice bin and the exterior surfaces. The front air outlet is detachable for quick cleaning of the condenser coils. Use a mild detergent and warm water, then rinse thoroughly. Ensure the unit is unplugged before manual cleaning.
6.3 Water Filter Replacement
The included water filter helps ensure clean and healthy ice. Replace the water filter periodically according to the filter manufacturer's recommendations or if you notice a decrease in water flow or ice quality.
7. Troubleshooting
The built-in diagnostic system displays problems on the LCD digital control panel for quick troubleshooting. Refer to the table below for common issues and their solutions.
| Problem | Possible Cause | Solution |
|---|---|---|
| "No Water" Indicator | Water supply is off, water pressure is too low, or water filter is clogged. | Check water supply valve. Ensure adequate water pressure. Replace water filter if necessary. |
| "Ice Full" Indicator | Ice bin is full. | Remove ice from the storage bin. The machine will resume operation automatically. |
| "High TEMP" Indicator | Ambient temperature is too high, or ventilation is blocked. | Ensure proper ventilation around the unit. Move to a cooler environment if possible. Clean air vents. |
| "Overtime" Indicator | Ice making cycle took too long. | Check water supply and drainage. Ensure the unit is clean and free of obstructions. |
| Poor Drainage / Unit Turns Off | Drain hose is kinked, clogged, or improperly positioned. | Ensure the drain hose is clear, unkinked, and correctly sloped for proper water flow. Consult a qualified plumber if issues persist. |
8. Specifications
Detailed specifications for the Coolski Commercial Ice Maker Machine (Model IM90BX-B-1):
| Specification | Value |
|---|---|
| Model Number | IM90BX-B-1 |
| Ice Shape | Cube Ice |
| Ice Cube Size | 0.9'' × 0.9'' × 0.9'' inches (adjustable thickness) |
| Ice-making Capability | 150 LBS / 24 H |
| Ice Storage Capacity | 35 LBS |
| Voltage / Frequency | 115V / 60Hz |
| Wattage | 255 watts |
| Refrigerant Type | R290 |
| Product Dimensions (D x W x H) | 38.1D x 50.8W x 83.8H Centimetres (15D x 20W x 33H inches) |
| Product Weight | 28.12 kg (62 lbs) |
| Material | Stainless Steel |
9. Warranty and Support
Coolski stands behind the quality of its products.
9.1 Product Warranty
This Coolski Commercial Ice Maker Machine comes with the following warranty:
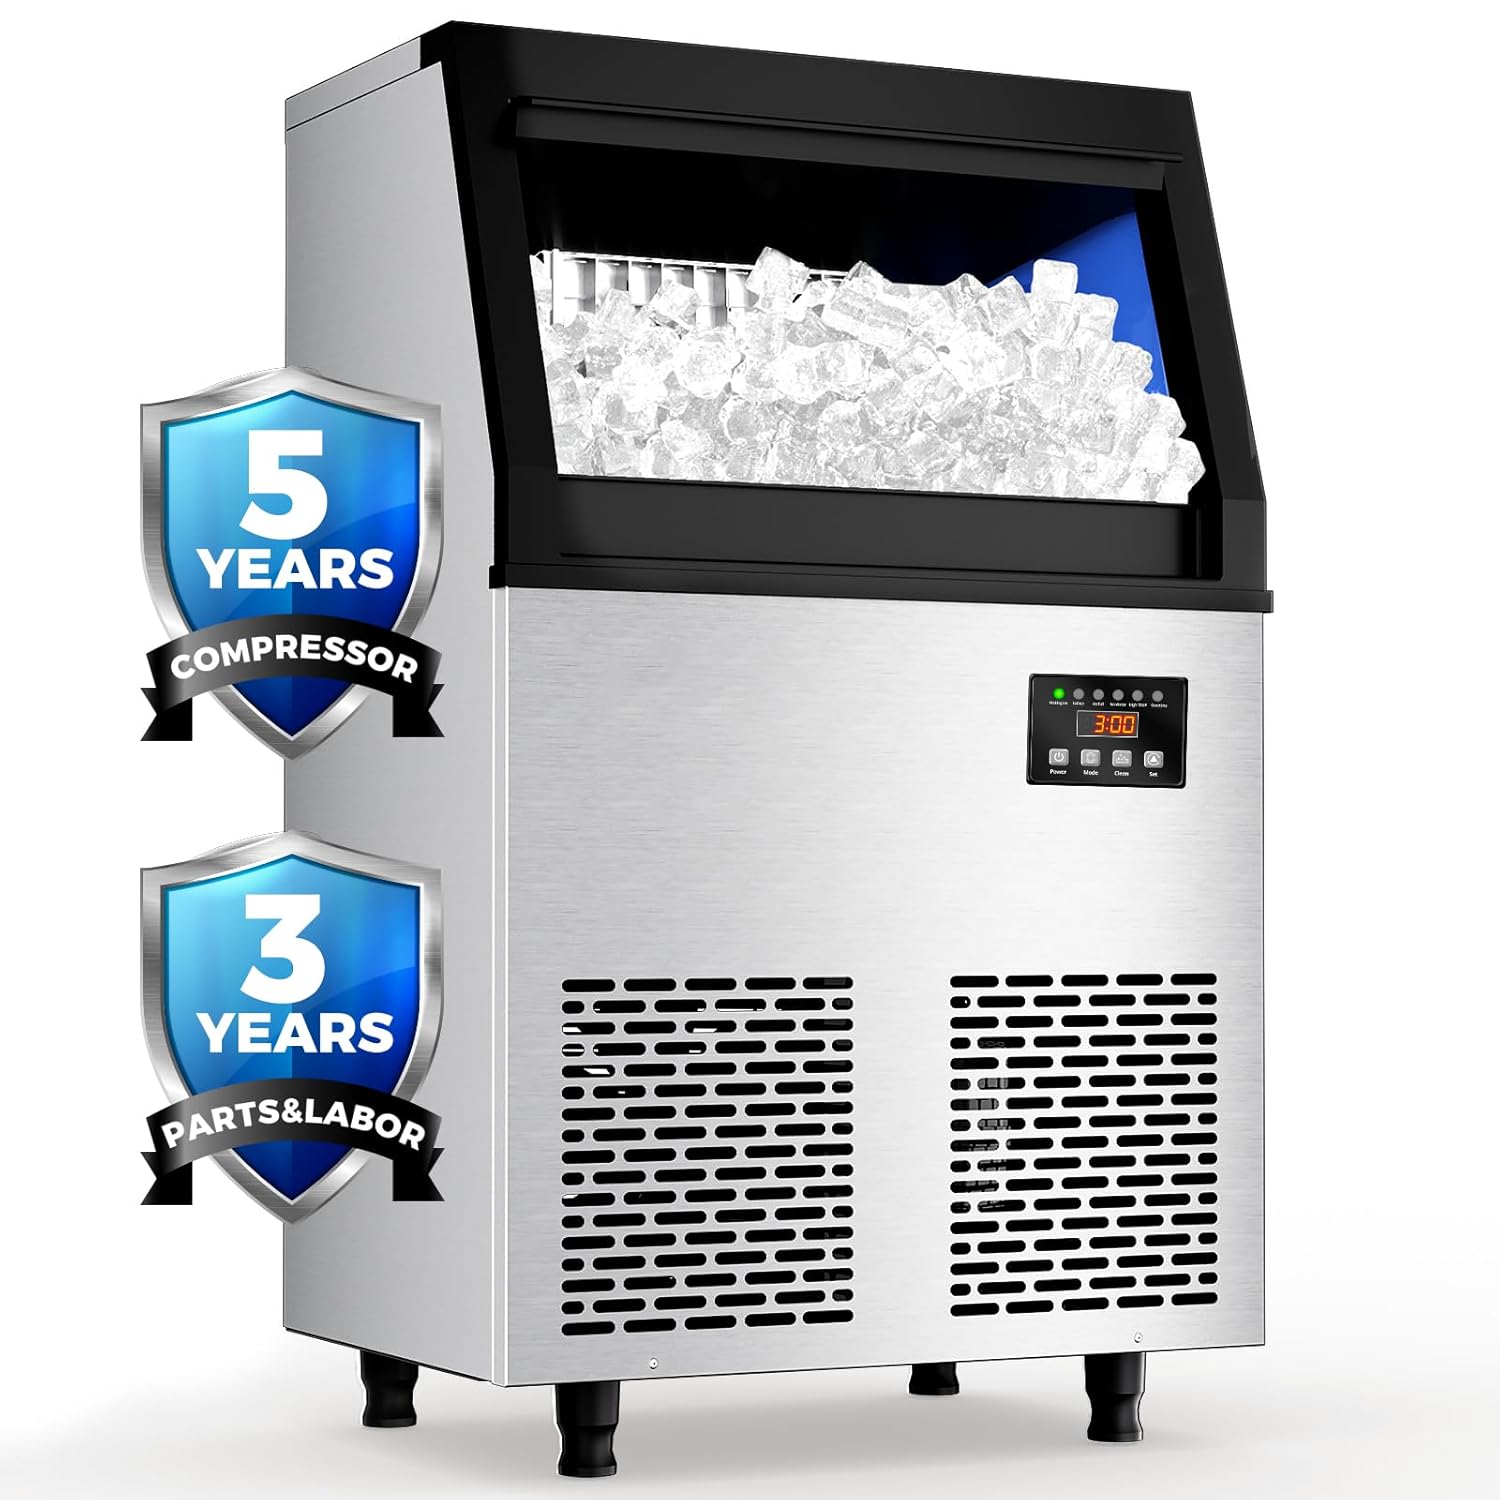
- 5-Year Warranty on the Compressor.
- 3-Year Warranty on Parts and Labor.
9.2 Technical Support
Lifelong technical support is provided for any usage or quality issues you may encounter. For assistance, please contact Coolski customer service through the retailer's platform or the official Coolski website.
Related documentsIM90BX-B-1


Ask a question about this manual
Ask about setup, troubleshooting, compatibility, parts, safety, or missing instructions. Manuals+ will review the question and use this page’s manual context to help answer it.