1. Introduction
Thank you for choosing the Pumteck Electric Ball Pump. This smart air pump is designed for fast and precise inflation of various sports balls, including footballs, basketballs, and volleyballs. Featuring an intelligent pressure detection system, digital LCD display, and automatic stop function, it ensures accurate inflation every time. Its portable and compact design makes it an ideal companion for athletes and sports enthusiasts.
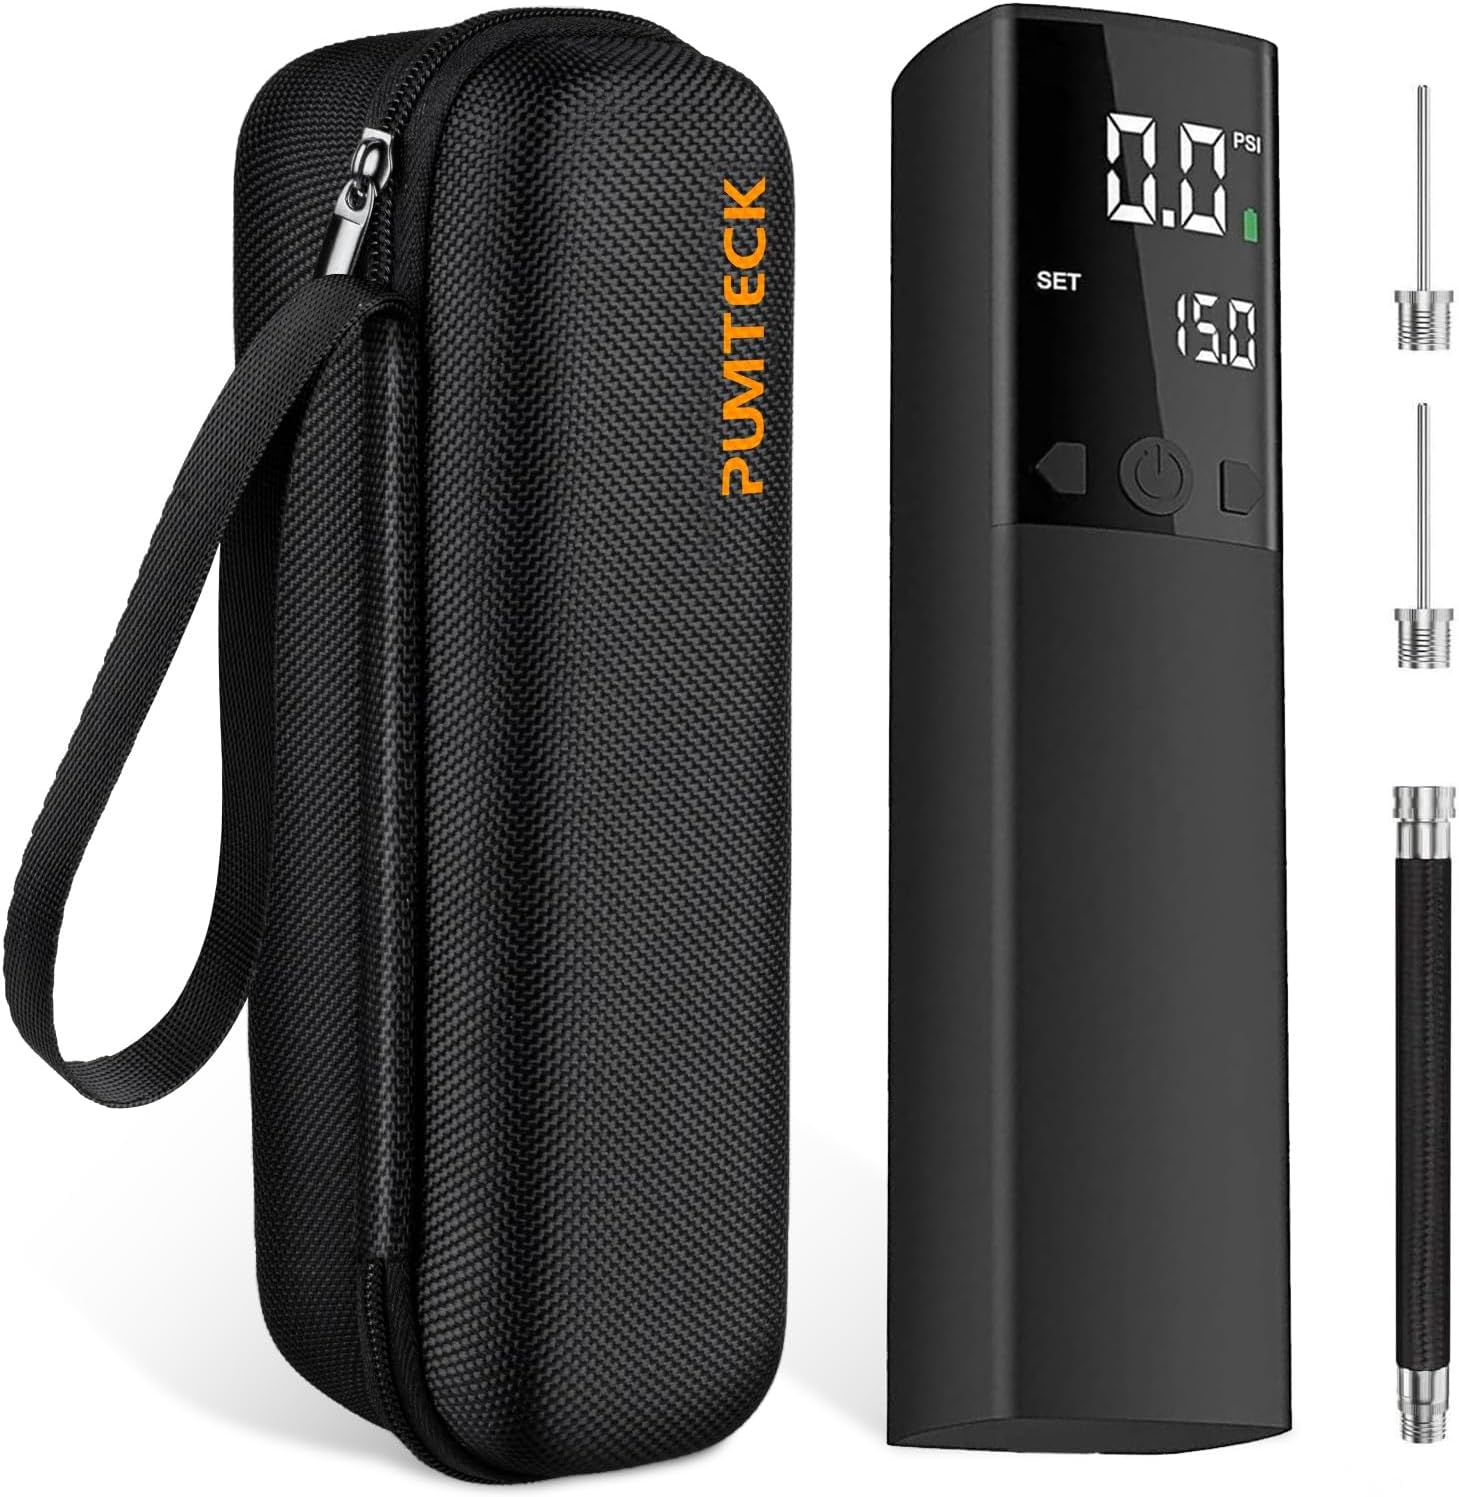
2. What's in the Box
Please verify that all the following items are included in your package:
- 1 x Pumteck Smart Ball Pump
- 1 x Type-C Charging Cable
- 1 x Waterproof Storage Bag
- 1 x 10 cm Air Hose
- 2 x Ball Needles
- 1 x User Manual (this document)
- 1 x Protective Case
3. Product Overview and Setup
Familiarize yourself with the components and prepare your pump for first use.
3.1. Component Identification

- Actual Air Pressure Display: Shows the current pressure of the ball.
- Unit PSI: Indicates the pressure unit (PSI).
- Battery Indicator: Displays the remaining battery level.
- Preset Air Pressure Display: Shows the target pressure you set.
- Pressure +/- Buttons: Adjust the preset pressure and control the LED light.
- Power Button: Long press to turn the device on/off.
- LED Light: Provides illumination during use.
- Trachea Connector: Where the air hose or needle connects.
- Type-C USB Port: For charging the device.
3.2. Charging the Pump
Before first use, fully charge the pump. Connect the provided Type-C cable to the pump's charging port and plug the other end into a compatible USB power source (e.g., wall adapter, computer USB port). A full charge takes approximately 2 hours. The battery indicator on the LCD display will show charging status.
3.3. Accessory Installation
There are two methods for connecting the inflation accessories:
- Using the Air Hose: Connect one end of the 10 cm air hose to a ball needle and the other end to the air outlet of the pump.
- Direct Connection: Directly screw a ball needle onto the air outlet of the pump.
After installing accessories, it is advisable to test each connection point to ensure proper installation and check for any air leaks. If a leak is detected, readjust the connection to ensure the pump obtains more accurate pressure readings.
4. Operating Instructions
Follow these steps to inflate your sports ball:
- Connect to Ball: Fully insert the needle into the ball's valve.
- Power On: Long press the power button to turn on the pump. The LCD display will illuminate.
- Preset PSI: Use the "+" and "-" buttons to set the desired PSI (Pound per Square Inch) for your ball. Refer to your ball's recommended pressure.
- Start Inflation: Press the power button again (short press) to start the inflation process. The pump will automatically stop once the preset pressure is reached.
- Remove: Once inflation is complete, carefully remove the needle from the ball.


4.1. Important Tips
- Due to a possible 1 PSI error in the pressure sensor, when presetting the PSI value, it is recommended to add 1 PSI more than the expected value for optimal results.
- For the first use, you can test the most suitable PSI multiple times. The pump has a memory function and will save the last used PSI for the next power-on.
- Avoid accidentally touching the power button during inflation, which could cause the air pump to stop before the ball is fully inflated.
5. Maintenance
Proper care will extend the life of your Pumteck Electric Ball Pump.
- Cleaning: Wipe the pump and accessories with a soft, dry cloth. Do not use abrasive cleaners or immerse the unit in water.
- Storage: Store the pump and its accessories in the provided protective case when not in use. Keep it in a cool, dry place away from direct sunlight and extreme temperatures.
- Battery Care: To maintain battery health, avoid fully discharging the battery frequently. Charge the pump regularly, even if not in constant use.


6. Troubleshooting
If you encounter issues with your Pumteck Electric Ball Pump, refer to the following common problems and solutions:
- Pump Not Turning On: Ensure the battery is charged. Connect the Type-C cable and charge for at least 30 minutes before attempting to power on again.
- Inaccurate Pressure Reading: If there is a deviation between the displayed pressure and the actual pressure during use, you can press the "+" and "-" buttons at the same time to restore the calibration. Perform this calibration without any inflatable object connected to the pump.
- Slow Inflation or No Air Flow: Check that the air hose and needle are securely connected to the pump and the ball valve. Ensure there are no kinks or blockages in the air hose.
- Pump Stops Unexpectedly: Verify that the preset PSI has not been reached. If the battery is low, the pump may stop. Recharge the device.
7. Specifications
| Feature | Specification |
|---|---|
| Model Name | AP1-P |
| Brand | Pumteck |
| Color | Black |
| Material | Aluminum |
| Power Source | Corded Electric (USB Rechargeable) |
| Air Flow Capacity | 4 LPM (Liters Per Minute) |
| Maximum Pressure | 15 PSI (Pound per Square Inch) |
| Battery Capacity | 2000 mAh |
| Charging Time | Approx. 2 hours |
| Dimensions (L x W x H) | 6.29 x 1.57 x 1.57 inches (Pump) |
| Weight | 0.55 LB (Pump) |
8. Warranty and Support
The Pumteck Electric Ball Pump comes with a 1-Year Manufacturer Warranty from the date of purchase. This warranty covers defects in materials and workmanship under normal use.
For warranty claims, technical support, or any questions regarding your product, please contact Pumteck customer service through the retailer's platform or visit the official Pumteck store online.