1. Introduction
This instruction manual provides detailed guidance for the setup, operation, and maintenance of your Generic AL-209 Digital Wall Clock with Adhan Sound. This device is designed to make daily prayer routines easier and more organized. It provides accurate Adhan times for cities worldwide, along with a variety of useful features to enhance your worship experience. Please read this manual thoroughly before using the product to ensure proper function and longevity.
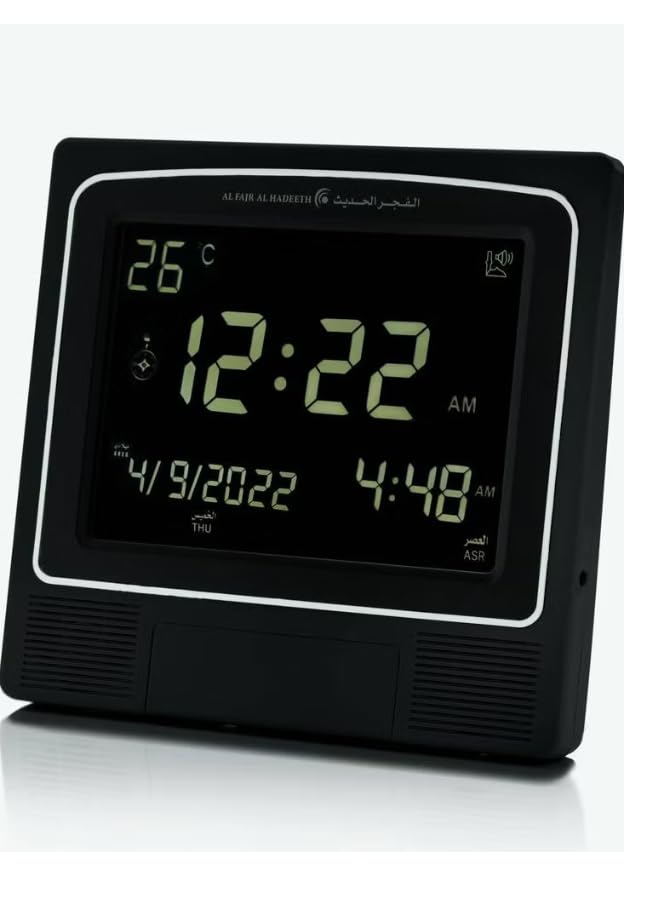
Image 1.1: The Generic AL-209 Digital Wall Clock, displaying time, date, and temperature.
2. Safety Information
Please observe the following safety precautions to prevent damage to the device or injury to yourself:
- Do not expose the device to water or excessive humidity.
- Avoid placing the device in direct sunlight or near heat sources.
- Use only the specified power source or batteries.
- Do not attempt to disassemble or repair the device yourself. Contact qualified service personnel.
- Keep out of reach of children.
3. Package Contents
Verify that all items are present in the package:
- Generic AL-209 Digital Wall Clock
- Instruction Manual
- Power Adapter (if included)
4. Product Overview
The AL-209 features a clear digital display and intuitive controls. Key features include:
- Adhan sound for all prayers (with volume control)
- 4 Adhan times for most cities worldwide
- 1 Fajr alarm, automatically adjustable daily
- Display minutes for Iqamah reminder for all prayers
- Daily alarm on weekends (optional)
- Special extra alarm
- Qibla direction (relative to North)
- 4 Hijri and Gregorian calendars
- Temperature display screen
- Daylight Saving Time option

Image 4.1: Close-up view of the clock's digital display, showing time, date, and temperature.
5. Setup
5.1. Powering On
Insert the required batteries into the battery compartment on the back of the clock. Ensure correct polarity. Alternatively, connect the power adapter to the clock and a suitable power outlet.
5.2. Initial Time and Date Setting
Upon first power-on, the clock may display a default time. Refer to the buttons on the back or side of the clock. Typically, there are 'SET', 'UP', and 'DOWN' buttons. Press 'SET' to enter time setting mode, then use 'UP'/'DOWN' to adjust hours, minutes, and date. Press 'SET' again to confirm each setting.
5.3. Setting City/Location for Adhan Times
The clock requires your current location to calculate accurate Adhan times. Use the 'CITY' or 'LOCATION' button (if available) or navigate through the 'SET' menu to select your city from the pre-programmed list. If your city is not listed, select the nearest major city or manually enter the coordinates if the feature is supported.
5.4. Adjusting Adhan Calculation Method
Different regions use various methods for calculating prayer times. Consult local Islamic authorities for the correct method for your area. Access the 'CALCULATION METHOD' setting via the menu and select the appropriate option (e.g., Umm Al-Qura, Muslim World League, etc.).
5.5. Daylight Saving Time (DST) Adjustment
If your region observes Daylight Saving Time, enable or disable the DST feature in the clock's settings. This will automatically adjust the time by one hour forward or backward as needed.
6. Operating Instructions
6.1. Adhan Sound and Volume Control
The clock will automatically play the Adhan at the calculated prayer times. Use the 'VOLUME' buttons or a dedicated switch to adjust the sound level. Some models may offer different Adhan voices; refer to the settings menu to customize.
6.2. Fajr Alarm
The Fajr alarm can be set to automatically adjust daily relative to the Fajr prayer time. Access the alarm settings to enable this feature and set any desired offset (e.g., 15 minutes before Fajr).
6.3. Iqamah Reminder
The clock can display the remaining minutes until Iqamah (the call to stand for prayer). This feature helps in preparing for congregational prayers. Configure the Iqamah delay for each prayer time in the settings.
6.4. Daily Alarm
Set a standard daily alarm for any specific time. Some models allow for optional weekend exclusion. Navigate to the 'DAILY ALARM' settings to configure.
6.5. Qibla Direction
The clock can indicate the Qibla direction relative to North. Place the clock on a flat surface and ensure it is oriented correctly (e.g., North arrow pointing North) for an accurate reading.
6.6. Calendar Display
Toggle between Gregorian and Hijri calendar displays using the 'CALENDAR' button or menu option. Some models may show both simultaneously.
6.7. Temperature Display
The clock displays the ambient temperature. You may be able to switch between Celsius and Fahrenheit in the settings.
6.8. Snooze Function
When an alarm sounds, press the 'SNOOZE' button to temporarily silence it. The alarm will sound again after a set interval (e.g., 5-10 minutes).
6.9. Full-Screen Illumination
Activate the full-screen illumination mode for enhanced visibility in low-light conditions. This feature may be activated by a dedicated button or through the display settings.
7. Maintenance
7.1. Cleaning
Wipe the clock's surface with a soft, dry cloth. Do not use abrasive cleaners or solvents, as they may damage the finish or display.
7.2. Battery Replacement
When the display dims or functions become erratic, it is time to replace the batteries. Open the battery compartment, remove old batteries, and insert new ones, ensuring correct polarity. Dispose of old batteries responsibly.
8. Troubleshooting
| Problem | Possible Cause | Solution |
|---|---|---|
| Clock not powering on | No batteries, dead batteries, power adapter not connected. | Insert fresh batteries or connect power adapter. |
| Incorrect prayer times | Incorrect city/location, wrong calculation method, DST not adjusted. | Verify city, calculation method, and DST settings. |
| Adhan sound not working | Volume too low, sound disabled. | Increase volume, check sound settings. |
| Display is dim or blank | Low batteries, power issue. | Replace batteries or check power connection. |
| Qibla direction inaccurate | Clock not oriented correctly, magnetic interference. | Ensure clock is on a level surface and oriented to North. Move away from strong magnetic fields. |
9. Specifications
- Brand: Generic
- Model: AL-209
- Color: Black
- Material: Plastic
- Display Type: Digital
- Style: Modern
- Product Dimensions: 3 x 3.81 x 23 cm (Width x Depth x Height)
- Item Weight: 579 grams
- Power Source: Battery Powered
- Special Features: Adhan Sound, Prayer Times, Qibla Direction, Temperature Display, Hijri/Gregorian Calendar, Daylight Saving Time
- Room Type: Living Room
- Shape: Rectangular
- Indoor/Outdoor Usage: Indoor
10. Warranty & Support
10.1. Warranty Information
This product comes with a standard manufacturer's warranty against defects in materials and workmanship. Please retain your proof of purchase for warranty claims. Specific warranty duration and terms may vary by region. For detailed warranty information, please refer to the documentation provided with your purchase or contact your retailer.
10.2. Customer Support
If you encounter any issues or have questions not covered in this manual, please contact the retailer or manufacturer's customer support. Contact details can typically be found on the product packaging or the manufacturer's official website.