1. Introduction
Thank you for choosing the Yoidesu 4MP Digital Electronic Eyepiece Camera. This device is designed to enhance your viewing experience with telescopes, spotting scopes, and microscopes by providing high-resolution digital imaging and video recording capabilities. This manual will guide you through the installation, operation, and maintenance of your new electronic eyepiece.
2. Product Overview
The Yoidesu Electronic Eyepiece Camera features a 4MP sensor for capturing detailed images and 2K video. It offers wide compatibility with various optical instruments and includes built-in WiFi for real-time viewing and control via a mobile application. The integrated rechargeable battery ensures portable use.

Image: The Yoidesu 2K WiFi Eyepiece Camera shown with a monocular and a telescope, illustrating its application with various optical instruments.
Key Features:
- HD 4MP Sensor: Captures crisp images and records video at 2304x1728 (30fps) with photo resolution up to 24MP.
- Wide Compatibility: Fits eyepieces with diameters from 24mm to 50mm (0.94 to 1.97 inches).
- WiFi Connectivity: Connects to a mobile app for real-time viewing, photo, and video recording.
- Rechargeable Battery: Built-in 800mAh Li-ion battery provides up to 2 hours of video recording.
- TYPE-C Interface: For convenient charging and external power support.
3. Package Contents
Please verify that all items are present in your package:

Image: Diagram showing the contents of the product package, including the eyepiece camera, data cable, and user manual.
- Yoidesu Electronic Eyepiece Camera (Model V12)
- USB Type-C Data Cable
- User Manual
- Package Box
4. Setup and Installation
Follow these steps to attach the electronic eyepiece camera to your optical instrument:

Image: Visual guide demonstrating the five steps to install the electronic eyepiece onto a telescope.
- Attach the WiFi Eyepiece: Carefully place the electronic eyepiece onto the eyepiece holder of your telescope or microscope.
- Adjust Outer Ring: Twist the outer ring of the eyepiece to adjust its size, ensuring a snug fit with your optical instrument.
- Tighten Inner Ring: Tighten the inner ring to securely fix the eyepiece camera to the telescope.
- Power On and Connect: Turn on the camera and establish a WiFi connection with your mobile phone via the dedicated app to begin viewing.
- Adjust Telescope Focus: Use your telescope's focus knob to achieve a clear image through the electronic eyepiece.
5. Operating Instructions
5.1 Powering On/Off
- Power On: Press and hold the power button (usually marked with a power symbol) until the indicator light illuminates.
- Power Off: Press and hold the power button again until the indicator light turns off.
5.2 App Connection and Real-time Viewing
The electronic eyepiece creates its own WiFi hotspot for direct connection to your smartphone or tablet.

Image: The electronic eyepiece camera displaying its WiFi connection details, with a smartphone showing a celestial image, indicating real-time viewing.
- Download the App: Scan the QR code on the device or visit https://www.6zhentan.com/app/d0001/index.html to download the official application for iOS or Android.
- Enable WiFi: Turn on the electronic eyepiece. The device will broadcast a WiFi signal (e.g., "ZHENYI-XXXX").
- Connect to WiFi: On your mobile device, go to WiFi settings and connect to the eyepiece's network. The default password is "12345678".
- Launch App: Open the downloaded application. When prompted to connect to devices on the local network, ensure you select "Allow". Failure to do so may prevent connection.
- Start Viewing: Once connected, you will see the real-time feed from the eyepiece on your mobile device.

Image: The electronic eyepiece camera connected wirelessly to a smartphone, demonstrating the WiFi connection feature for live viewing.
5.3 Photo and Video Recording
Within the app interface, you can capture still images and record videos directly to your connected mobile device.
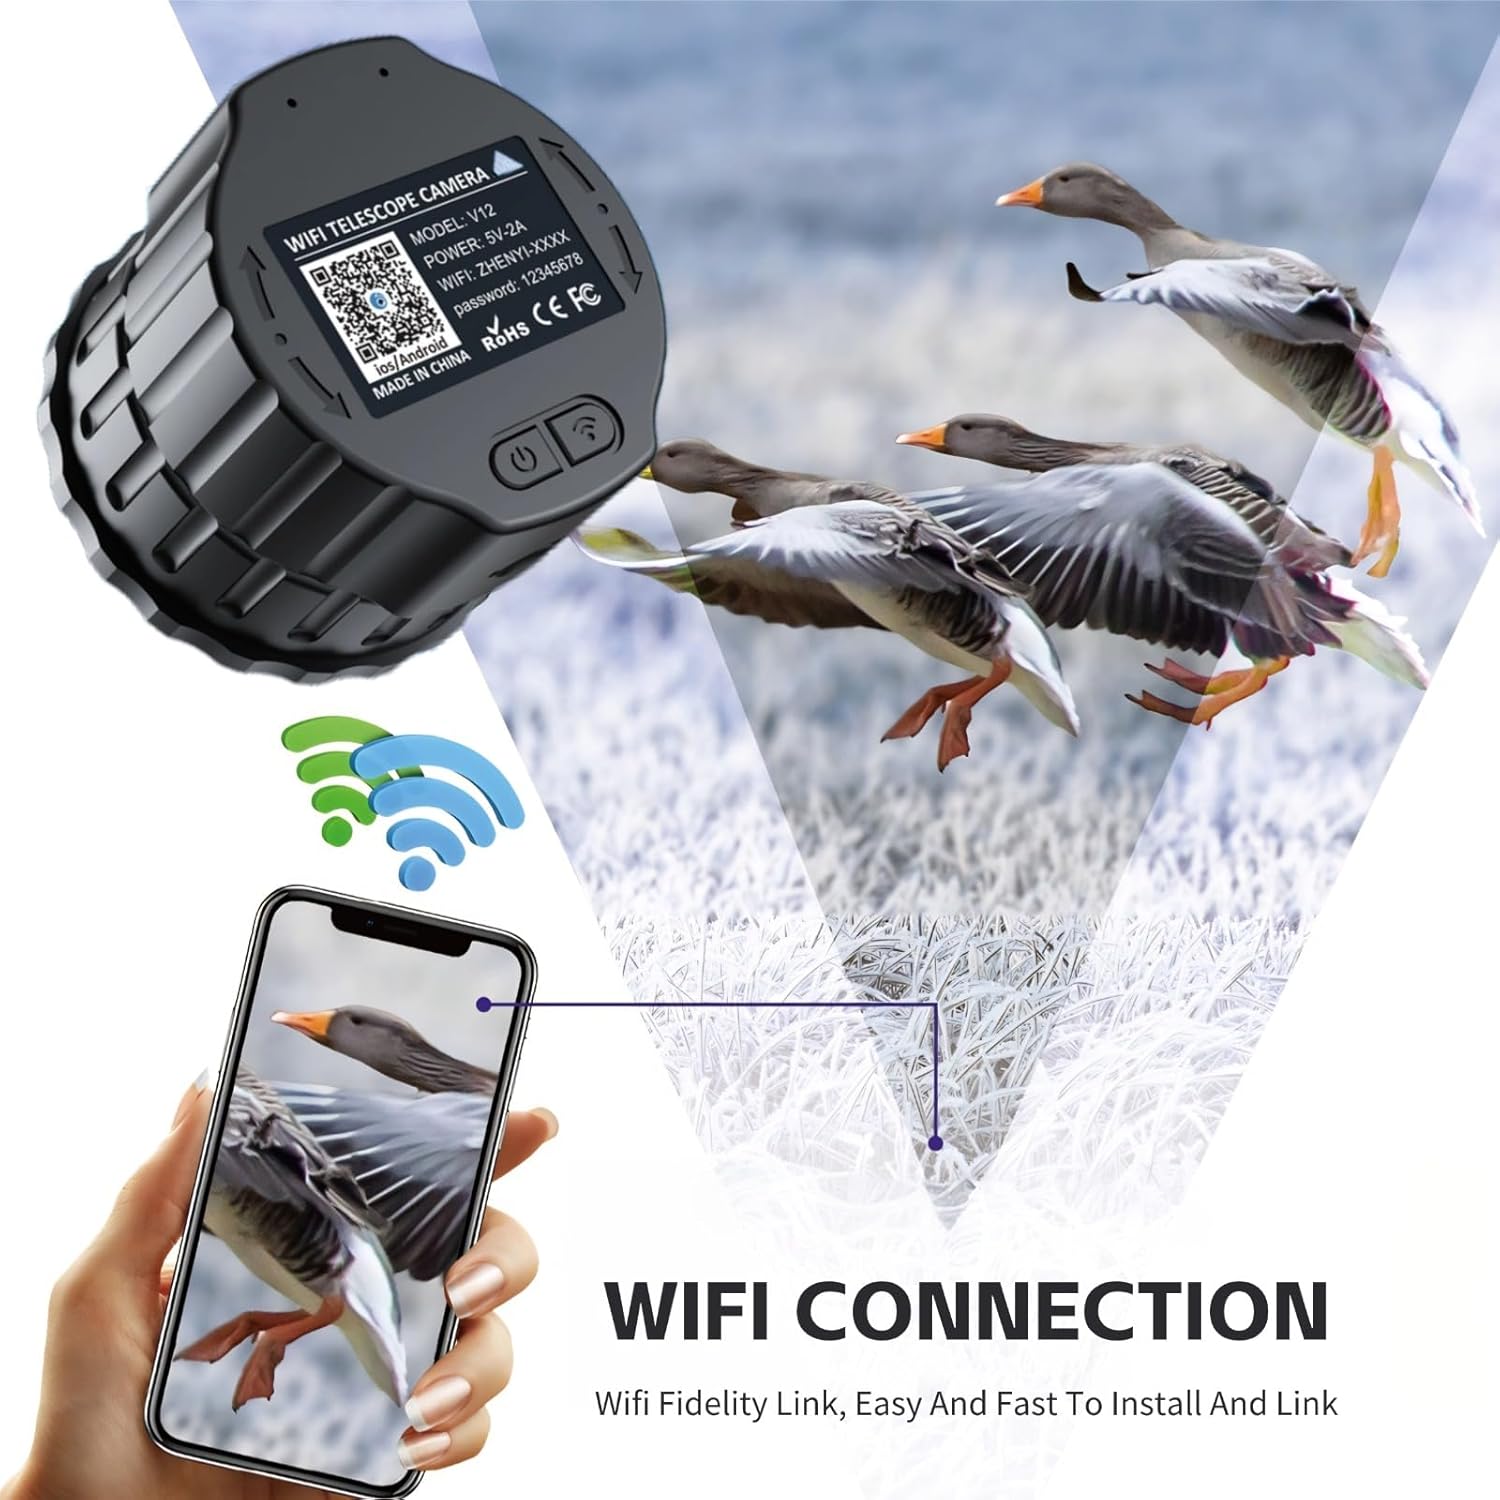
Image: A smartphone displaying an HD image of a bird captured through the electronic eyepiece, highlighting its photo capabilities.
- Locate the camera and video recording icons within the app.
- Tap the camera icon to take a photo.
- Tap the video icon to start recording; tap again to stop.
- Captured media will be saved to your phone's gallery or the app's designated folder.
The device supports simultaneous viewing on two phones, allowing for shared observation experiences.

Image: An illustration showing the electronic eyepiece connected to a monocular, with two smartphones simultaneously displaying the live feed, demonstrating multi-device viewing.
6. Charging and Battery
The electronic eyepiece is equipped with an 800mAh Li-ion battery, providing approximately 2 hours of continuous video recording.
- Charging: Connect the provided USB Type-C cable to the eyepiece's charging port and a standard USB power adapter (not included).
- Charging Indicator: An indicator light will show the charging status (e.g., red for charging, green for fully charged).
- External Power: The device supports external power sources such as portable chargers for extended usage.
7. Maintenance
- Cleaning: Use a soft, dry cloth to clean the exterior of the eyepiece. For the lens, use a specialized lens cleaning cloth and solution. Avoid abrasive materials.
- Storage: Store the device in a cool, dry place away from direct sunlight and extreme temperatures.
- Avoid Moisture: Do not expose the device to water or high humidity.
- Handle with Care: Avoid dropping or subjecting the device to strong impacts.
8. Troubleshooting
| Problem | Possible Cause | Solution |
|---|---|---|
| Device does not power on. | Low battery or power button not pressed correctly. | Charge the device. Press and hold the power button for a few seconds. |
| Cannot connect to the app via WiFi. | Incorrect WiFi password, "Allow" not selected for local network access, or device not broadcasting WiFi. | Ensure the device is on and broadcasting WiFi. Verify the password "12345678". Check app permissions and ensure "Allow" is selected for local network access. Restart both the eyepiece and your mobile device. |
| Image is blurry or out of focus. | Telescope focus not adjusted, or eyepiece not securely attached. | Adjust the focus knob on your telescope. Ensure the eyepiece is firmly attached and the inner/outer rings are tightened. |
| Short battery life. | Continuous recording or cold temperatures. | Ensure the device is fully charged before use. Consider using an external power bank for extended operation. |
9. Specifications
| Feature | Detail |
|---|---|
| Model | Yoidesukghmtw84av-14 (V12) |
| Sensor Resolution | 4 Megapixels |
| Video Resolution | 2304x1728 at 30fps (2K) |
| Photo Resolution | Up to 24 Megapixels |
| Eyepiece Diameter Compatibility | 24mm to 50mm (0.94 to 1.97 inches) |
| Connectivity | Built-in WiFi Hotspot |
| Battery | 800mAh Li-ion (up to 2 hours video recording) |
| Charging Interface | USB Type-C |
| Product Dimensions | Approximately 3.94 x 3.94 x 2.76 inches (100 x 100 x 70 mm) |
| Item Weight | 5.1 ounces (145 grams) |
10. Warranty and Support
For warranty information and technical support, please refer to the documentation included with your purchase or contact Yoidesu customer service through their official channels. Keep your purchase receipt as proof of purchase.