Important Safety Information
Always prioritize safety when working with power equipment and fuel systems. Failure to follow these instructions may result in injury or damage.
- Ensure the snow blower engine is off and cooled down before beginning any work.
- Disconnect the spark plug wire to prevent accidental starting.
- Work in a well-ventilated area to avoid inhaling fuel fumes.
- Wear appropriate personal protective equipment, including gloves and eye protection.
- Handle fuel with extreme care. Avoid spills and ensure no open flames or sparks are nearby.
- Refer to your snow blower's original owner's manual for specific safety procedures and component locations.
Package Contents
Verify that all components listed below are present in your kit:
- 1 x Carburetor
- 1 x Fuel Filter
- 1 x Fuel Hose
- 1 x Spark plug
- 1 x Primer Bulb
- 2 x Clamps
- 3 x Gaskets
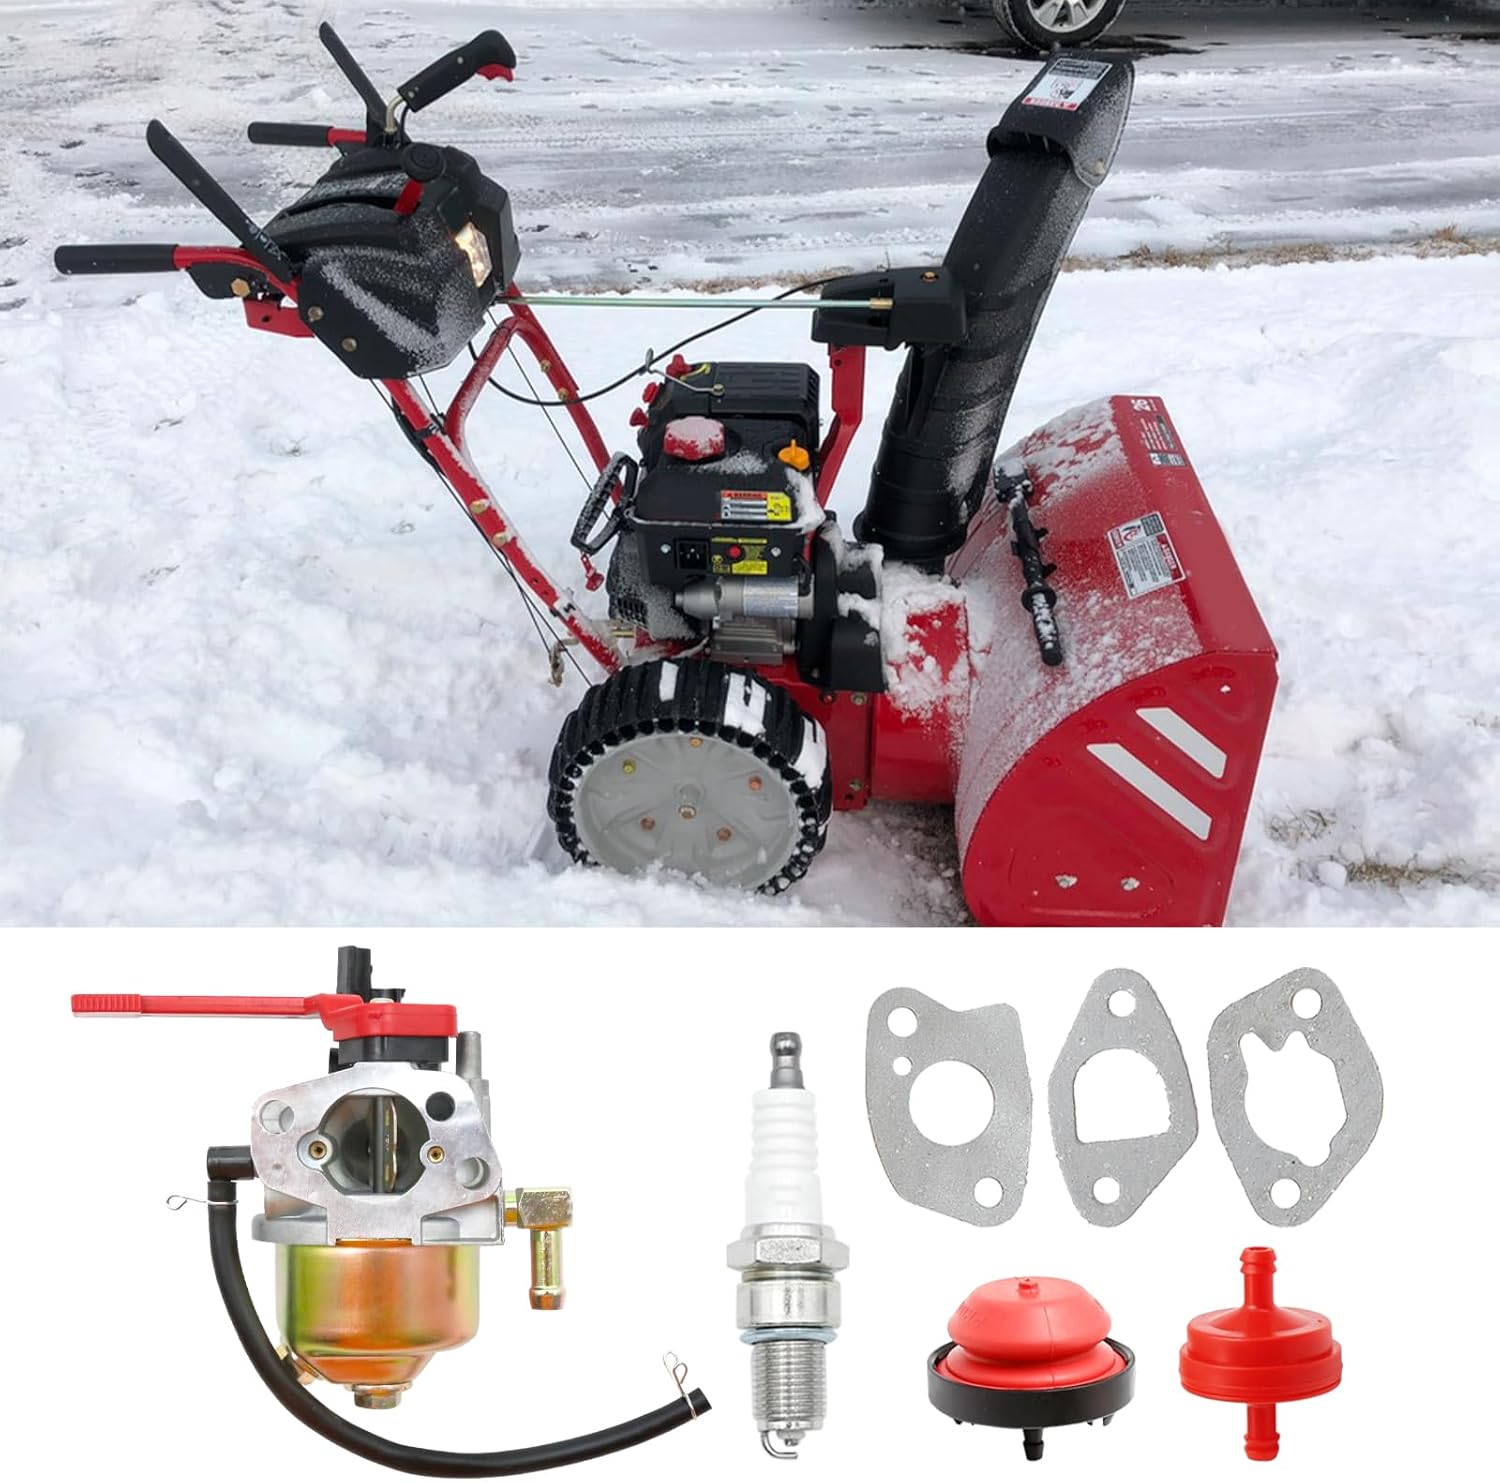
Figure 1: Complete Carburetor Tune Up Kit components.
Installation Guide
This kit is designed for straightforward installation. However, if you are unsure about any step, it is recommended to consult a qualified technician or your snow blower's service manual.
General Installation Steps:
- Preparation: Ensure the snow blower is on a stable, level surface. Turn off the engine, allow it to cool, and disconnect the spark plug wire. Drain any fuel from the tank.
- Remove Old Carburetor: Carefully disconnect the fuel lines, throttle linkage, and choke linkage from the old carburetor. Remove the mounting bolts and detach the old carburetor.
- Replace Gaskets: Clean the mounting surfaces. Install the new gaskets provided in the kit. Ensure they are correctly aligned to prevent air leaks.
- Install New Carburetor: Mount the new carburetor, securing it with the original bolts. Reconnect the throttle and choke linkages.
- Fuel System Components: Replace the old fuel filter with the new one. Install the new fuel hose and secure it with the provided clamps. Replace the primer bulb if necessary.
- Spark Plug: Remove the old spark plug and install the new one, ensuring it is tightened to the manufacturer's specifications. Reconnect the spark plug wire.
- Final Checks: Double-check all connections for tightness and proper routing. Refill the fuel tank with fresh, appropriate fuel.
Video: Overview of carburetor replacement for Troy Bilt Squall 2100 Snow Blower. This video demonstrates the components included in the kit and provides a visual reference for the replacement process.
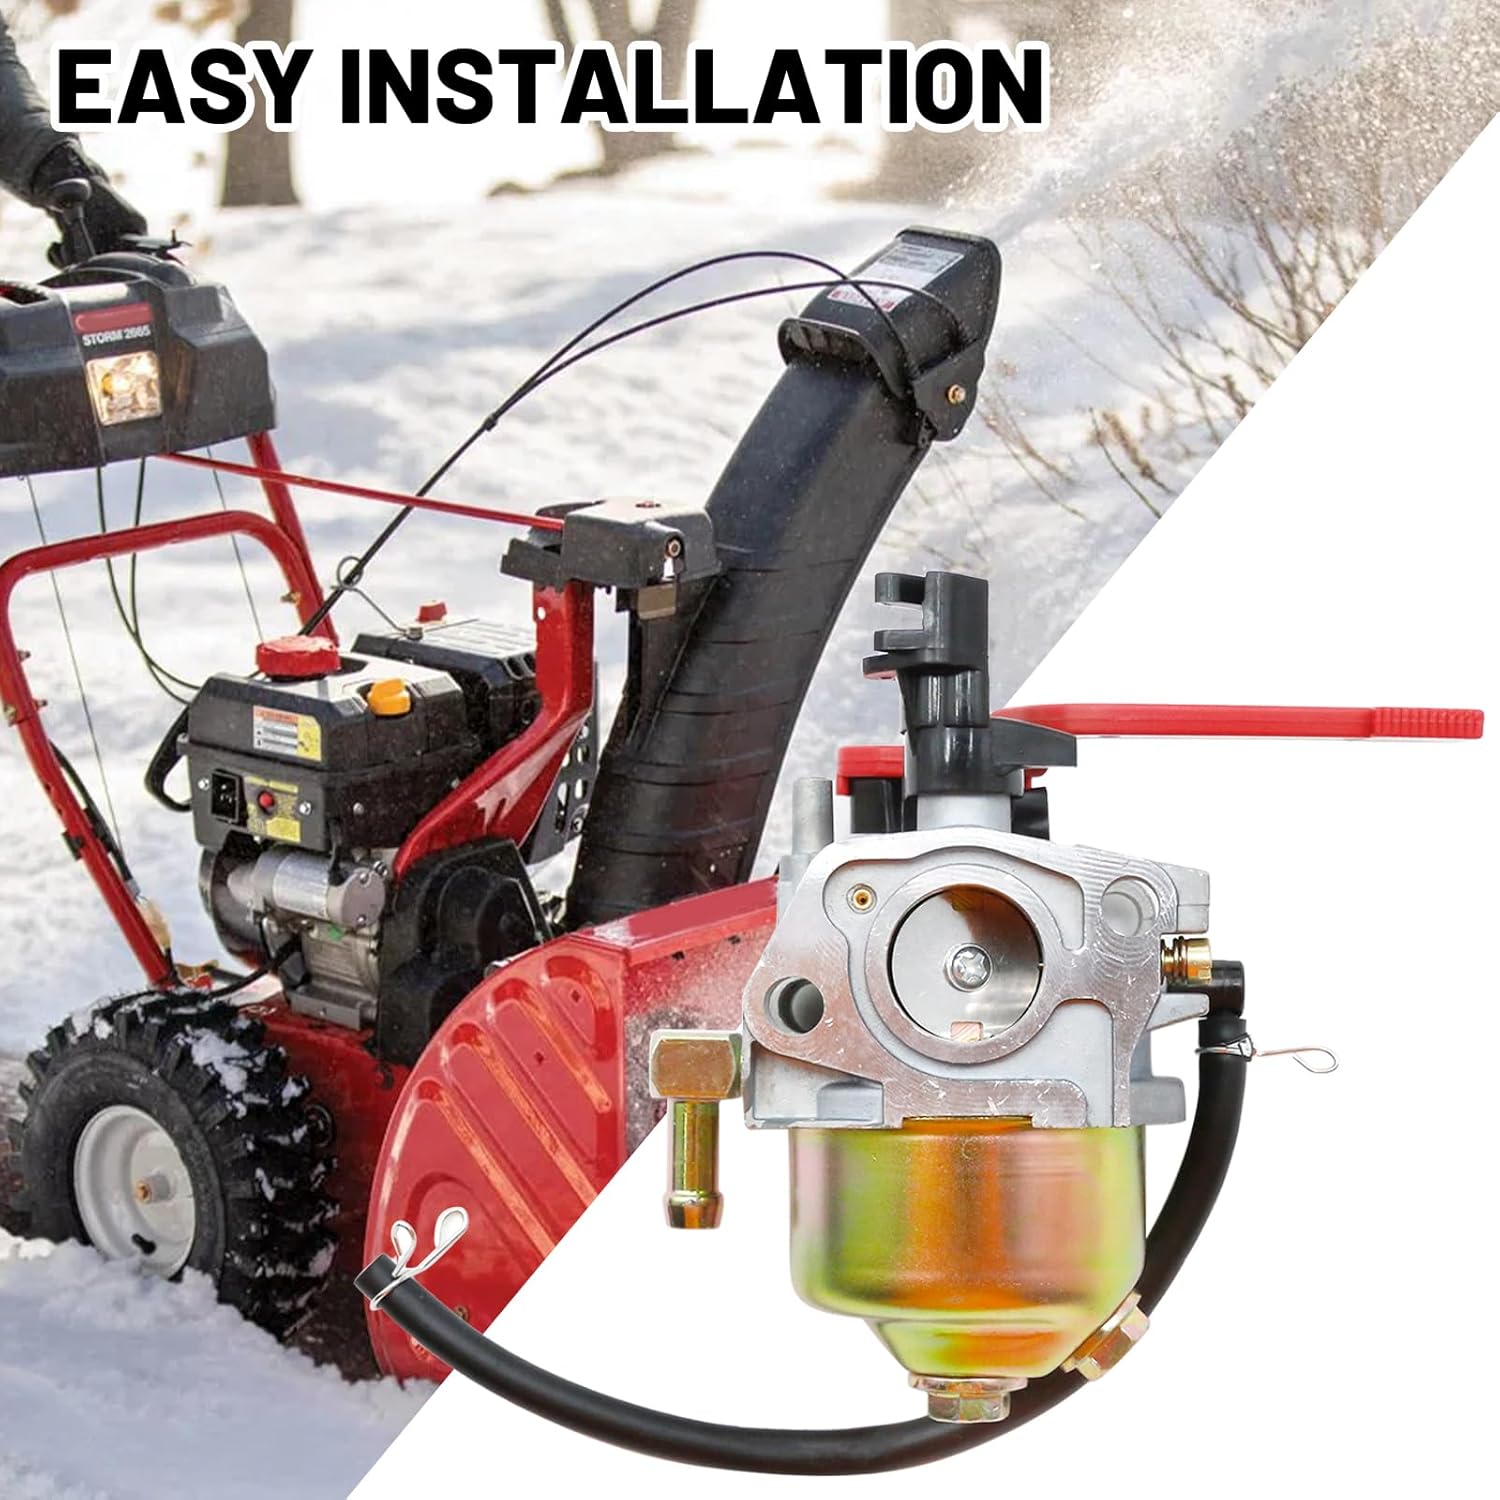
Figure 2: Carburetor kit positioned for installation on a snow blower.

Figure 3: Product dimensions of the carburetor.

Figure 4: Different views of the carburetor.
Operation
After successful installation of the carburetor tune-up kit, follow these steps to operate your snow blower:
- Fueling: Ensure the fuel tank is filled with fresh, clean gasoline.
- Primer Bulb: Press the primer bulb several times (typically 3-5 times, or until fuel is visible in the bulb) to prime the carburetor.
- Choke: Set the choke lever to the "FULL CHOKE" position for cold starts.
- Throttle: Set the throttle lever to the "FAST" or "RUN" position.
- Starting: Pull the starter cord firmly or engage the electric starter.
- Warm-up: Once the engine starts, gradually move the choke lever to the "OFF" or "RUN" position as the engine warms up. Allow the engine to warm up for a few minutes before operating under load.
- Stopping: To stop the engine, move the throttle to the "STOP" or "OFF" position.
Always refer to your snow blower's specific operating instructions for detailed procedures.
Maintenance
Regular maintenance ensures optimal performance and extends the life of your snow blower and its carburetor. Perform these checks periodically:
- Fuel System:
- Inspect fuel lines for cracks or leaks. Replace if damaged.
- Check the fuel filter for clogs. Replace annually or if restricted.
- Use fresh, stabilized fuel. Old or contaminated fuel can cause carburetor issues.
- Spark Plug:
- Inspect the spark plug for wear, fouling, or damage. Clean or replace as needed, typically annually.
- Ensure the spark plug gap is set correctly according to your engine's specifications.
- Carburetor Cleaning:
- If the snow blower runs rough or stalls, the carburetor may need cleaning. This often involves disassembling the carburetor and cleaning jets and passages with carburetor cleaner.
- For seasonal storage, run the engine until it runs out of fuel, or drain the fuel system to prevent fuel degradation and carburetor clogging.
- Air Filter: Check and clean or replace the air filter regularly to ensure proper air flow to the carburetor.
Troubleshooting
If you encounter issues after installing the carburetor tune-up kit, refer to the table below for common problems and potential solutions:
| Problem | Possible Cause | Solution |
|---|---|---|
| Engine won't start | No fuel, clogged fuel filter, faulty spark plug, incorrect choke setting. | Check fuel level, replace fuel filter, inspect/replace spark plug, adjust choke. |
| Engine runs rough or stalls | Clogged carburetor jet, old/stale fuel, air leak in fuel system, dirty air filter. | Clean carburetor, use fresh fuel, check fuel lines/gaskets, clean/replace air filter. |
| Engine lacks power | Partially clogged carburetor, dirty air filter, incorrect spark plug gap. | Clean carburetor, clean/replace air filter, check spark plug gap. |
| Fuel leaks | Loose fuel line connections, damaged gaskets, cracked fuel hose. | Tighten clamps, replace gaskets, replace fuel hose. |
If these steps do not resolve the issue, professional service may be required.
Specifications
| Feature | Detail |
|---|---|
| Brand | SYOWADA |
| Model Number | 31AS2T5F711 |
| Replaces Part Numbers | 31AS2T5F711, 31AS2T5F766 |
| Compatibility | Troy Bilt Squall 2100 Snow Blower |
| Fuel Type | Gasoline |
| Flange Type | Bolt On |
| Item Weight | 11.4 ounces |
| Package Dimensions | 4.72 x 3.94 x 3.54 inches |
Figure 5: Detailed dimensions of the carburetor.
Warranty and Support
For warranty information or technical support regarding your SYOWADA Carburetor Tune Up Kit, please contact the manufacturer directly. Keep your purchase receipt as proof of purchase.
You can often find contact details on the product packaging or by visiting the SYOWADA brand store on Amazon: SYOWADA Store.