1. Product Overview
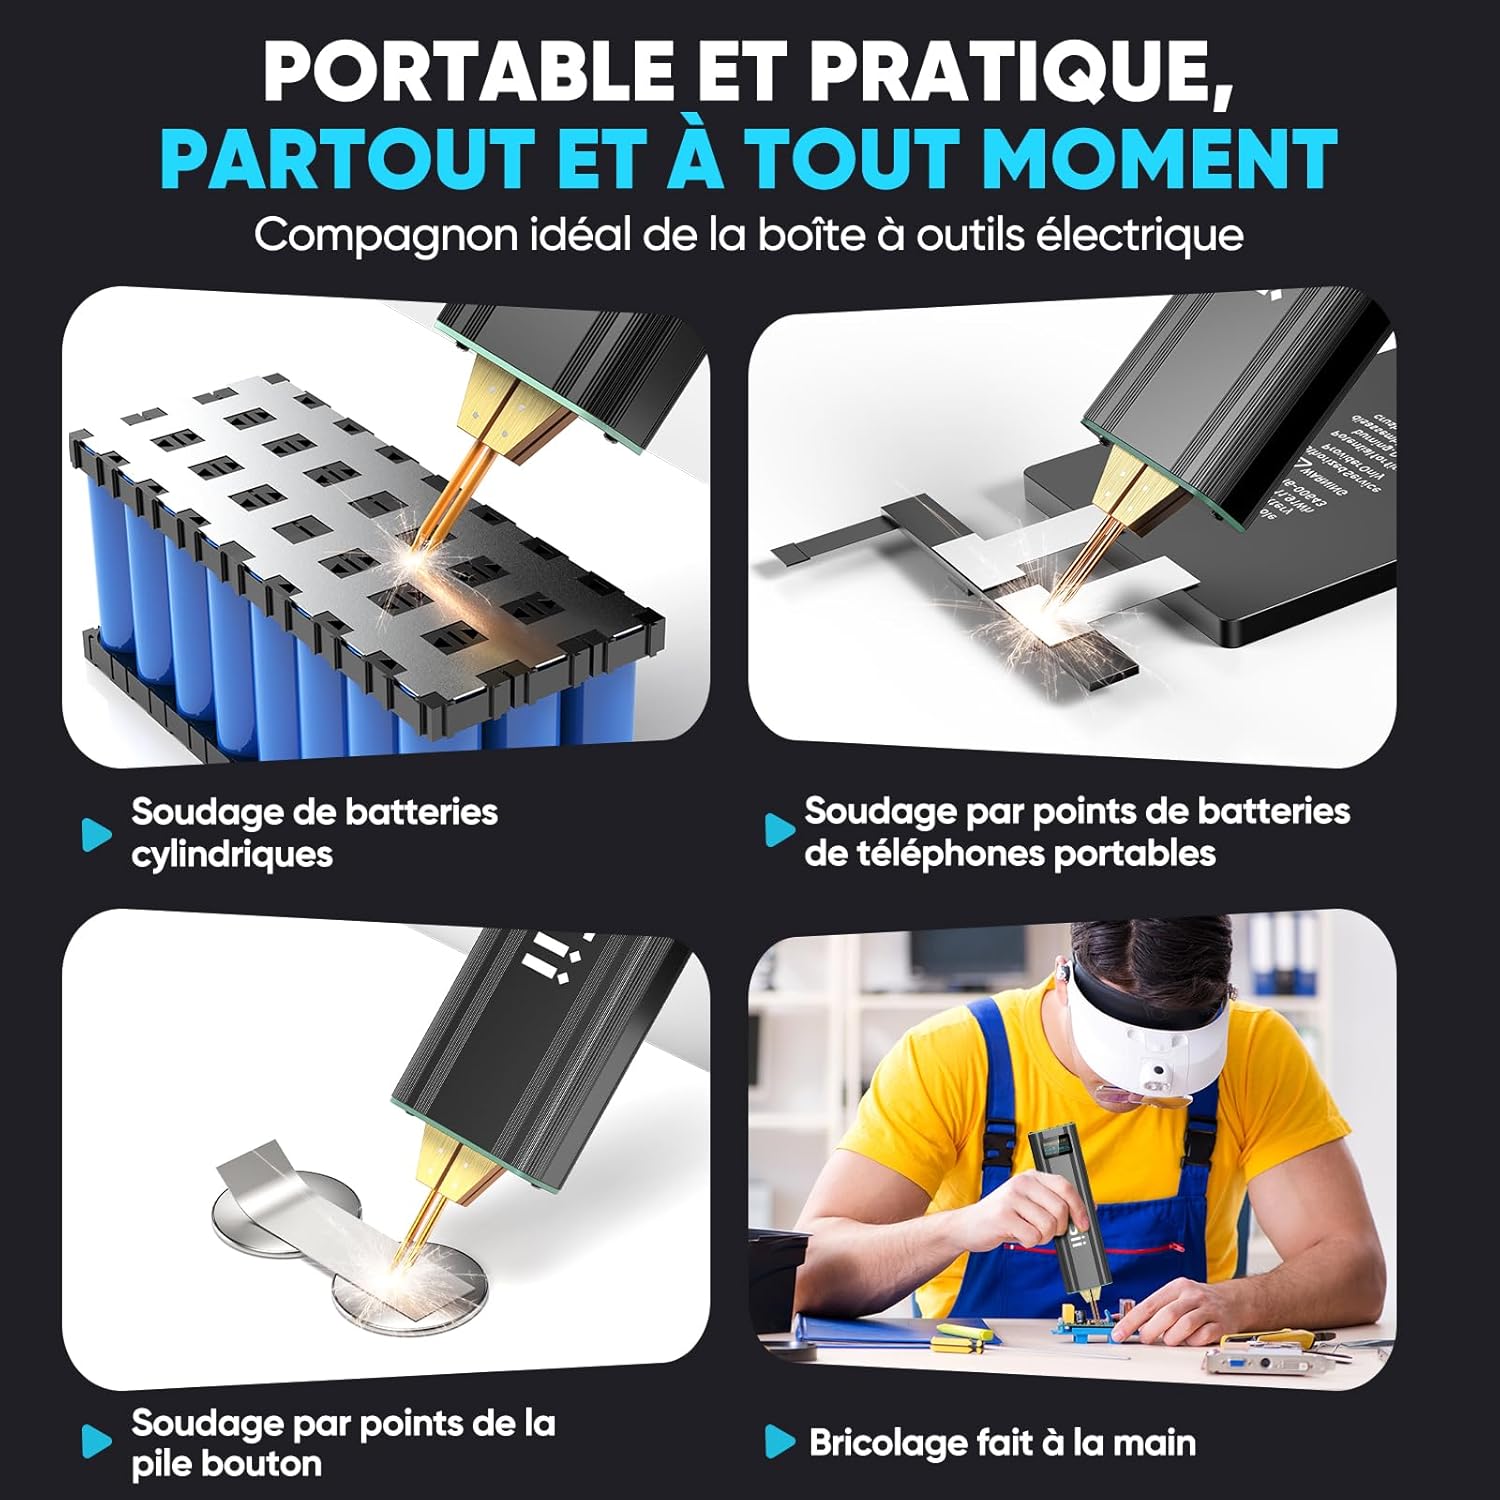
The Seesii SE-209 Mini Spot Welder is a portable, integrated spot welding tool designed for various battery and electronic repairs. It combines power supply and welding pen into a single unit for convenient one-handed operation. This device is suitable for welding nickel-plated sheets (0.1 - 0.2 mm) to cylindrical lithium batteries (18650, 26650, 32650), mobile phone batteries, nickel-metal hydride, and nickel-cadmium batteries.
Key features include:
- Integrated Design: Combines power and welding pen for easy, one-handed use.
- Versatile Welding: Supports various cylindrical lithium batteries, mobile phone batteries, Ni-MH, and Ni-Cd batteries.
- Adjustable Power: 80 adjustable power levels with dual-pulse output for precise welding.
- Dual Mode Operation: Offers both automatic and manual modes.
- 5.0 Ah Battery: 5000mAh battery with 800A peak power, providing over 800 welds on a full charge.
- Type-C Charging: Supports convenient Type-C charging.
- OLED Display: Color OLED screen shows system mode, power, preheating status, delay, and welding progress in real-time.
- Safety Features: Includes undervoltage, overcurrent, and overload protection.

2. Package Contents
The Seesii SE-209 Mini Spot Welder package includes all necessary accessories for immediate use:
- 1 x Spot Welder
- 1 x Sandpaper
- 1 x USB-C Cable
- 2 x Rolls of Nickel-Plated Sheet (0.15 * 5 m)
- 2 x Replacement Welding Needles
- 1 x User Manual

3. Safety Information and Precautions
Observe the following precautions for safe and effective operation:
- Low Voltage Alert: If the battery voltage drops below 3.7V, charge the device immediately.
- Recommended Settings: For 0.2 mm nickel, use 60 ms. For 0.12 mm nickel, use 40 ms. Adjust as necessary based on material and desired weld quality.
- Welding Range: This spot welder is recommended for nickel sheets with a thickness of 0.2 mm or less.
- Pre-Start Check: Always ensure the screws of the welding pen chuck are securely tightened before operation.
- First Use: Charge the battery to 4.0V before using the device for the first time.
- Optimal Welding Angle: Position the welding pen at a 45° angle relative to the nickel sheet for best results.
4. Setup and Assembly
To replace the welding pen needles, follow these steps:
- Step 1: Loosen the Screw. Use a screwdriver to loosen the screws holding the welding pen in place.
- Step 2: Remove the Welding Pen. Carefully pull out the old welding pen. Note: Ensure the welding pen has cooled completely before handling to avoid burns.
- Step 3: Replace the Welding Pen. Insert the new welding pen into the designated slots.
- Step 4: Tighten the Screw. Securely tighten the screws to hold the new welding pen in place.
- Step 5: Welding Needle Alignment. Warning: Ensure both welding needles are of the same length and level to ensure proper contact and consistent welds.
5. Operating Instructions
Familiarize yourself with the controls and settings for optimal welding performance:
- Power On/Off: Long press the "Power" button to turn the spot welder on or off.
- Parameter Adjustment: Short press the "Power" button to cycle through and modify parameters such as preheating, delay, and gear (power level).
- Language Change: Press and hold both the "Power" and "+" buttons simultaneously to switch the display language between Chinese and English.
- Mode Selection: Press and hold both the "+" and "-" buttons simultaneously to switch between automatic and manual welding modes.
- Gear/Time Adjustment: Use the "+" and "-" buttons to adjust the welding gear (power level) or time settings up or down.


6. Charging Instructions
To charge the Seesii SE-209 Mini Spot Welder:
- Use a Type-C adapter.
- Ensure the input is 5V / 2A.
- Connect the provided USB-C cable to the device and a compatible power source.

7. Maintenance
Regular maintenance ensures the longevity and performance of your spot welder:
- Clean Welding Pen: Clean the welding pen tips after approximately 20 spot welds to remove any residue and maintain optimal conductivity. Use the provided sandpaper or a similar abrasive material.
- Storage: Store the device in a dry, cool place away from direct sunlight and moisture.
- Battery Care: Avoid fully discharging the battery frequently. Charge it when the low voltage alert appears.
8. Specifications
| Feature | Detail |
|---|---|
| Manufacturer | Seesii |
| Model Number | SE-209 |
| Package Dimensions | 28.2 x 8.5 x 4.2 cm |
| Item Weight | 490 grams |
| Color | Ferrous |
| Style | SE-209 |
| Power Source | Battery Powered |
| Quantity of Items | 1 |
| Head Type | Conical |
| Special Features | Portable |
| Specific Uses | Jewelry Welding (Note: This may be a general category, primary use is battery welding) |
| Batteries Included? | Yes |
| Batteries Required? | Yes |
| Battery Type | NiMH (Note: Product description indicates 5.0 Ah battery, typically Lithium-ion for this capacity and application) |
| Burner Type | Nichrome |
9. Warranty and Support
For warranty information, technical support, or service inquiries, please refer to the contact details provided in the original product packaging or visit the official Seesii website. Keep your purchase receipt as proof of purchase for any warranty claims.