
DkbkKZt1eiOHL2qY
User Manual
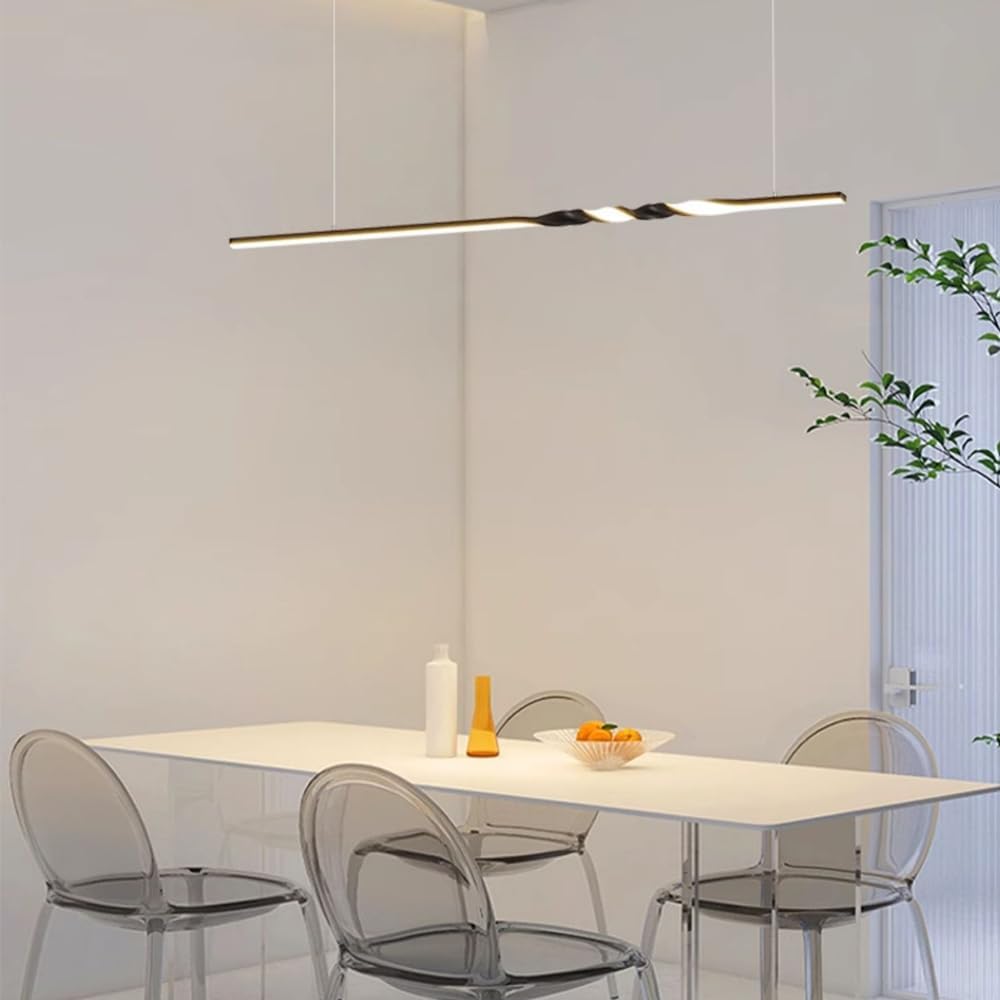
LED Kitchen Island Pendant Light
Model: DkbkKZt1eiOHL2qY
Important Safety Information
Please read this manual carefully before installation and operation. Keep these instructions for future reference.
- Always disconnect power before installation, cleaning, or servicing.
- Installation must be performed by a qualified electrician in accordance with all local electrical codes.
- Do not exceed the specified wattage (24W LED).
- Ensure the mounting surface can support the weight of the fixture.
- Use only a soft, dry cloth for cleaning. Avoid abrasive cleaners or solvents.
- This fixture is designed for indoor use only.
Package Contents
Verify that all components are present and undamaged before beginning installation.
- 1 x LED Pendant Light Fixture
- 1 x Installation Accessories Kit (includes mounting hardware, wire connectors)
- 1 x User Manual (this document)

Specifications
| Attribute | Detail |
|---|---|
| Brand | Generic |
| Model Number | DkbkKZt1eiOHL2qY |
| Dimensions (Fixture) | 120 cm (Length) x 6 cm (Width) |
| Adjustable Hanging Wire | Up to 150 cm (59 inches) |
| Chassis Dimensions | 17 cm (Length) x 6 cm (Width) x 4 cm (Height) |
| Color | Black |
| Materials | Iron, Acrylic, Silicone |
| Light Source Type | Integrated LED |
| Power Consumption | 24W |
| Luminous Flux | 1800 Lumens |
| Color Temperature | Warm Light, Neutral Light, White Light (3 Color Modes) |
| Control Method | Wall Control |
| Installation Type | Hanging |

Installation Instructions
Note: Installation should be performed by a qualified electrician. Ensure power is OFF at the circuit breaker before starting.
- Prepare the Mounting Location: Turn off the power at the main circuit breaker. Ensure the junction box is securely mounted and capable of supporting the fixture's weight.
- Attach Mounting Bracket: Secure the mounting bracket (from the installation accessories kit) to the junction box using the provided screws.
- Adjust Hanging Height: The pendant light features adjustable hanging wires. Loosen the set screws on the canopy to adjust the wire length to your desired height (up to 150 cm). Once adjusted, tighten the set screws to secure the wires.
- Make Electrical Connections:
- Connect the fixture's live wire (usually black) to the live wire from the junction box.
- Connect the fixture's neutral wire (usually white) to the neutral wire from the junction box.
- Connect the fixture's ground wire (usually green or bare copper) to the ground wire from the junction box.
- Secure all connections with wire nuts (provided).
- Mount the Fixture: Carefully push the wires into the junction box and align the fixture's canopy with the mounting bracket. Secure the canopy to the bracket using the provided screws.
- Restore Power: Turn the power back on at the circuit breaker.

Operating Instructions
This LED pendant light features 3 color temperature modes, controlled via your standard wall switch.
- Turning On/Off: Flip your wall switch to turn the light on or off.
- Changing Color Temperature: To cycle through the color modes (Warm Light, Neutral Light, White Light), quickly toggle the wall switch OFF and then ON again. Each quick toggle will advance to the next color temperature.
Note: This fixture is controlled by a standard wall switch and does not include a dimmer. If you wish to use a dimmer, ensure it is compatible with LED fixtures and installed by a qualified electrician.
Maintenance
Proper care will ensure the longevity and appearance of your pendant light.
- Cleaning: Before cleaning, ensure the power is turned off at the circuit breaker. Use a soft, dry, lint-free cloth to gently wipe the fixture. Do not use abrasive cleaners, solvents, or polishes as they may damage the finish or acrylic components.
- Bulb Replacement: The LED light source is integrated and not user-replaceable. If the LEDs fail, the entire fixture may need to be replaced.
- Inspection: Periodically check the hanging wires and mounting hardware for any signs of wear or looseness. If any issues are found, consult a qualified electrician.
Troubleshooting
If you encounter issues with your pendant light, refer to the following common problems and solutions:
| Problem | Possible Cause | Solution |
|---|---|---|
| Light does not turn on. | No power to the fixture. Loose wire connections. Faulty wall switch. | Check circuit breaker. Ensure all wire connections are secure (power off first). Test wall switch or consult an electrician. |
| Light flickers or dims. | Loose wire connections. Incompatible dimmer switch (if installed). | Check wire connections (power off first). Ensure dimmer is LED compatible or remove it. |
| Cannot change color temperature. | Incorrect wall switch operation. | Ensure you are quickly toggling the wall switch OFF and ON to cycle modes. |
If the problem persists after trying these solutions, please contact customer support.
Warranty and Support
Our lighting products are manufactured to strict national safety standards to ensure your home and family stay safe.
For any questions or concerns regarding your LED Kitchen Island Pendant Light, please contact the seller or manufacturer directly. Please have your model number (DkbkKZt1eiOHL2qY) and purchase information ready when contacting support.
We are committed to providing quality products and support.
Related documentsDkbkKZt1eiOHL2qY


Ask a question about this manual
Ask about setup, troubleshooting, compatibility, parts, safety, or missing instructions. Manuals+ will review the question and use this page’s manual context to help answer it.