
1. Introduction
The Leakbee R501 RV Propane Gas Detector is designed to provide early warning of propane gas leaks in recreational vehicles and similar applications. This device features a high-quality semiconductor sensor for accurate detection, a real-time digital display, and an 85 dB audible alarm. It is engineered for easy installation and broad compatibility with existing RV systems.
Important Note: This detector is designed to detect combustible gases (propane/LP gas) only. It does not detect carbon monoxide.
2. What's Included
Your Leakbee R501 package includes the following items:
- 1x R501 RV Propane Gas Detector (Black)
- 1x User Manual
- 1x Flush Mount Bracket
- 1x Universal Long & Short Surface Mount Bracket
- 1x Lever-nut Connector
- 6x Screws (2x Mounting Screws, 4x Fixing Bracket Screws)

Figure 1: Package Contents - R501 detector, user manual, lever-nut connector, three types of brackets, and screws.
3. Specifications
| Feature | Description |
|---|---|
| Brand | Leakbee |
| Model Number | R501 |
| Power Source | 12V DC (Corded Electric) |
| Voltage | 9-14 Volts (DC) |
| Color | Black |
| Product Dimensions | 3.78"D x 2.72"W x 0.79"H |
| Alarm Type | Audible (85 dB) |
| Material | ABS |
| Item Weight | 6.3 ounces |
| Gas Detection | Propane/LP Gas (Combustible gases only, not carbon monoxide) |
4. Installation
The Leakbee R501 detector is designed for flexible installation in various RV environments. It comes with multiple mounting options and a lever-nut connector for simplified wiring.
4.1 Mounting Location
Propane gas is heavier than air, so the detector should be mounted low to the floor, typically 4-12 inches (10-30 cm) above the floor. Ensure the location is free from obstructions and away from direct heat sources or ventilation outlets that could affect its operation.

Figure 2: Recommended mounting height for the detector, 4-12 inches (10-30 cm) from the floor.
4.2 Mounting Options
The R501 includes three different brackets to accommodate various installation needs:
- Flush Mount Bracket: For a seamless, integrated look where the detector sits flush with the wall.
- Universal Long & Short Surface Mount Bracket: For mounting directly onto the surface of a wall, offering flexibility for different hole patterns or surface types.
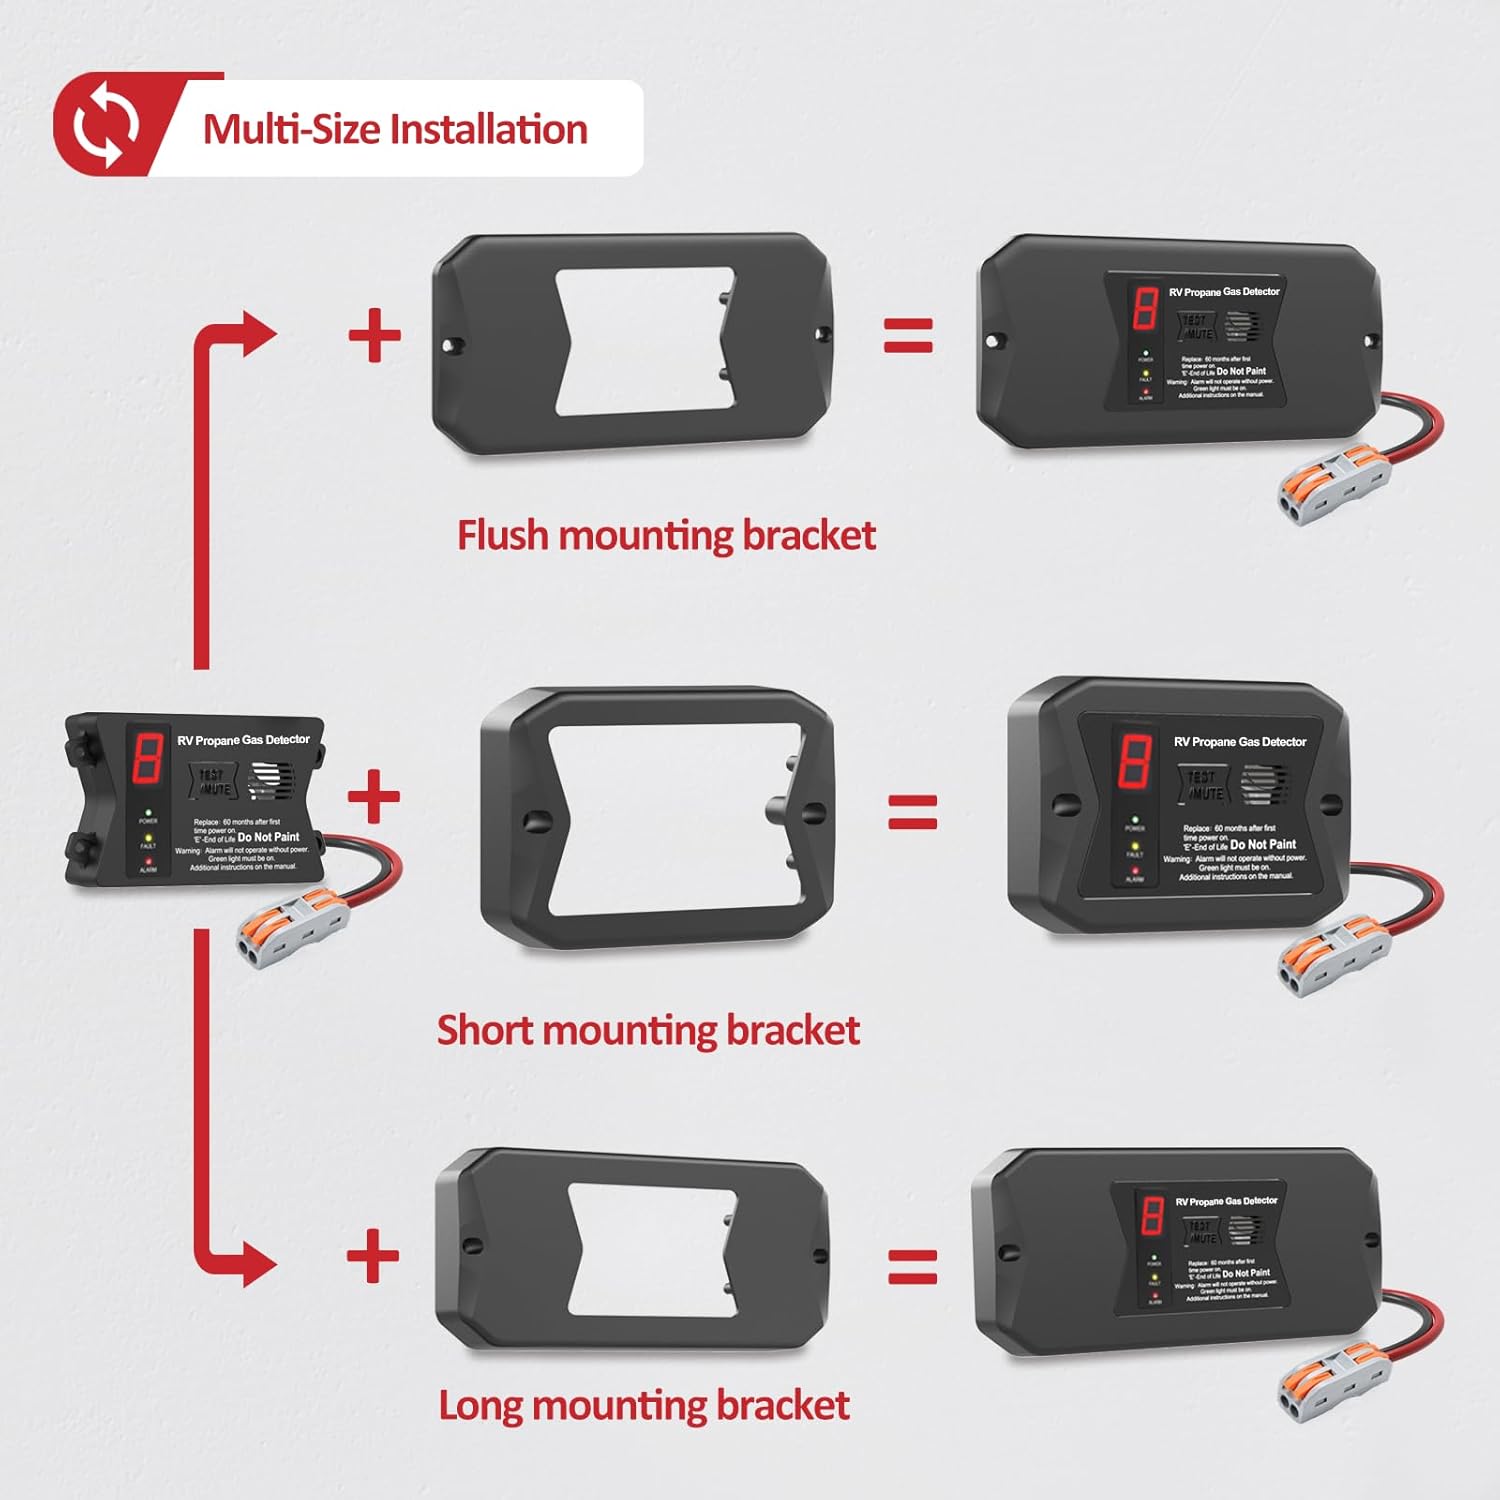
Figure 3: Multi-size installation options with flush, short, and long surface mount brackets.
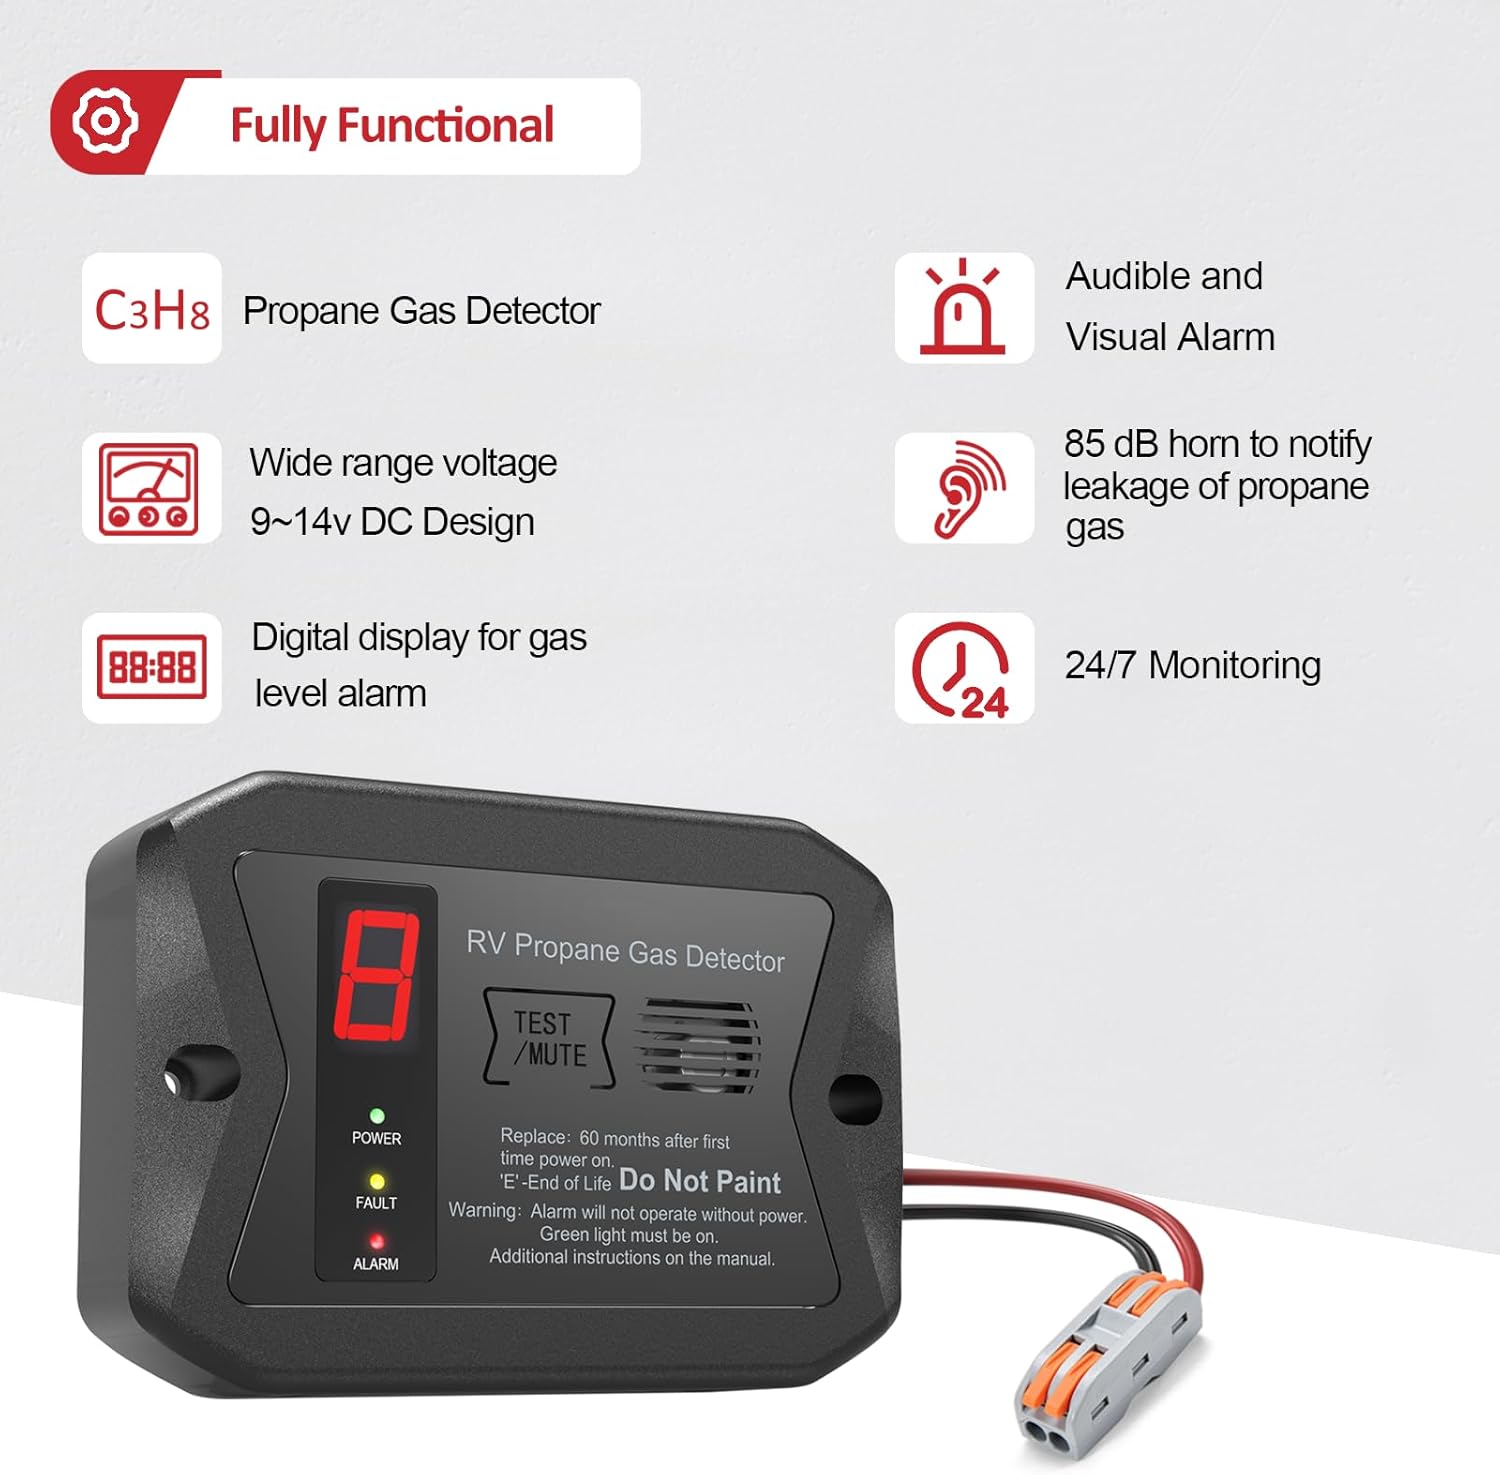
Figure 4: Size and installation guide with dimensions for R501-FM (Flush Mount) and R501-SM (Surface Mount).
4.3 Wiring Instructions
The R501 detector operates on 12V DC power. Use the provided lever-nut connector for a secure and efficient connection.
- Strip approximately 1/2 inch (12mm) of insulation from the ends of your RV's 12V DC power wires.
- Open the orange levers on the lever-nut connector.
- Insert the stripped ends of the detector's wires (red for positive, black for negative) and your RV's power wires into the corresponding slots in the lever-nut connector.
- Close the orange levers to secure the connections.
Ensure 12V to red (+) and ground to black (-). Incorrect wiring can damage the device.

Figure 5: Easy and fast connection using the lever-nut connector.
Video 1: Unboxing and basic wiring demonstration of the Leakbee RV Propane Gas Detector. This video shows the components included and how to connect the power wires using the provided connector.
5. Operation
Once properly installed and powered, the Leakbee R501 detector will begin monitoring for propane gas.
5.1 Power-On and Self-Test
Upon initial power-up, the detector will perform a self-test. The digital display will show a countdown or sequence, and the Power indicator (green LED) will illuminate. The alarm may briefly sound during this test.
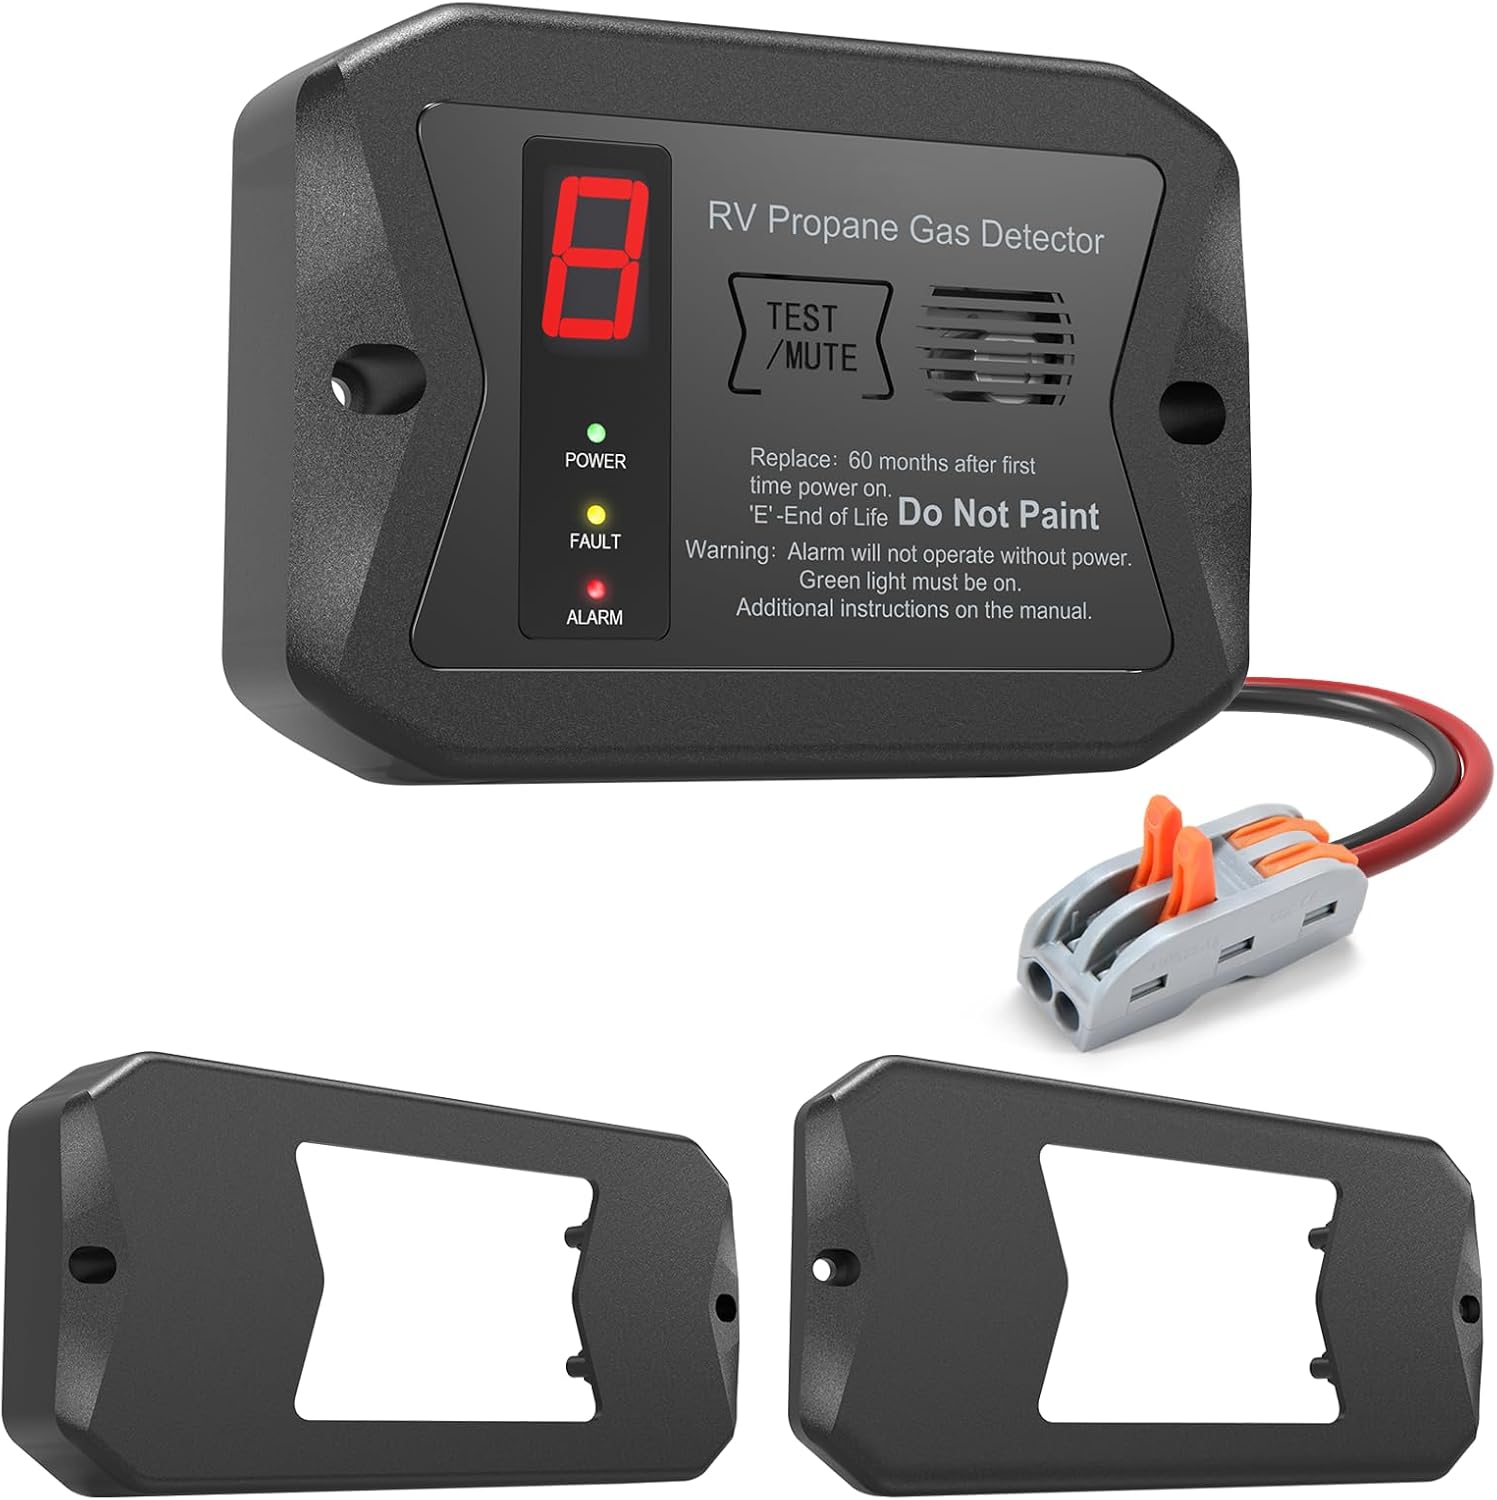
Figure 6: Front panel of the R501 detector with indicators and digital display.
5.2 Indicators and Display
- Power Indicator (Green LED): Illuminates when the device is powered on and operating normally.
- Fault Indicator (Yellow LED): Illuminates if there is a malfunction with the detector.
- Alarm Indicator (Red LED): Flashes and the audible alarm sounds when propane gas is detected above safe levels.
- Digital Display: Shows the real-time concentration level of detected gas.


Figure 7: Visual indicators for Power (Green), Fault (Yellow), and Alarm (Red) states.
5.3 Alarm Activation and Mute Function
When propane gas is detected at dangerous levels, the 85 dB audible alarm will sound, and the red Alarm LED will flash. To temporarily silence the alarm, press the "TEST / MUTE" button. The alarm will reactivate if gas levels remain high.
Video 2: A short demonstration of the R501 detector's alarm function when exposed to propane gas.
6. Maintenance
- Regular Testing: It is recommended to test the detector regularly (e.g., monthly) by pressing the "TEST / MUTE" button to ensure the alarm and indicators are functioning correctly.
- Cleaning: Keep the detector clean and free from dust and debris. Use a soft, dry cloth for cleaning. Do not use harsh chemicals or abrasive cleaners.
- Do Not Paint: Never paint the detector. Paint can clog the sensor and interfere with its ability to detect gas.
- Replacement: The detector has a lifespan. It is recommended to replace the unit 60 months (5 years) after the first time it is powered on. An "E" (End of Life) indicator may appear on the display when replacement is due.

Figure 8: "E" displayed on the detector, indicating End of Life and requiring replacement.
7. Troubleshooting
| Problem | Possible Cause | Solution |
|---|---|---|
| No Power / Green LED Off | No 12V DC power, incorrect wiring, or power supply issue. | Check 12V DC power source. Verify wiring connections (red to positive, black to negative). Ensure power supply is active. |
| Yellow Fault LED On | Internal malfunction or sensor error. | Perform a power cycle (disconnect and reconnect power). If the fault persists, contact customer support. |
| Alarm Sounds / Red LED Flashes | Propane gas leak detected. | Immediately ventilate the area. Turn off propane supply. Investigate and resolve the source of the leak. Do not re-enter the area until gas levels are safe. |
| "E" on Digital Display | End of life indicator. | The detector has reached the end of its operational lifespan (60 months). Replace the unit with a new one. |
8. Safety Information
- This detector is for propane/LP gas only. It does not detect carbon monoxide or other gases.
- Do not paint the detector.
- Ensure proper ventilation in your RV.
- Regularly check all propane connections and appliances for leaks.
- In case of an alarm, evacuate the area immediately and contact emergency services if necessary.
- The alarm will not operate without power. Ensure the green power light is always on.
9. Warranty and Support
Leakbee offers a lifetime warranty and technical support for the R501 RV Propane Gas Detector. If you experience any issues within 60 months of purchase, a replacement service will be offered. For technical assistance or warranty claims, please refer to the contact information provided in your product packaging or visit the official Leakbee website.