1. Introduction
The Yosoo Mini Thermal Printer is a portable, handheld sticker printer designed for convenience and efficiency. Featuring 200DPI resolution and Bluetooth connectivity, it allows for quick and clear printing of various documents such as office labels, text, work plans, memo lists, daily calendars, and meeting notes. Its compact size and long battery life make it suitable for both office and home use.
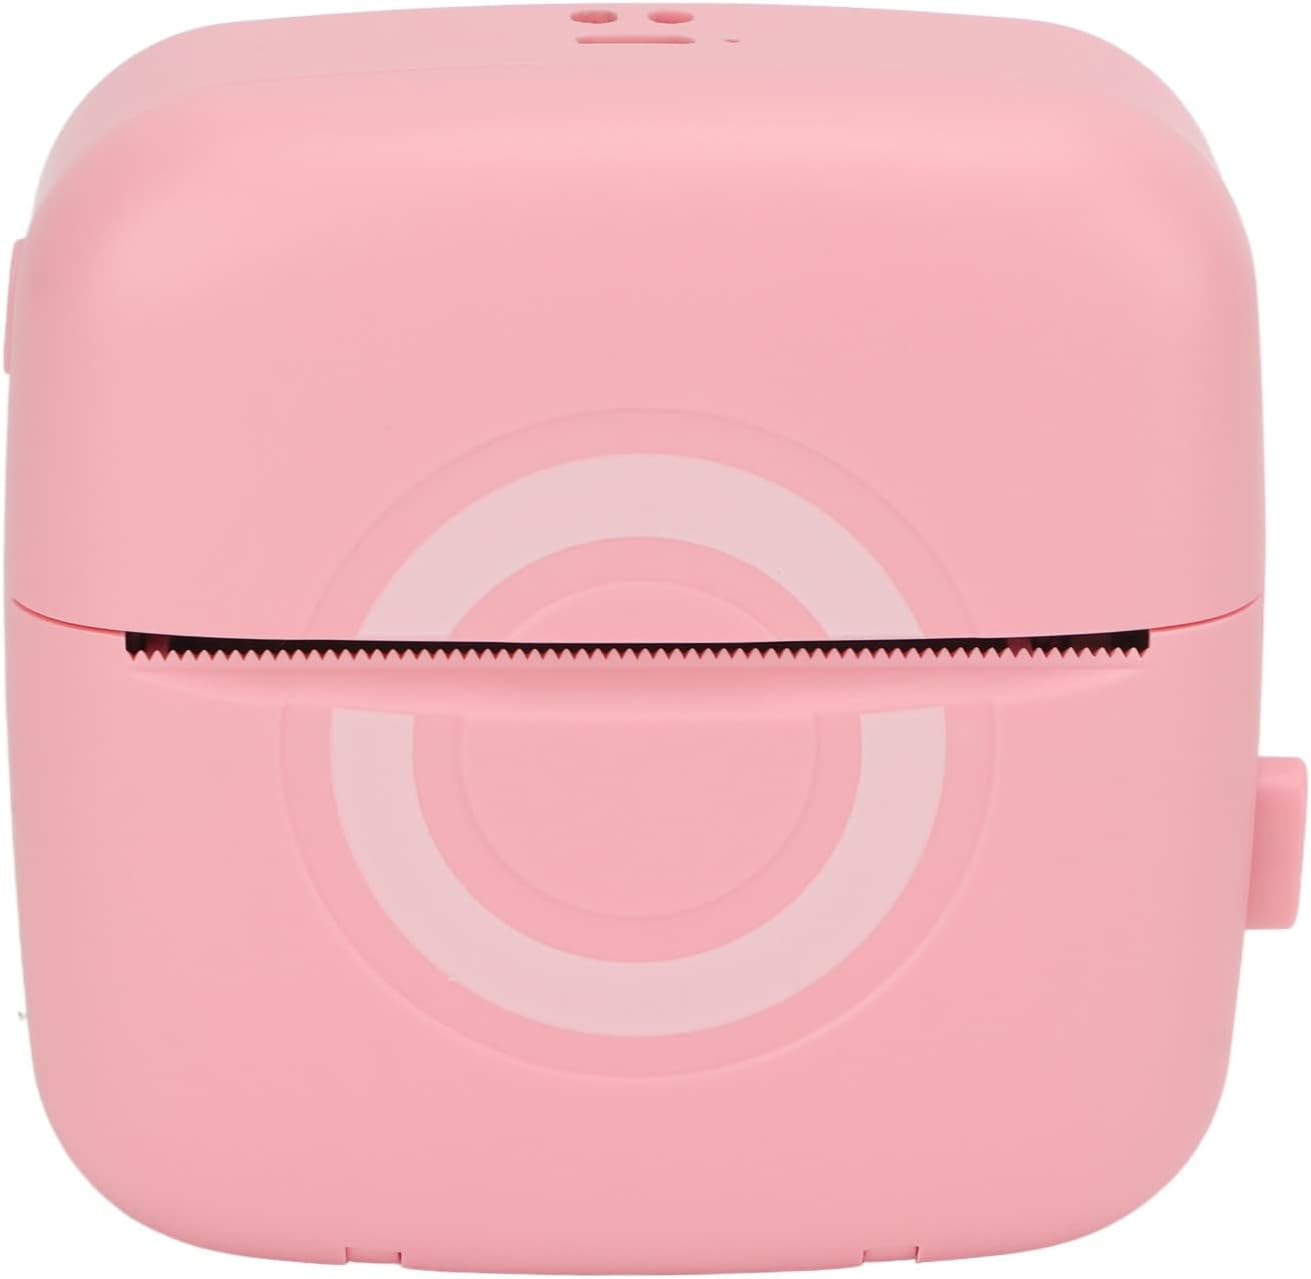
Figure 1.1: Front view of the Yosoo Mini Thermal Printer, showcasing its compact pink design.
2. Package Contents
Please verify that all items listed below are included in your package. If any items are missing or damaged, please contact customer support.
- 1 x Yosoo Mini Thermal Printer (with inbuilt Lithium Battery)
- 1 x USB Charging Cable
- 1 x User Manual
- 1 x Roll of Printer Paper (pre-installed or separate)
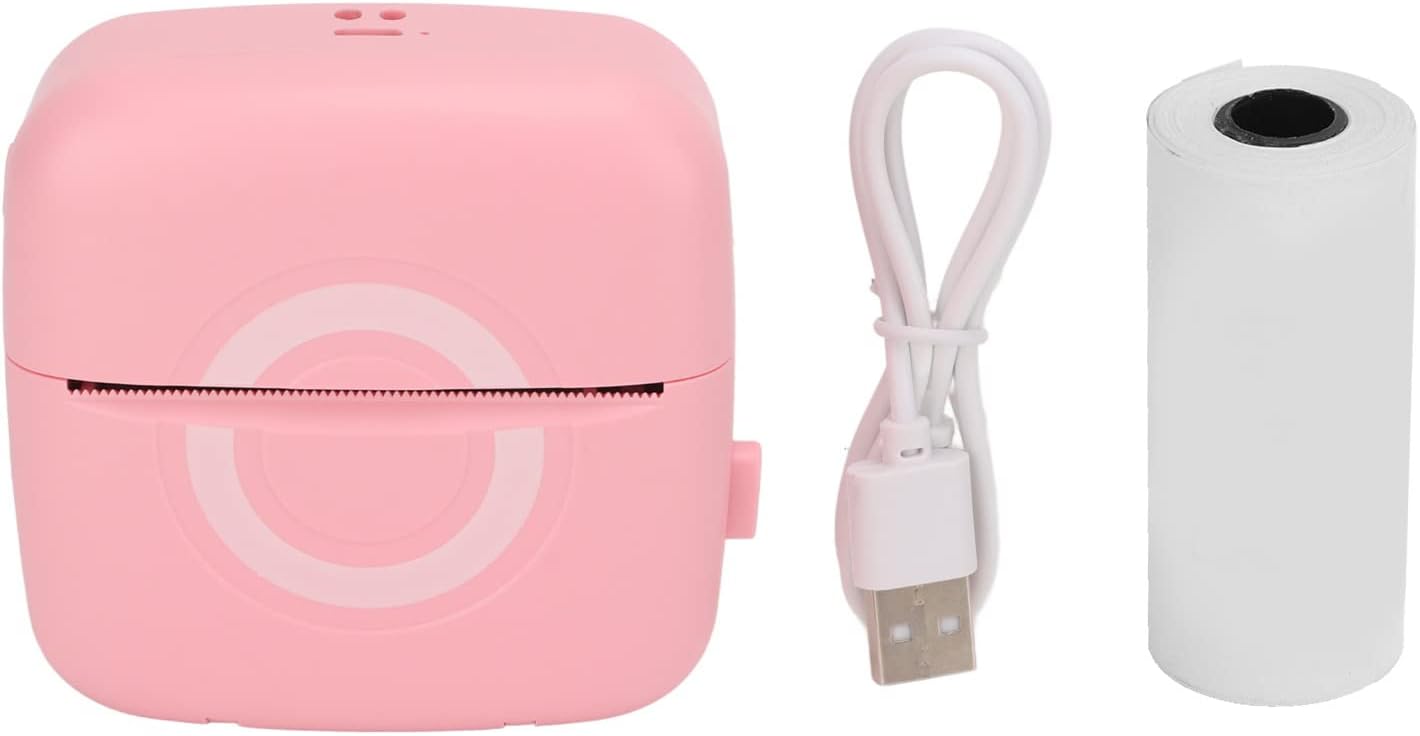
Figure 2.1: Contents of the Yosoo Mini Thermal Printer package, including the printer, USB cable, and a roll of thermal paper.
3. Product Features
- High Resolution Printing: 200DPI resolution for clear and crisp prints.
- Bluetooth Connectivity: Easy wireless connection to smartphones or tablets via the dedicated app.
- Portable and Compact: Lightweight design with long battery life for on-the-go use.
- Inkless Thermal Printing: Environmentally friendly printing without the need for ink cartridges.
- Quick Paper Output: Efficient one-click printing saves time and effort.
- Durable Print Head: High-performance print head designed for extended service life.
4. Setup Guide
4.1 Charging the Printer
Before first use, fully charge the printer. Use the provided USB cable to connect the printer to a USB power adapter (not included) or a computer's USB port.
- Locate the USB charging port on the side of the printer.
- Insert the small end of the USB cable into the printer's charging port.
- Insert the larger end of the USB cable into a USB power source.
- The indicator light will show charging status (refer to LED indicator section in the manual for details, if available).

Figure 4.1: Close-up of the USB charging cable provided with the printer.
4.2 Loading Thermal Paper
The printer uses 57 x 30mm thermal paper rolls. Ensure the paper is loaded correctly for optimal printing.
- Gently push the release button or slide the cover to open the paper compartment.
- Remove any remaining paper core if present.
- Insert a new roll of thermal paper, ensuring the printing side (usually the smoother side) faces the print head. The paper should feed from the bottom of the roll towards the top.
- Pull a small length of paper out of the compartment, extending it past the cutting edge.
- Close the paper compartment cover firmly until it clicks into place.

Figure 4.2: The printer with its paper compartment open, illustrating how to insert a new thermal paper roll.
4.3 App Installation and Bluetooth Pairing
The printer operates with the "For iPrint" application. Download and install the app on your smartphone or tablet.
- Search for "iPrint" in your device's app store (Google Play Store for Android, Apple App Store for iOS).
- Download and install the application.
- Ensure the printer is charged and powered on.
- Enable Bluetooth on your smartphone or tablet.
- Open the "iPrint" app. The app will guide you through the pairing process. Select the printer from the list of available Bluetooth devices.
- Once paired, the app will indicate a successful connection, and you can begin printing.
5. Operating Instructions
5.1 Basic Printing
After successful setup and pairing, you can print directly from the "iPrint" app.
- Open the "iPrint" application on your connected device.
- Select the desired content to print (e.g., text, image, label template).
- Adjust print settings within the app if necessary (e.g., density, size).
- Tap the "Print" button in the app. The printer will begin printing the content.
- Once printing is complete, gently tear the paper upwards against the serrated edge of the printer.

Figure 5.1: Top view of the printer, highlighting the paper exit slot where printed content emerges.
The printer supports "one-click printing" for quick and effortless output of various documents and images.
6. Maintenance
6.1 Cleaning the Print Head
To ensure optimal print quality and extend the life of your printer, regularly clean the print head.
- Turn off the printer and disconnect it from the power source.
- Open the paper compartment.
- Gently wipe the print head (the black strip inside the compartment) with a cotton swab lightly dampened with isopropyl alcohol.
- Allow the print head to dry completely before closing the compartment and using the printer.
6.2 Paper Storage
Store thermal paper in a cool, dry place away from direct sunlight and heat to prevent premature fading of prints.
7. Troubleshooting
| Problem | Possible Cause | Solution |
|---|---|---|
| Printer not turning on | Low battery; Power button not pressed correctly | Charge the printer fully; Press and hold the power button for a few seconds. |
| Cannot connect via Bluetooth | Bluetooth not enabled; Printer not in pairing mode; App issue | Ensure Bluetooth is on for both devices; Restart printer and app; Try re-pairing through the app. |
| Poor print quality / Faded prints | Low battery; Dirty print head; Incorrect paper loading; Old thermal paper | Charge the printer; Clean the print head (refer to Maintenance section); Ensure paper is loaded correctly; Use fresh thermal paper. |
| Paper jam | Improper paper loading; Foreign object in paper path | Turn off printer, open compartment, carefully remove jammed paper; Ensure paper is loaded straight. |
8. Specifications
| Feature | Detail |
|---|---|
| Item Type | Mini Thermal Printer |
| Material | ABS |
| Printing Software | For iPrint |
| Applicable Paper Size | Approx. 57 x 30mm / 2.2 x 1.2in |
| Printer Dimensions | Approx. 8.2 x 8.3 x 3.8cm / 3.2 x 3.3 x 1.5in |
| Printing Speed | 10mm/s |
| Networking Method | Bluetooth (BT) |
| Charging Method | USB |
| Battery Type | Lithium Battery (Inbuilt) |
| Battery Model | 653040 |
| Battery Capacity | 1000mAh |
| Resolution | 200DPI |
| Supported Languages | Chinese, English, French, Italian, Spanish, German, Greek, Russian |
| Item Weight | 6.7 ounces |
| Model Number | Yosoos0gphonmuy |
9. Warranty and Support
For warranty information and technical support, please refer to the contact details provided on the product packaging or the official Yosoo website. Keep your purchase receipt as proof of purchase for warranty claims.
Typical warranty periods for electronic devices range from 6 months to 1 year from the date of purchase, covering manufacturing defects. This warranty typically does not cover damage caused by misuse, accidents, unauthorized repairs, or normal wear and tear.
For further assistance, you may also contact the seller directly through the platform where the product was purchased.


