
YITAHOME MAYIHwtCd4
YITAHOME 60 cuft Vertical Outdoor Storage Shed Instruction Manual
1. Product Overview
The YITAHOME 60 cuft Vertical Outdoor Storage Shed (Model: MAYIHwtCd4) is a durable and weather-resistant storage solution designed for outdoor use. Constructed from solid resin, it offers protection against water, weather, and UV rays, ensuring longevity and minimal maintenance. Its tall, vertical design is ideal for storing various items such as garden tools, lawnmowers, pool equipment, and bicycles in spaces like gardens, garages, basements, or tool rooms.
Key Features:
- Material: Solid Resin construction for durability and weather resistance.
- Protection: Waterproof, weather-resistant, and UV-protected to prevent stripping and fading.
- Design: Minimalist and sleek, featuring a reinforced top cover and durable floor.
- Capacity: 60 cubic feet of storage space.
- Security: Lockable doors for enhanced security (lock not included).
- Dimensions: External: 47.6"L x 26.8"W x 81.1"H; Internal: 44.6"L x 24"W x 79.1"H.
2. Safety Information
Please read and understand all safety instructions before assembly and use.
- Assembly Assistance: Due to the size and weight of the shed components, it is highly recommended to seek assistance from another person during setup.
- Hand Protection: Wear gloves during assembly to prevent scratches or injuries from metal components.
- Handling: Handle all parts with care due to their weight and size.
- Level Surface: Ensure the shed is assembled on a flat, level, and stable surface to ensure proper door alignment and structural integrity.
- Anchoring: For added stability and safety, anchor the shed securely to the ground using appropriate expansion anchors (not included).
- Ventilation: Do not store flammable liquids or hazardous materials without proper ventilation and safety precautions.
3. Components Overview
Before beginning assembly, ensure all parts are present and undamaged. Refer to the packing list provided with your product for a detailed inventory. Key components include:
- Floor Panel(s)
- Back Panels
- Side Panels
- Roof Panel(s)
- Door Panels
- Hinges and Latches
- Various Screws and Fasteners
- Internal Support Brackets (for optional shelving)

Figure 3.1: Exploded view of shed components for easy assembly.
4. Setup and Assembly Instructions
Assembly requires a drill with a low torque setting to avoid damaging the resin material. Two people are recommended for efficient and safe assembly.
4.1. Prepare the Base
- Choose a flat, level, and stable surface for the shed's location.
- Lay down the floor panel(s) (Part A) on the prepared surface.

Figure 4.1: Laying the floor panel on a level surface.
4.2. Assemble Back and Side Panels
- Attach the back panels (Part B) to the floor panel, ensuring they snap securely into place.
- Connect the side panels (Part C) to the floor and back panels using the provided screws and internal support brackets. These brackets enhance the structural integrity.
- Ensure all panels are aligned and secured firmly.

Figure 4.2: Attaching side panels to the base and back panels.
4.3. Install the Roof
- Carefully place the roof panel (Part D) onto the assembled walls.
- Secure the roof panel to the side panels using the designated screws and small iron sheets.
- Ensure the roof is properly aligned and sealed to prevent water entry.

Figure 4.3: The shed with the roof installed, showing its overall structure.
4.4. Attach Doors and Locking Mechanisms
- Attach the hinges to the door panels (Part E) and then to the side panels of the shed. Ensure hinges are installed internally to protect them from elements.
- Install the door handles and the lockable lid mechanism.
- Test the doors to ensure they open and close smoothly and the locking mechanism functions correctly.

Figure 4.4: The shed with doors open, revealing the spacious interior and potential for shelving.
4.5. Optional Shelving Installation
The shed is designed to accommodate internal shelving (not included). Utilize the pre-drilled holes and internal support brackets to install shelves at desired heights. This allows for customized organization of your stored items.
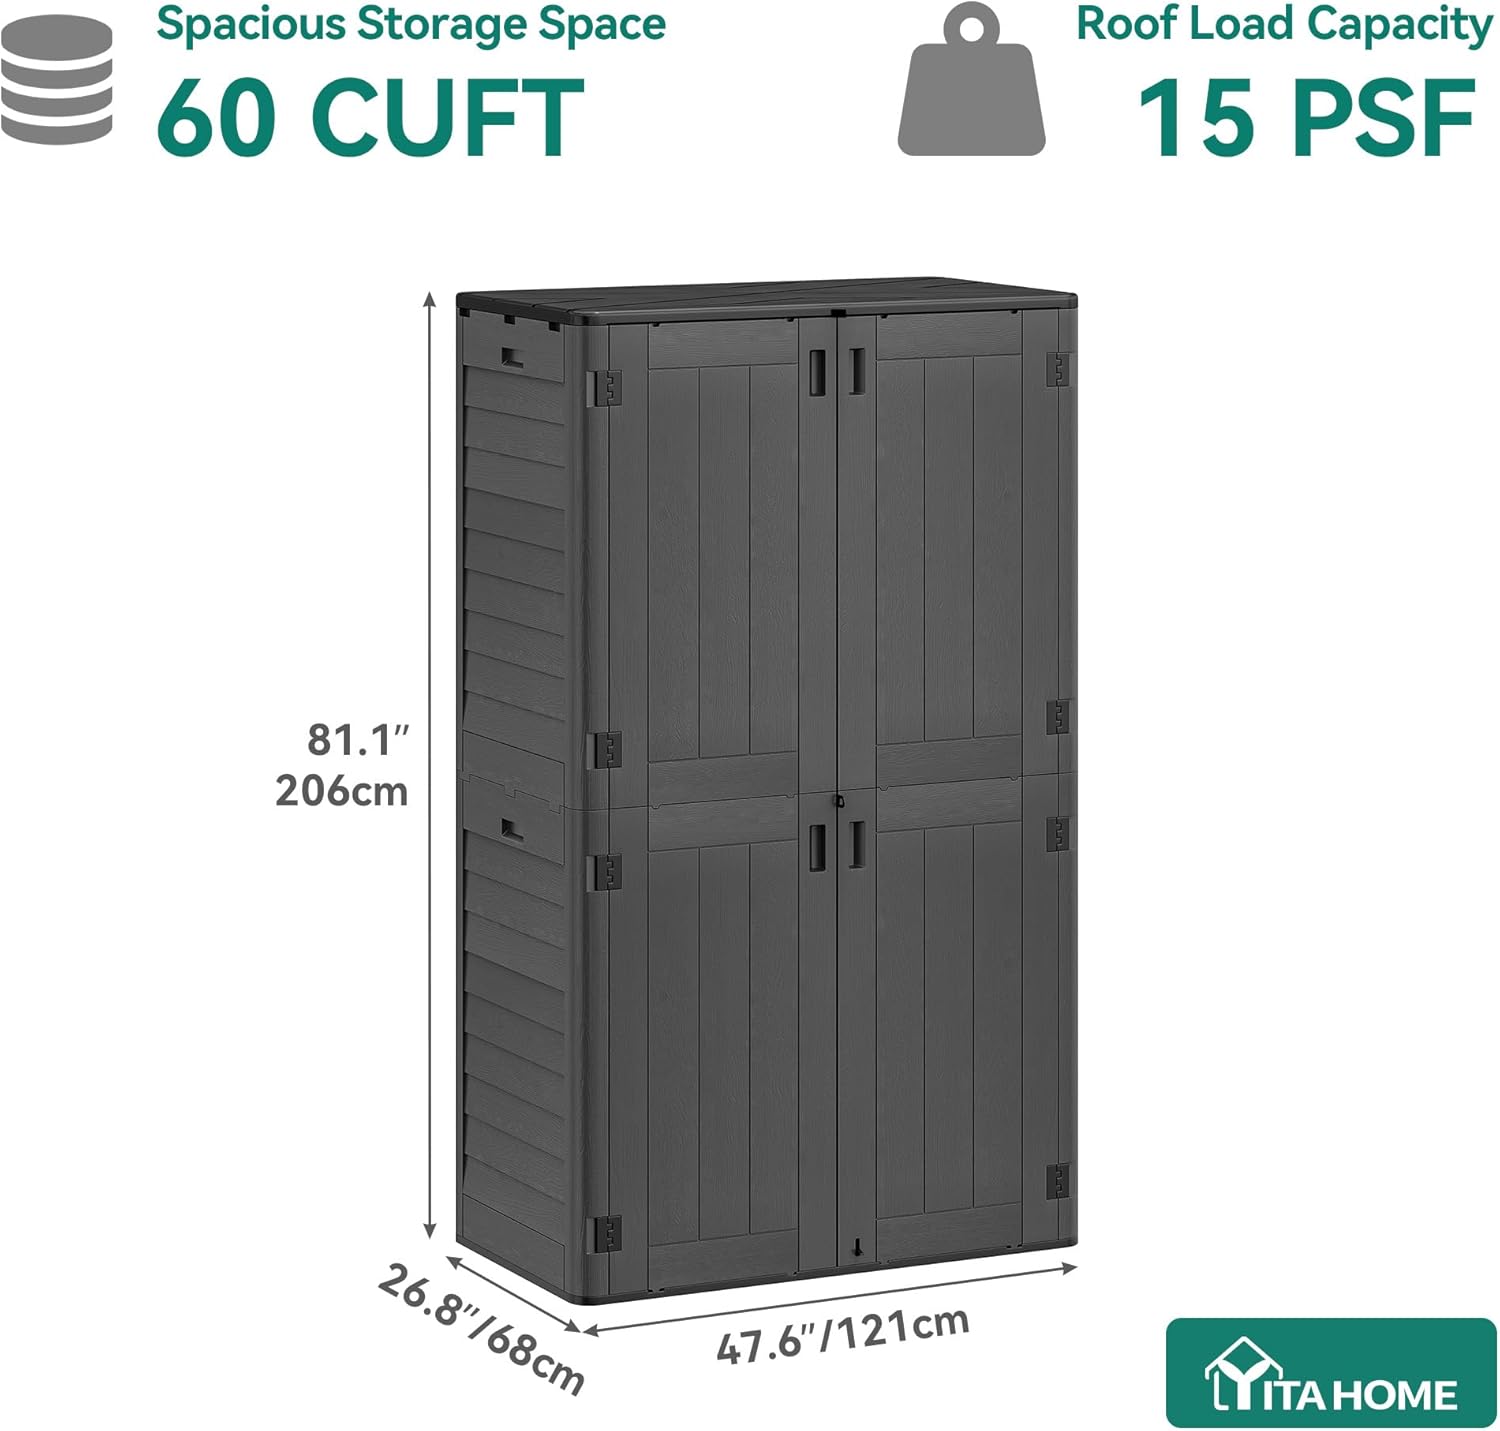
Figure 4.5: Interior view demonstrating shelving possibilities for enhanced organization.
4.6. Assembly Video Guide
For a detailed visual guide on the assembly process, please refer to the official YITAHOME installation video below:
Video 4.1: Official YITAHOME 60 Cuft Vertical Storage Shed Installation Video. This video provides step-by-step instructions for assembling the shed, including panel attachment, roof installation, and door setup.
5. Operating Instructions
5.1. Opening and Closing Doors
- To open, unlatch any locking mechanisms and pull the door handles outwards.
- To close, push the doors firmly until they meet in the center.
5.2. Locking the Shed
- The shed features a lockable lid mechanism. Align the holes on the doors and insert a padlock (not included) to secure your belongings.
- A step-on lock is also integrated to secure the door to the floor, providing additional stability and security.

Figure 5.1: Detail of the lockable lid mechanism, allowing for a padlock (not included).

Figure 5.2: Floor-mounted reinforcement for anchoring the shed to the ground.
6. Maintenance
The YITAHOME storage shed is designed for effortless maintenance due to its durable resin construction.
- Cleaning: Clean the shed periodically with mild soap and water. Avoid abrasive cleaners or harsh chemicals that could damage the resin.
- Weather Resistance: The resin material is waterproof, weather-resistant, and UV-protected, minimizing the need for extensive weatherproofing.
- Inspection: Regularly inspect hinges, latches, and fasteners for any signs of wear or loosening. Tighten screws as needed.
- Snow Load: While durable, in areas with heavy snowfall, it is advisable to clear excessive snow from the roof to prevent potential damage.
7. Troubleshooting
- Doors not closing properly:
- Ensure the shed is on a perfectly level surface. Uneven ground can cause door misalignment.
- Check hinges for proper installation and tightness.
- Verify that no items inside the shed are obstructing the doors.
- Water leakage:
- Confirm that all roof and wall panels are securely fastened and properly overlapped according to assembly instructions.
- Inspect the roof for any gaps or damage.
- Shed feels unstable:
- Ensure all screws and fasteners are tightened.
- Consider anchoring the shed to the ground using expansion anchors for increased stability, especially in windy conditions.
8. Specifications
| Attribute | Detail |
|---|---|
| Brand | YITAHOME |
| Model Number | MAYIHwtCd4 |
| Color | Dark Gray |
| Material | Resin |
| External Dimensions (L x W x H) | 47.6" x 26.8" x 81.1" |
| Internal Dimensions (L x W x H) | 44.6" x 24" x 79.1" |
| Storage Capacity | 60 cuft |
| Item Weight | 109.8 Pounds |
| Water Resistance Level | Waterproof |
| Assembly Required | Yes |
9. Customer Support
For any questions, concerns, or assistance with your YITAHOME 60 cuft Vertical Outdoor Storage Shed, please contact YITAHOME customer support. Refer to your purchase documentation or the YITAHOME official website for contact details.
Return Policy: This product is returnable until January 31, 2026.
Ask a question about this manual
Ask about setup, troubleshooting, compatibility, parts, safety, or missing instructions. Manuals+ will review the question and use this page’s manual context to help answer it.