Introduction
This manual provides comprehensive instructions for the setup, operation, and maintenance of your 16MP 1080P Hunting Trail Camera (Model FH2S). Designed for wildlife monitoring and outdoor security, this camera captures high-quality photos and videos with its 16MP sensor and 1080P video capabilities. Featuring 940nm infrared night vision and a motion-activated trigger, it automatically records activity in natural habitats. Its robust, weather-resistant design ensures reliable performance in various outdoor conditions. Please read this manual thoroughly before using the camera to ensure optimal performance and longevity.

Figure 1: Front view of the Hunting Trail Camera, showcasing its compact, camouflage design.
Product Features
- Trail Camera Functionality: Specifically designed for monitoring wildlife and outdoor environments, capturing high-quality photos and videos.
- Sensitive Motion Sensor: The camera is activated by a highly sensitive motion sensor, ensuring no important moment is missed.
- Advanced Night Vision: Equipped with 940nm infrared night vision technology, enabling clear image capture even in low-light conditions.
- High Resolution Imaging: Offers 16MP resolution for still photos and 1080P for videos, providing detailed and sharp visuals.
- Robust and Weatherproof Design: Features an IP66 weatherproof and shock-resistant body, ensuring perfect operation in adverse outdoor conditions.

Figure 2: Key features of the Hunting Trail Camera, including infrared capability, motion sensing, and waterproof design.
Package Contents
Upon opening the package, please verify that all components are present and in good condition:
- 1 x 16MP 1080P Hunting Trail Camera (Model FH2S)
- 1 x Instruction Manual
- 1 x Mounting Strap (typically included for tree mounting)
- 1 x USB Cable (for data transfer, typically included)
Note: Batteries and SD card are not included and must be purchased separately.
Product Overview
Familiarize yourself with the various parts and components of your trail camera:

Figure 3: Detailed diagram of the camera's external and internal components.
- Infrared Light: For night vision illumination.
- Lens: Captures images and videos.
- PIR Sensor: Passive Infrared sensor for motion detection.
- Display Screen: For menu navigation and viewing captured media.
- Buttons: Navigation and selection controls.
- Battery Card Slot: Location for inserting batteries.
- Battery Cover: Protects the battery compartment.
- Keyhole: For securing the camera with a lock.
- Strap Hole: For attaching the mounting strap.
Setup
1. Battery Installation
The camera operates on batteries (not included). Ensure you use the correct type and number of batteries as specified in the Specifications section.
- Open the battery compartment cover.
- Insert the batteries, observing the correct polarity (+/-) as indicated inside the compartment.
- Close the battery compartment cover securely to ensure water resistance.
2. Memory Card Insertion
A memory card (SD card, not included) is required to store photos and videos.
- Locate the SD card slot, usually near the battery compartment or on the side when the camera is open.
- Insert the SD card with the metal contacts facing the correct direction until it clicks into place.
- To remove, push the card in slightly until it springs out.
3. Initial Configuration
Before deployment, configure basic settings using the internal display screen and buttons.

Figure 4: Internal view of the camera with display and controls.
- Switch the camera to "TEST" mode.
- Use the navigation buttons to access the menu.
- Set the current date and time.
- Format the SD card (this will erase all data on the card).
- Select your preferred operating mode (Photo, Video, or Photo+Video).
- Adjust other settings such as resolution, PIR sensitivity, and trigger interval as needed.
4. Mounting the Camera
The camera is designed for tree mounting.
- Choose a suitable location, typically a tree or post, that provides a clear view of the area you wish to monitor.
- Thread the mounting strap through the strap holes on the back of the camera.
- Securely fasten the camera to the tree/post, ensuring it is stable and pointed in the desired direction.
- Adjust the camera angle to optimize the field of view and motion detection range.
Operating Instructions
Operating Modes
The camera typically offers three main operating modes:
- Photo Mode: Captures still images when motion is detected.
- Video Mode: Records video clips when motion is detected.
- Photo+Video Mode: Captures a still image followed by a video clip when motion is detected.
Activating the Camera
- After completing the setup and configuration in "TEST" mode, switch the camera to "ON" mode.
- The camera will typically enter a brief countdown period (e.g., 10-30 seconds) before becoming fully active. This allows you to leave the area without triggering the sensor.
- Once active, the camera will automatically capture photos or videos based on your selected mode and settings when motion is detected by the PIR sensor.
Viewing Captured Media
To view photos and videos:
- Switch the camera back to "TEST" mode.
- Use the navigation buttons to browse through the captured files on the display screen.
- Alternatively, remove the SD card and insert it into a computer or card reader to view files.
- Connect the camera directly to a computer using a USB cable (if supported) to access files.

Figure 5: Example of day and 940nm infrared night vision capabilities.
Maintenance
- Cleaning: Use a soft, dry cloth to clean the camera lens and PIR sensor. Do not use abrasive cleaners or solvents.
- Battery Replacement: Replace batteries when the low battery indicator appears or when performance degrades. Always replace all batteries at once with new ones of the same type.
- SD Card Management: Regularly format the SD card to maintain optimal performance and prevent data corruption. Back up important files before formatting.
- Storage: When not in use for extended periods, remove batteries and store the camera in a cool, dry place away from direct sunlight.
- Water Resistance: Ensure all covers (battery compartment, USB port) are securely closed to maintain the camera's IP66 waterproof rating.
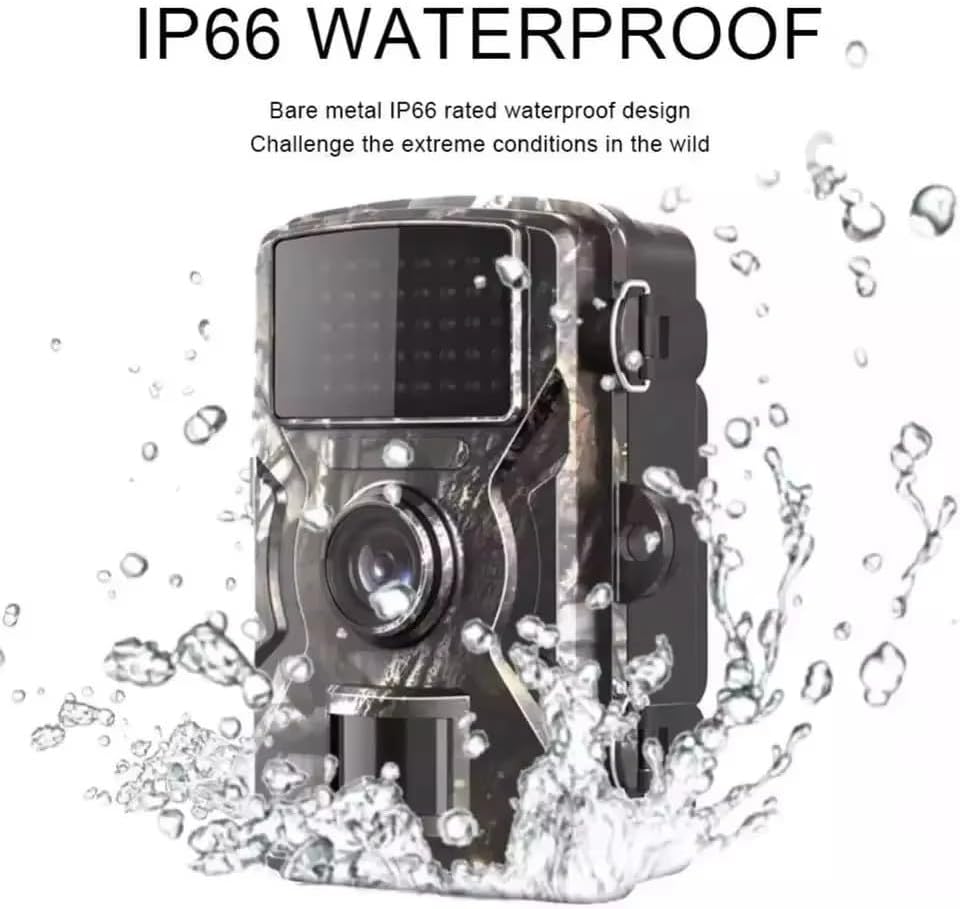
Figure 6: The camera's IP66 waterproof design ensures durability in outdoor conditions.
Troubleshooting
| Problem | Possible Cause | Solution |
|---|---|---|
| Camera not turning on. | Low or dead batteries; incorrect battery polarity; faulty batteries. | Replace with fresh, high-quality batteries, ensuring correct polarity. |
| No photos/videos captured. | SD card full or corrupted; incorrect mode setting; PIR sensitivity too low; camera not in "ON" mode. | Format or replace SD card; check mode setting; increase PIR sensitivity; ensure camera is in "ON" mode. |
| Poor image/video quality. | Dirty lens; low light conditions (without night vision); incorrect resolution setting. | Clean the lens; ensure night vision is active in low light; check resolution settings. |
| Camera records continuously or too frequently. | PIR sensitivity too high; camera facing moving objects (e.g., branches, tall grass). | Decrease PIR sensitivity; reposition camera to avoid false triggers. |
| Recording errors (as reported by users). | SD card compatibility issues; faulty SD card; firmware issue. | Try a different brand/type of SD card (Class 10 or higher recommended); format the SD card; contact support if issues persist. |
Specifications
| Feature | Detail |
|---|---|
| Power Source | Battery (not included) |
| Connectivity Protocol | Not Applicable |
| Controller Type | Sensor |
| Mounting Type | Tree Mount |
| Video Capture Resolution | 1080p |
| Color | Camouflage |
| Number of Items | 1 |
| Included Components | Trail Camera, Instruction Manual |
| Form Factor | Compact |
| Effective Video Resolution | 1080 |
| Installation Type | Tree Mount |
| Frame Rate | 1080p |
| Material | Plastic |
| Item Dimensions (L x W x H) | 10 x 5 x 13 cm (3.9 x 2 x 5.1 inches) |
| Water Resistance Level | Water Resistant (IP66) |
| Manufacturer | XXVII |
| Certification | Not Applicable |
| Shape | Rectangular |
| Lamp Type | Infrared LED (940nm) |
| Special Features | Infrared, Motion Sensor, Night Vision, Waterproof |
| Specific Product Uses | Night Photography, Wildlife Monitoring, Security |
| Batteries Included? | No |
| Battery Operated? | Yes |
| Model Number | FH2S |
| ASIN | B0DPNPV539 |
| Available for purchase since | December 5, 2024 |
| Radio Control Suitability | Nature Photography, Wildlife Monitoring, Outdoor Security |
| Brand | Generic |
| Connectivity Technology | Wireless |
| Indoor/Outdoor Environment | Outdoor Area |
Warranty and Support
This product is manufactured by XXVII. For specific warranty details, please refer to the warranty card or documentation included with your purchase. Warranty terms may vary by region and retailer.
For technical support, troubleshooting assistance beyond this manual, or warranty claims, please contact the seller or the manufacturer directly. Keep your purchase receipt as proof of purchase.
For general inquiries, you may also refer to the product page on Amazon.com.br: Product Link