1. Introduction
This manual provides essential information for the safe and efficient operation of your elejoy EL-MD400SP 25 Amp 400W MPPT Step-Down Solar Charge Controller. This device is designed to maximize energy harvest from solar panels with up to 98% efficiency, supporting 17-55V PV input and 10-30V output, compatible with 12V/24V systems. It features a durable aluminum alloy construction with an IP65 waterproof rating, making it suitable for various outdoor applications. The controller is compatible with multiple battery types, including lead-acid (sealed, gel, flooded) and lithium (LFP) batteries, with automatic 12V/24V voltage detection. It includes comprehensive protection features and an LED display for real-time monitoring.
2. Safety Information
- Read all instructions carefully before installation and operation.
- Ensure all wiring is correctly connected and secured to prevent short circuits or damage.
- Always disconnect power from the solar panel and battery before installing or servicing the controller.
- Do not attempt to disassemble or repair the controller yourself. Contact qualified personnel for service.
- Install the controller in a well-ventilated area, away from flammable materials.
- Wear appropriate personal protective equipment (PPE) during installation, including eye protection and insulated gloves.
- The controller is IP65 waterproof, but avoid submerging it in water.
3. Product Overview
3.1 Key Features
- High-Efficiency MPPT Technology: Up to 98% tracking efficiency for maximum power point.
- Wide Voltage Range: Supports 17-55V PV input and 10-30V output.
- Durable & Waterproof: Aluminum alloy construction with IP65 rating for outdoor use.
- Multi-Battery Compatibility: Works with lead-acid (sealed, gel, flooded) and lithium (LFP) batteries.
- Automatic Voltage Detection: Automatically detects 12V/24V system voltages.
- Comprehensive Protections: Built-in safeguards against short-circuit, over-current, and reverse polarity.
- LED Display: Shows real-time data for voltage, current, and status.
3.2 Product Components and Display
The elejoy EL-MD400SP controller features a robust design with an integrated LED display for easy monitoring and control.

Image: The elejoy EL-MD400SP MPPT Step-Down Solar Charge Controller, showcasing its compact design and integrated LED display.
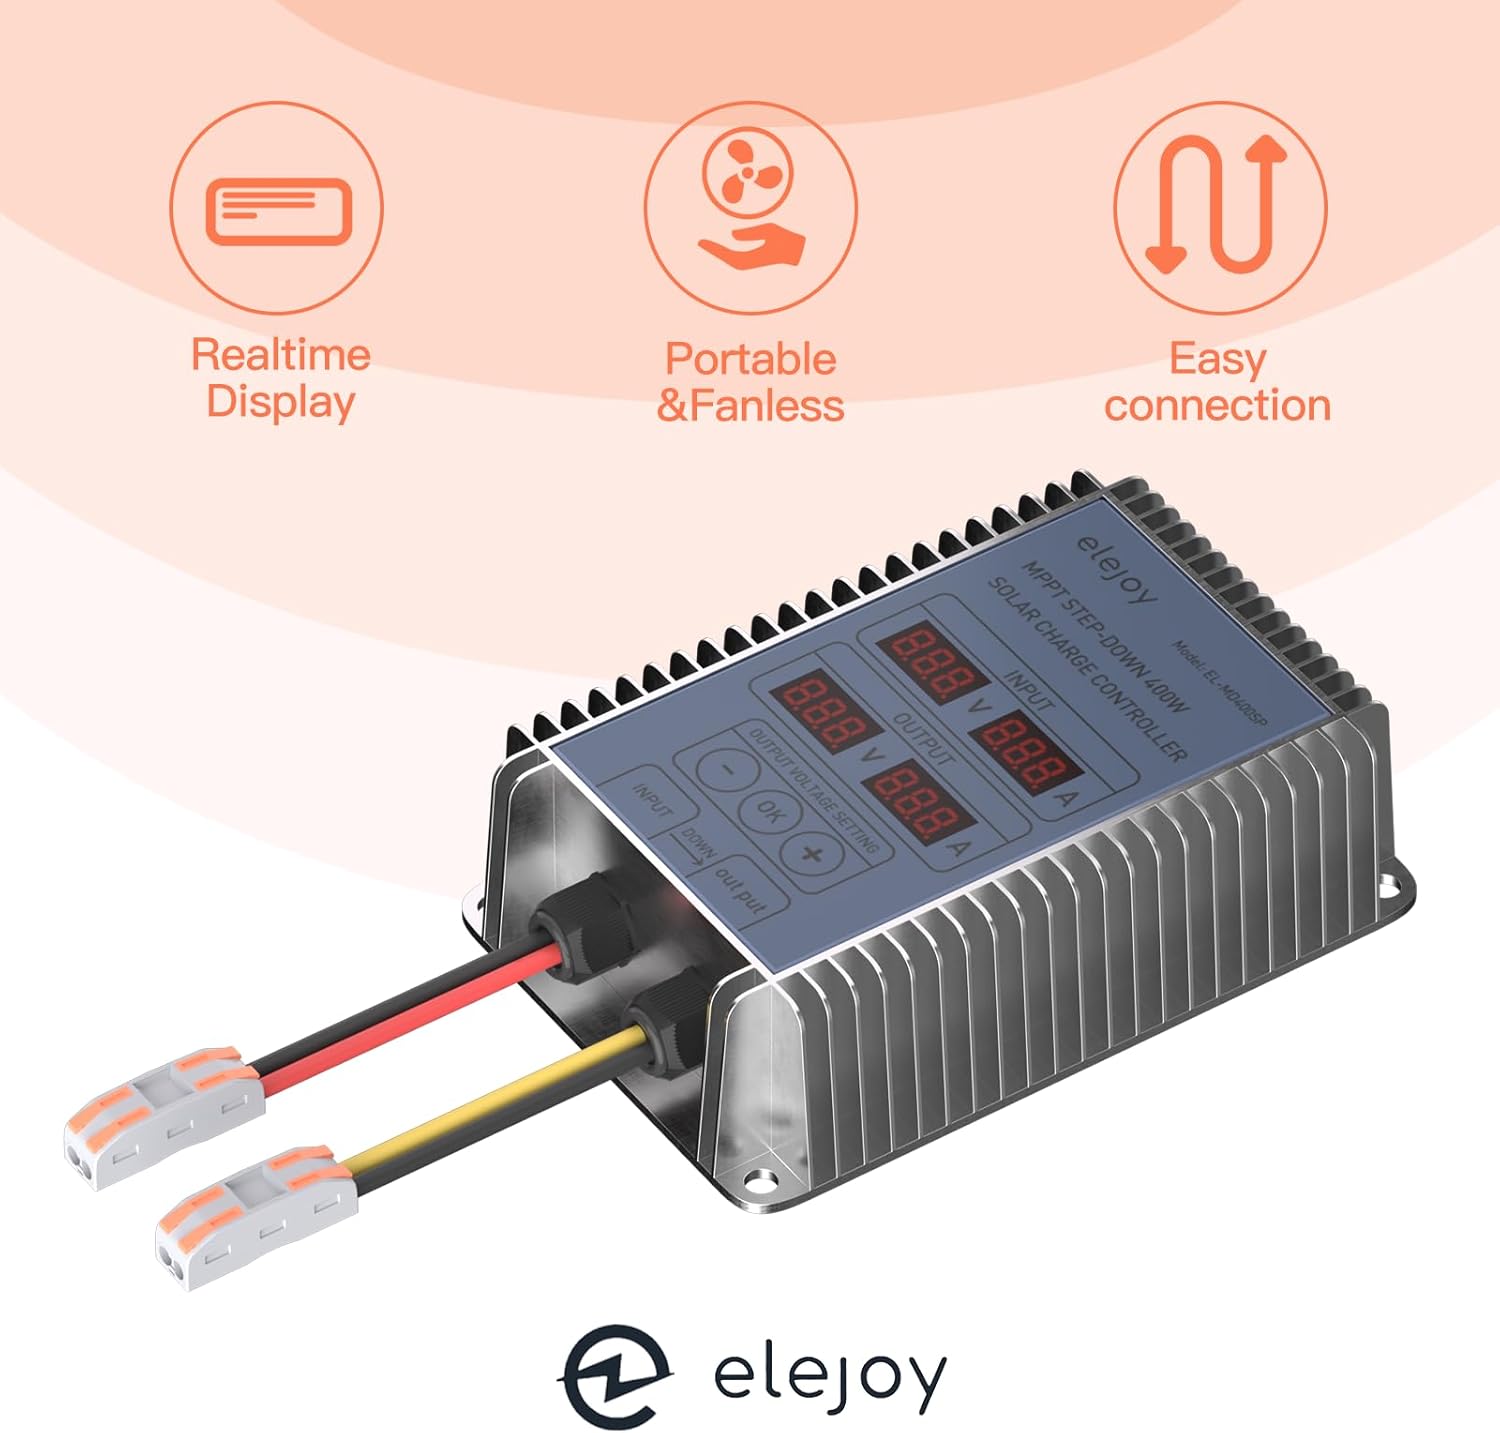
Image: Overview of the controller's key attributes: Realtime Display, Portable & Fanless operation, and Easy connection terminals.
3.3 Dimensions
The physical dimensions of the controller are provided below for installation planning.

Image: Detailed dimensions of the elejoy EL-MD400SP controller, showing length, width, and height measurements.
4. Setup and Installation
4.1 Wiring Diagram
Follow the wiring diagram carefully to ensure correct and safe connection of the solar panel and battery to the controller.

Image: Wiring diagram illustrating the connection of a solar panel to the controller's input and the battery to the controller's output. The PV input range is 400W, 17-55V VOC.
4.2 Battery Compatibility
The controller is compatible with a range of 12V/24V battery types. It automatically detects the system voltage.

Image: The controller supports various battery types: Lithium (LI), Sealed Lead-Acid (SLD), Flooded Lead-Acid (FLD), Gel, and Absorbed Glass Mat (AGM) batteries. Lithium battery activation is 10-30V automatically detected.
- Connect the battery to the controller first. Ensure correct polarity (positive to positive, negative to negative).
- Connect the solar panel to the controller. Ensure correct polarity.
- The controller will automatically detect the battery voltage (12V or 24V).
- Verify all connections are secure before applying power.
5. Operating Instructions
5.1 LED Display Overview
The integrated LED display provides real-time information about the solar input and battery output.
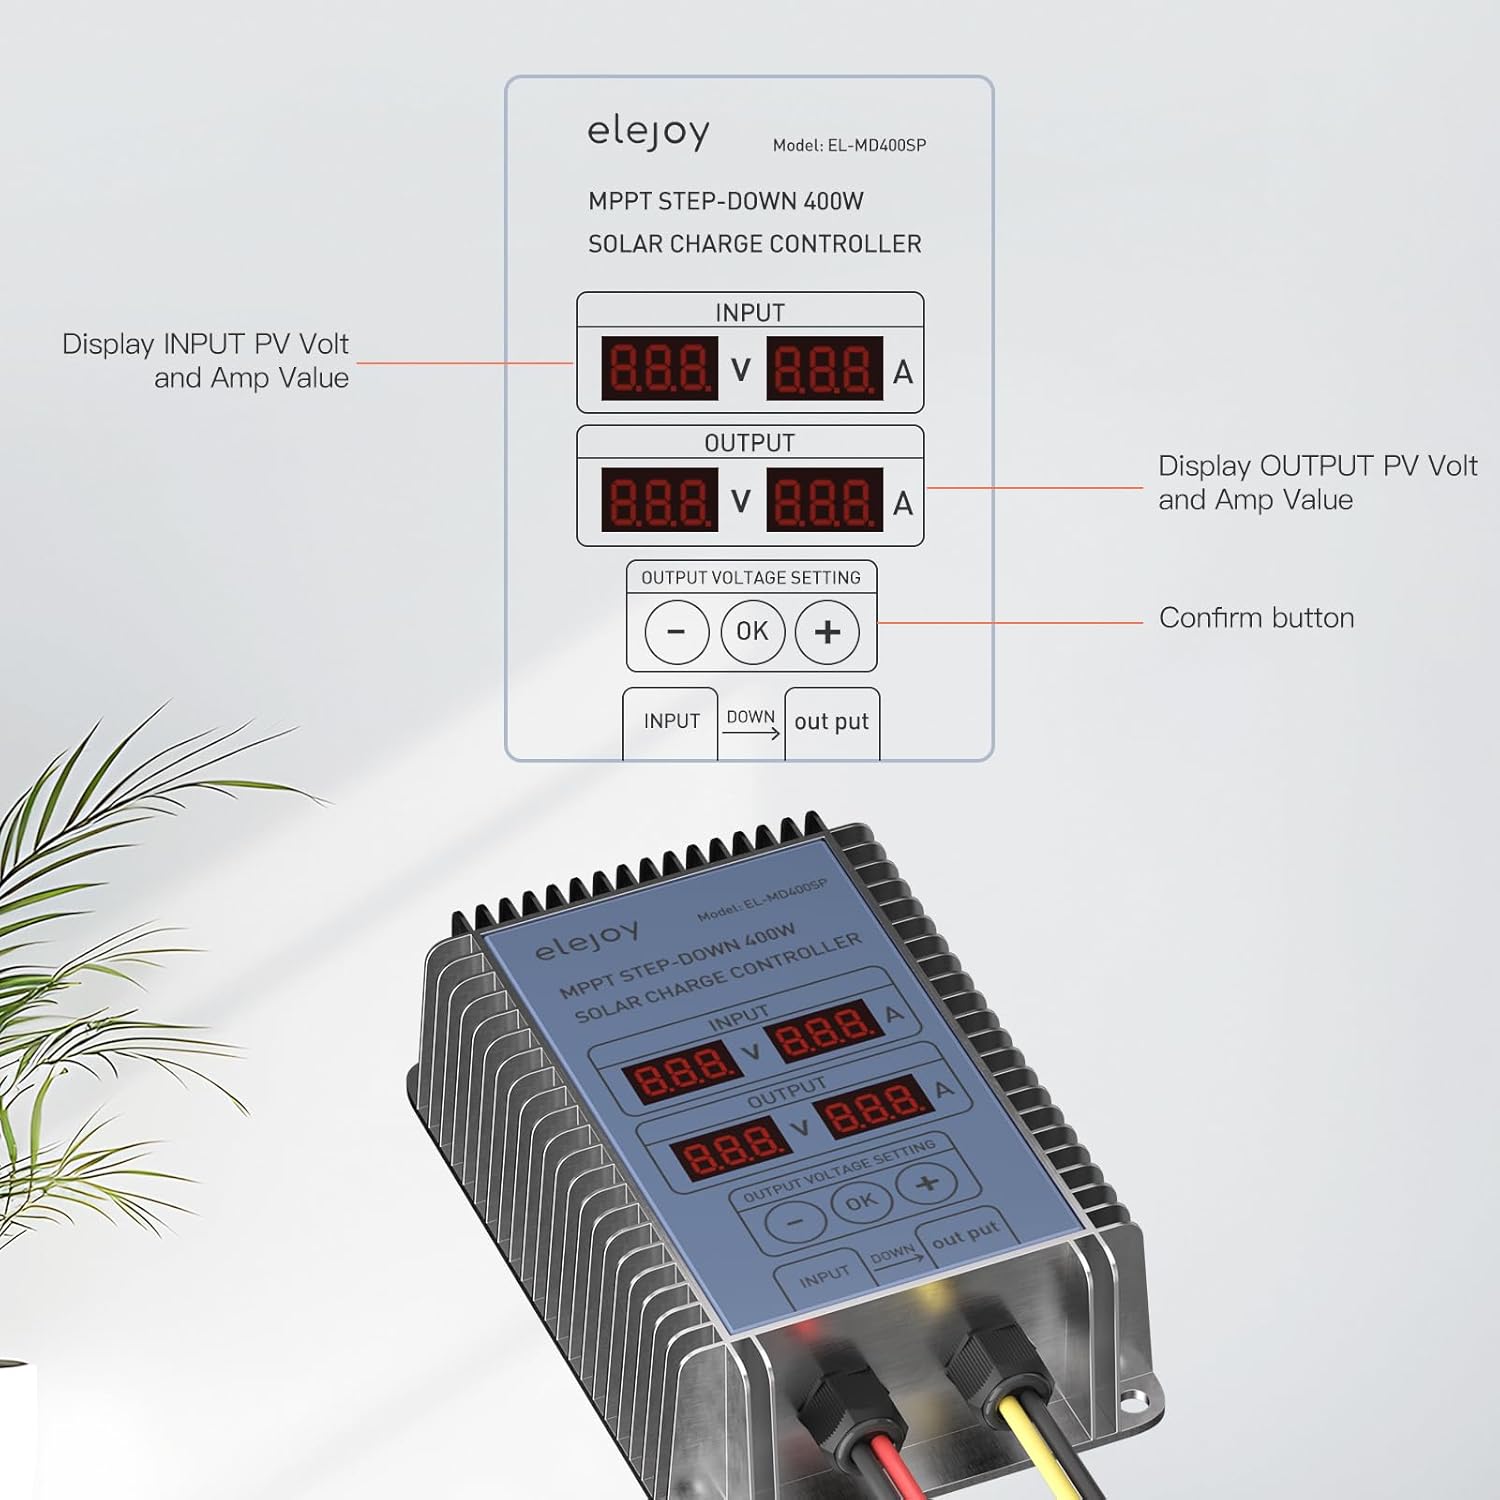
Image: A close-up view of the controller's LED display, indicating input PV voltage and current, output voltage and current, and the output voltage setting buttons (minus, OK, plus).
- INPUT Display: Shows the current voltage (V) and amperage (A) from the solar panel.
- OUTPUT Display: Shows the current voltage (V) and amperage (A) being delivered to the battery.
- OUTPUT VOLTAGE SETTING: Allows adjustment of the output voltage.
5.2 Adjusting Output Voltage
To adjust the output voltage for your battery type:
- Press the 'OK' button to enter the output voltage setting mode.
- Use the '-' and '+' buttons to decrease or increase the desired output voltage.
- Press 'OK' again to confirm and save the new setting.
6. Maintenance
- Regularly inspect all wiring connections for tightness and corrosion.
- Keep the controller clean and free from dust and debris. Use a soft, dry cloth for cleaning.
- Ensure adequate ventilation around the controller to prevent overheating.
- Periodically check the battery terminals for corrosion and clean if necessary.
7. Troubleshooting
- No Display/No Power: Check battery connections and ensure the battery has sufficient charge. Verify solar panel input.
- Low Charging Current: Ensure solar panels are clean and receiving adequate sunlight. Check for shading or damage to solar panels. Verify all connections are secure.
- Incorrect Voltage Reading: Ensure proper calibration if applicable (refer to advanced settings if available). Check battery health.
- Overheating: Ensure the controller is installed in a well-ventilated area. Remove any obstructions around the heat sink.
- If issues persist, contact customer support.
8. Specifications
| Feature | Specification |
|---|---|
| Brand | elejoy |
| Model | EL-MD400SP |
| PV Input Voltage Range | 17-55V |
| Output Voltage Range | 10-30V |
| Maximum Power | 400W |
| Maximum Current | 25 Amp |
| Battery Compatibility | Lead-acid (Sealed, Gel, Flooded), Lithium (LFP) |
| Waterproof Rating | IP65 |
| Display Type | LED |
| Material | Aluminum |
| Product Dimensions (L x W x H) | 4.72" x 3.15" x 1.57" |
| Item Weight | 0.47 Kilograms |
9. Warranty and Support
For warranty information and technical support, please refer to the product packaging or contact elejoy customer service directly. Keep your purchase receipt for warranty claims.


