Introduction
Thank you for choosing the VEVOR 8" 400W Underseat Car Subwoofer. This ultra-slim, powered subwoofer is designed to enhance your car's audio system by delivering deep, powerful bass without occupying significant space. Its compact design allows for seamless installation under car seats, in trunks, or other confined areas. This manual provides detailed instructions for installation, operation, maintenance, and troubleshooting to ensure optimal performance and longevity of your subwoofer.

Figure 1: VEVOR 8" 400W Underseat Car Subwoofer with included remote control.
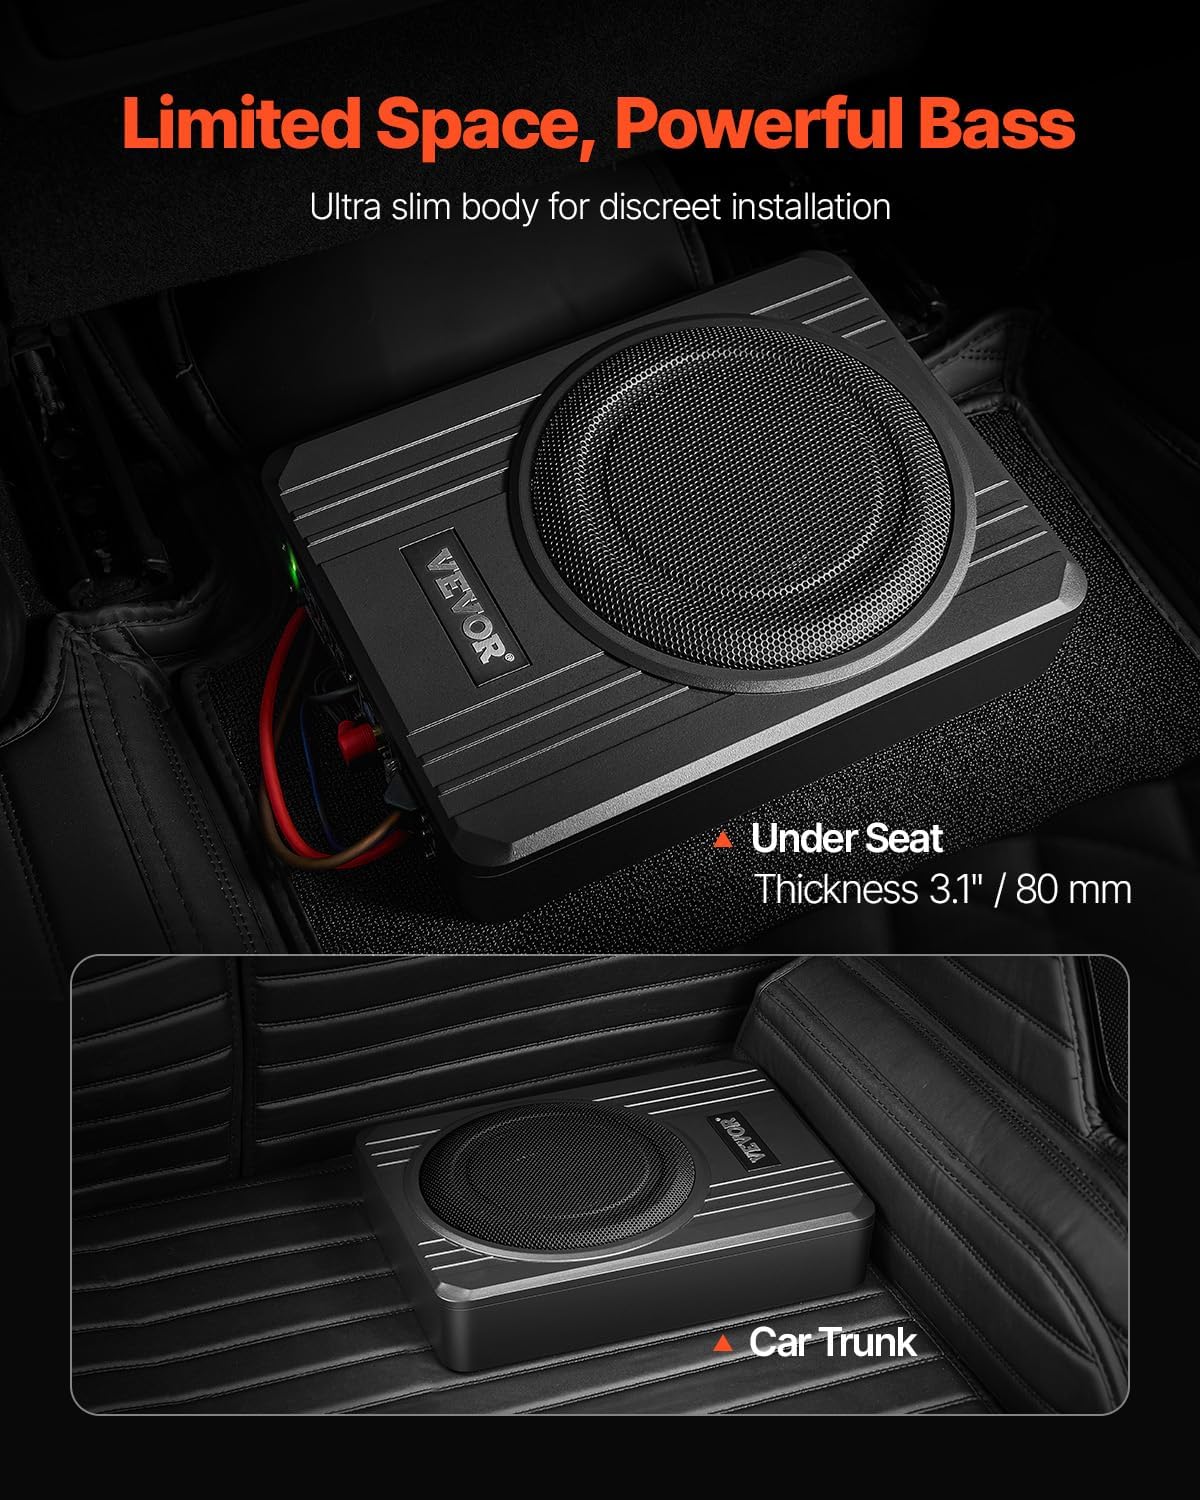
Figure 2: The slim design allows for discreet installation under a car seat or in the trunk, maximizing space.
Safety Instructions
To ensure safe operation and prevent damage to the unit or vehicle, please observe the following safety guidelines:
- Professional Installation Recommended: If you are unsure about any aspect of the installation, consult a qualified car audio technician.
- Power Disconnection: Always disconnect the vehicle's negative battery terminal before beginning any electrical work.
- Proper Wiring: Ensure all wiring connections are secure and properly insulated to prevent short circuits. Use appropriate gauge wires as specified.
- Fuse Protection: The subwoofer is equipped with built-in fuse protection. Do not bypass or use a fuse with a higher rating than specified.
- Ventilation: Ensure adequate ventilation around the subwoofer to prevent overheating. Do not block air vents.
- Overheat Protection: The unit features overheat protection. If the unit becomes excessively hot, it may temporarily shut down. Allow it to cool before resuming operation.
- Avoid Moisture: Do not expose the subwoofer to water or excessive moisture.
- Secure Mounting: Mount the subwoofer securely to prevent it from shifting during vehicle movement, which could cause injury or damage.

Figure 3: The subwoofer incorporates multiple safety features including overheat, short circuit, and fuse protection for reliable, long-lasting performance.
Product Components
The VEVOR 8" 400W Underseat Car Subwoofer package includes the following items:
- 1 x Subwoofer
- 1 x DC Power Cord
- 1 x Fuse
- 1 x GND Cable
- 1 x RCA Audio Cable
- 1 x High to Low Level Converter
- 1 x High Level Input Cable
- 1 x ACC Device Connection Wire
- 1 x Volume Controller (Wired Remote)
- 4 x Self Tapping Screw
- 8 x Philips Round Head Screw
- 4 x Fix Support Bracket
- 2 x Fork Cold-Pressed Terminal
- 2 x Round Cold-Pressed Terminal
- 4 x Insulation Sleeve
- 1 x Quick Install Guide
- 1 x User Manual (this document)

Figure 4: Overview of the subwoofer dimensions and all components included in the package.
Setup and Installation
Proper installation is key to the performance of your subwoofer. Follow these steps carefully:
- Plan the Wire Routing:
Before starting, plan the path for all cables. Keep RCA cables isolated from power cables and any high-power auto accessories to prevent interference.
- Power and Grounding Connections:
Connect the power wire to the positive terminal of your car battery. Install the fuse holder as close to the battery as possible. Connect the ground wire to a clean, unpainted metal surface on the car's chassis, ensuring a solid electrical connection.
- Remote Control Connection:
Connect the remote wire (ACC Device Connection Wire) from your head unit or an ignition-switched source to the amplifier's REM terminal. This will turn the subwoofer on and off with your vehicle's ignition.
- Connect Signal Input:
The subwoofer supports both low-level (RCA) and high-level inputs.
- RCA Input: If your head unit has RCA pre-outs, use the provided RCA audio cable to connect them to the subwoofer's RCA input jacks.
- High-Level Input: If your head unit does not have RCA pre-outs, use the provided High to Low Level Converter and High Level Input Cable. Connect the speaker wires from your head unit to the converter, then connect the converter to the subwoofer's high-level input.
- Mounting the Subwoofer:
Securely mount the subwoofer in your desired location (e.g., under a seat, in the trunk) using the provided self-tapping screws and fix support brackets. Ensure it is stable and does not obstruct any vehicle controls or safety features.
- Check and Test:
Before reassembling your vehicle's interior, double-check all cable connections to ensure they are secure. Verify the fuse is correctly installed. Turn on your vehicle's audio system and perform a test to ensure the subwoofer is working properly and producing sound.

Figure 5: Wiring diagram for typical installation, showing connections to battery, ground, remote, and signal inputs.

Figure 6: Rear panel of the subwoofer showing power, ground, remote, RCA, and high-level input terminals.
Operating Instructions
Once installed, you can adjust the subwoofer's settings for optimal sound performance:
- Remote Control: The included wired remote control allows you to adjust the subwoofer's volume conveniently from the driver's seat. This is useful for fine-tuning bass levels for different music genres or listening preferences.
- Low Pass Filter (LPF): This control sets the upper frequency limit for the subwoofer. Adjust it to blend the subwoofer's output seamlessly with your main speakers. A common starting point is 80-100 Hz. The range is typically 50-150 Hz.
- Gain Control (Input Gain): This matches the input sensitivity of the subwoofer to the output level of your head unit. Start with the gain at minimum and slowly increase it until the bass sounds clear and powerful without distortion. Avoid setting the gain too high, as this can lead to distortion and potential damage. It is recommended not to exceed 50% gain.
- Bass Boost: This control provides an additional boost to specific low frequencies. Use sparingly, as excessive bass boost can lead to distortion.
- Phase Switch: This switch (0° or 180°) helps to ensure that the subwoofer's output is in phase with your main speakers, preventing cancellation and improving bass impact. Experiment with both settings to find the one that sounds best in your vehicle.

Figure 7: The wired remote control allows for convenient volume adjustment, while panel controls offer fine-tuning of Low Pass Filter, Gain, and Bass Boost.

Figure 8: The subwoofer provides a wide frequency response range of 50-150 Hz for clear and powerful bass.
Maintenance
To ensure the longevity and optimal performance of your VEVOR subwoofer, follow these simple maintenance tips:
- Cleaning: Regularly wipe the exterior of the subwoofer with a soft, dry cloth to remove dust and dirt. Do not use harsh chemicals or abrasive cleaners.
- Ventilation: Ensure that the area around the subwoofer remains clear and unobstructed to allow for proper heat dissipation. The aluminum alloy shell is designed to enhance heat dissipation.
- Connection Check: Periodically check all wiring connections (power, ground, signal) to ensure they remain secure and free from corrosion.
- Fuse Inspection: If the subwoofer stops working, check the fuse. Replace it only with a fuse of the same type and rating.
Troubleshooting
If you encounter issues with your subwoofer, refer to the following common problems and solutions:
| Problem | Possible Cause | Solution |
|---|---|---|
| No Power / Subwoofer does not turn on |
|
|
| No Sound Output |
|
|
| Distorted Sound |
|
|
| Subwoofer Overheats |
|
|
Specifications
Key technical specifications for the VEVOR 8" 400W Underseat Car Subwoofer:
| Model Name | 8" 400W Underseat Car Subwoofer |
| Item Model Number | YL-805C |
| Speaker Type | Subwoofer |
| Speaker Size | 8 Inches (203 Millimeters) |
| Rated RMS Power | 200 Watts |
| Speaker Maximum Output Power | 400 Watts |
| Frequency Response | 50-150 Hz |
| Signal-to-Noise Ratio | > 90% |
| Distortion Rate | < 0.4% |
| Product Dimensions (L x W x H) | 12.7" x 9.3" x 3.1" (322 x 235 x 80 mm) |
| Item Weight | 8.8 Pounds (4 kg) |
| Mounting Type | Under Seat |
| Connectivity Technology | RCA |
| Main Materials | Aluminum Alloy, Magnet |
| UPC | 197988482635 |
Warranty and Support
This VEVOR product comes with a Limited Warranty. For specific warranty terms and conditions, please refer to the warranty information provided with your purchase or contact VEVOR customer support directly.
If you require technical assistance, have questions about installation, or need to report an issue, please contact VEVOR customer support through their official website or the contact information provided in your product packaging. Please have your model number (YL-805C) and purchase details ready when contacting support.