1. Introduction
This manual provides detailed instructions for the installation, operation, and maintenance of your SAMA S40 Mid Tower ATX PC Case. Please read this manual thoroughly before beginning assembly to ensure proper setup and safe usage. The SAMA S40 is designed for high-performance PC builds, offering excellent airflow, versatile component compatibility, and a modern aesthetic.
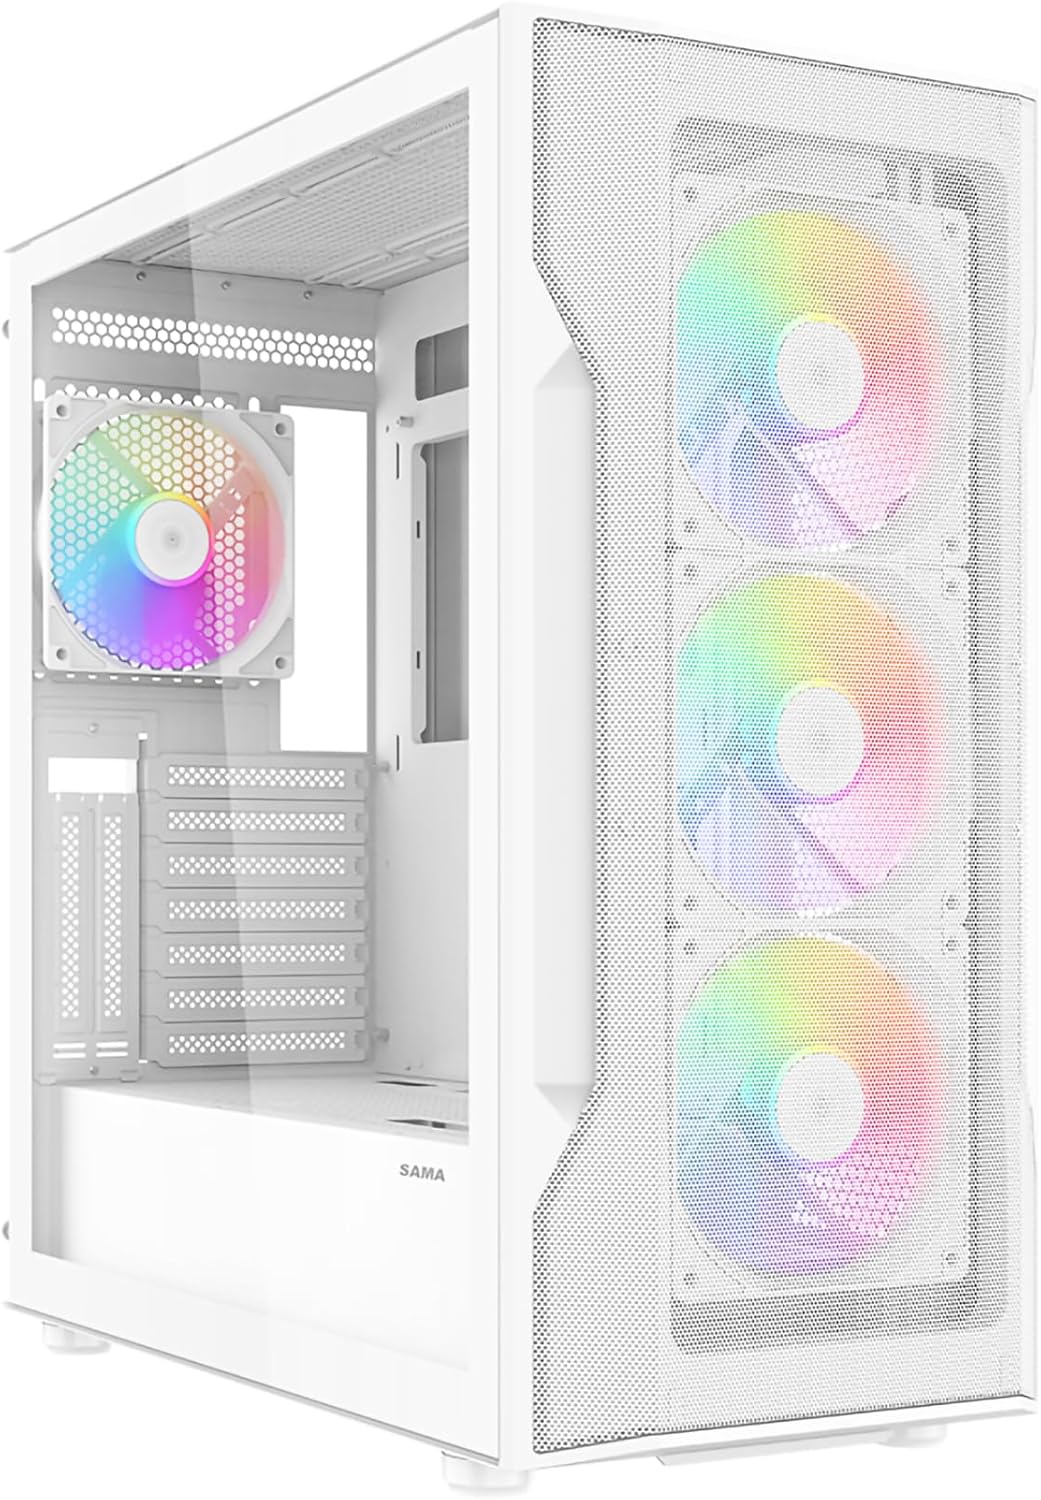
Image 1.1: The SAMA S40 Mid Tower ATX PC Case in white, featuring its high-airflow mesh front and tempered glass side panel, with internal RGB fans illuminated.
2. Setup and Installation
Follow these steps for assembling your PC components within the SAMA S40 case.
2.1. Unboxing and Initial Inspection
Carefully remove the PC case from its packaging. Inspect for any damage that may have occurred during transit. Verify that all accessories, including screws, cable ties, and the user manual, are present.
2.2. Panel Removal
The SAMA S40 features tool-free panel removal for easy access to internal components.
- Tempered Glass Side Panel: Gently pull the tempered glass panel to detach it. It is secured by magnetic latches. Handle with care to prevent breakage.
- Mesh Front Panel: The front mesh panel can be carefully detached by pulling it from the bottom edge.
- Right Side Panel: This panel is also secured by magnetic latches for easy removal.

Image 2.1: Illustration of the tool-free side panel removal process, highlighting the ease of access to the case interior.
2.3. Motherboard Installation
The SAMA S40 supports ATX, Micro-ATX (M-ATX), and Mini-ITX (ITX) motherboards.
- Install the necessary standoffs for your motherboard form factor.
- Carefully place your motherboard onto the standoffs, aligning the screw holes.
- Secure the motherboard with the provided screws.

Image 2.2: Motherboard compatibility zones for ITX, M-ATX, and ATX boards within the S40 chassis.
2.4. Graphics Card (GPU) Installation
The case supports GPUs up to 415mm in length and features 7+2 PCIe expansion slots, including vertical mounting options for 2-slot GPUs.
- Remove the appropriate PCIe slot covers from the rear of the case.
- Insert your graphics card into the PCIe slot on the motherboard.
- Secure the graphics card with screws. For vertical mounting, use a compatible PCIe riser cable (sold separately) and secure the GPU in the vertical slots.

Image 2.3: The 7+2 PCIe slot design, indicating support for both horizontal and vertical GPU installations.
2.5. Storage Drive Installation
The S40 offers versatile storage options:
- Up to 3 x 3.5" HDDs or 3 x 2.5" SSDs.
- Hybrid configurations such as 2 x 3.5" HDDs + 2 x 2.5" SSDs or 1 x 3.5" HDD + 3 x 2.5" SSDs.
Install drives into the designated drive bays or mounting points behind the motherboard tray and in the HDD cage above the bottom plate.

Image 2.4: Drive bay locations and configurations for 2.5" SSDs and 3.5" HDDs.
2.6. Power Supply Unit (PSU) Installation
The S40 supports bottom-mounted PSUs up to 220mm in length.
- Slide the PSU into the dedicated compartment at the bottom rear of the case.
- Secure the PSU with screws from the rear of the case.
2.7. Fan and Radiator Installation
The S40 comes with four pre-installed 120mm ARGB PWM fans (three front, one rear). It supports up to 12 fans in total and a 360mm radiator on the top panel.
- Pre-installed Fans: The case includes a fan hub for managing the pre-installed ARGB PWM fans.
- Additional Fans: Install additional 120mm or 140mm fans as needed in supported locations (top, side, bottom).
- Radiators: For liquid cooling, install radiators up to 360mm on the top panel.

Image 2.5: Overview of pre-installed fans and case dimensions (485x215x483mm).

Image 2.6: Connection diagram for the fan control board, illustrating the SATA power connection.
2.8. Cable Management
The S40 provides dedicated space behind the motherboard tray for cable routing, ensuring a clean interior and improved airflow.
- Route all power and data cables through the cutouts to the rear of the motherboard tray.
- Use the included cable ties to secure cables neatly.
- Connect the front I/O cables (USB 3.0, USB Type-C, HD Audio, Power, LED) to the appropriate headers on your motherboard.

Image 2.7: Cable management features, showing routing channels and tie-down points.
3. Operating Instructions
3.1. Front I/O Panel Functions
The front I/O panel provides convenient access to essential ports and controls:
- USB 3.1 Type-C: For high-speed data transfer and device connectivity.
- USB 3.0 (x2): For standard USB device connectivity.
- Audio Jack: For headphones or speakers.
- Mic Jack: For microphone input.
- LED Button: Controls the lighting modes of the ARGB fans.
- Power Button: Turns the system on or off.

Image 3.1: Detailed view of the front I/O panel and its various ports and controls.
3.2. Powering On Your System
Once all components are installed and cables are connected, press the Power Button on the front I/O panel to start your computer.
3.3. ARGB Fan Control
Use the dedicated LED button on the front I/O panel to cycle through various ARGB lighting effects and colors for the pre-installed fans. Ensure the ARGB header from the fan hub is connected to a compatible 3-pin 5V ARGB header on your motherboard for software control (e.g., ASUS Aura Sync, MSI Mystic Light, Gigabyte RGB Fusion, ASRock Polychrome Sync).
4. Maintenance
Regular maintenance helps ensure optimal performance and longevity of your PC components.
4.1. Dust Filter Cleaning
The SAMA S40 is equipped with dust filters to prevent dust buildup inside the case.
- Top Filter: Magnetic, easily removable for cleaning.
- Bottom Filter: Secured with tabs, can be slid out for cleaning.
- Front Filter: Integrated into the mesh panel, can be cleaned with a soft brush or compressed air after removing the front panel.
Clean these filters regularly (e.g., monthly) using compressed air or by rinsing with water and allowing them to dry completely before reinstallation.

Image 4.1: Dust filter locations and their easy removal for cleaning.
4.2. General Cleaning
- Use a soft, dry cloth to wipe down the exterior surfaces of the case.
- For the tempered glass panel, use a glass cleaner and a microfiber cloth.
- Periodically use compressed air to clear dust from internal components and fan blades.
5. Troubleshooting
This section addresses common issues you might encounter.
5.1. Fans Not Spinning or ARGB Not Lighting Up
- Ensure the fan hub is correctly connected to the power supply via the SATA cable (Image 2.6).
- Verify that the 3-pin 5V ARGB header from the fan hub is connected to a compatible ARGB header on your motherboard. Note that 4-pin 12V RGB headers are not compatible with 3-pin 5V ARGB devices.
- Check all fan connections to the fan hub.
- Try pressing the LED button on the front I/O panel to cycle through lighting modes.
5.2. System Not Powering On
- Confirm that the power supply is switched on and properly connected to the wall outlet.
- Ensure the front panel power switch cable is correctly connected to the motherboard's F_PANEL header.
- Verify all power connections from the PSU to the motherboard (24-pin ATX, 8-pin CPU) and other components.
5.3. Difficulty with Cable Management
While the S40 offers ample cable management space, complex builds may require careful planning.
- Utilize all available cable tie-down points and routing channels behind the motherboard tray.
- Connect CPU power cables to the motherboard before installing large CPU coolers.
- Consider modular power supplies to reduce excess cable clutter.
6. Specifications
Below are the technical specifications for the SAMA S40 Mid Tower ATX PC Case:
| Feature | Specification |
|---|---|
| Model Name | S40 |
| Case Type | Mid Tower |
| Dimensions (L×W×H) | 485mm × 215mm × 483mm |
| Motherboard Compatibility | ATX, M-ATX, ITX |
| Material | Alloy Steel, Plastic, Tempered Glass |
| Pre-installed Fans | 4 x 120mm ARGB PWM Fans (3 Front, 1 Rear) |
| Max Fan Support | Up to 12 x 120mm fans |
| Radiator Support | Up to 360mm (Top) |
| Max CPU Cooler Height | 164mm |
| Max GPU Length | 415mm |
| PCIe Expansion Slots | 7 + 2 Vertical |
| Drive Bays | 3 x 3.5" HDD or 3 x 2.5" SSD (hybrid configurations supported) |
| Front I/O Ports | 2 x USB 3.0, 1 x USB Type-C, HD Audio, Mic, LED Control, Power |
| Power Supply Mounting | Bottom Mount |

Image 6.1: Visual representation of key specifications and component clearances within the S40 chassis.
7. Warranty Information
SAMA products are manufactured to high-quality standards. This product is covered by a manufacturer's warranty against defects in materials and workmanship. The specific warranty period and terms may vary by region and retailer. Please retain your proof of purchase for warranty claims. For detailed warranty information, refer to the official SAMA website or contact your local retailer.
8. Support and Contact
For technical assistance, troubleshooting, or general inquiries regarding your SAMA S40 PC case, please refer to the following resources:
- Official SAMA Website: Visit the official SAMA website for FAQs, updated drivers, and support contact information.
- Retailer Support: Contact the retailer from whom you purchased the product for assistance with returns or exchanges.
- Online Resources: Search online forums and communities for additional user-generated support and tips.
8.1. Product Overview Video
Watch this official video for a multi-angle display of the SAMA S40 chassis and its panel design.
Video 8.1: An official SAMA video showcasing the S40 chassis from multiple angles and detailing its panel design and features.