Introduction
This manual provides detailed instructions for the installation, operation, and maintenance of your LSLSL M6 LCD Digital Thermostat. This programmable thermostat is designed for electric floor heating systems, boiler water heating, and offers weekly programming with WiFi connectivity for remote control. Please read this manual thoroughly before installation and use to ensure proper function and safety.
Product Overview
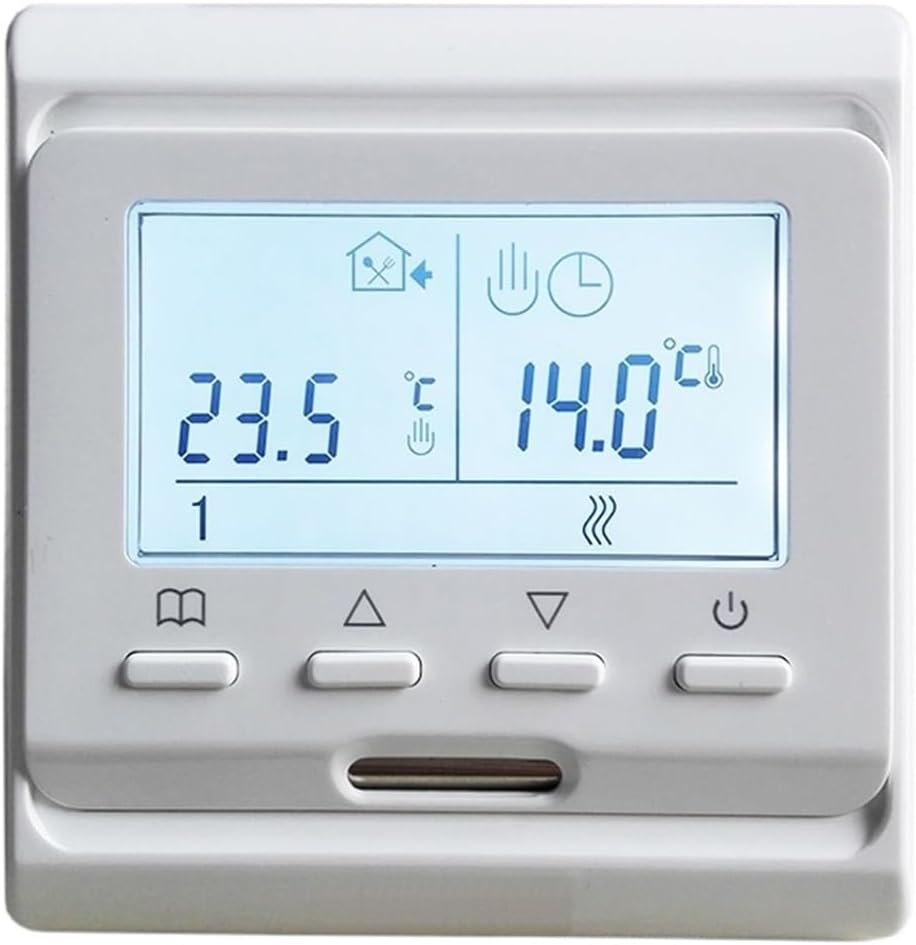
Image: Front view of the LSLSL M6 LCD Digital Thermostat. The display shows current time (10:33) and temperature (25.5°C), along with mode indicators.
The LSLSL M6 LCD Digital Thermostat is an advanced control unit designed to manage your heating system efficiently. Featuring a clear LCD display, weekly programming capabilities, and WiFi connectivity, it provides precise temperature control for both electric floor heating and boiler water heating systems. Its intuitive interface and remote access ensure comfort and energy savings.
Package Contents
- 1 x LSLSL M6 LCD Digital Thermostat
- 1 x 3-meter External Sensor (NTC 10K)
- 2 x Mounting Screws
- 1 x User Manual (this document)
Product Features
- Memory Function: Retains all settings after a power outage, eliminating the need for re-configuration.
- Programmable Function: Supports weekly programming with six distinct time periods for temperature control.
- Dual Sensor Capability: Utilizes both an internal air sensor and an external floor sensor (3m cable included) for precise temperature measurement.
- Versatile Compatibility: Suitable for various electric heating systems, including heating cables, mats, and films, as well as boiler water heating systems.
- WiFi Connectivity: Allows remote control of the thermostat via a mobile application from any location.
Setup and Installation
Important Safety Information: Installation should only be performed by a qualified electrician. Ensure power is disconnected at the main circuit breaker before beginning any wiring work.
Mounting the Thermostat
The thermostat can be wall-mounted or installed on a battery seat (if applicable to your model). Ensure the mounting location is away from direct sunlight, drafts, or heat sources that could affect temperature readings.
Wiring Diagram
Refer to the diagram below for proper wiring connections. Connect the power supply (AC200~250V 50/60Hz) to the designated terminals. Connect the heating load (boiler or electric heating element) to the output terminals. The external NTC sensor should be connected to its dedicated terminals.

Image: Rear view of the thermostat with terminal block for electrical connections. This image illustrates the connection points for power input, heating load, and the external temperature sensor.
Note: The external sensor is primarily for electric heating types to monitor floor temperature. For boiler water heating, the internal sensor typically controls room air temperature.
Operating Instructions
Basic Operation

Image: Front view of the thermostat showing the LCD display and control buttons. The buttons include power, mode, up, and down arrows.
- Power Button (⏻): Press to turn the thermostat ON or OFF.
- Mode Button (⌘): Cycles through different operating modes (e.g., Manual, Program, WiFi).
- Up Button (▲): Increases temperature setting or navigates menu options.
- Down Button (▼): Decreases temperature setting or navigates menu options.
Setting Temperature
In Manual mode, use the Up and Down buttons to adjust the desired temperature. The display will show the set temperature and the current room temperature.
Weekly Programming
The thermostat supports weekly programming with six time periods per day. This allows you to set different temperatures for various times of the day (e.g., morning, day, evening, night) across the week. Consult the on-screen menu for detailed programming steps. Typically, you will press the Mode button until you enter programming mode, then use the Up/Down buttons to adjust time and temperature for each period.
WiFi Connectivity
To enable WiFi control, ensure your thermostat is connected to your home WiFi network. Download the dedicated mobile application (refer to packaging or manufacturer's website for app details). Follow the in-app instructions to pair your thermostat. Once connected, you can control settings, view temperatures, and manage schedules remotely.
Maintenance
The LSLSL M6 LCD Digital Thermostat requires minimal maintenance.
- Cleaning: Wipe the thermostat's exterior with a soft, damp cloth. Do not use abrasive cleaners or solvents.
- Avoid Obstructions: Ensure the thermostat's vents (if any) are not blocked by furniture or curtains, as this can affect temperature readings.
- Software Updates: Periodically check the mobile application for any available firmware updates for your thermostat to ensure optimal performance and security.
Troubleshooting
| Problem | Possible Cause | Solution |
|---|---|---|
| Thermostat not powering on. | No power supply; incorrect wiring. | Check circuit breaker. Verify wiring connections according to the installation section. |
| Heating system not responding. | Incorrect wiring; thermostat in OFF mode; set temperature too low. | Ensure thermostat is ON. Increase set temperature above current room temperature. Check heating system wiring. |
| Inaccurate temperature reading. | Sensor obstruction; thermostat located near heat/cold source. | Relocate thermostat if possible. Ensure no drafts or direct sunlight. Check external sensor placement. |
| WiFi connection issues. | Incorrect WiFi password; router too far; network interference. | Verify WiFi password. Move thermostat closer to router or use a WiFi extender. Restart router and thermostat. |
Specifications
| Power Supply | AC200~250V, 50/60Hz |
| Probe Sensor | NTC (10K) ±1% @25°C |
| Contact Capacity | 16A/250V (Electric Heating Type) |
| Temperature Setting Range | 0°C ~ 90°C |
| Limit Temperature Range | 5°C ~ 99°C (Factory setting: 35°C) |
| Protective Housing | IP20 |
| Housing Material | Flame Retardant PC |
| Installation | Wall mounted or on battery seat |
| External Sensor Length | 3 meters |
| Dimensions (L*W*H) | 86mm * 86mm * 13mm |
| Item Weight | 300 Grams |
Warranty and Support
Specific warranty details and customer support contact information are not provided within this manual. For warranty claims, technical assistance, or further inquiries, please refer to the product packaging, the point of purchase, or the official LSLSL website.