AECOJOY 16304+16427
AECOJOY 14' x 10' Hard Top Lean-to Gazebo Instruction Manual
Model: 16304+16427
1. Introduction
This manual provides detailed instructions for the assembly, operation, maintenance, and troubleshooting of your AECOJOY 14' x 10' Hard Top Lean-to Gazebo. Please read this manual thoroughly before beginning assembly or use to ensure safe and proper installation and long-term enjoyment of your product.
2. Important Safety Information
Always adhere to the following safety guidelines to prevent injury or damage to the product:
- Always follow assembly instructions precisely and securely anchor the gazebo to a stable foundation.
- Exercise caution when adjusting parts during assembly to ensure proper alignment.
- Regularly inspect the gazebo for any signs of wear or damage, especially after heavy rain or snow.
- Do not use the gazebo in winds exceeding 50 mph.
- Ensure all connections are tight and secure before and during use.
- Keep children and pets away from the assembly area.
3. Components and Parts List
Before starting assembly, verify that all components listed below are present and undamaged. Refer to the packaging for specific part numbers and quantities.
| Part Description | Material | Quantity |
|---|---|---|
| Main Frame Beams | Aluminum, Alloy Steel | Varies by section |
| Support Posts | Aluminum, Alloy Steel | Varies by section |
| Roof Panels | Flexible Panels (UV-blocking) | Multiple |
| Sunshade Curtains | Fabric | Set |
| Mosquito Netting | Mesh Fabric | Set |
| Hardware (Bolts, Screws, Anchors) | Metal | Assorted |
Note: A detailed list with part numbers is included in your product packaging.
4. Setup and Assembly
The AECOJOY Gazebo is designed for straightforward assembly. It is recommended to have at least two people for installation. Follow the numbered steps below, referring to the included assembly instructions for detailed diagrams.
- Prepare the Site: Choose a level, stable surface for installation. Ensure adequate clearance around the gazebo for assembly and future use.
- Unpack and Identify Parts: Lay out all components and hardware. Cross-reference with the parts list provided in your packaging to ensure everything is present.
- Assemble the Frame: Begin by connecting the main frame beams and support posts. Important Tip: Adjust the angles of the parts before fully tightening screws to ensure proper alignment. This will significantly improve assembly efficiency.
- Install the Roof Panels: Carefully insert the high-quality flexible roof panels into the designated slots. Ensure they are securely seated to prevent leaks. A rubber mallet may be useful for gentle persuasion, but avoid excessive force.
- Attach Curtains and Netting: Install the sunshade curtains and mosquito netting onto the frame. Both feature smooth zippers for a complete seal.
- Secure the Gazebo: Anchor the gazebo securely to the ground or patio using the provided hardware. For concrete surfaces, heavy-duty concrete screws (not always included) may be required for optimal stability. For decks, consider bracing underneath with 2x4s for added support, especially in high-wind areas.
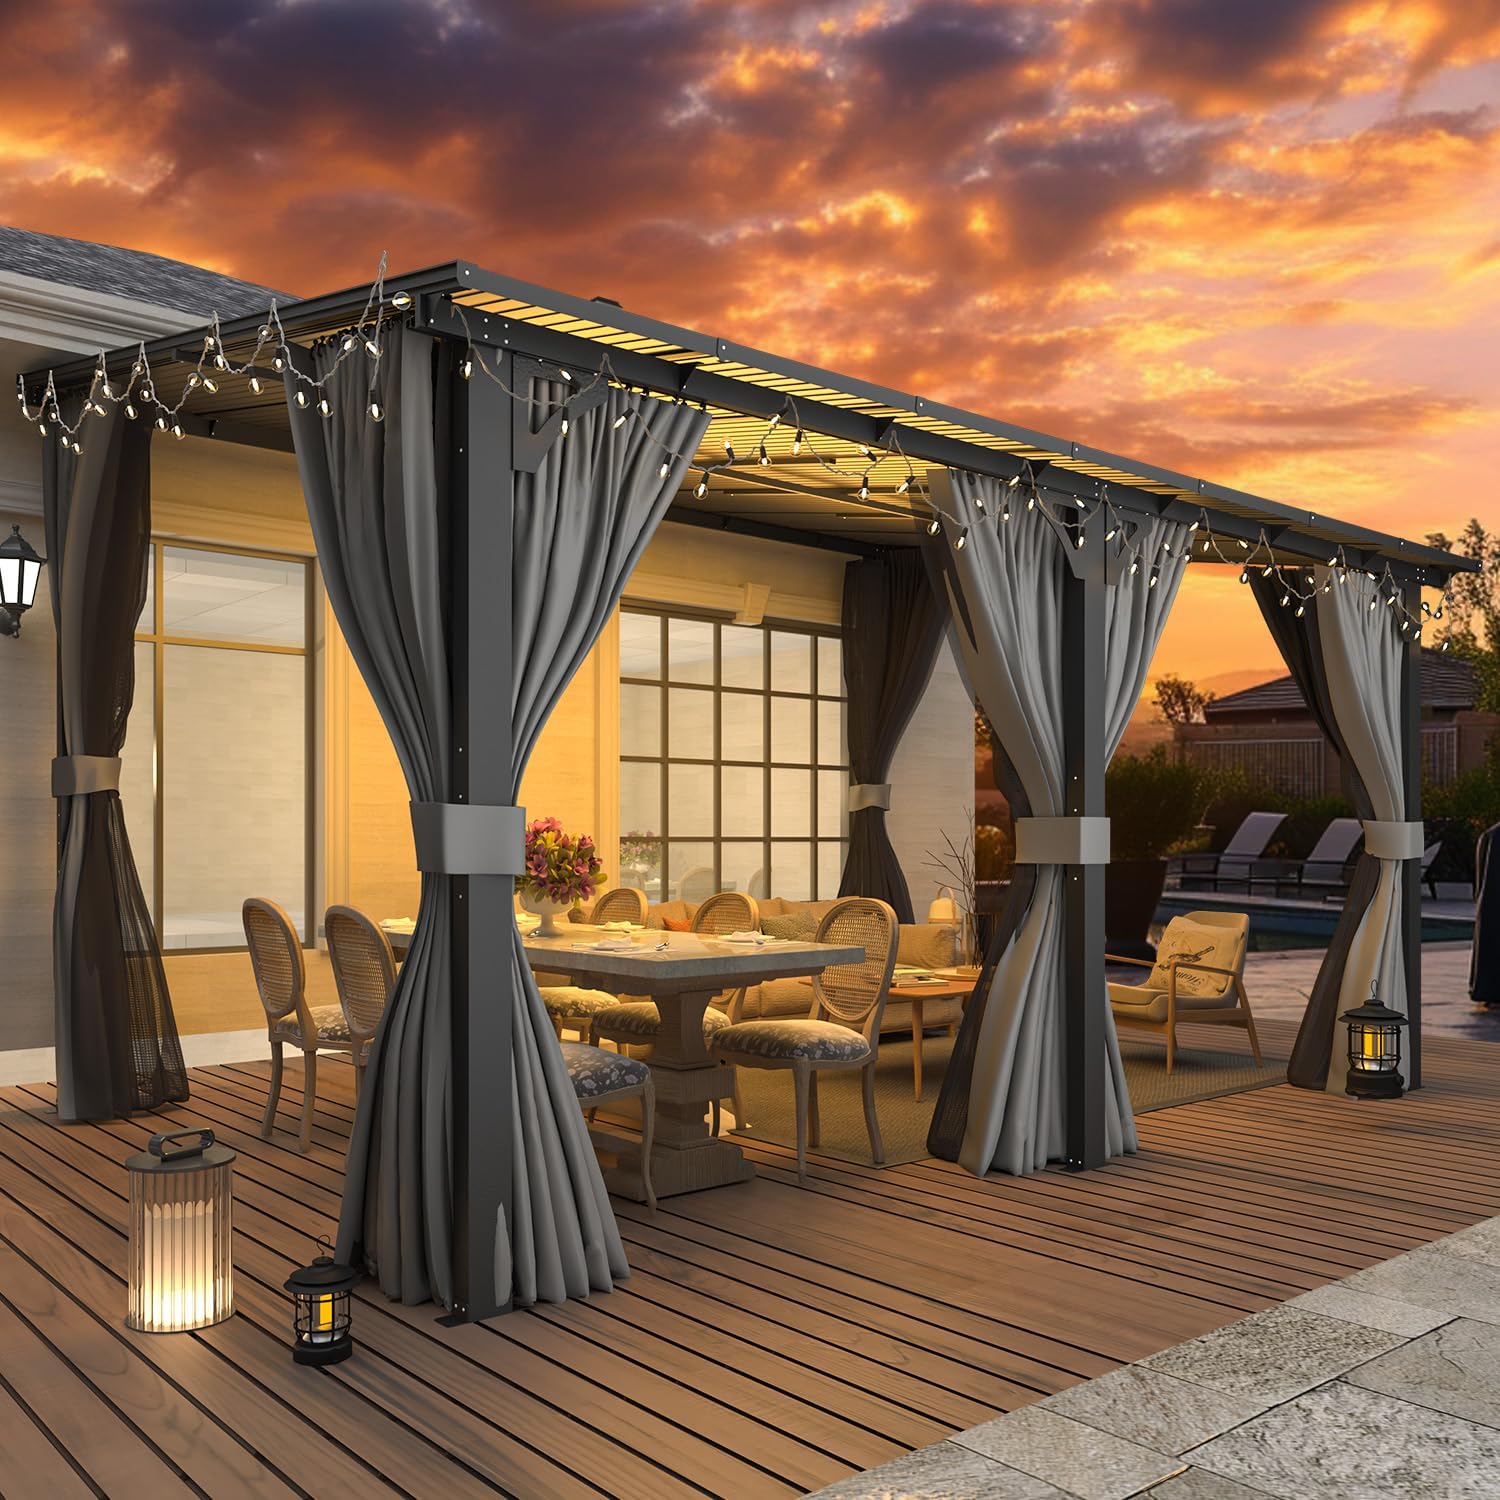
Figure 4.1: Fully assembled AECOJOY Gazebo with curtains and mosquito netting.

Figure 4.2: Gazebo providing an enclosed outdoor living space.

Figure 4.3: Dimensional overview of the 14' x 10' gazebo.
5. Operating Instructions
Your AECOJOY Gazebo is designed to provide a comfortable and protected outdoor space. Here's how to utilize its features:
- Sunshade Curtains: The integrated sunshade curtains can be drawn to block direct sunlight and provide privacy. They can be tied back to the posts when not in use.
- Mosquito Netting: For protection against insects, deploy the mosquito netting. The netting and curtains have smooth zippers for a complete seal, creating an enclosed environment.
- Roof Protection: The premium roof panels are designed to block 99% of UV rays (UPF 70+) in summer and withstand up to 7 inches of snow in winter, offering year-round protection.

Figure 5.1: Gazebo features for all-season use.

Figure 5.2: Detail of the curtain and netting system with zippers.
6. Maintenance
Regular maintenance will extend the lifespan and preserve the appearance of your gazebo.
- Cleaning: Clean the frame with a mild soap and water solution. Rinse thoroughly and dry. The roof panels can be wiped clean with a soft cloth.
- Fabric Care: Curtains and netting can be spot cleaned with mild detergent. For deeper cleaning, follow care instructions on the fabric tags. Ensure they are completely dry before storing or zipping up for extended periods to prevent mildew.
- Hardware Check: Periodically check all bolts, screws, and anchors to ensure they remain tight and secure. Re-tighten as necessary.
- Winter Care: While the roof is designed to withstand snow, it is advisable to clear heavy snow accumulation to prevent excessive stress on the structure.
- Damage Inspection: Regularly inspect the entire structure for any signs of wear, rust, cracks, or loose connections. Address any issues promptly to prevent further damage.
7. Troubleshooting
This section addresses common issues you might encounter with your gazebo.
| Problem | Possible Cause | Solution |
|---|---|---|
| Gazebo feels unstable or wobbly. | Insufficient anchoring; loose connections; uneven ground. | Ensure all anchor points are securely fastened. Check and tighten all bolts and screws. Verify the ground is level; use shims if necessary. Consider additional anchoring for high-wind areas. |
| Water leaks from the roof during rain. | Roof panels not fully seated or sealed; damaged panels. | Inspect roof panels to ensure they are pushed all the way into their channels and properly aligned. Apply silicone sealant to any small gaps if necessary. Check for cracks or damage in panels and replace if needed. |
| Curtains/netting snag or are difficult to move. | Debris in tracks; fabric caught; damaged runners. | Clean tracks of any dirt or debris. Ensure fabric is not caught in the runners. Inspect runners for damage and replace if necessary. |
| Missing parts during assembly. | Packaging error; parts overlooked. | Double-check all packaging materials. Contact AECOJOY customer service immediately with your product model and a list of missing parts. |
8. Specifications
| Attribute | Detail |
|---|---|
| Brand | AECOJOY |
| Model Number | 16304+16427 |
| Product Dimensions | 168"L x 120"W x 96"H (14'L x 10'W x 8'H) |
| Item Weight | 81.4 Pounds |
| Frame Material | Aluminum, Metal, Alloy Steel |
| Roof Material | Flexible Panels |
| Water Resistance Level | Waterproof |
| UV Protection | UPF 70++ (Blocks 99% UV) |
| Snow Load Capacity | Up to 7 inches (approx. 6 lbs per square foot) |
| Wind Resistance | Withstands winds up to 50 mph (when securely anchored) |
| Color | Gray |
| Assembly Required | Yes |
| Occupancy | 10 person |
| Floor Area | 140 Square Feet |
9. Warranty and Support
AECOJOY is committed to providing excellent customer service and support for your product.
- Customer Service: Our customer service team is available 24/7 to promptly solve any problems you may encounter.
- After-Sales Support: We offer efficient and flexible after-sales support to ensure a worry-free shopping experience.
- Contact: For assistance, missing parts, or warranty inquiries, please refer to the contact information provided in your product packaging or visit the official AECOJOY website.
Ask a question about this manual
Ask about setup, troubleshooting, compatibility, parts, safety, or missing instructions. Manuals+ will review the question and use this page’s manual context to help answer it.