Introduction
Thank you for choosing the TEENFON Storage Cabinet. This manual provides detailed instructions for the safe assembly, proper use, and maintenance of your new cabinet. Please read all instructions carefully before beginning assembly and retain this manual for future reference.
Parts List
Before assembly, ensure all components are present and undamaged. Refer to the included hardware and panel diagrams for identification.
Panels
- Top Panel (1x)
- Side Panels (2x)
- Bottom Panel (1x)
- Adjustable Shelf (1x)
- Back Panels (2x)
- Drawer Fronts (2x)
- Drawer Sides (4x)
- Drawer Backs (2x)
- Drawer Bottoms (2x)
- Door Panels (2x)
- Legs/Base Supports (2x)
Hardware
- Cam Locks and Screws
- Wood Dowels
- Screws (various sizes)
- Door Hinges (4x)
- Door Handles (2x)
- Drawer Slides (4x)
- Magnetic Door Catches (2x)
- Shelf Pins (4x)
- Anti-tipping Hardware
- Screw Hole Stickers
Assembly Instructions
Follow these steps carefully for proper assembly. A power drill may be helpful but is not always necessary.
Assembly Video Guide
Official TEENFON Farmhouse Storage Cabinet Installation Video. This video provides a visual guide for the complete assembly process.
Step 1: Assemble the Base Frame
Insert wood dowels into the designated holes on the base support panels. Connect these to the bottom panel, ensuring a snug fit. Secure with cam lock screws.
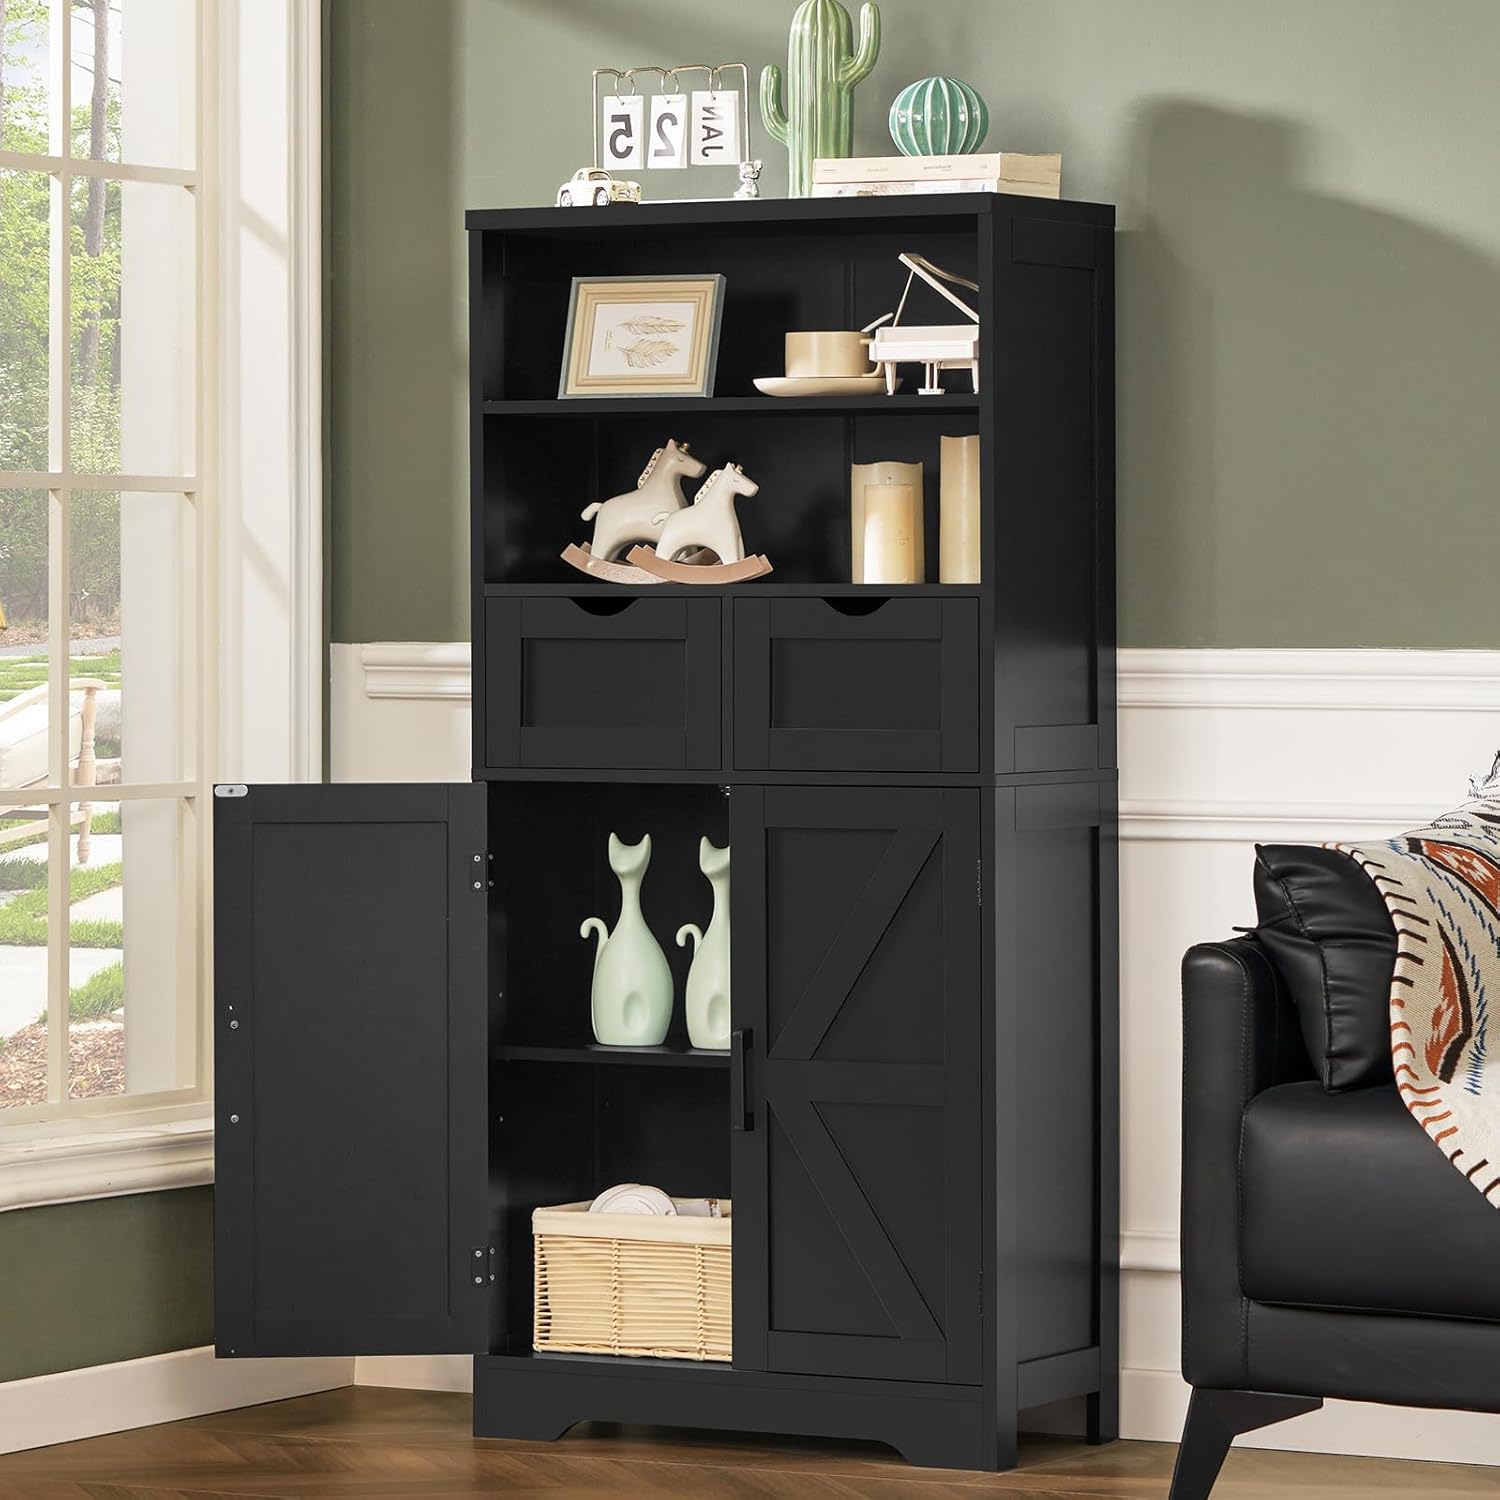
Illustration of connecting base support panels to the bottom panel using dowels and cam lock screws.
Step 2: Attach Side Panels to Base
Connect the side panels to the assembled base. Use cam lock screws and dowels to ensure stability. Apply screw hole stickers to cover visible hardware.

Visual guide for attaching the side panels to the cabinet's base structure.
Step 3: Install Back Panels for Lower Section
Slide the thin back panels into the grooves of the lower cabinet section. Ensure they are fully seated before proceeding.

Demonstration of inserting the back panels into the grooves of the lower cabinet.
Step 4: Assemble Upper Shelf Unit
Construct the upper shelf unit by connecting the top panel, side panels, and fixed shelves using cam lock screws and dowels. Ensure all connections are secure.

Detailed view of the upper shelf unit assembly, highlighting the fixed shelves.
Step 5: Attach Upper Unit to Lower Cabinet
Carefully lift and align the assembled upper shelf unit onto the lower cabinet section. Secure it using the provided cam lock screws, ensuring a stable connection.

The two main sections of the cabinet are joined, forming the complete structure.
Step 6: Install Door Hinges and Handles
Attach the hinges to the cabinet doors using the small screws. Then, attach the door handles to the front of the doors. Mount the doors to the lower cabinet section, aligning the hinges with the pre-drilled holes.
Focus on the door hardware installation, including hinges and handles.
Step 7: Assemble and Install Drawers
Assemble the drawer boxes using the side, back, and bottom panels, securing them with screws. Attach the drawer slides to the sides of the drawers and inside the cabinet. Insert the assembled drawers into their respective compartments.

Steps for constructing and installing the two drawers into the cabinet.
Step 8: Install Adjustable Shelf
Insert the shelf pins into the desired height holes within the lower cabinet section. Place the adjustable shelf on top of the pins.

Demonstration of how to install and adjust the interior shelf.
Step 9: Secure Anti-Tipping Hardware
For safety, attach the anti-tipping hardware to the top rear of the cabinet and secure it to a wall stud. This prevents accidental tipping.

Installation of the anti-tipping safety mechanism.
Usage and Features
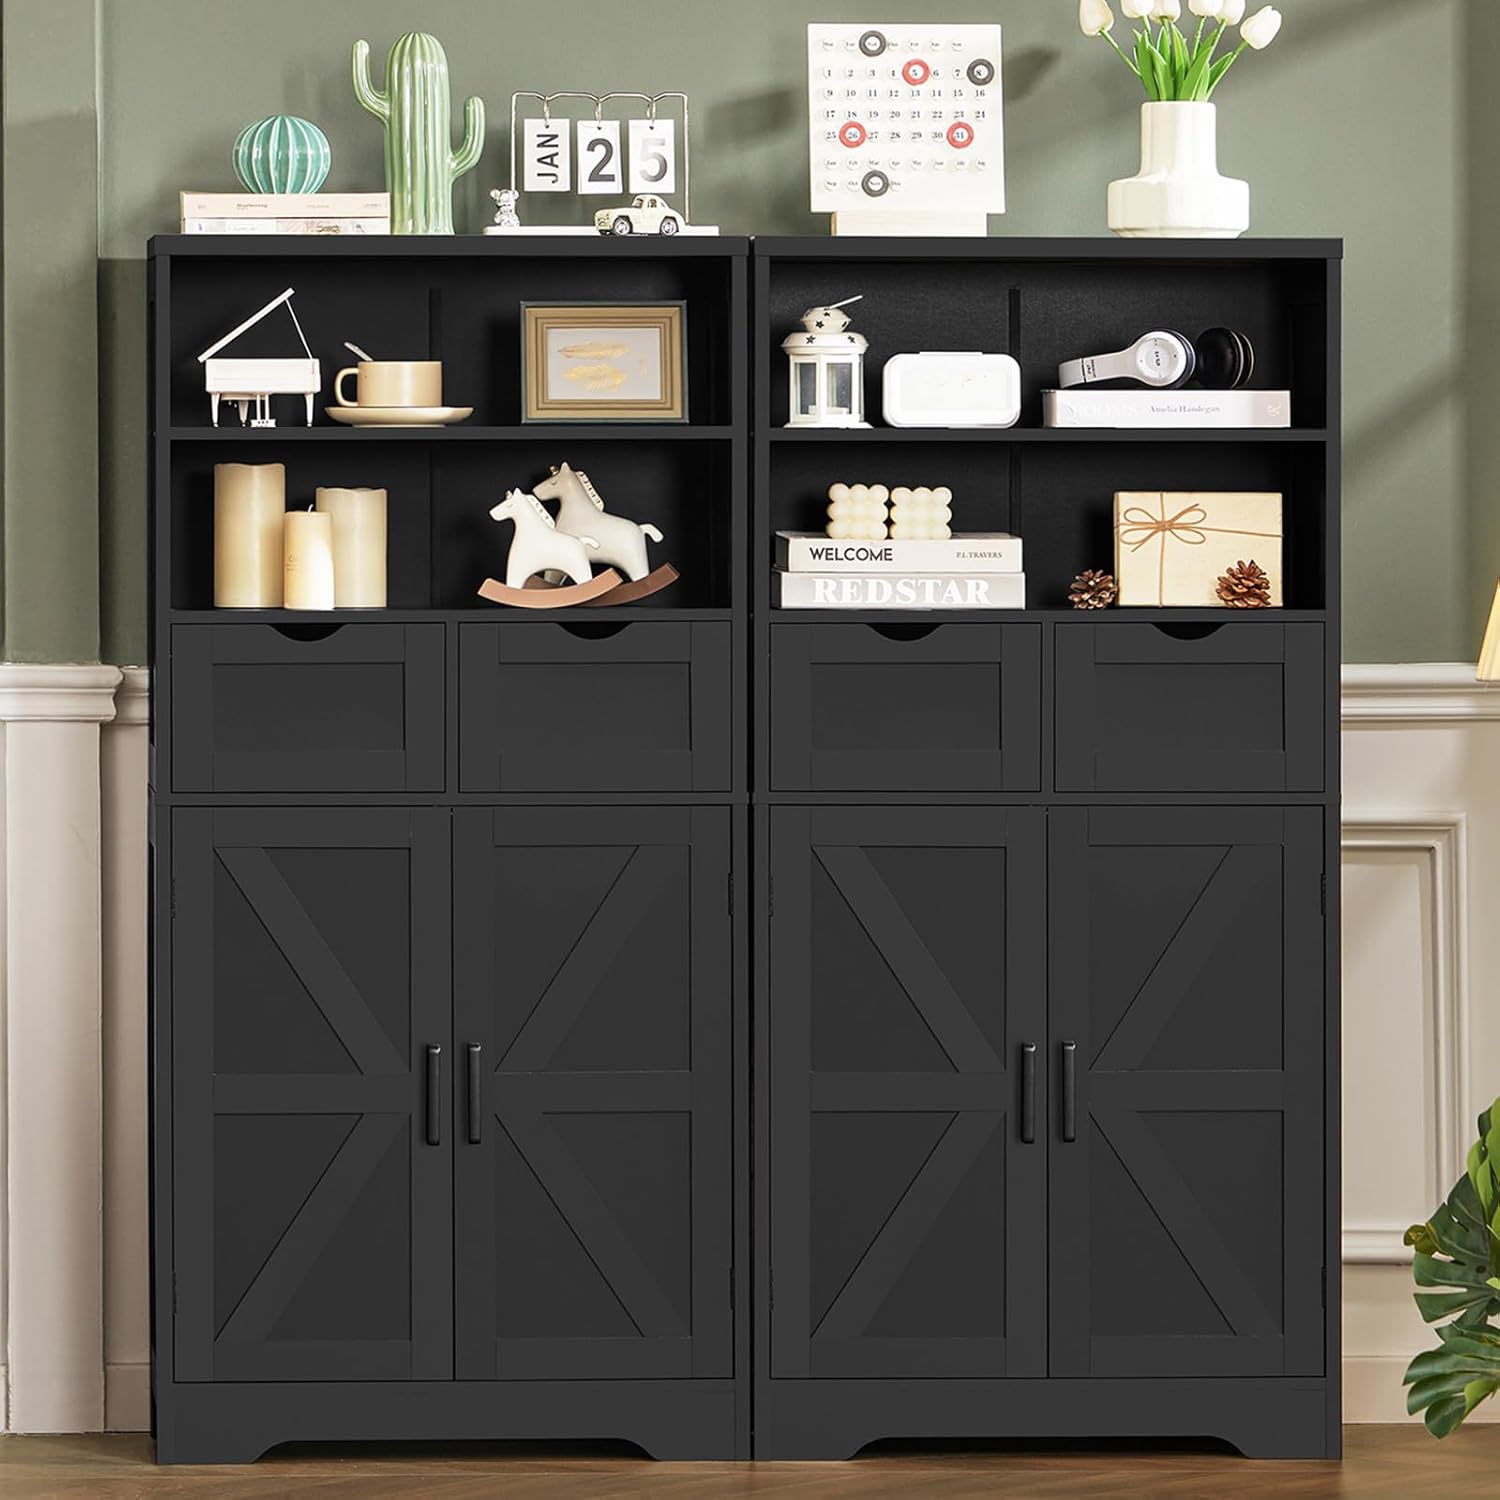
The TEENFON Storage Cabinet is designed for versatile storage in various rooms.
- Spacious Storage: Features 2 drawers for small items, a wide tabletop, 2 open shelves for display, and a roomy bottom cabinet for larger items.
- Customizable Interior: The interior shelf in the lower cabinet is adjustable to 3 different heights, allowing you to accommodate items of various sizes.
- Versatile Placement: Suitable for use as a kitchen pantry, bathroom cabinet, bookcase, or entryway cabinet.
Maintenance
To ensure the longevity and appearance of your TEENFON Storage Cabinet, follow these maintenance guidelines:
- Cleaning: Wipe surfaces with a soft, damp cloth. Avoid harsh chemicals or abrasive cleaners that may damage the finish.
- Moisture Protection: The cabinet is moisture-resistant, but it is recommended to wipe up spills immediately to prevent water damage.
- Stability Check: Periodically check all screws and connections to ensure they remain tight. Re-tighten if necessary.
- Avoid Overloading: Do not exceed the maximum weight limit of 180 pounds for the entire unit.
Troubleshooting
| Problem | Possible Cause | Solution |
|---|---|---|
| Cabinet is wobbly | Loose screws or uneven assembly. | Ensure all cam lock screws and other fasteners are fully tightened. Check that the cabinet is on a level surface. |
| Doors do not align properly | Hinges are not correctly installed or adjusted. | Review hinge installation steps. Adjust hinge screws to align doors. |
| Drawers do not slide smoothly | Drawer slides are misaligned or damaged. | Check that drawer slides are installed correctly and are free of obstructions. Ensure screws are tight. |
| Missing parts | Packaging error. | Contact customer support with your purchase details and the specific missing parts. |
Specifications
- Brand: TEENFON
- Model: B0DPKB6BLC
- Color: Black, Farmhouse
- Product Dimensions: 11.4"D x 23.6"W x 49.6"H
- Material: Engineered Wood
- Weight Limit: 180 Pounds
- Number of Shelves: 2 (1 adjustable)
- Number of Drawers: 2
- Assembly Required: Yes
Warranty and Support
TEENFON provides an 18-month warranty for quality problems. If you encounter any issues or have questions regarding your product, please contact our customer support team via email. We aim to provide a 100% satisfaction solution within 24 hours.
For further assistance, please visit the official TEENFON store on Amazon: TEENFON Store


