1. Introduction
The Tera P150 is a robust Android 12 handheld barcode scanner PDA designed for efficient data collection in various environments such as logistics, warehouses, retail, and construction. It features a high-precision Zebra SE4710 scanning head, a powerful octa-core processor, and advanced wireless connectivity options to streamline operations.
2. Package Contents
Please verify that all items listed below are included in your package. If any items are missing or damaged, please contact customer support.
- 1x Tera P150 Android 12 Handheld Barcode Scanner
- 1x USB Cable
- 1x Screen Protector
- 1x SIM Tray Ejector
- 1x Lanyard
- 1x User Manual (this document)
- 1x SDK (Software Development Kit)
- 1x Rugged Rubber Boot
- 1x Hand Strap

Image: Tera P150 Android Barcode Scanner and its included accessories, such as the USB cable, screen protector, hand strap, and rugged rubber boot.
3. Product Overview
The Tera P150 is designed for ergonomic handling and durability. It features a 5.5-inch full touch screen, a rear-mounted barcode scanner, and various ports and buttons for operation.
Key Components:
- 5.5-inch Display: High-resolution touch screen, responsive even with gloves or wet hands.
- Barcode Scanner: Integrated Zebra SE4710 for 1D, 2D, and QR code scanning.
- Power Button: Located on the side for turning the device on/off and screen lock.
- Volume Buttons: Adjust audio levels.
- USB-C Port: For charging and data transfer.
- SIM/SD Card Slot: For cellular connectivity and expandable storage.
- Hand Strap Attachment Points: For securing the included hand strap.
4. Setup
4.1 Initial Charging
Before first use, fully charge the Tera P150. Connect the provided USB cable to the device's USB-C port and a compatible power adapter. A full charge typically takes approximately 3 hours for the 5000mAh battery.

Image: The Tera P150 Barcode Scanner displaying its battery status, indicating it is designed for all-day use with a 5000mAh battery, offering over 300 hours standby and 12 hours working time.
4.2 Inserting SIM/SD Card
- Locate the SIM/SD card tray on the side of the device.
- Use the provided SIM tray ejector tool to open the tray.
- Carefully place your Nano-SIM card(s) and/or microSD card into the designated slots.
- Gently push the tray back into the device until it clicks into place.
4.3 Powering On/Off
- To Power On: Press and hold the Power button until the Tera logo appears on the screen.
- To Power Off: Press and hold the Power button until the power options menu appears. Select "Power off".
- To Restart: Press and hold the Power button until the power options menu appears. Select "Restart".
4.4 Initial Android Setup
Upon first power-on, follow the on-screen prompts to complete the Android 12 setup process. This includes selecting your language, connecting to a Wi-Fi network, and setting up your Google account (optional).
5. Operating Instructions
5.1 Barcode Scanning
The Tera P150 is equipped with a Zebra SE4710 scanning head for rapid and accurate barcode capture.
- Open the scanning application on your device.
- Point the scanner window at the barcode you wish to scan. Ensure the red aiming line or dot covers the entire barcode.
- Press the dedicated scan button (usually on the side or front of the device).
- A successful scan will typically be indicated by an audible beep and/or a visual confirmation on the screen.

Image: A worker in a warehouse environment using the Tera P150 handheld device, demonstrating the use of its integrated Zebra SE4710 scanner to read barcodes on inventory.
5.2 Display and Touchscreen
The 5.5-inch full touch screen offers a clear display and responsive interaction. It supports operation even when wearing gloves or with wet hands, enhancing usability in various work conditions.
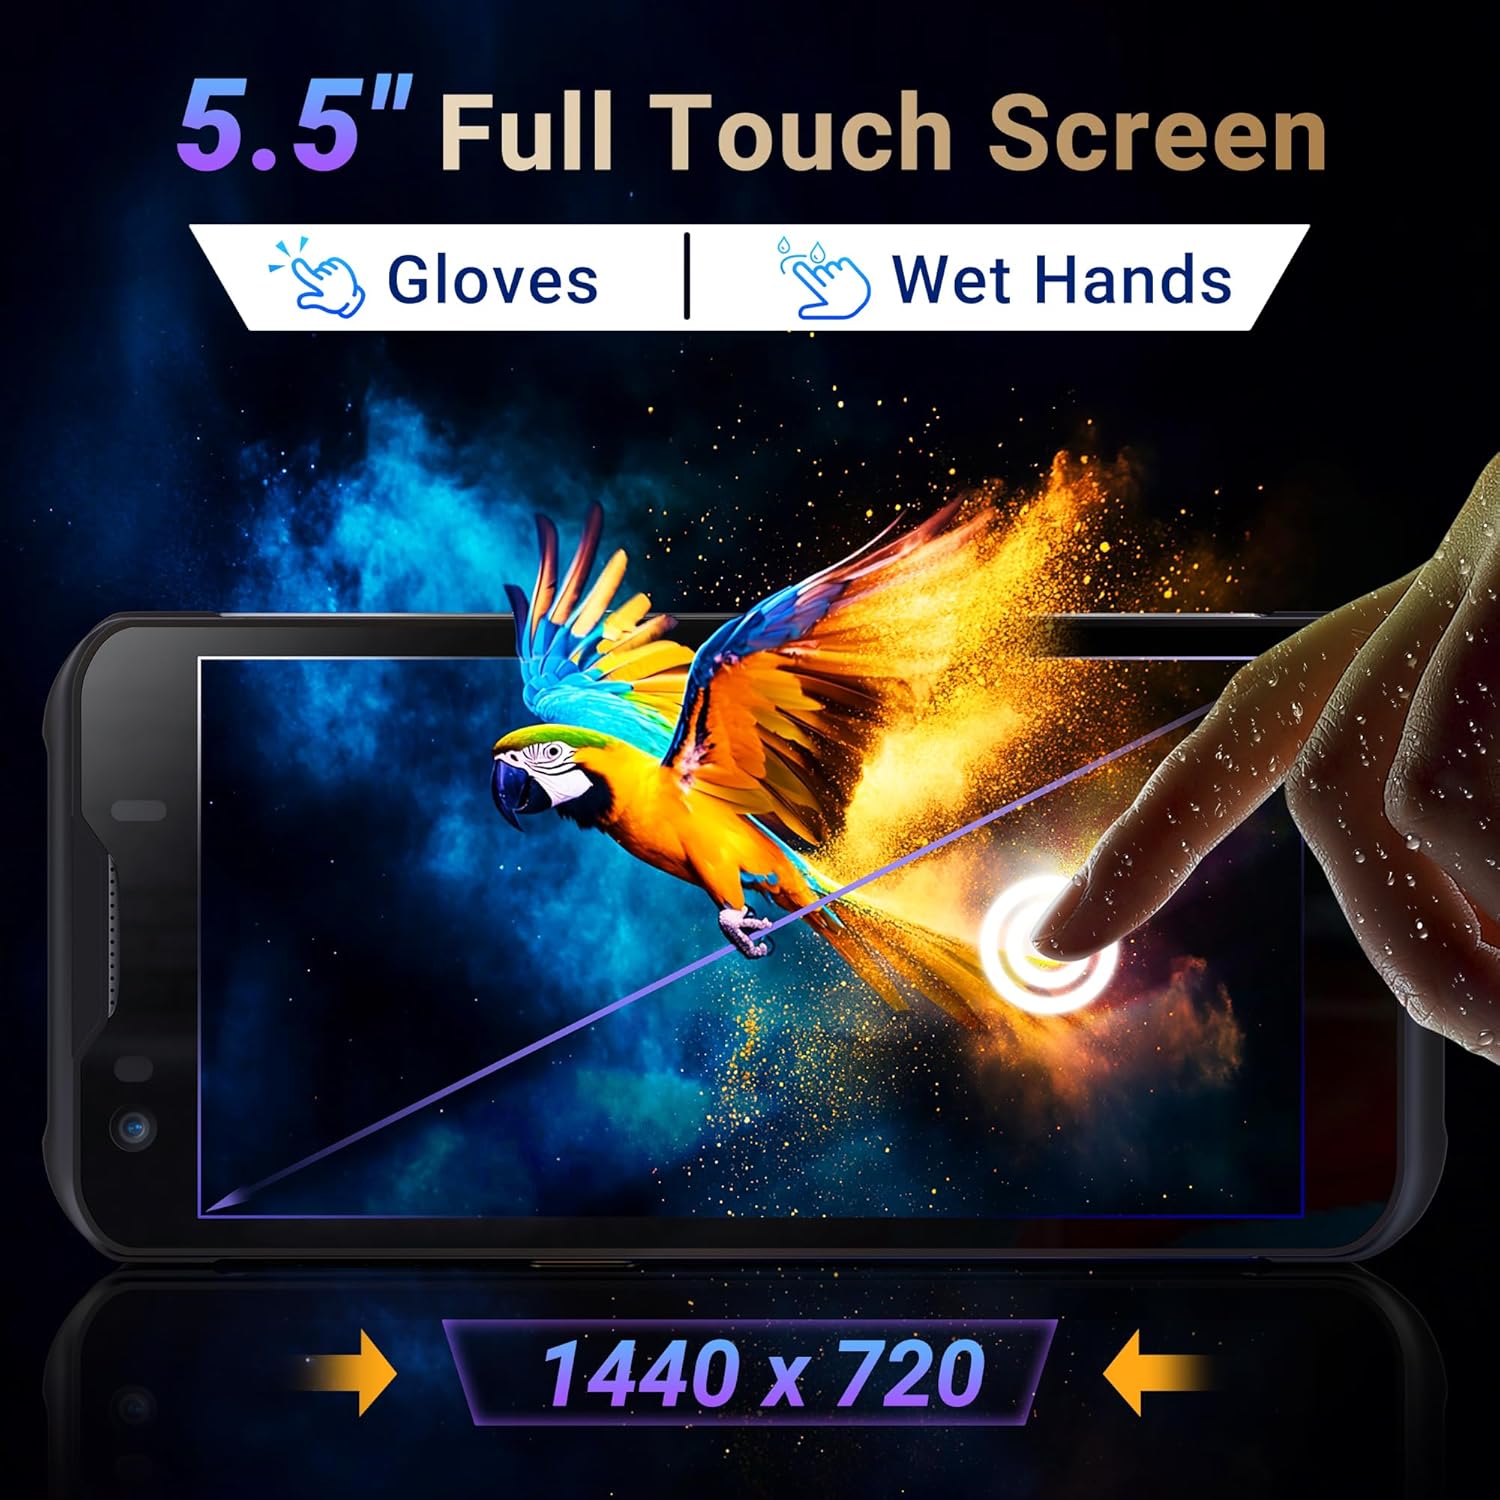
Image: The Tera P150's 5.5-inch full touch screen, highlighting its 1440x720 resolution and compatibility with both gloved and wet-hand operation.
5.3 Connectivity
The device supports multiple connectivity options for seamless data transmission.
- Wi-Fi: Go to Settings > Network & internet > Wi-Fi to connect to available wireless networks. Supports dual-band Wi-Fi for stable connections.
- Bluetooth 5.0: Go to Settings > Connected devices > Bluetooth to pair with Bluetooth-enabled accessories. Bluetooth 5.0 offers faster speeds and extended range.
- 4G/3G Cellular: Insert a SIM card (as described in Section 4.2) to enable cellular data and communication.
- GPS: The integrated GPS module allows for location tracking and navigation.
5.4 Performance and Multitasking
Powered by an MTK 2.0GHz octa-core processor with 4GB RAM and 64GB storage, the Tera P150 ensures smooth operation and efficient multitasking.

Image: The Tera P150 device highlighting its MTK 2.0GHz Octa-core processor and 4GB RAM + 64GB memory, indicating superior processing and performance compared to other devices.

Image: The Tera P150 device showcasing its Android 12 operating system and 4GB RAM + 64GB storage, illustrating its capability for seamless multitasking with multiple applications open.
6. Maintenance
6.1 Cleaning the Device
To maintain optimal performance and appearance, clean the device regularly.
- Use a soft, lint-free cloth slightly dampened with water or a mild screen cleaner.
- Avoid using harsh chemicals, abrasive cleaners, or solvents, as these can damage the screen and casing.
- Ensure the device is powered off and disconnected from any power source before cleaning.
6.2 Battery Care
The Tera P150 features a 5000mAh battery designed for extended use. Proper battery care can prolong its lifespan.
- Avoid extreme temperatures, both hot and cold, as they can degrade battery performance.
- Do not fully discharge the battery frequently. Charge it before it drops to very low levels.
- Use only the provided or approved charging accessories.
6.3 Durability Features
The Tera P150 is built with industrial-grade materials, featuring IP67 waterproofing and a 1.5-meter drop rating, making it suitable for harsh working environments.

Image: The Tera P150 device highlighting its IP67 grade, 4.9ft anti-drop, IP67 waterproof, and dustproof capabilities, indicating its suitability for all-weather and rugged use.
7. Troubleshooting
This section addresses common issues you might encounter with your Tera P150.
| Problem | Possible Cause | Solution |
|---|---|---|
| Device does not power on | Low battery; System crash | Charge the device for at least 30 minutes. If still unresponsive, perform a forced restart by holding the Power button for 10-15 seconds. |
| Barcode scanner not working | Scanning application not open; Barcode damaged/unreadable; Scanner module issue | Ensure the scanning application is active. Try scanning a different, known-good barcode. Clean the scanner window. Restart the device. |
| Cannot connect to Wi-Fi | Incorrect password; Out of range; Router issue | Verify Wi-Fi password. Move closer to the Wi-Fi router. Restart the device and the router. |
| Touchscreen unresponsive | Temporary software glitch; Screen protector interference | Restart the device. Ensure the screen protector is correctly applied and not interfering. |
8. Specifications
Detailed technical specifications for the Tera P150 Android Barcode Scanner PDA.
- Model: P150
- Operating System: Android 12
- Processor: MTK 2.0GHz Octa-core
- RAM: 4GB
- Storage: 64GB
- Display: 5.5-inch Full Touch Screen (1440 x 720 resolution)
- Barcode Scanner: Zebra SE4710 (1D, 2D, QR)
- Battery: 5000mAh (Standby >300H, Working >12H, Charging >3H)
- Connectivity: 4G, 3G, Dual-band Wi-Fi, Bluetooth 5.0, GPS
- Durability: IP67 Waterproof, 1.5-meter Drop Rating, Industrial-grade materials
- Compatible Devices: Android devices (smartphones, tablets), POS systems
- Parcel Dimensions: 20 x 11 x 8 cm
- Weight: 540 g
9. Warranty and Support
Tera products are manufactured to high-quality standards. For warranty information, please refer to the warranty card included with your product or visit the official Tera website.
For technical support, troubleshooting assistance, or inquiries regarding your Tera P150, please contact Tera customer service:
- Contact Number: +1 (626)438-1404
- Online Support: Refer to the official Tera website for FAQs and support resources.