Introduction
This manual provides detailed instructions for the installation, operation, maintenance, and troubleshooting of your KGKGK Solar Water Pump Controller. Please read this manual thoroughly before installation and operation to ensure proper function and safety. This controller is designed to efficiently manage power from solar panels to operate various DC water pumps, including swimming pool pumps and submersible deep well pumps, across multiple voltage systems (24V, 48V, 72V, 96V).
Safety Precautions
- Ensure all power sources are disconnected before installation or maintenance.
- Only qualified personnel should perform electrical installations.
- Verify correct polarity for all connections (solar panels, battery, pump). Incorrect polarity can damage the controller and connected devices.
- Install the controller in a well-ventilated, dry location, away from direct sunlight, rain, and corrosive environments.
- Do not disassemble or attempt to repair the controller. Contact support for assistance.
Setup and Installation
Proper installation is crucial for the optimal performance and longevity of your solar water pump system. Follow these steps carefully.
1. Mounting the Controller
Mount the controller vertically on a non-flammable surface in a location that is easily accessible for wiring and inspection. Ensure adequate air circulation around the unit for cooling.
2. Wiring Connections
Refer to the internal view of the controller for terminal identification. Ensure all connections are secure and properly insulated.
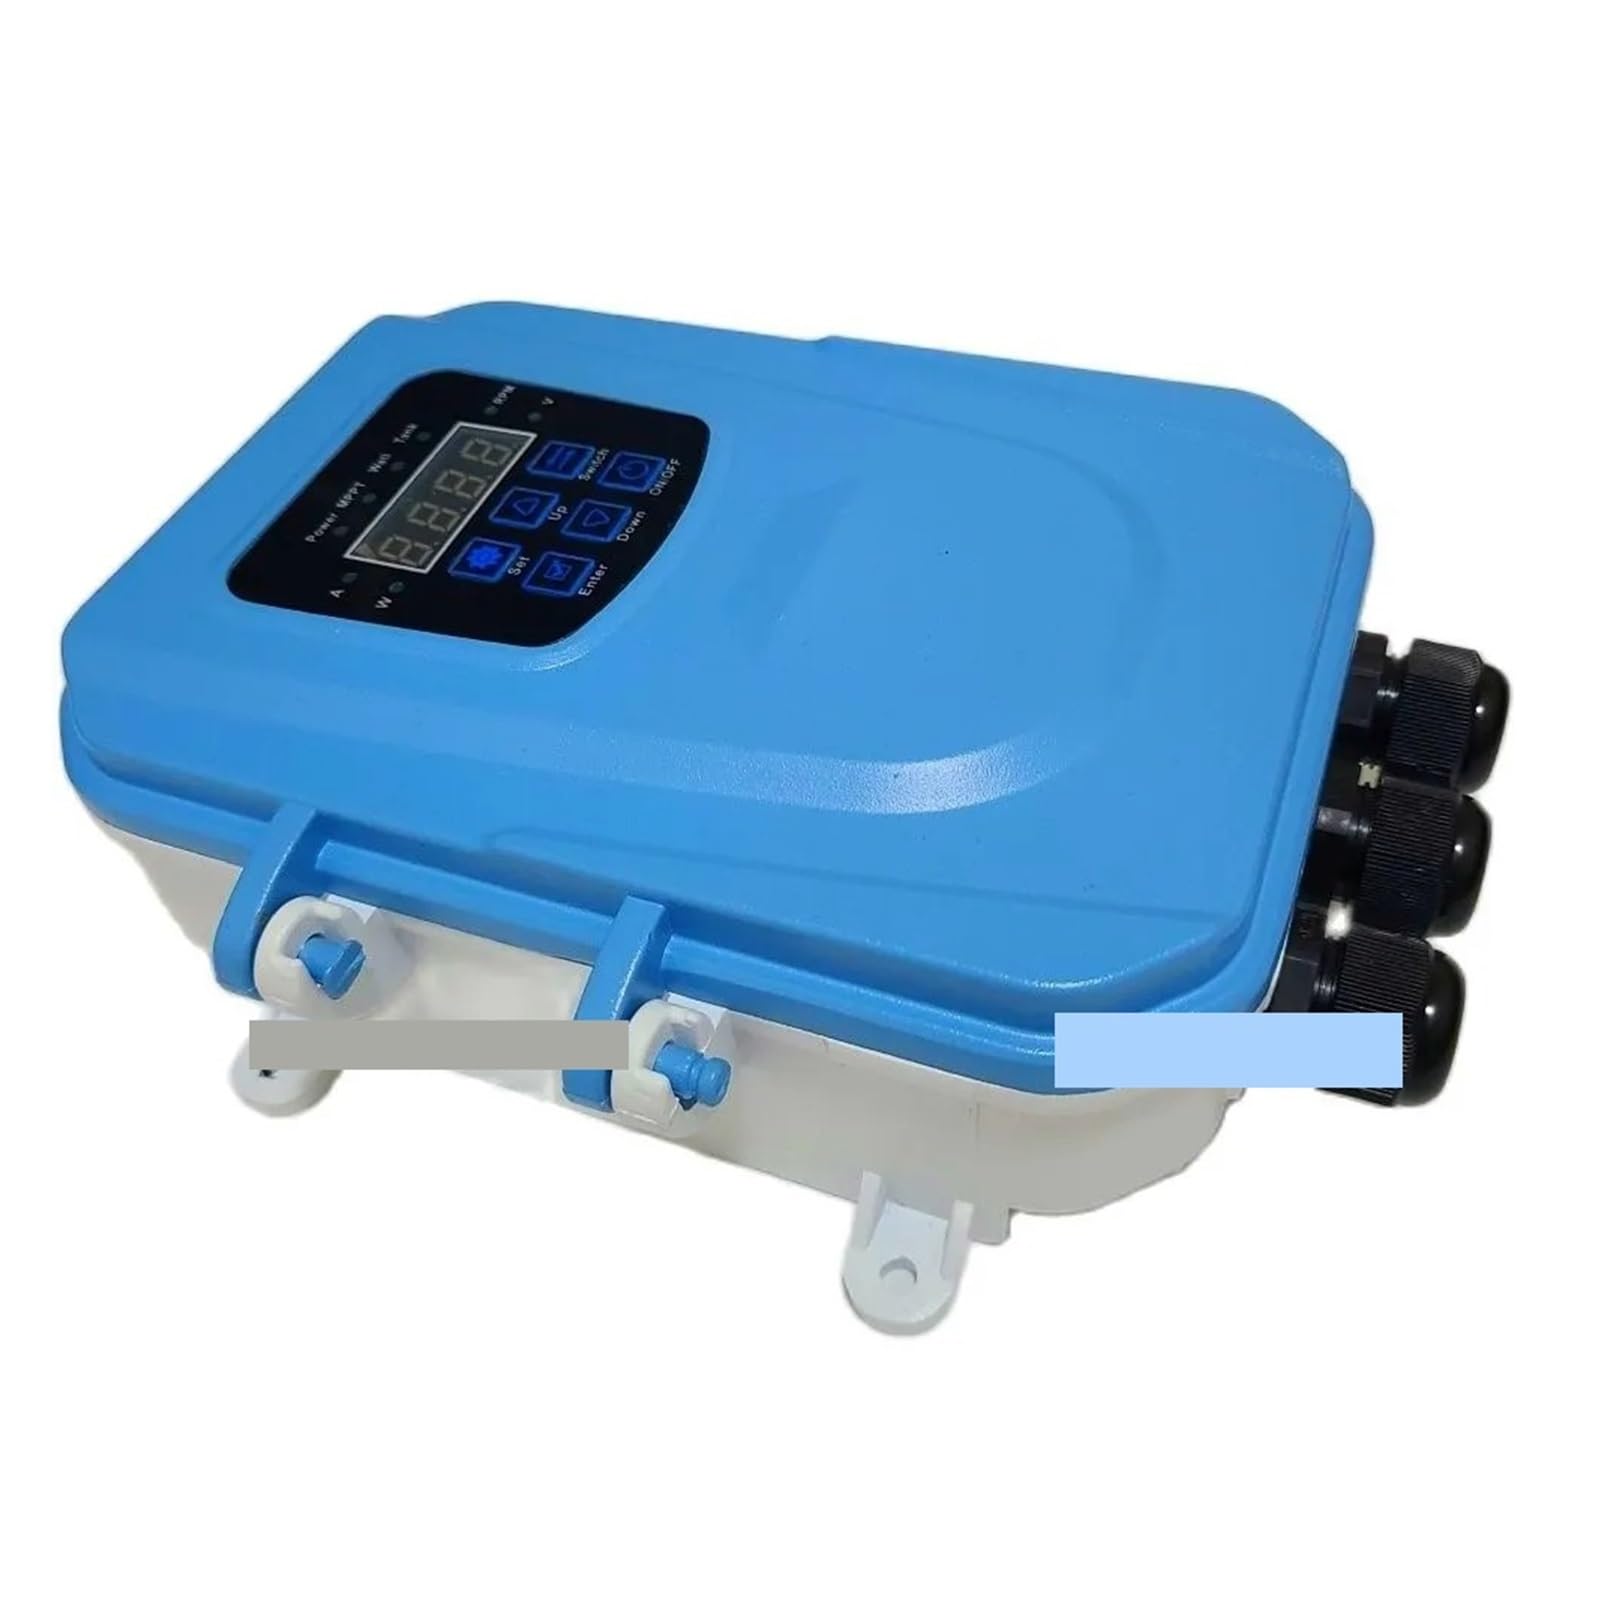
Figure 1: Internal view of the KGKGK Solar Water Pump Controller. The image displays the circuit board, capacitors, and clearly labeled wiring terminals for various DC voltages (24V, 48V, 72V, 96V) as well as input/output connections.
- Solar Panel Connection: Connect the positive (+) and negative (-) terminals of your solar panel array to the designated 'PV+' and 'PV-' terminals on the controller. Ensure the open-circuit voltage (Voc) of your solar array does not exceed the maximum input voltage specified for your controller model.
- Pump Connection: Connect the positive (+) and negative (-) terminals of your DC water pump to the 'PUMP+' and 'PUMP-' terminals on the controller. Verify that the pump's operating voltage matches the controller's output voltage setting.
- Grounding: Connect the controller's grounding terminal to an earth ground for safety.
After all connections are made, double-check wiring for correctness and security before applying power.
Operating Instructions
The controller features a user-friendly interface with indicators and buttons for monitoring and control.
1. Control Panel Overview

Figure 2: Diagram illustrating the various indicators and control buttons on the KGKGK Solar Water Pump Controller's display panel.

Figure 3: Front view of the controller's display panel, showing the digital screen and buttons for 'Set', 'Up', 'Switch', 'Enter', 'Down', and 'ON/OFF'.

Figure 4: Detailed view of the controller's display, emphasizing the 'Power', 'MPPT', 'Well', and 'Tank' indicator lights, along with the digital readout.
2. Indicator Lights
- Power: Indicates standby mode (twinkling) or active power.
- MPPT: Illuminates when the controller is operating in Maximum Power Point Tracking mode, optimizing solar energy utilization.
- Well: Indicates low water level in the well (light on = no water).
- Tank: Indicates the water tank is full (light on = tank full).
- Voltage (V): Voltage indicator light.
- Speed (RPM): Speed indicator light for pump rotation.
- Current (A): Current indicator light.
- Power (W): Power indicator light.
3. Button Functions
- ON/OFF: Press to turn the controller and pump system on or off.
- Set: Enters parameter setting mode.
- Up: Increases the value of a selected parameter or navigates menus.
- Down: Decreases the value of a selected parameter or navigates menus.
- Switch: Toggles between different display parameters (e.g., Voltage, Current, Power, RPM).
- Enter: Confirms a setting or selection.
4. Basic Operation
- Power On: Press the 'ON/OFF' button to activate the controller. The display will light up, and the 'Power' indicator may twinkle before stabilizing.
- Monitor Parameters: Use the 'Switch' button to cycle through displayed parameters such as voltage, current, power, and pump speed (RPM).
- Adjust Settings (if applicable): If your model allows for adjustable parameters (e.g., voltage limits, pump speed), press 'Set' to enter the setting mode. Use 'Up' and 'Down' to adjust values and 'Enter' to confirm. Refer to specific model documentation for detailed parameter settings.
- Power Off: Press the 'ON/OFF' button again to shut down the system.
Maintenance
Regular maintenance ensures the longevity and efficient operation of your KGKGK Solar Water Pump Controller.
- Periodic Inspection: Annually inspect all wiring connections for tightness and corrosion. Ensure no wires are frayed or damaged.
- Cleaning: Keep the controller's exterior clean and free of dust. Use a dry, soft cloth. Do not use liquid cleaners or solvents.
- Ventilation: Ensure the controller's ventilation openings are not obstructed to prevent overheating.
- Environmental Check: Verify that the installation environment remains dry and within the specified operating temperature range.
Troubleshooting
If you encounter issues with your controller, refer to the following common problems and solutions.
| Problem | Possible Cause | Solution |
|---|---|---|
| Controller does not power on. | No power from solar panels; incorrect wiring; faulty connection. | Check solar panel connections and output. Verify all wiring is correct and secure. Ensure sufficient sunlight. |
| Pump is not running. | Insufficient solar power; pump fault; 'Well' indicator active; incorrect pump wiring. | Check solar panel output. Verify pump connections. If 'Well' indicator is on, check water level. Test pump independently if possible. |
| Low pump performance. | Partial shading on solar panels; dirty solar panels; pump cavitation; low water level. | Ensure solar panels are clean and unshaded. Check for air in the pump line. Verify adequate water supply. |
| 'Well' indicator is on, but well has water. | Faulty water level sensor (if installed); sensor wiring issue. | Inspect water level sensor and its connections. Clean sensor if necessary. |
If the problem persists after attempting these solutions, contact customer support for further assistance.
Specifications
- Brand: KGKGK
- Model: Solar Water Pump Controller (Multi-Voltage)
- Supported DC Voltages: 24V, 48V, 72V, 96V
- Unit Count: 1.0 Count
- ASIN: B0DPJNZQLR
- Manufacturer: KGKGK
- Note: Specific current and power ratings may vary by voltage model. Refer to product labeling for precise details.
Warranty and Support
For warranty information, please refer to the documentation included with your product or contact the seller directly. For technical support or service inquiries, please reach out to the retailer or manufacturer's customer service department.


