
JACK A4B Computerized Sewing Machine User Manual
Model: A4B
Introduction
This manual provides comprehensive instructions for the safe and efficient operation, setup, and maintenance of your JACK A4B Computerized Sewing Machine. Please read this manual thoroughly before using the machine to ensure proper function and to prevent damage or injury. Keep this manual accessible for future reference.
Important Safety Instructions
When using an electrical appliance, basic safety precautions should always be followed, including the following:
- Read all instructions before using this sewing machine.
- Keep fingers away from all moving parts. Special care is required around the sewing machine needle.
- Always use the proper needle plate. The wrong plate can cause the needle to break.
- Do not use bent needles.
- Do not pull or push fabric while stitching. This may deflect the needle, causing it to break.
- Switch the sewing machine off when making any adjustments in the needle area, such as threading the needle, changing the needle, threading the bobbin, or changing the presser foot.
- Always unplug the sewing machine from the electrical outlet when removing covers, lubricating, or when making any other user servicing adjustments mentioned in the instruction manual.
- Never drop or insert any object into any opening.
- Do not use outdoors.
- Do not operate where aerosol (spray) products are being used or where oxygen is being administered.
Package Contents
Verify that all items listed below are included in your package:
- Sewing Machine
- User Manual
- Power Cord

Image: The main unit of the JACK A4B Computerized Sewing Machine, showing its white and blue design with control panel.
Setup Instructions
- Unpacking: Carefully remove the sewing machine and all accessories from the packaging. Retain packaging for future transport or storage.
- Placement: Place the machine on a stable, flat surface. Ensure there is adequate space around the machine for comfortable operation.
- Power Connection: Connect the provided power cord to the machine's power input and then to a suitable electrical outlet. Ensure the power switch is in the OFF position before connecting.
- Foot Pedal (if applicable): Connect the foot pedal to its designated port on the machine.
- Initial Threading: Refer to the threading diagrams (not provided in this text, but would be in a full manual) for proper upper thread and bobbin threading.
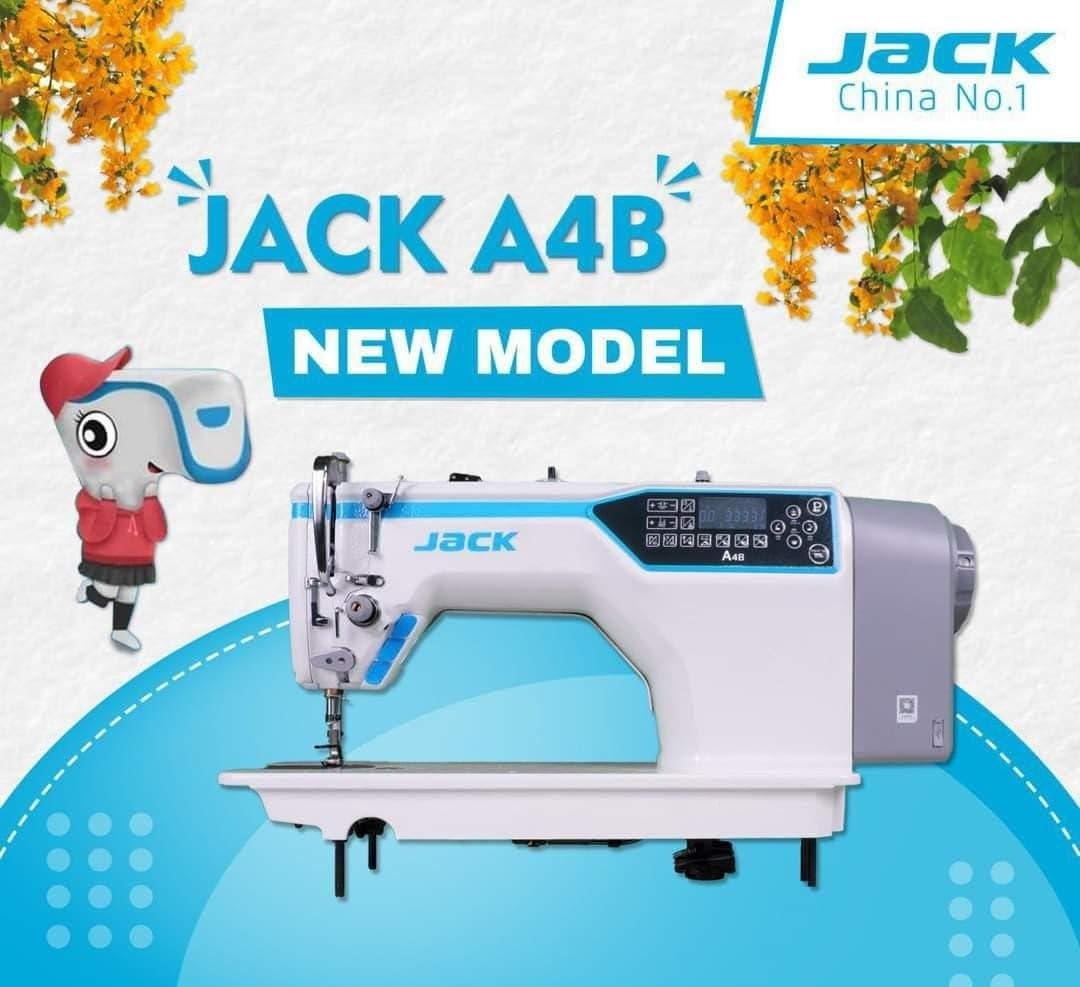
Image: A side view of the JACK A4B sewing machine, highlighting its robust construction and design.
Operating the Machine
The JACK A4B is designed for ease of use, offering a range of features to enhance your sewing experience.
Key Features:
- Versatile: Suitable for a wide range of projects.
- User-Friendly Controls: Intuitive control panel with easy-to-use dials and buttons.
- Adjustable Stitch Length and Width: Customize stitch settings for various fabrics and projects.
- Automatic Needle Threader: Simplifies the threading process, saving time and effort.
Basic Operation:
- Power On: Flip the power switch to the ON position. The control panel will illuminate.
- Select Stitch: Use the control panel buttons to select your desired stitch pattern. Refer to the display for current stitch settings.
- Adjust Settings: Modify stitch length and width as needed using the dedicated controls.
- Start Sewing: Place your fabric under the presser foot. Lower the presser foot lever. Gently press the foot pedal to begin sewing.
- Stop Sewing: Release the foot pedal to stop. Raise the presser foot lever and remove your fabric.

Image: A detailed view of the control panel and needle area of the JACK A4B, showing the digital display and buttons for stitch selection and adjustments.
Maintenance and Care
Regular maintenance ensures the longevity and optimal performance of your sewing machine.
- Cleaning: Regularly clean lint and dust from the bobbin case, feed dogs, and tension discs using a small brush or vacuum cleaner. Always unplug the machine before cleaning.
- Oiling: Refer to the machine's specific oiling points (if indicated in a full manual) and apply a small amount of sewing machine oil as recommended.
- Needle Replacement: Change the needle frequently, especially when working with different fabrics or if the needle shows signs of wear or bending.
- Storage: When not in use, cover the machine to protect it from dust. Store in a dry, cool place.
Image: A front view of the JACK A4B sewing machine, illustrating its compact and functional design.
Troubleshooting Guide
This section addresses common issues you might encounter. For more complex problems, please contact customer support.
| Problem | Possible Cause | Solution |
|---|---|---|
| Machine not starting | Power cord not connected; Power switch off; Foot pedal not connected. | Check power connections; Ensure switch is ON; Connect foot pedal securely. |
| Skipped stitches | Incorrect needle; Bent needle; Improper threading; Fabric too thick/thin. | Use correct needle type/size; Replace needle; Re-thread machine; Adjust tension or use appropriate needle/foot. |
| Thread breaking | Improper threading; Incorrect tension; Damaged needle; Poor quality thread. | Re-thread machine; Adjust tension; Replace needle; Use good quality thread. |
| Fabric not feeding | Presser foot not lowered; Feed dogs obstructed; Stitch length set to zero. | Lower presser foot; Clean feed dogs; Adjust stitch length. |
Product Specifications
| Feature | Detail |
|---|---|
| Brand | Jack |
| Model Number | A4B |
| Type | Computerized Sewing Machine |
| Item Weight | 30 kg |
| Product Dimensions | 30D x 50W x 35H Centimeters |
| Color | White And Blue |
| Manufacture Year | 2023 |
| Included Components | Power Cord, Sewing Machine, User Manual |
Warranty and Support
For warranty information and customer support, please refer to the documentation provided with your purchase or contact the manufacturer directly. Keep your proof of purchase for any warranty claims.


