Introduction
The ARCTIC Liquid Freezer III Pro 420 A-RGB is an all-in-one (AIO) CPU liquid cooler designed for high-performance computing systems. It features a 420mm radiator with three 140mm A-RGB fans, a PWM-controlled pump, and an integrated VRM fan to ensure optimal thermal management for your CPU and surrounding components. This manual provides detailed instructions for installation, operation, maintenance, and troubleshooting to help you maximize the performance and longevity of your cooler.

Image: The ARCTIC Liquid Freezer III Pro 420 A-RGB AIO CPU Cooler, showcasing its three large A-RGB fans and the pump/cold plate assembly.
Safety Information
- Always disconnect power from your computer before installation or maintenance.
- Handle components with care to avoid damage.
- Ensure proper grounding to prevent electrostatic discharge (ESD).
- Keep out of reach of children and pets.
- Do not attempt to open or modify the sealed liquid cooling loop.
- Verify case compatibility before installation, paying close attention to radiator and fan dimensions.
Package Contents
The ARCTIC Liquid Freezer III Pro 420 A-RGB package includes the following components:
- Liquid Freezer III 420 A-RGB AIO CPU Cooler (pre-assembled with fans and pump)
- Mounting hardware for AMD AM5/AM4 and Intel LGA1851/1700 sockets
- ARCTIC MX-6 thermal paste (pre-applied or included in tube)
- User Manual (this document)
Specifications
| Feature | Detail |
|---|---|
| Model Number | ACFRE00185A |
| Cooler Type | All-in-One (AIO) Liquid CPU Cooler |
| Radiator Size | 420 mm (38 mm thick) |
| Fan Type | 3 x 140 mm ARCTIC P14 Pro A-RGB Fans |
| Fan Speed | 400-2500 RPM (PWM controlled) |
| Airflow | 110 CFM (186 m³/h) |
| Static Pressure | 5.2 mm H₂O |
| Noise Level | 1 Sones |
| Pump Type | PWM Pump |
| VRM Fan | Integrated, PWM controlled |
| Compatibility | AMD AM5/AM4, Intel LGA1851/1700 (with Contact Frame) |
| Product Dimensions (L x W x H) | 18.03 x 5.43 x 2.68 inches (458 x 138 x 68 mm) |
| Weight | 5.2 Pounds (2.36 kg) |
| Power Connector | 4-Pin |
| Voltage | 12 Volts |
| Wattage | 4.2 W |
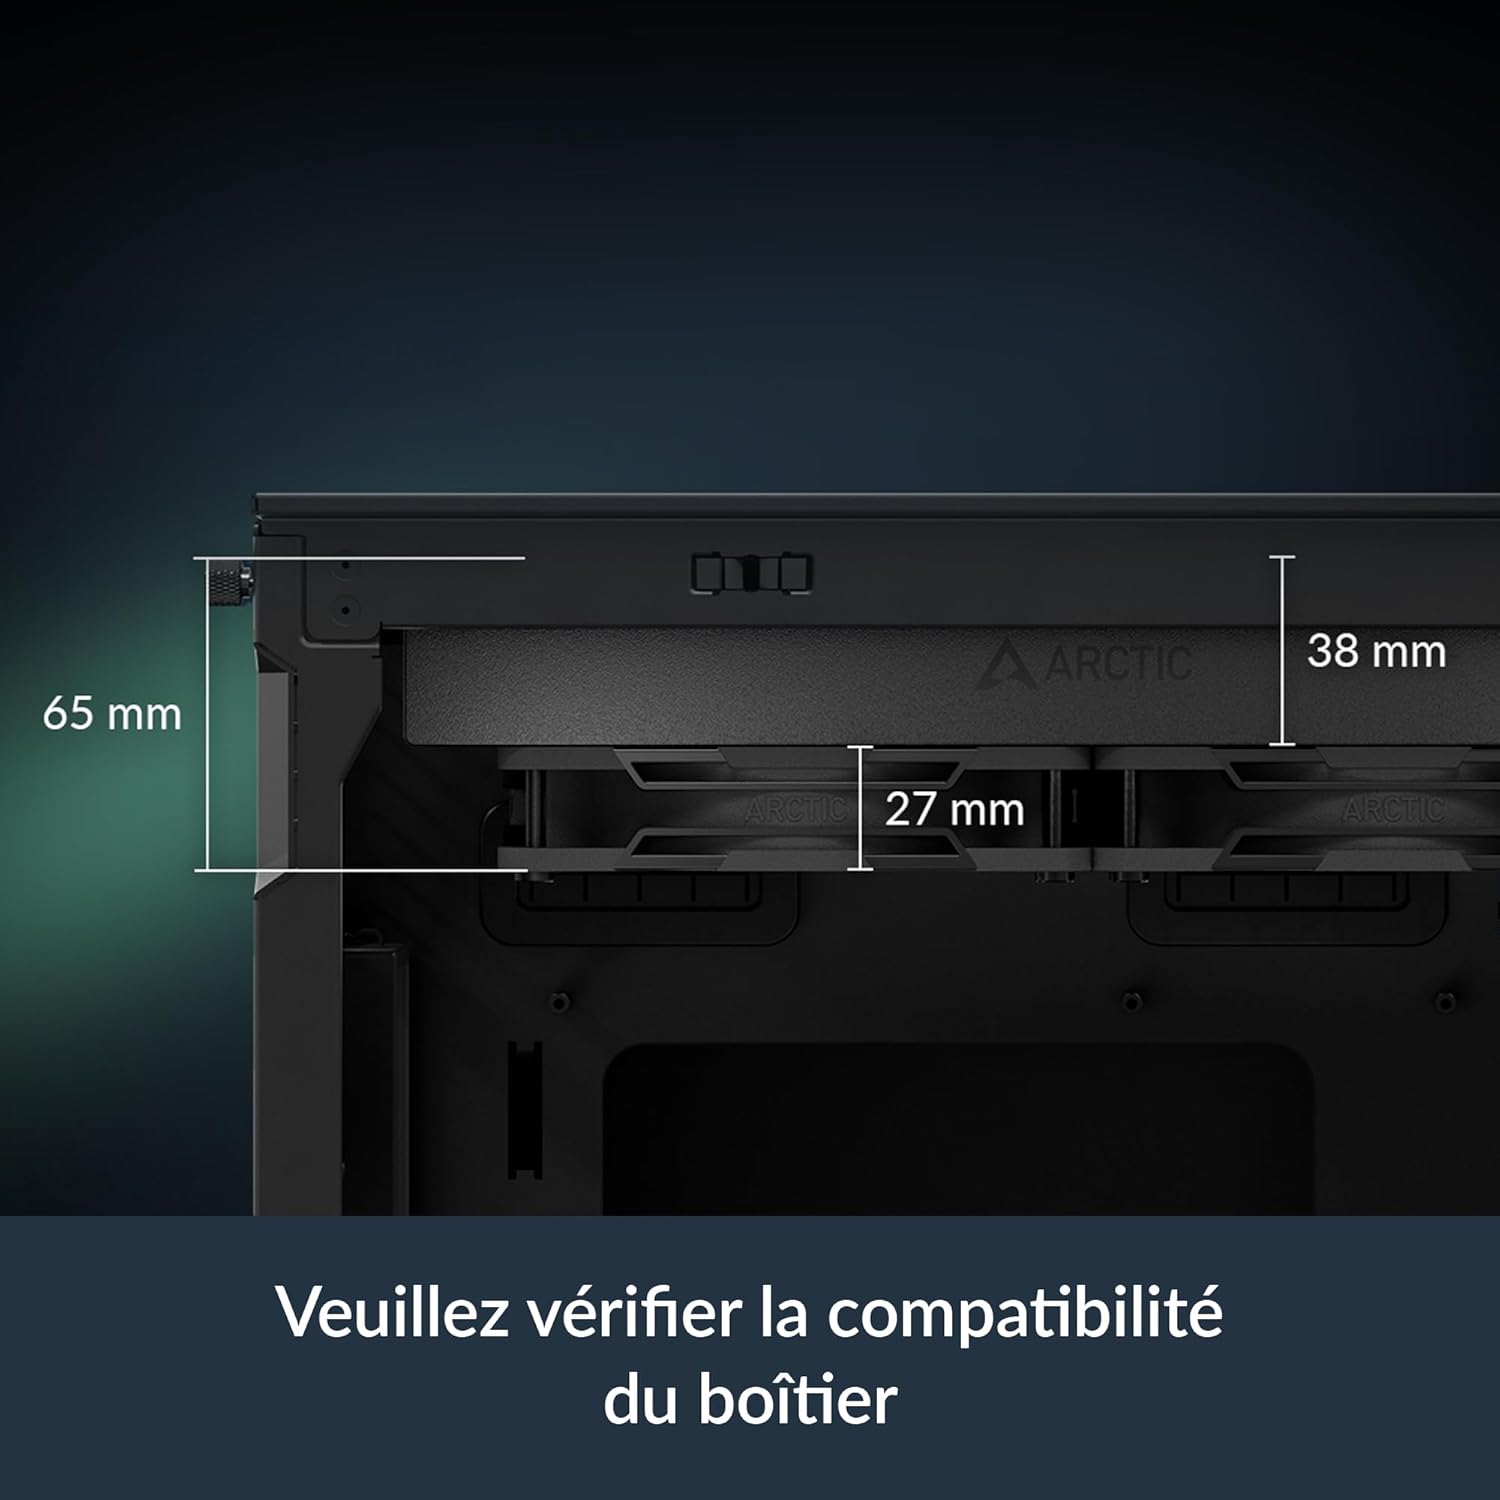
Image: Diagram illustrating the dimensions of the radiator (38mm thick) and the total height with fans (65mm), emphasizing the need to check case compatibility.
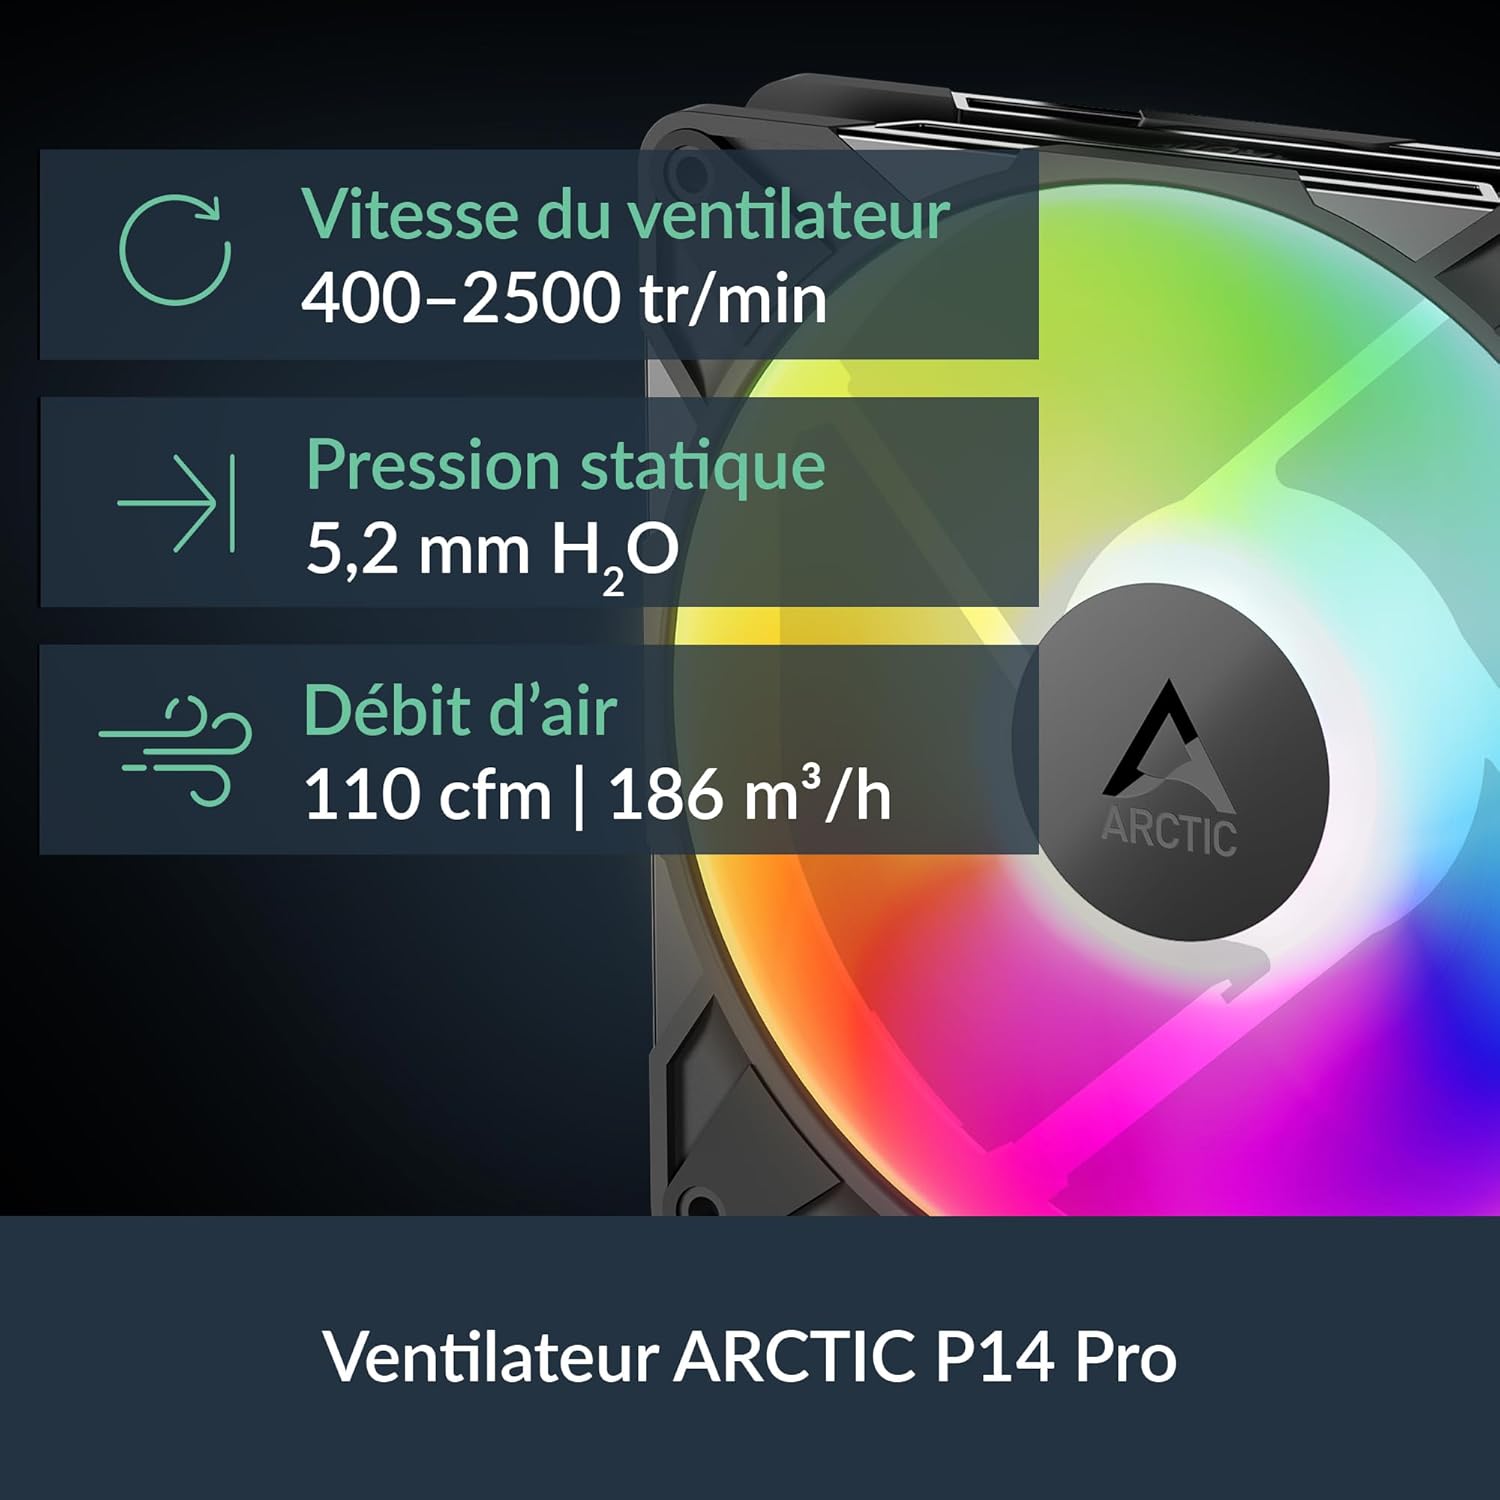
Image: Visual representation of the ARCTIC P14 Pro fan, highlighting its key specifications: fan speed (400-2500 RPM), static pressure (5.2 mm H₂O), and airflow (110 CFM).
Setup Guide
Follow these steps for proper installation of your ARCTIC Liquid Freezer III Pro 420 A-RGB cooler. It is highly recommended to consult your motherboard and PC case manuals for specific instructions related to fan headers, mounting points, and clearance.
1. Prepare Your System
- Power off your computer and disconnect all cables.
- Open your PC case and remove any existing CPU cooler. Clean the CPU surface thoroughly to remove old thermal paste.
- Ensure your PC case has adequate clearance for the 420mm radiator (18.03 x 5.43 x 2.68 inches or 458 x 138 x 68 mm).
2. Install Mounting Hardware
The Liquid Freezer III Pro 420 A-RGB supports both AMD and Intel platforms. Use the appropriate mounting hardware for your CPU socket.
For Intel LGA1851/1700:
- Install the provided Intel contact frame onto your motherboard. This optimizes contact pressure for better thermal performance and CPU longevity.
- Secure the backplate and standoffs according to the instructions provided with the cooler.
For AMD AM5/AM4:
- Utilize the native offset mounting design. This shifts the cold plate center towards the CPU hotspot for more efficient heat transfer.
- Attach the appropriate AMD mounting brackets and secure the backplate and standoffs.

Image: Diagram illustrating the native offset mounting for AMD AM5 and Intel LGA1851, showing how the cold plate is positioned over the CPU hotspot for optimal heat transfer.

Image: Close-up view of the Intel LGA1851/1700 contact frame, demonstrating how it improves contact and pressure distribution on the CPU.

Image: Illustration of applying thermal paste to the CPU, ensuring even coverage for efficient heat transfer.
3. Mount the Radiator and Pump
- Carefully position the radiator in your chosen mounting location (e.g., top of the case). Secure it using the provided screws.
- Align the pump/cold plate assembly with the CPU and gently lower it onto the CPU, ensuring the pre-applied thermal paste makes full contact.
- Secure the pump/cold plate assembly to the mounting hardware using the provided screws. Tighten screws in a cross pattern until snug.
4. Connect Cables
The Liquid Freezer III features integrated cable management, simplifying connections.
- Connect the single All-In-One 4-pin PWM cable from the cooler to your motherboard's CPU_FAN or AIO_PUMP header. This cable controls the pump, radiator fans, and VRM fan.
- For A-RGB lighting, connect the A-RGB cable to a compatible 3-pin 5V A-RGB header on your motherboard.
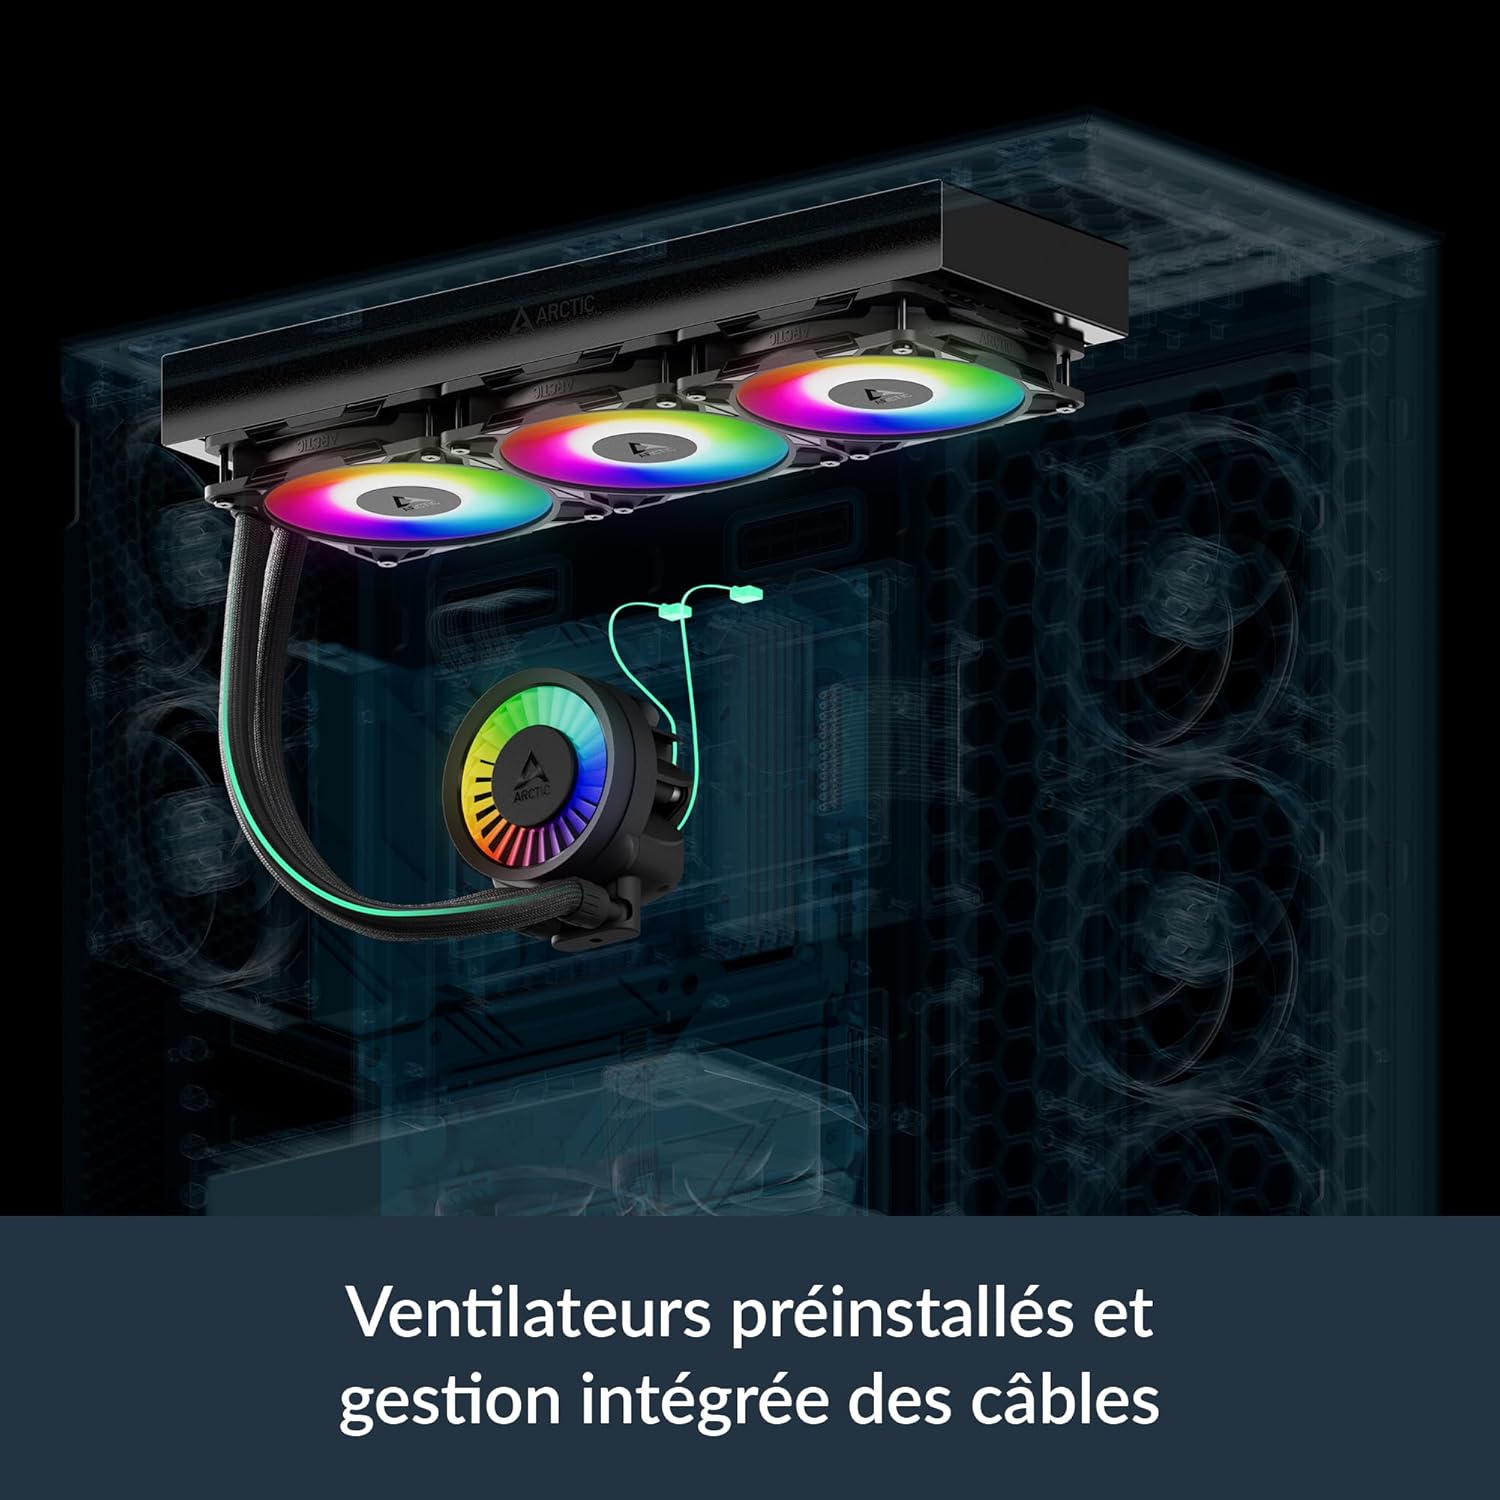
Image: Illustration showing the pre-installed fans and the integrated cable management system, where PWM cables are routed within the hose sleeving for a cleaner build.

Image: Diagram showing the various cable connections for the VRM fan, radiator fans, and pump, highlighting the simplified All-In-One connection option.
Operating Instructions
Fan and Pump Control (PWM)
The ARCTIC Liquid Freezer III Pro 420 A-RGB utilizes Pulse Width Modulation (PWM) for dynamic control of fan and pump speeds. This allows your motherboard to adjust cooling performance based on CPU temperature, optimizing for both cooling efficiency and noise levels.
- BIOS/UEFI Settings: Access your motherboard's BIOS/UEFI settings to configure fan curves. It is recommended to set the CPU_FAN header to PWM mode and adjust the fan curve to your preference. A more aggressive curve will provide better cooling under load, while a less aggressive curve will result in quieter operation at lower temperatures.
- Integrated VRM Fan: The integrated VRM fan is also PWM-controlled and helps to cool the voltage regulator modules on your motherboard, ensuring stable performance, especially during overclocking.

Image: Bar chart comparing VRM temperatures with Liquid Freezer III Pro, Liquid Freezer II, and without active ventilation, demonstrating the effectiveness of the integrated VRM fan.

Image: Performance comparison charts showing CPU temperatures for Intel and AMD processors under full load and normalized noise levels, highlighting the cooler's efficiency.
A-RGB Lighting Control
The A-RGB fans and pump head feature individually addressable LEDs, allowing for customizable lighting effects.
- Motherboard Software: Control the A-RGB lighting using your motherboard's RGB synchronization software (e.g., ASUS Aura Sync, GIGABYTE RGB Fusion, MSI Mystic Light Sync, ASRock Polychrome Sync). Ensure the A-RGB cable is connected to the correct 3-pin 5V A-RGB header.
- Third-Party Controllers: If your motherboard does not have a compatible A-RGB header, you may use a separate A-RGB controller (not included) to manage the lighting effects.
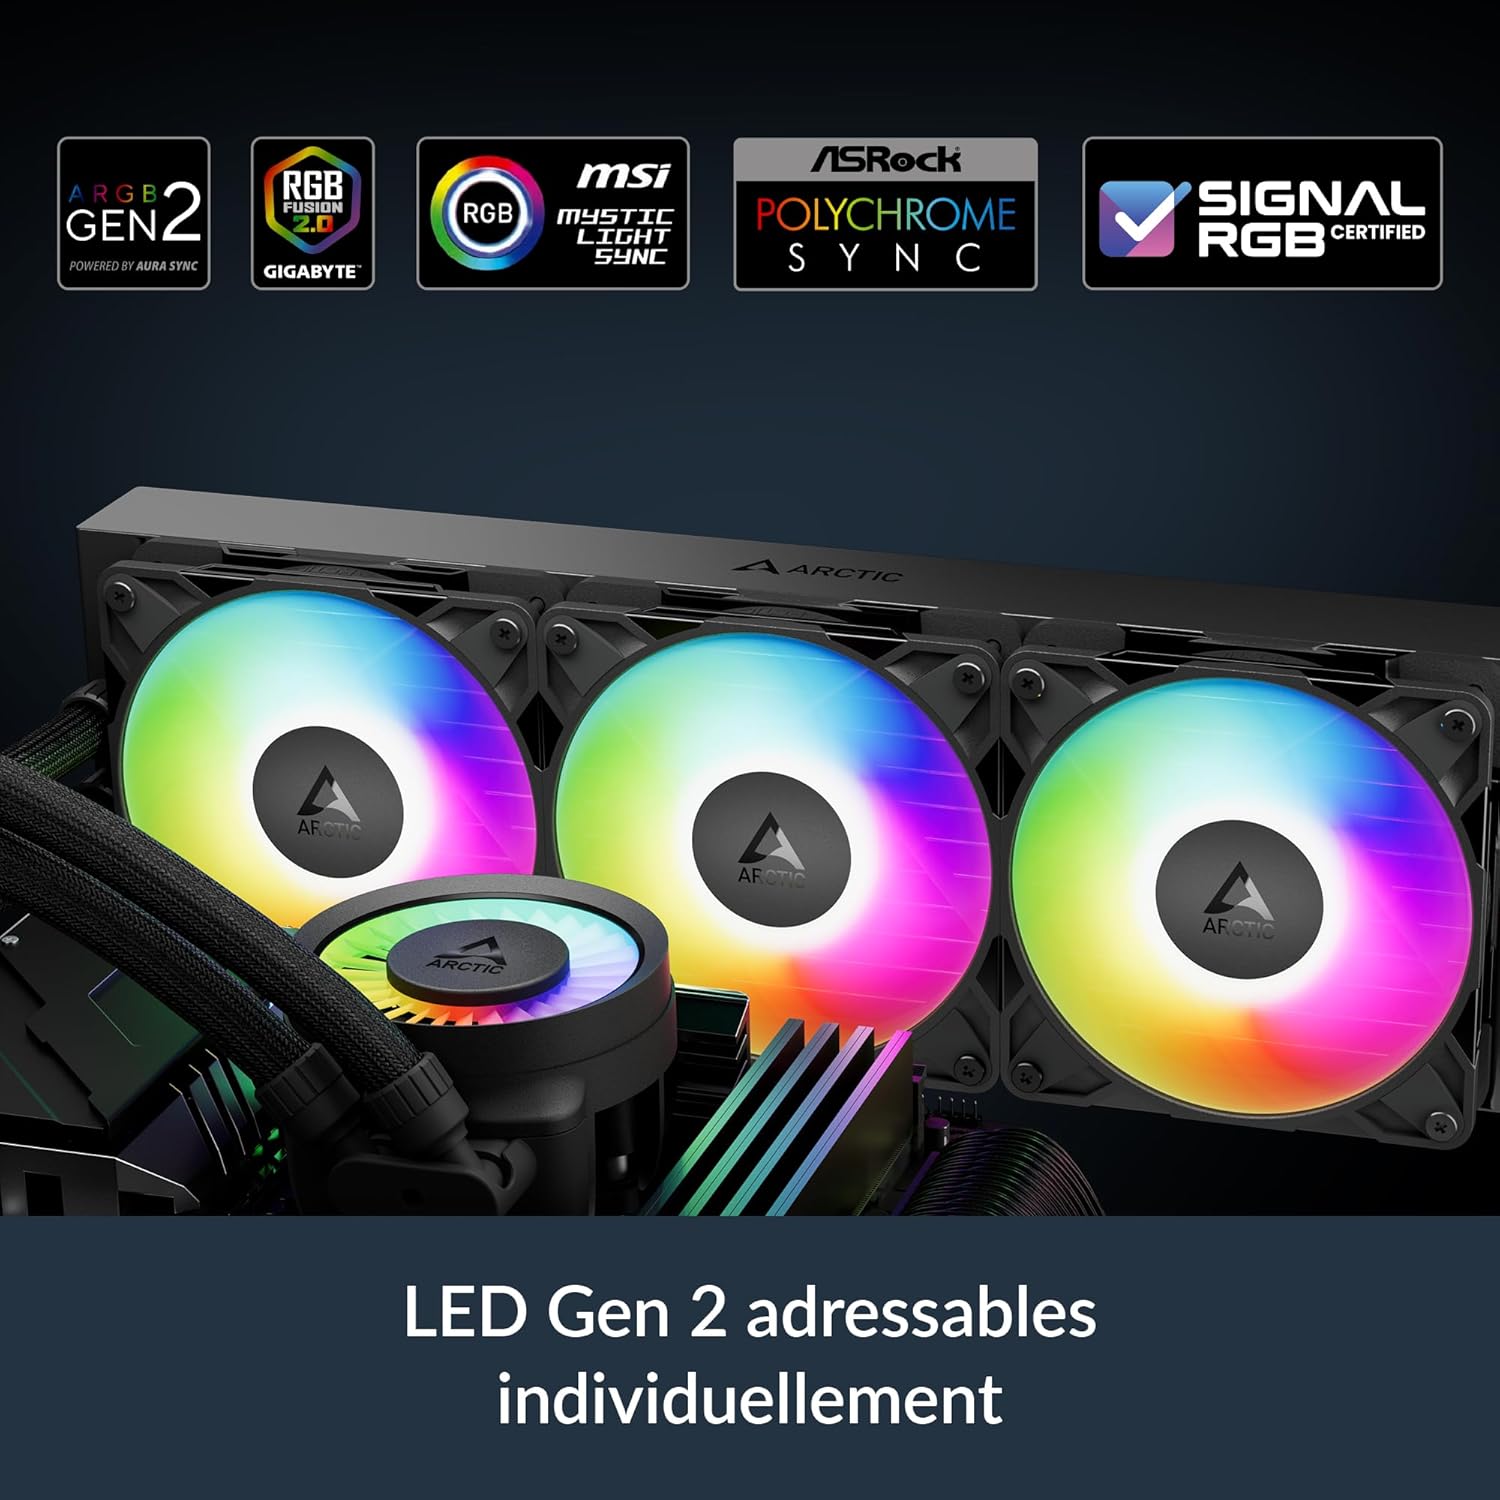
Image: Close-up of the pump head and fans displaying vibrant, individually addressable RGB lighting, indicating compatibility with various motherboard RGB software.
Maintenance
Regular maintenance ensures optimal performance and longevity of your Liquid Freezer III Pro 420 A-RGB cooler.
- Dust Cleaning: Periodically clean dust from the radiator fins and fan blades using compressed air or a soft brush. Ensure fans are not spinning during cleaning to prevent damage.
- Thermal Paste: While the pre-applied thermal paste is high quality, consider reapplying fresh thermal paste if you ever remove the cold plate from the CPU for maintenance or upgrades.
- Liquid Loop: The liquid cooling loop is sealed and requires no refilling or maintenance. Do not attempt to open it.
Troubleshooting
| Problem | Possible Cause | Solution |
|---|---|---|
| High CPU Temperatures | Improper cold plate contact, insufficient thermal paste, dust buildup on radiator, incorrect fan curve settings. | Re-seat cooler, reapply thermal paste, clean radiator/fans, adjust fan curves in BIOS/UEFI. |
| Fans/Pump Not Spinning | Loose or incorrect cable connection, disabled fan header in BIOS. | Check all 4-pin PWM connections, ensure CPU_FAN header is enabled and set to PWM. |
| A-RGB Lighting Not Working | Incorrect A-RGB header connection, incompatible motherboard software, faulty A-RGB header. | Verify 3-pin 5V A-RGB connection, ensure motherboard software is updated and configured correctly. |
| Excessive Noise | Fans running at high RPM, pump noise, loose components, air bubbles in loop (rare). | Adjust fan curves for quieter operation, ensure all screws are tightened, gently tilt case to dislodge air bubbles. |
| Physical Fit Issues | Case not compatible with 420mm radiator or thick radiator/fan combo. | Verify case specifications for radiator support before purchase. Some cases may require modifications or may not be compatible. |
Warranty
The ARCTIC Liquid Freezer III Pro 420 A-RGB is covered by a 6-year limited warranty from the date of purchase. This warranty covers defects in materials and workmanship under normal use. Please retain your proof of purchase for warranty claims. The warranty does not cover damage resulting from improper installation, accident, abuse, misuse, natural disaster, or unauthorized modification.
Image: The product box displaying the "6 Years Warranty" logo, indicating the extended warranty period for the cooler.
Support
For technical support, warranty claims, or further assistance, please visit the official ARCTIC website or contact their customer service:
- ARCTIC Official Website: www.arctic.ac
- Refer to the website for contact information specific to your region.