
Arafuna CD5120B
ARAFUNA CD Player Boombox User Manual
Model: CD5120B
Brand: Arafuna
Introduction
Thank you for choosing the ARAFUNA Portable CD Player Boombox. This device offers versatile audio playback options including CD, Bluetooth, FM radio, USB, and AUX input, all designed for ease of use and portability. This manual provides detailed instructions to help you set up, operate, and maintain your new CD player, ensuring optimal performance and longevity.
Safety Information
Important Safeguards
- Read all instructions carefully before operating the device.
- Keep this manual for future reference.
- Do not expose the unit to rain, moisture, or extreme temperatures.
- Avoid placing the unit near heat sources such as radiators, heat registers, stoves, or other apparatus (including amplifiers) that produce heat.
- Use only attachments/accessories specified by the manufacturer.
- Unplug this apparatus during lightning storms or when unused for long periods of time.
- Refer all servicing to qualified service personnel. Servicing is required when the apparatus has been damaged in any way.
Package Contents
Verify that all items listed below are included in your package:

Image: All components included in the product package.
- ARAFUNA CD Player Boombox (Model: CD5120B)
- Remote Control
- AC Adapter
- AUX Cable
- USB to Type-C Charging Cable
- User Manual (this document)
Product Overview
Familiarize yourself with the main components and controls of your ARAFUNA CD Player Boombox.

Image: Front view of the CD Player Boombox, highlighting its compact design and integrated speakers.
Controls and Indicators
- LED Display: Shows current mode, track information, FM frequency, and other status indicators.
- Power Button: Turns the unit on or off.
- EQ Button: Cycles through equalization modes (Flat, Pop, Jazz, Rock, Classic).
- Repeat Button: Controls playback repeat modes (single track, all tracks, random, A-B repeat).
- VOL- / VOL+ Buttons: Adjusts the volume level.
- Play/Pause Button: Starts or pauses playback.
- Stop Button: Stops playback.
- Previous/Next Track Buttons: Skips to the previous or next track/station.
- Mode Button: Switches between CD, USB, FM, Bluetooth, and AUX modes.
- SET Button: Accesses settings menu (e.g., Bluetooth emission, brightness).
- FM Telescopic Antenna: Extends for improved FM radio reception.
- Power Switch (Rear): Main power on/off switch.
- USB Port: For USB drive playback.
- AUX Input: For connecting external audio devices.
- Headphone Jack: For private listening.
- Type-C Charging Port: For power input and charging.
Setup
Initial Power-Up and Charging
- Unpack: Carefully remove all components from the packaging.
- Power Switch: Locate the main power switch on the back of the CD player and ensure it is in the "ON" position.
- Initial Charge: Before first usage, fully charge the built-in 3000mAh rechargeable battery. Connect the USB to Type-C charging cable to the unit's Type-C port and the other end to the AC adapter. Plug the AC adapter into a standard wall outlet. The LED display will indicate charging status.
- Placement: Place the CD player on a stable, flat surface away from direct sunlight, heat sources, and excessive dust or moisture.
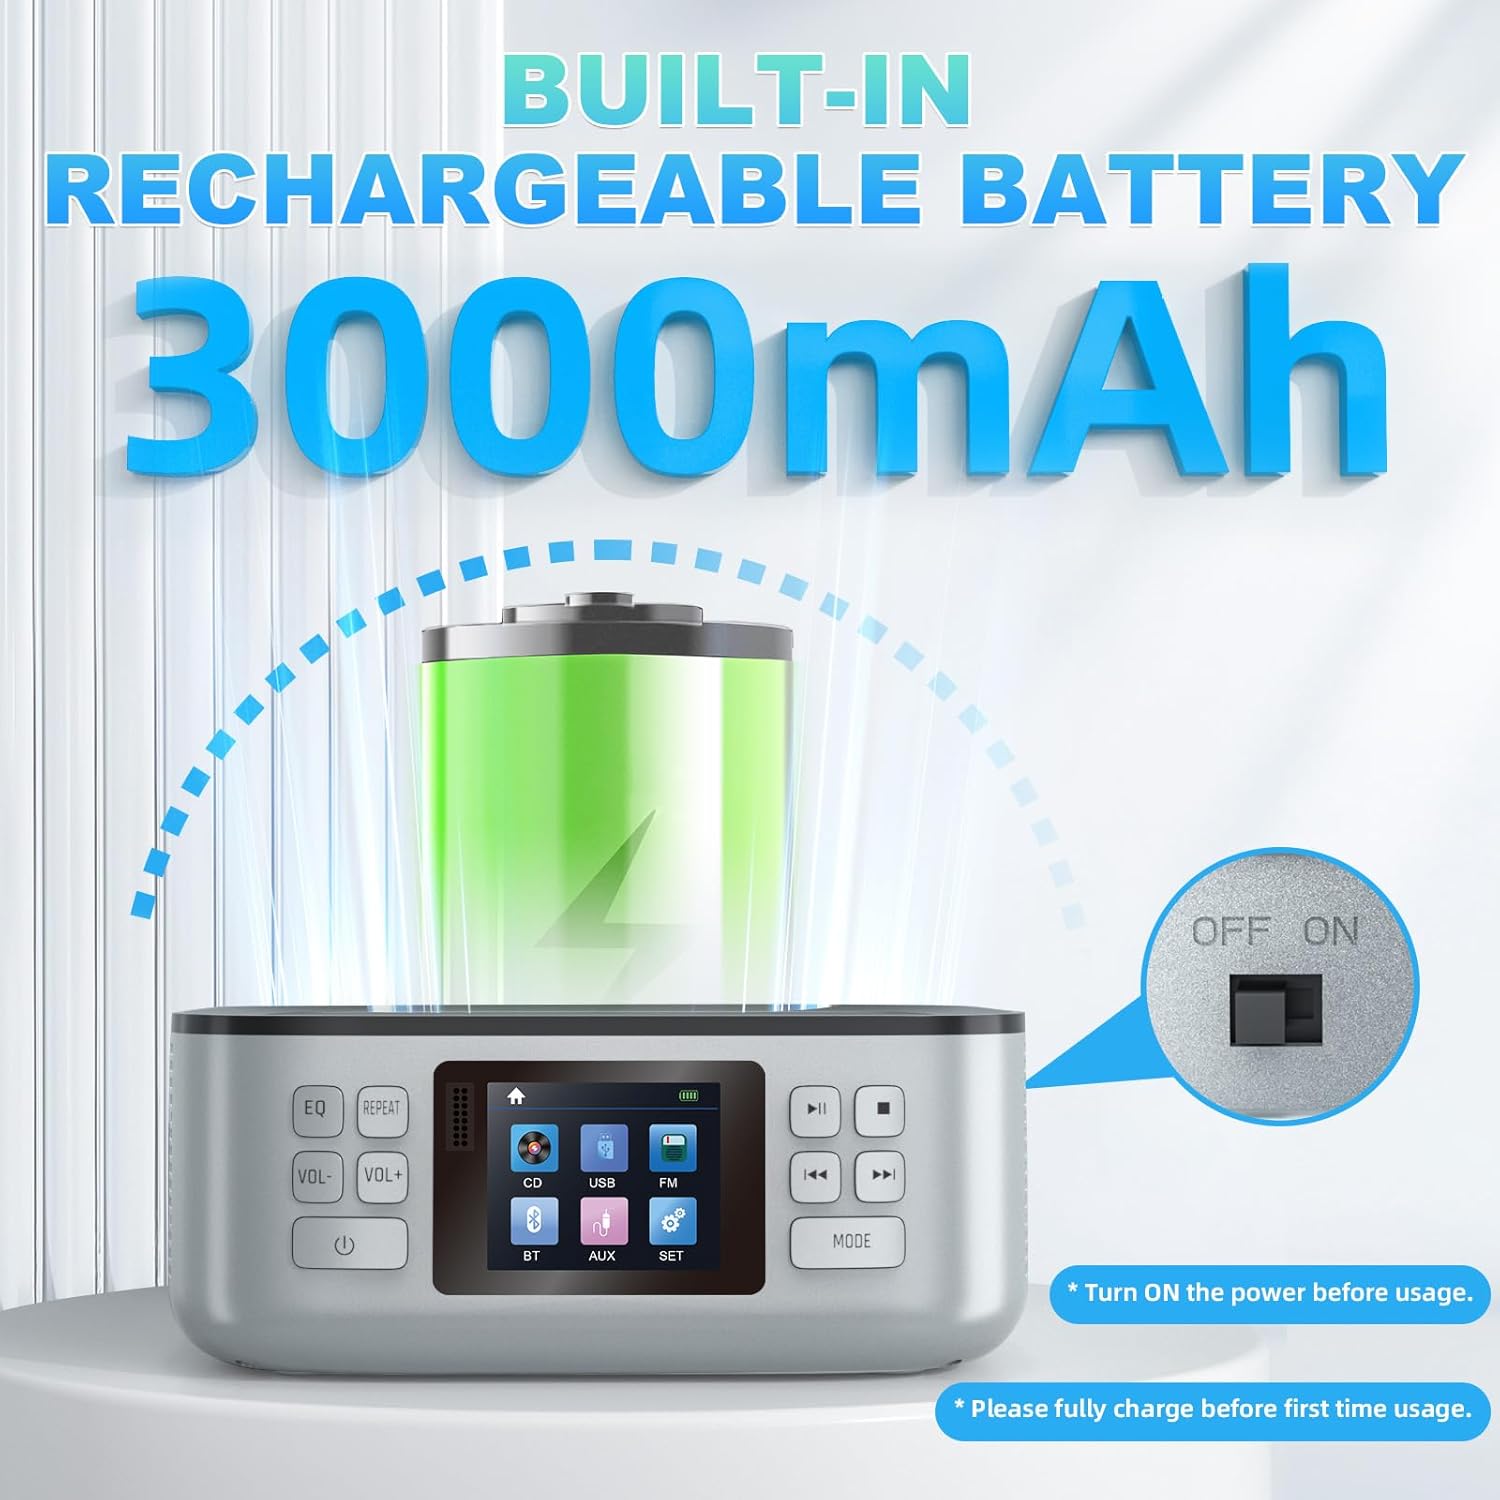
Image: Illustration of the power switch location and the internal rechargeable battery.
Operating Instructions
The ARAFUNA CD Player Boombox offers multiple playback modes. Use the Mode button on the unit or the remote control to switch between them.

Image: The CD player's LCD screen and the two primary control methods: onboard buttons and remote control.
1. CD Playback Mode
This unit is compatible with CD, CD-R, HD-CD, and MP3 discs.
- Open the CD compartment cover.
- Place a CD with the label side facing up onto the spindle.
- Close the CD compartment cover.
- Press the Mode button until "CD" mode is selected on the LED display.
- The CD will begin playing automatically. Use the Play/Pause, Stop, and Previous/Next Track buttons to control playback.
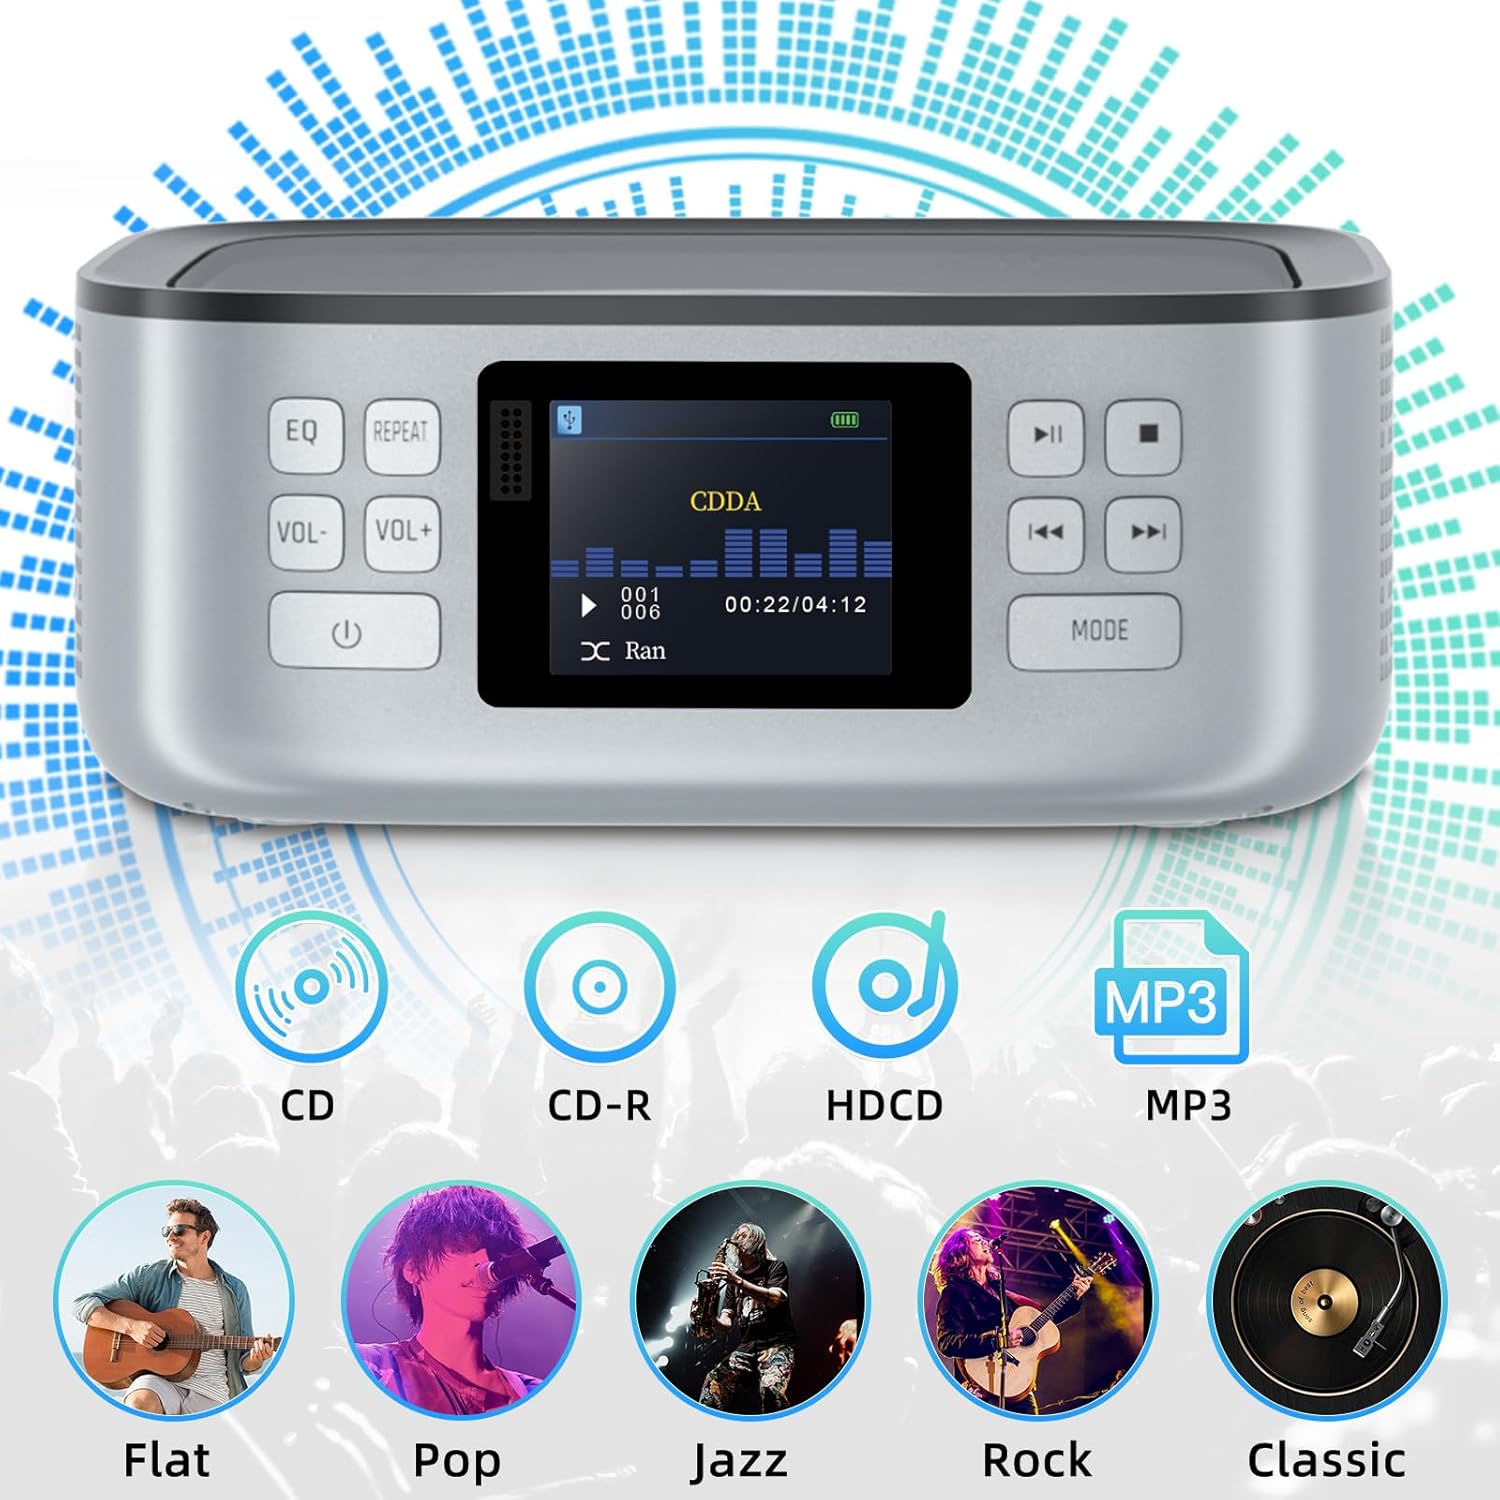
Image: The CD player displaying track information and compatible disc formats (CD, CD-R, HDCD, MP3).
2. Bluetooth Operation
The CD player supports Bluetooth 5.0, functioning as both a Bluetooth receiver and transmitter.
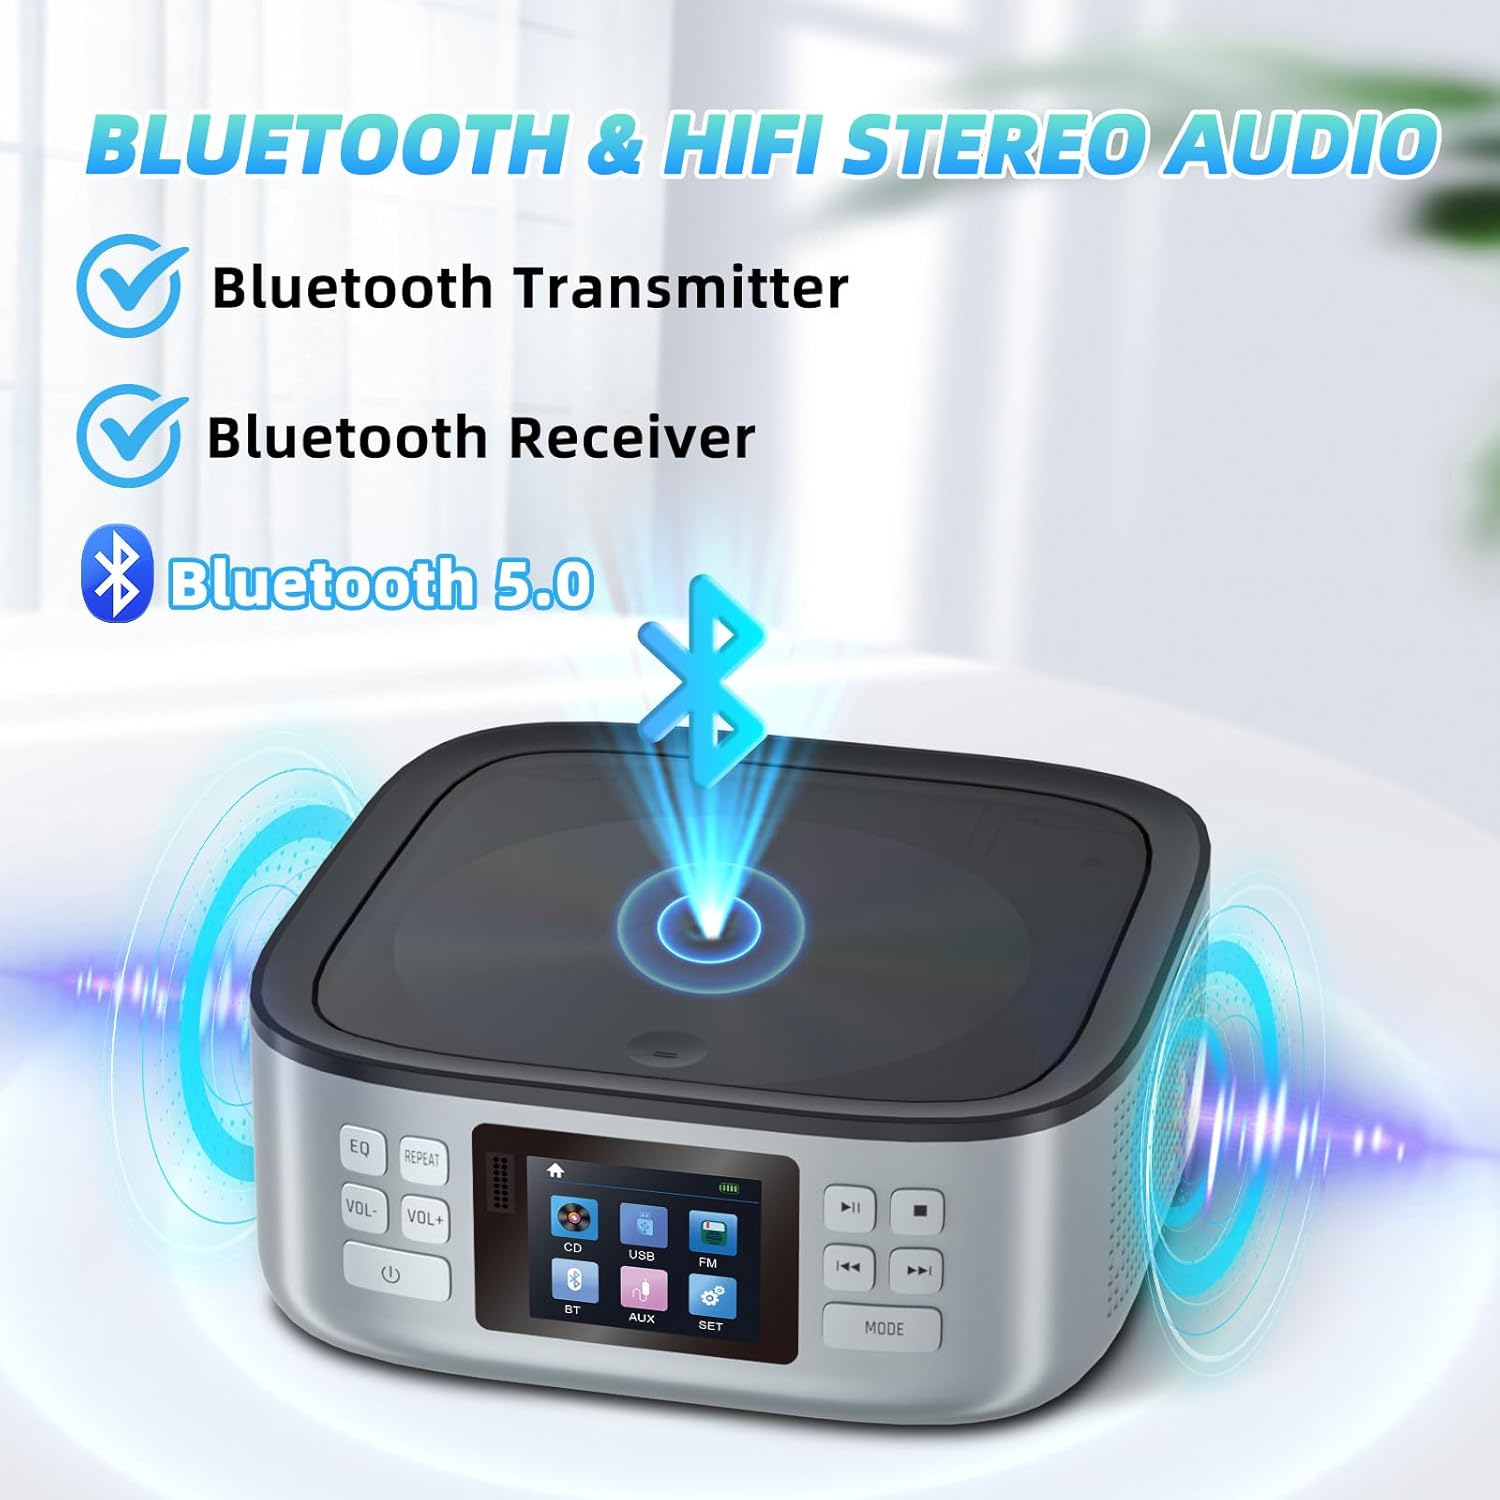
Image: The CD player's Bluetooth capabilities, including both receiving and transmitting audio.
Bluetooth Receiving Mode (Connect phone/laptop to CD player)
- Press the Mode button until "BT" mode is selected on the LED display. The unit will enter pairing mode, indicated by a flashing Bluetooth icon.
- On your external Bluetooth device (e.g., smartphone, tablet, laptop), enable Bluetooth and search for available devices.
- Select "CD5120B" from the list of found devices to pair.
- Once paired, the Bluetooth icon on the CD player's display will become solid, and you can play audio from your device through the CD player's speakers.
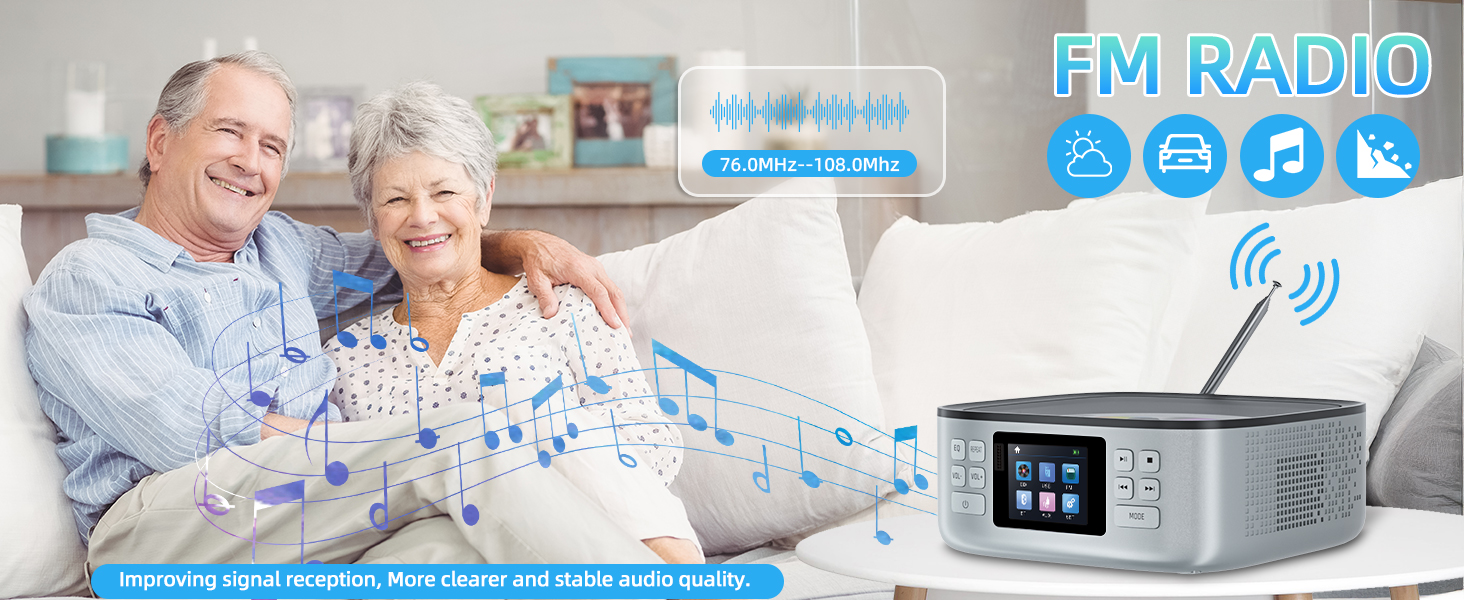
Image: The CD player receiving Bluetooth audio from a laptop and smartphone.
Bluetooth Transmitting Mode (Connect CD player to Bluetooth headphones/speakers)
- Press the Mode button until "CD" mode is selected.
- Press the SET button to enter the settings menu.
- Navigate to "Bluetooth emission" using the Previous/Next Track buttons and press the Play/Pause button to select.
- Select "ON" for Bluetooth emission and then choose "Pair".
- Put your Bluetooth headphones or speaker into pairing mode. The CD player will search for and connect to nearby Bluetooth audio devices.
- Once connected, audio from the CD player will be transmitted to your paired Bluetooth device.
Video: Demonstrates how to enable Bluetooth transmission on the CD player and pair it with external Bluetooth headphones or speakers.
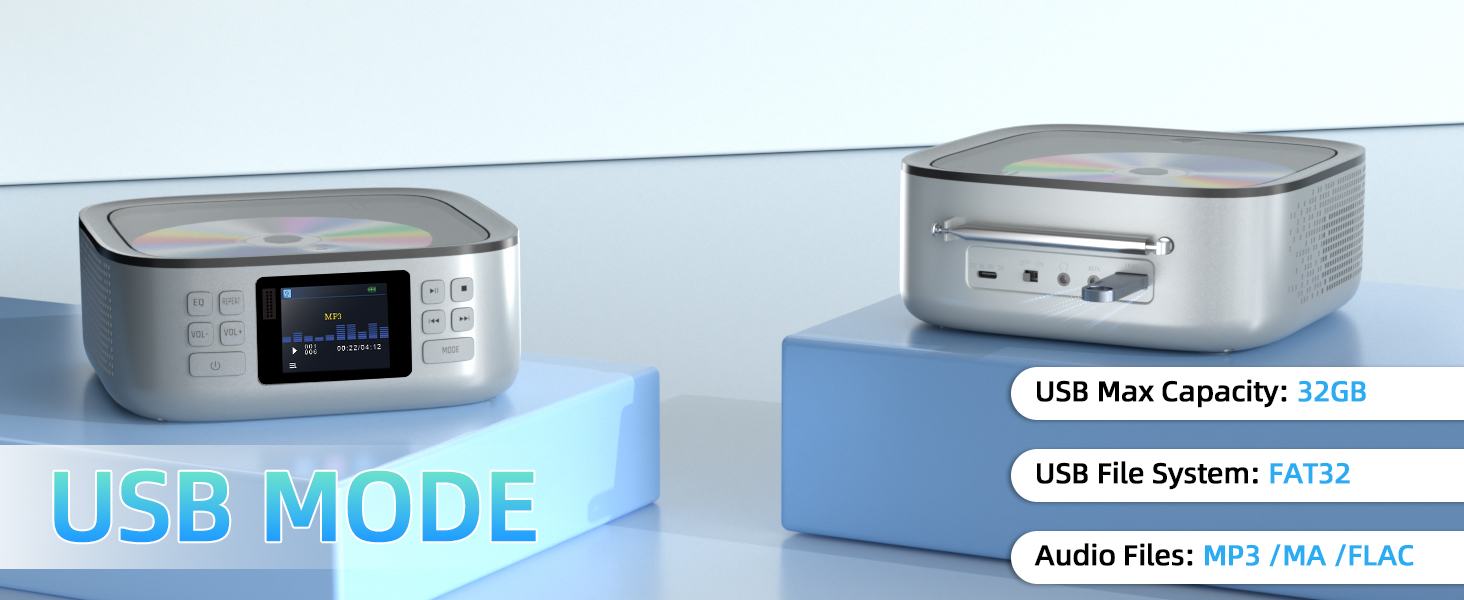
Image: The CD player transmitting Bluetooth audio to external headphones and a soundbar.
3. FM Radio Mode
The unit features a full-band FM radio (76 MHz - 108 MHz).
- Extend the telescopic FM antenna fully for optimal reception.
- Press the Mode button until "FM" mode is selected on the LED display.
- Use the Previous/Next Track buttons to manually tune to a station or press and hold them to auto-scan for the next available station.

Image: The CD player with its FM telescopic antenna extended, showing the FM frequency on the display.
4. USB Playback Mode
Play audio files (MP3/M4A/FLAC) directly from a USB flash drive (max 32GB, FAT32 format).
- Insert a USB flash drive into the USB port on the unit.
- Press the Mode button until "USB" mode is selected on the LED display.
- The unit will automatically detect and play audio files from the USB drive. Use the playback controls as needed.
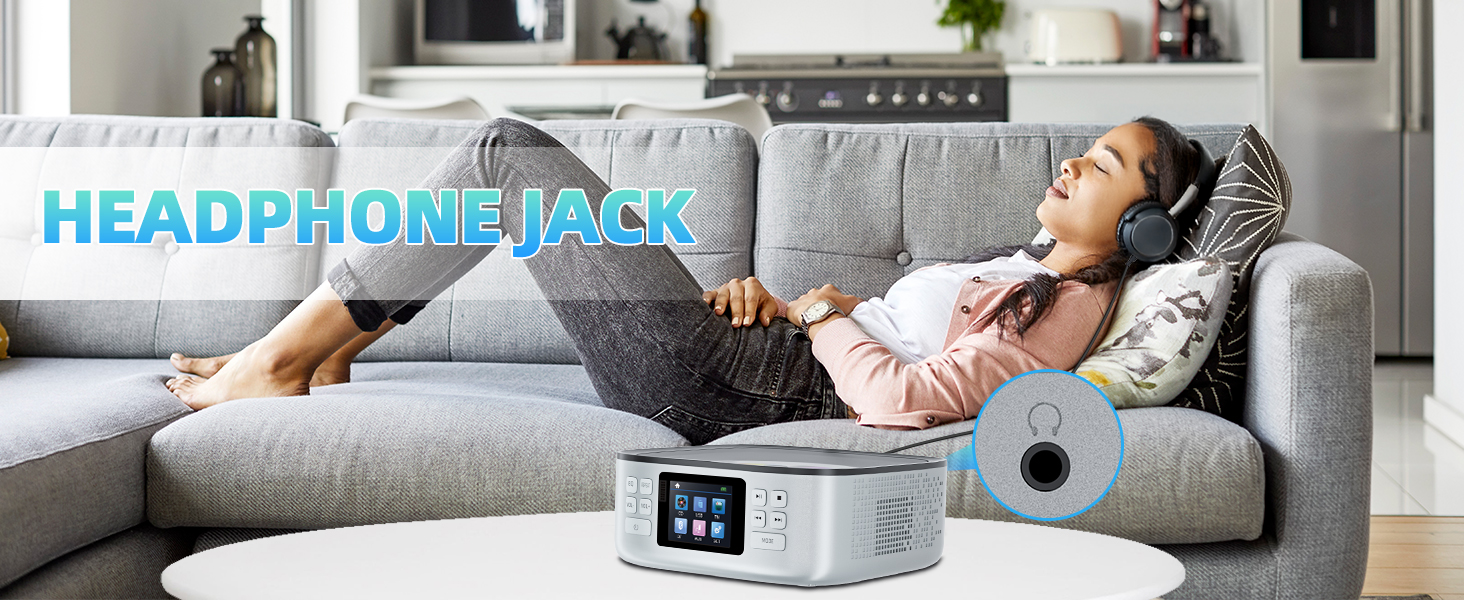
Image: The CD player in USB mode, indicating support for USB drives up to 32GB and various audio file formats.
5. AUX Connection Mode
Connect external audio devices (e.g., MP3 players, older smartphones) using the included AUX cable.
- Connect one end of the AUX cable to the AUX input port on the CD player.
- Connect the other end of the AUX cable to the headphone jack or audio output of your external device.
- Press the Mode button until "AUX" mode is selected on the LED display.
- Play audio from your external device. Volume can be controlled via both the CD player and the external device.
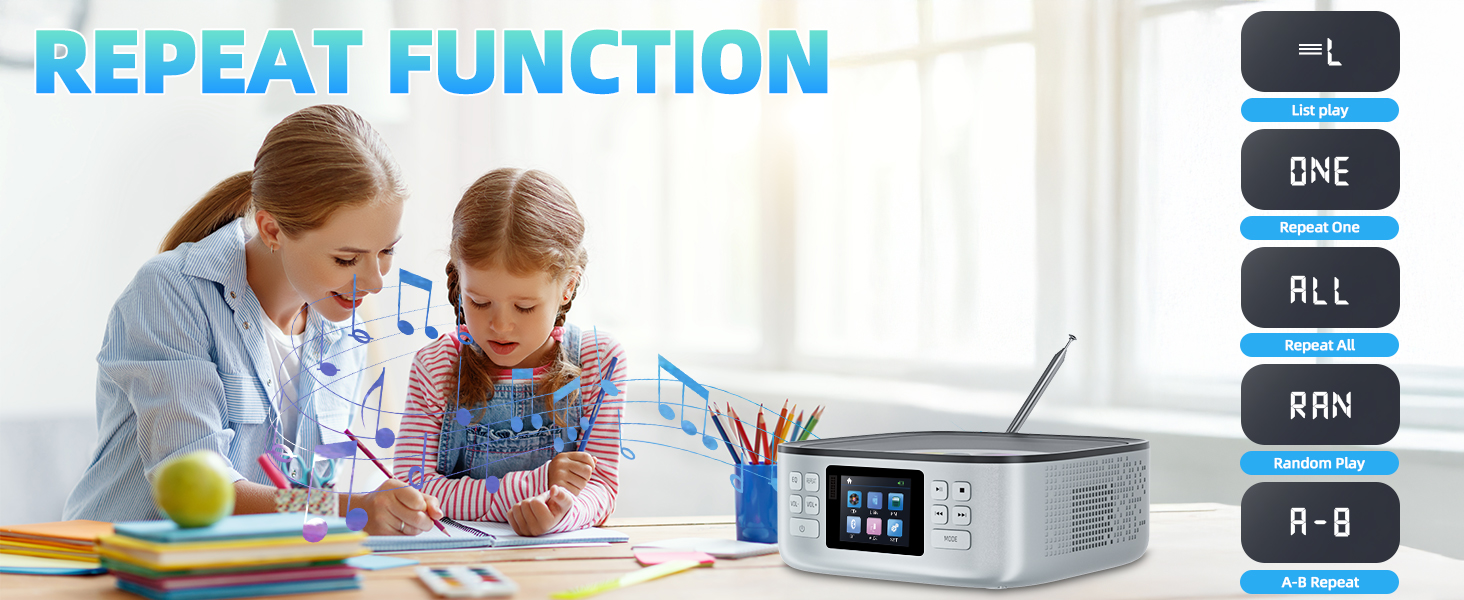
Image: The CD player connected to an external device via the AUX input, demonstrating its versatility.
6. Headphone Jack
For private listening, connect standard 3.5mm headphones to the headphone jack on the unit.
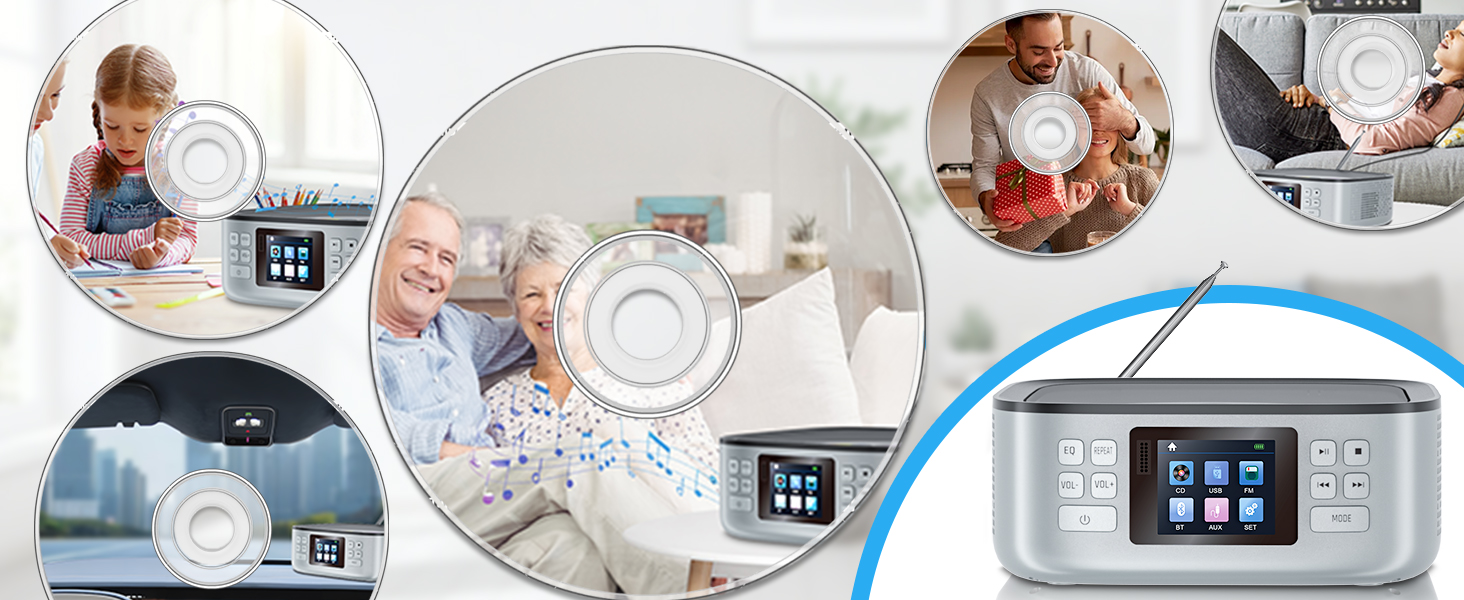
Image: A person enjoying private listening using headphones connected to the CD player's headphone jack.
7. Repeat Functions and EQ Modes
Enhance your listening experience with various playback and sound customization options.
Repeat Functions
Press the Repeat button to cycle through the following modes:
- List Play: Plays all tracks in order.
- ONE: Repeats the current track.
- ALL: Repeats all tracks on the disc/USB.
- RAN (Random Play): Plays tracks in a random order.
- A-B Repeat: Repeats a specific segment of a track. Press once to set point A, press again to set point B. Press a third time to cancel.
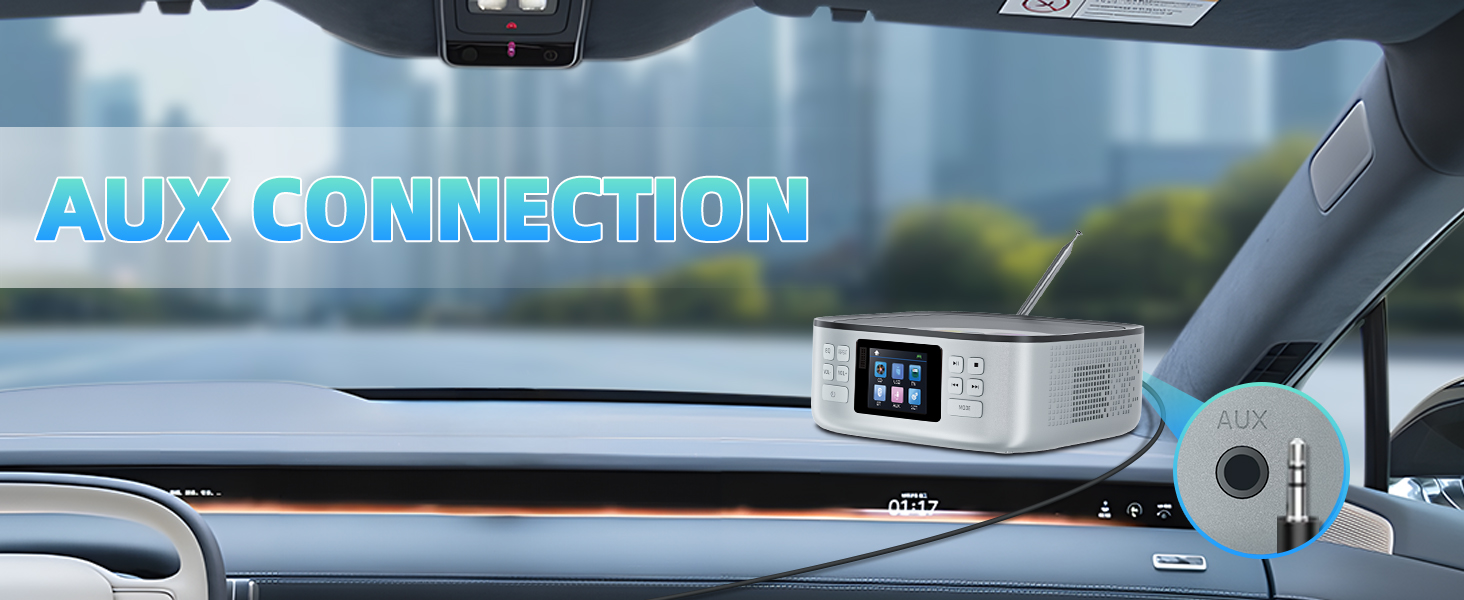
Image: The CD player's display showing various repeat playback options.
EQ Modes
Press the EQ button to cycle through different sound equalization modes:
- Flat: Default, un-equalized sound.
- Pop: Optimized for pop music.
- Jazz: Optimized for jazz music.
- Rock: Optimized for rock music.
- Classic: Optimized for classical music.
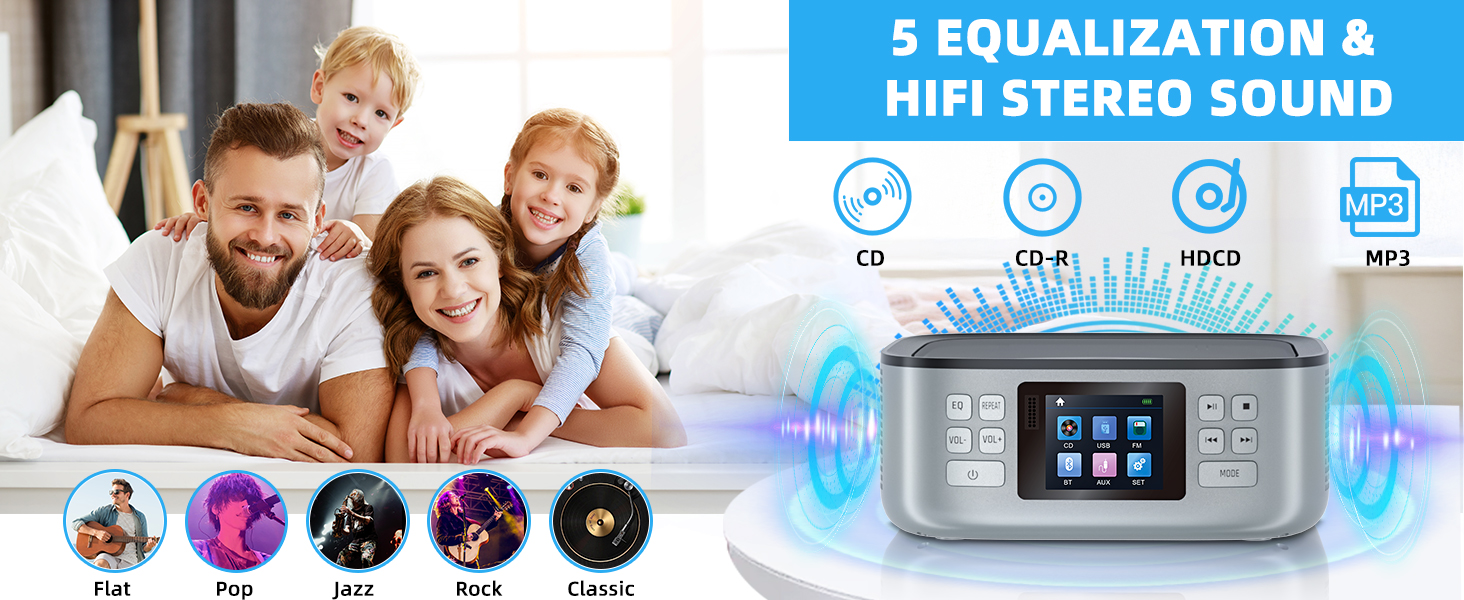
Image: The CD player's display showing the available equalization modes.
Maintenance
Cleaning and Care
- Exterior: Wipe the exterior of the unit with a soft, dry cloth. Do not use abrasive cleaners or solvents.
- CD Lens: To clean the CD lens, use a specialized CD lens cleaner disc. Do not touch the lens directly.
- Storage: When not in use for extended periods, store the unit in a cool, dry place, away from direct sunlight and extreme temperatures.
- Battery Care: To prolong battery life, avoid fully discharging the battery frequently. Charge the unit regularly, even if not in constant use.
Troubleshooting
Common Issues and Solutions
| Problem | Possible Cause | Solution |
|---|---|---|
| Unit does not power on. | Main power switch is off; battery is depleted; power adapter issue. | Ensure the rear power switch is ON. Charge the unit fully. Check power adapter connection. |
| CD does not play or skips. | CD is dirty, scratched, or inserted incorrectly; unsupported disc format. | Clean the CD. Ensure the CD is inserted label-side up. Use compatible disc formats (CD, CD-R, HD-CD, MP3). |
| No sound from speakers. | Volume is too low; unit is in headphone mode; incorrect mode selected. | Increase volume. Disconnect headphones. Ensure correct playback mode (CD, BT, FM, USB, AUX) is selected. |
| Bluetooth pairing fails. | Device is too far; Bluetooth not enabled on external device; unit not in pairing mode. | Ensure devices are within 10 meters. Enable Bluetooth on external device. Put CD player in BT pairing mode. |
| Poor FM radio reception. | Antenna not extended; weak signal area. | Fully extend the telescopic antenna. Try repositioning the unit for better signal. |
| USB drive not recognized. | Unsupported file system/capacity; corrupted files. | Ensure USB is FAT32 format and max 32GB. Check file integrity. |
Specifications
Technical Details
| Feature | Detail |
|---|---|
| Model Number | CD5120B |
| Brand | Arafuna |
| Connectivity Technology | Auxiliary, Bluetooth, USB |
| Speaker Type | Stereo |
| Power Source | Powered (Built-in 3000mAh rechargeable battery) |
| Compatible Devices | CD, CD-R, HD-CD, MP3 discs; USB drives (FAT32, max 32GB); Bluetooth devices (smartphones, laptops, headphones, speakers); AUX-enabled devices. |
| FM Radio Frequency | 76 MHz - 108 MHz |
| Item Weight | 2.33 pounds |
| Package Dimensions | 10.79 x 8.27 x 3.43 inches |
Warranty and Support
For warranty information and technical support, please refer to the warranty card included in your product packaging or visit the official Arafuna website. Keep your purchase receipt as proof of purchase for any warranty claims.
For further assistance, you may contact Arafuna customer service directly through their official channels.
Related documentsCD5120B


Ask a question about this manual
Ask about setup, troubleshooting, compatibility, parts, safety, or missing instructions. Manuals+ will review the question and use this page’s manual context to help answer it.