panaride Bike pump
Mini Bike Pump User Manual
Brand: Panaride | Model: Bike Pump
1. Introduction
Thank you for choosing the Panaride Mini Bike Pump. This compact and efficient hand pump is designed for quick and easy tire inflation for various bicycles and inflatables. Its smart dual valve system and durable construction make it an essential tool for cyclists on the go. Please read this manual carefully to ensure proper use and maintenance of your pump.
2. Product Overview
The Panaride Mini Bike Pump is engineered for convenience and performance. Key features include:
- Smart Dual Valve System: Seamlessly switches between Schrader and Presta valves without adapters, ensuring an airtight seal.
- High-Pressure & Fast Inflation: Capable of pumping up to 100 PSI for quick and efficient tire inflation.
- Ultra-Light & Compact Design: Weighing just 107g, it's highly portable and includes a frame mount bracket for easy attachment to your bike.
- Durable & Weather-Resistant: Constructed from premium aluminum alloy, offering corrosion, dust, and frost resistance for reliable performance in various conditions.
- Multi-Purpose with Accessories: Comes with an angled adapter for hard-to-reach valves, a needle adapter for sports balls, and an inflation cone for other inflatables. Features a flexible retractable hose to prevent valve damage.
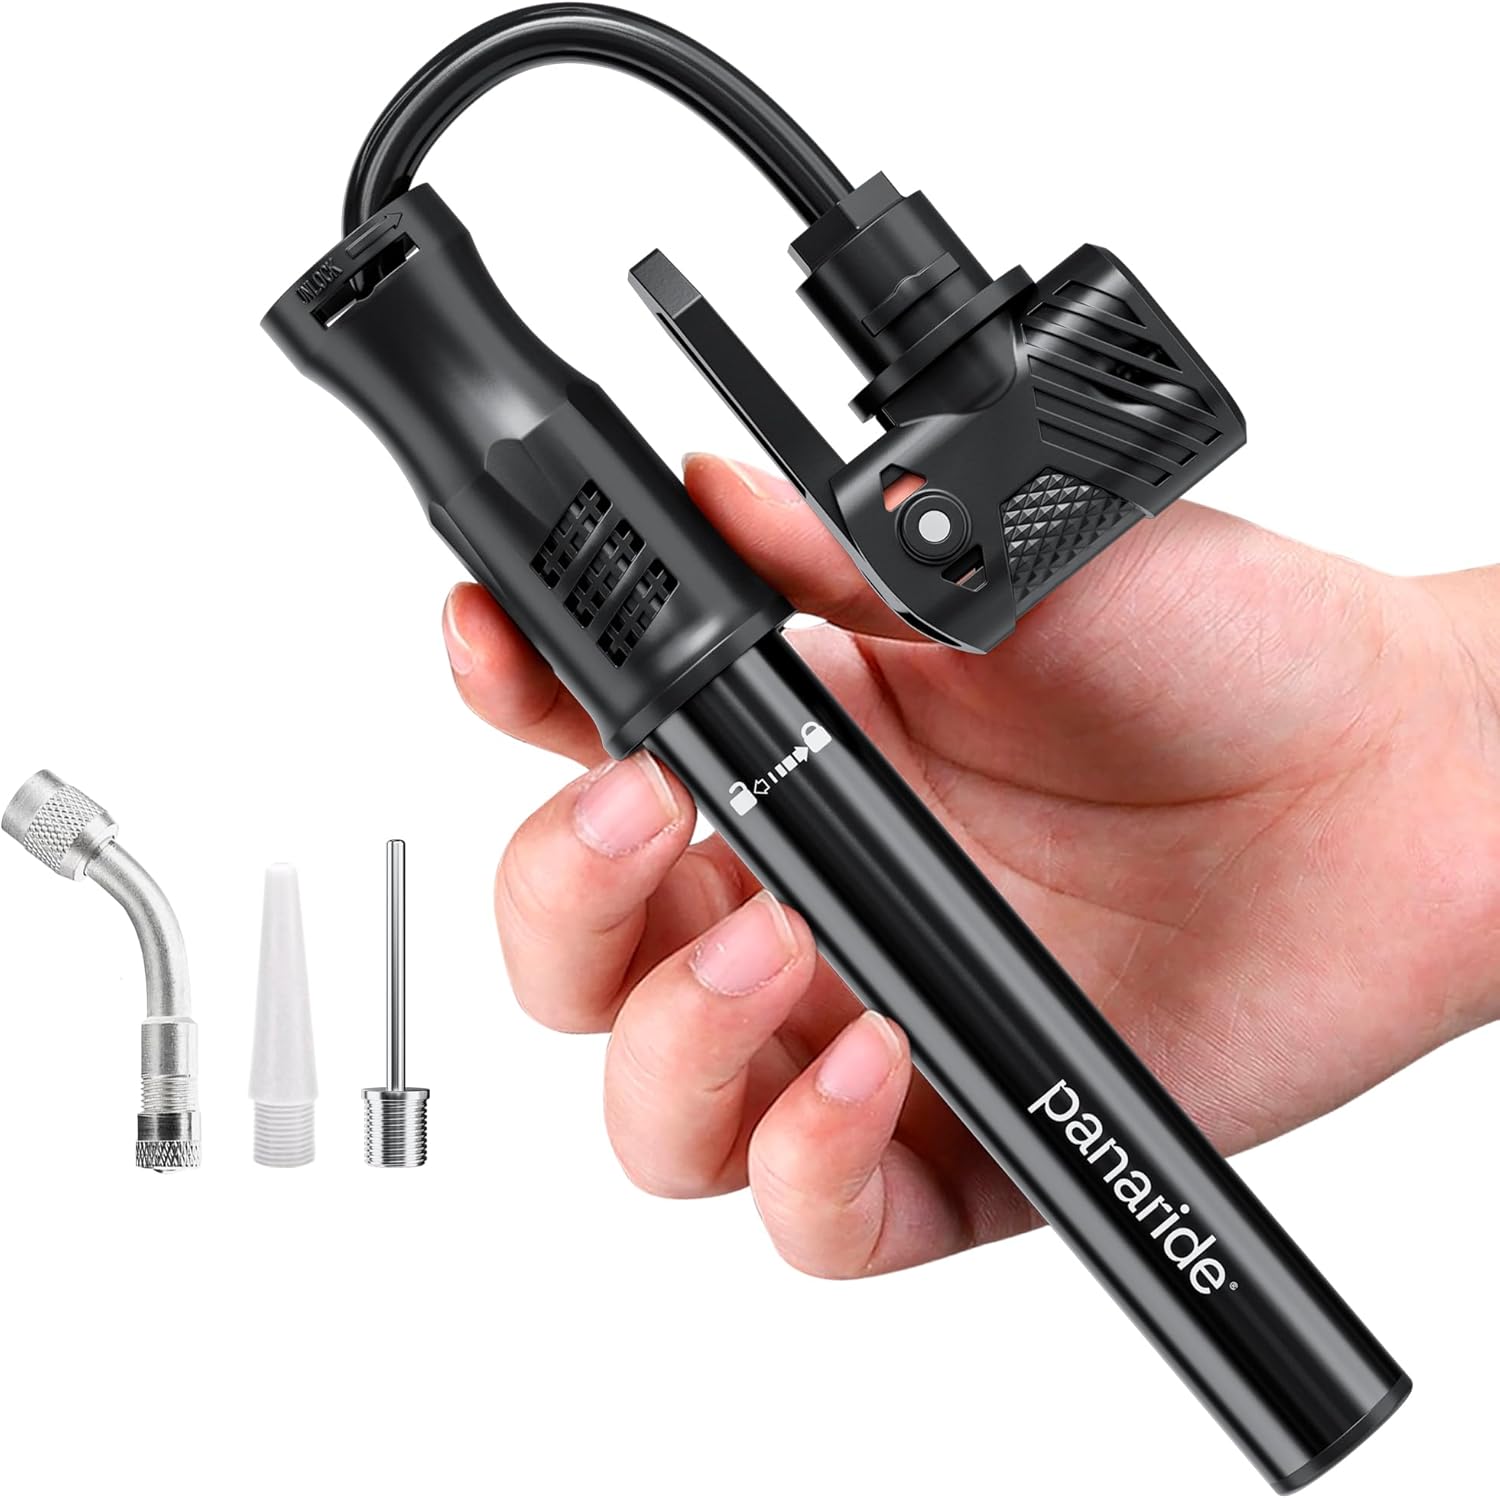
Image: The Panaride Mini Bike Pump shown with its included accessories, including the angled adapter and ball needle.

Image: A visual breakdown of the complete set, showing the pump, frame mounting bracket, and various adapters for different inflation needs.
3. Setup
3.1 Attaching the Frame Mount
- Identify a suitable location on your bicycle frame, typically near the water bottle cage mounts.
- Align the frame mount bracket with the existing screw holes on your bike frame.
- Use the provided screws to securely attach the bracket to the frame.
- Place the pump into the bracket and secure it with the rubber strap.

Image: The compact Panaride Mini Bike Pump securely attached to a bicycle frame using the included mounting bracket, demonstrating its portability.
3.2 Preparing the Pump for Use
- To access the hose, gently pull the pump head away from the main body. The flexible hose will extend.
- Ensure the valve head is set to the correct type (Presta or Schrader) for your tire. The pump automatically adjusts, but visually confirm the correct opening is clear.

Image: A close-up of the pump's multifunctional valve head, highlighting its compatibility with both Schrader and Presta valves, and demonstrating the retractable hose mechanism.
Video: This video demonstrates the process of unpacking the pump, extending its flexible hose, attaching it to a bicycle valve, performing inflation, and finally, mounting the pump onto a bike frame.
4. Operating Instructions
4.1 Inflating a Bicycle Tire
- Extend the flexible hose from the pump body.
- Push the pump head firmly onto the tire valve (Presta or Schrader). The dual valve system automatically adapts.
- Once the pump head is securely on the valve, flip the lever on the pump head to the "lock" position (usually indicated by a green marker or an upward flip). This creates an airtight seal.
- Begin pumping by moving the handle up and down. Continue until the desired tire pressure is reached (up to 100 PSI).
- Once inflated, flip the lever back to the "unlock" position (red marker or downward flip) and carefully remove the pump head from the valve.
- Push the hose back into the pump body for compact storage.
Tip: If you encounter difficulty attaching the pump head, ensure the lever is in the "unlock" position before pushing it onto the valve. Push it as far as possible, then firmly flip the lever to lock it. Refer to the video in Section 3.2 for a visual guide.

Image: The pump in action, inflating a bicycle tire, and illustrating its versatility for use with strollers, scooters, and various balls and inflatables.
4.2 Using Adapters for Balls and Inflatables
- Unscrew the cap from the pump head to reveal the internal storage for adapters.
- Select the appropriate adapter (needle for sports balls, cone for inflatables, or angled adapter for hard-to-reach valves).
- Screw the chosen adapter onto the pump's valve head.
- Insert the adapter into the item to be inflated and pump as usual.
- After use, remove the adapter and store it back inside the pump head.
5. Maintenance
The Panaride Mini Bike Pump is designed for durability and requires minimal maintenance. To ensure its longevity:
- Cleaning: Wipe the pump clean with a damp cloth after use, especially if exposed to dirt or mud. Avoid harsh chemicals.
- Storage: Store the pump in a dry place away from extreme temperatures. The frame mount provides convenient and protected storage on your bike.
- Inspection: Periodically check the hose and valve head for any signs of wear or damage. Ensure the locking lever operates smoothly.
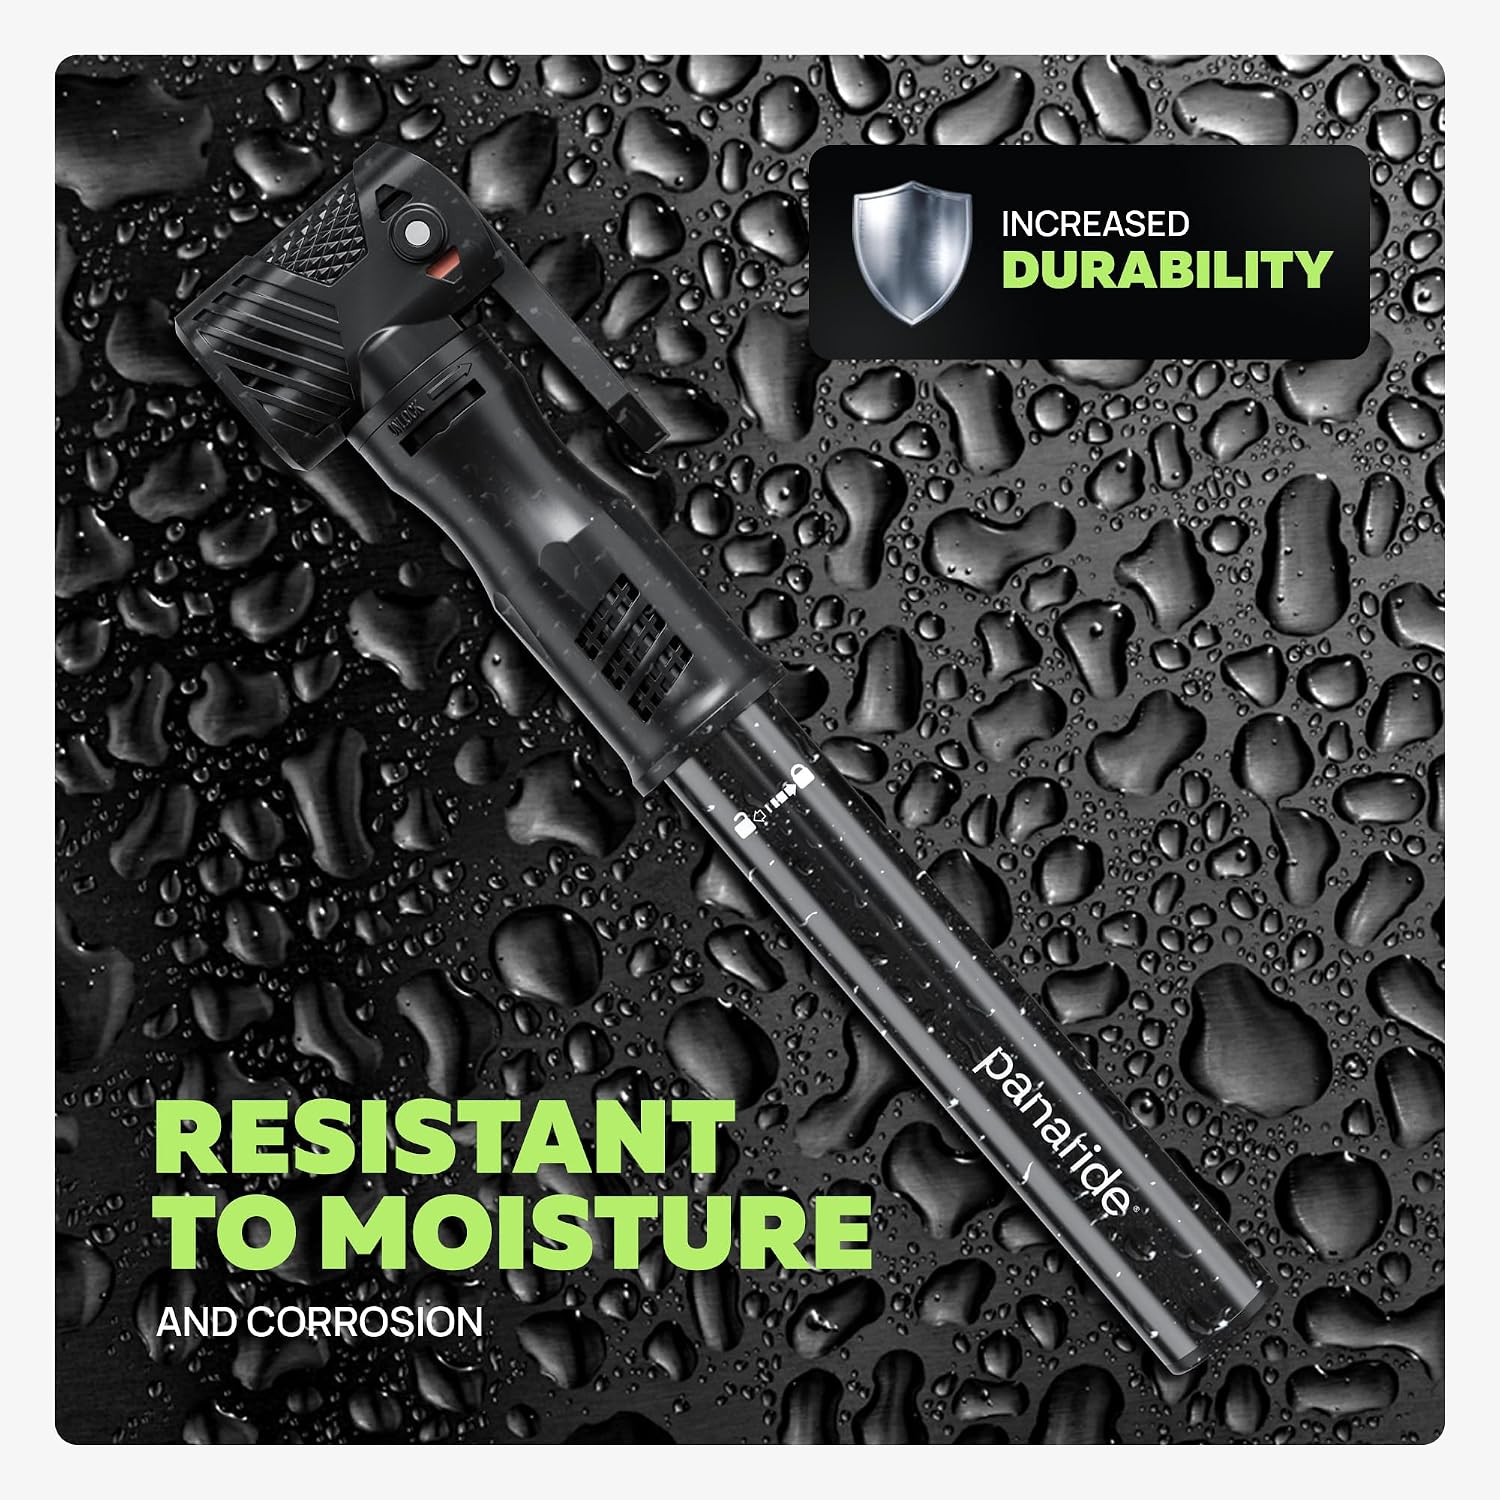
Image: The pump's surface covered in water droplets, illustrating its resistance to moisture and corrosion, contributing to increased durability.
6. Troubleshooting
If you encounter issues with your Panaride Mini Bike Pump, try the following solutions:
| Problem | Possible Cause | Solution |
|---|---|---|
| Pump not attaching securely to valve. | Lever not in "unlock" position; not pushed far enough onto valve. | Ensure lever is down (unlock) before pushing pump head firmly onto valve. Then, flip lever up (lock) to seal. |
| Air leaking during pumping. | Improper seal; damaged valve head or hose. | Re-attach pump head, ensuring a tight seal and locked lever. Inspect hose and valve head for visible damage. |
| Pump feels stiff or difficult to operate. | Lack of lubrication; internal debris. | Apply a small amount of silicone-based lubricant to the pump shaft. Clean any visible debris. |
| Cannot achieve desired pressure. | Valve core issue; pump capacity limit. | Check tire valve core for blockages or looseness. Ensure desired pressure is within the pump's 100 PSI limit. |
7. Specifications
| Feature | Detail |
|---|---|
| Brand | Panaride |
| Model Name | Bike pump |
| Color | Black |
| Material | Aluminum |
| Power Source | Manual |
| Maximum Pressure | 100 PSI (Pound per Square Inch) |
| Item Dimensions (LxWxH) | 1.7 x 1 x 9 inches |
| Package Dimensions (LxWxH) | 9.84 x 2.36 x 2.28 inches |
| Item Weight | 0.107 Kilograms (107g) |
| Included Components | Pump, Frame Mount, Adapters (Angled, Ball Needle, Inflation Cone) |
| UPC | 198715362336 |
8. Warranty & Support
The Panaride Mini Bike Pump comes with a 5-year warranty, ensuring peace of mind regarding its quality and durability.
For any questions, technical support, or warranty claims, please contact Panaride customer service through the retailer where you purchased the product or visit the official Panaride website for contact information.
Related Documents - Bike pump
 |
Panaride Bicycle Pump Instruction Manual Comprehensive instructions for assembling and using the Panaride bicycle pump, including how to inflate various types of tires and accessories. |
Ask a question about this manual
Ask about setup, troubleshooting, compatibility, parts, safety, or missing instructions. Manuals+ will review the question and use this page’s manual context to help answer it.