1. Product Overview
The KOORUI G2722P is a 27-inch QHD (2560x1440) gaming monitor designed for an immersive visual experience. It features a Fast IPS panel with a 200Hz refresh rate and a 1ms response time, ensuring smooth and responsive gameplay. The monitor supports HDR 400 for enhanced contrast and color depth, and Adaptive Sync technology to minimize screen tearing and stuttering. Its ergonomic stand allows for height, tilt, and pivot adjustments, and it is VESA 75x75mm compatible for flexible mounting options.

The KOORUI G2722P monitor integrated into a typical gaming environment.
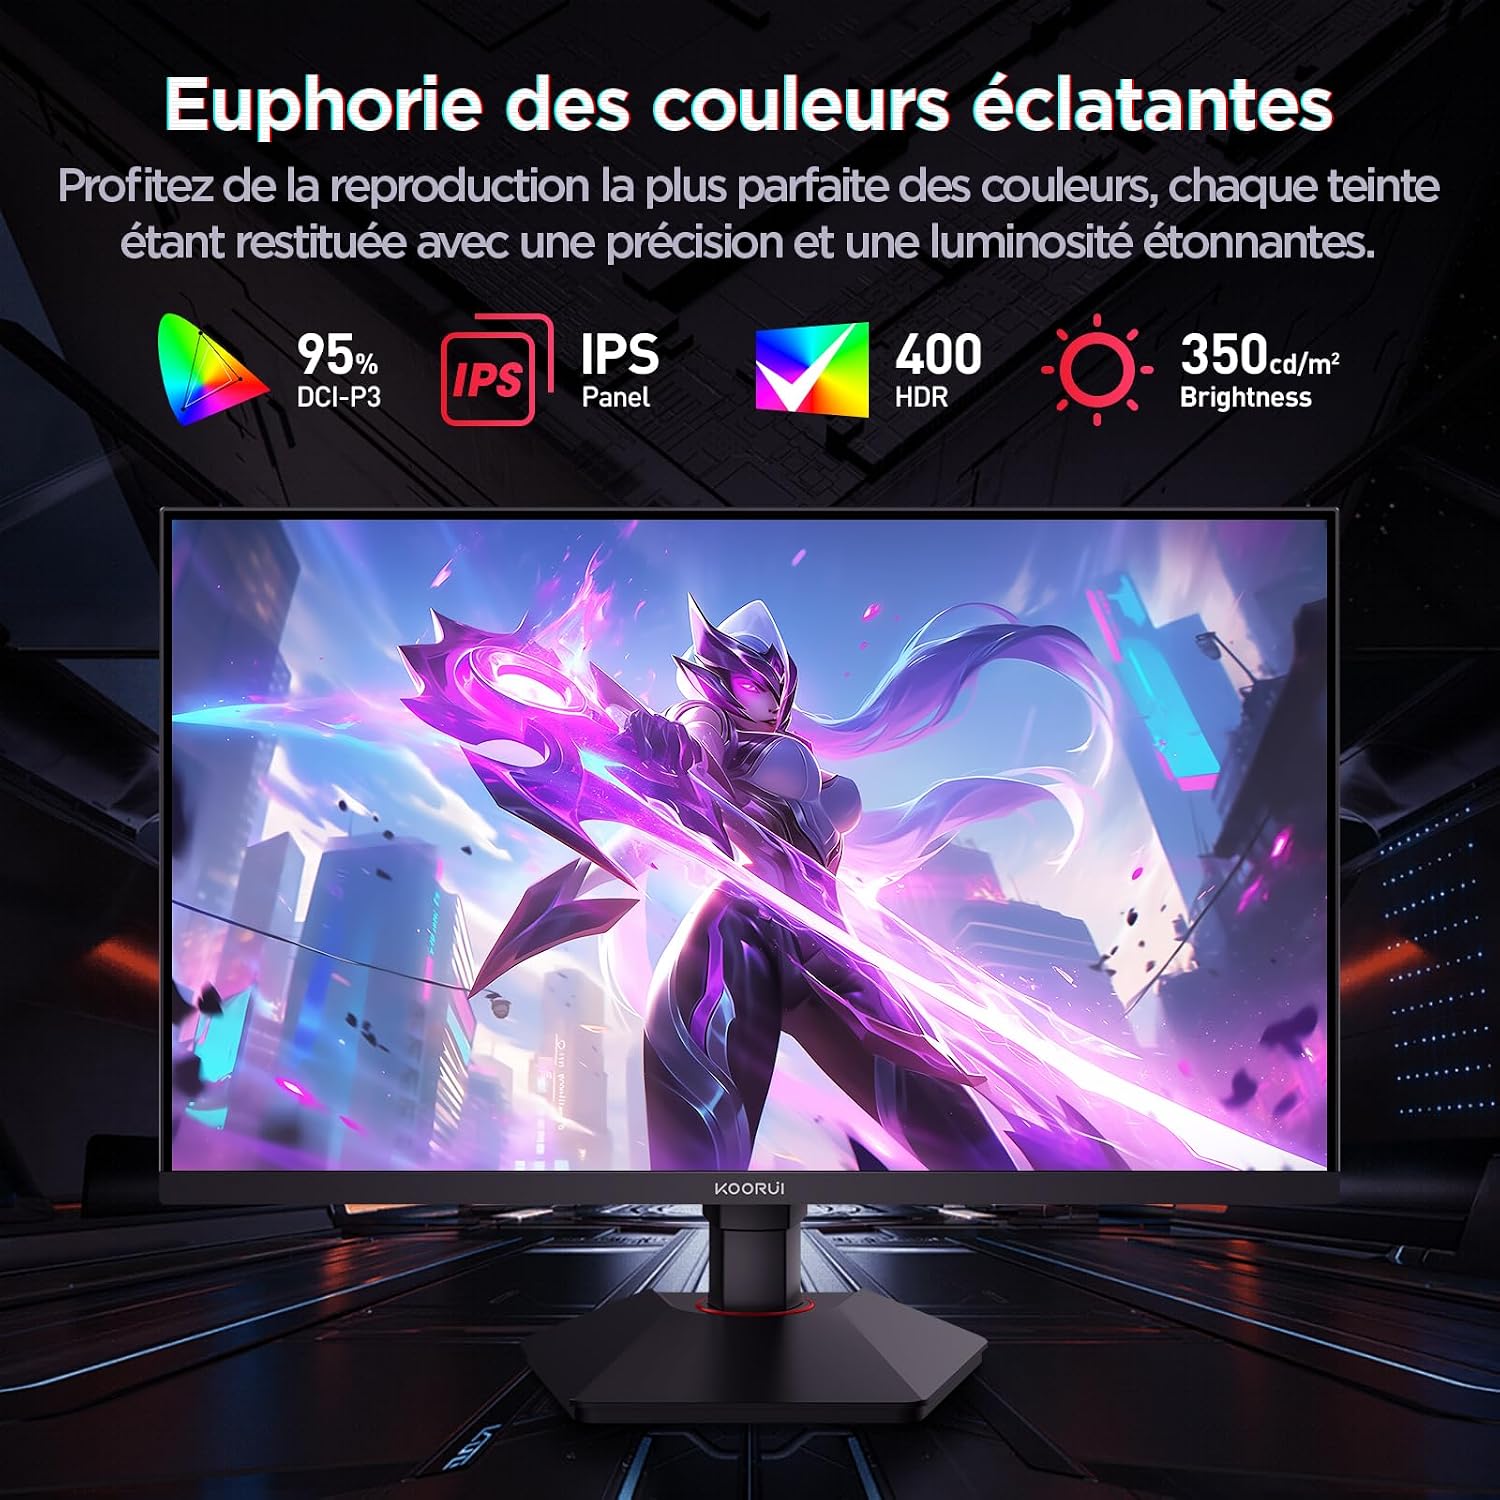
This image highlights the monitor's color capabilities, including 95% DCI-P3 color gamut, IPS panel technology, HDR 400 support, and 350 cd/m² brightness.
2. Safety Information
- Read all instructions carefully before using the monitor.
- Do not expose the monitor to rain or moisture to prevent fire or shock hazards.
- Do not open the monitor casing. There are no user-serviceable parts inside. Refer all servicing to qualified personnel.
- Place the monitor on a stable, flat surface to prevent it from falling.
- Keep the monitor away from direct sunlight, heat sources, and extreme temperatures.
- Ensure proper ventilation around the monitor. Do not block ventilation openings.
- Use only the power adapter and cables provided or recommended by the manufacturer.
- Unplug the monitor from the power outlet during lightning storms or when unused for long periods.
3. Package Contents
Verify that all items are present in the package:
- KOORUI G2722P Monitor
- Monitor Stand (Base and Neck)
- Power Adapter and Power Cable
- DisplayPort (DP) Cable
- User Manual (this document)
- Screws for stand assembly
4. Monitor Assembly
4.1 Attaching the Stand
- Carefully place the monitor face down on a soft, clean cloth to prevent scratches.
- Attach the stand neck to the back of the monitor until it clicks into place or is secured with screws (refer to specific instructions in the included quick start guide).
- Attach the stand base to the stand neck and secure it with the provided screw.
- Carefully lift the monitor and place it on a stable desk.
4.2 VESA Mounting
The monitor supports VESA 75x75mm mounting. To use a VESA mount:
- Remove the stand if it is already attached.
- Attach your VESA-compatible mount (sold separately) to the 75x75mm screw holes on the back of the monitor using appropriate screws.
- Ensure the mount is securely fastened before releasing the monitor.

This image demonstrates the monitor's ergonomic adjustments (height, tilt, pivot) and provides a visual reference for stand attachment points.
5. Connecting the Monitor
Connect the monitor to your computer or other devices using the available ports.
- Power Connection: Connect the power cable to the power adapter, then connect the adapter to the monitor's power input and a wall outlet.
- Video Connection:
- For optimal performance (QHD @ 200Hz), use the provided DisplayPort (DP 1.4) cable to connect the monitor to your graphics card.
- Alternatively, use an HDMI 2.0 cable to connect to an HDMI port on your device.
- Audio Output: Connect external speakers or headphones to the 3.5mm audio output jack on the monitor if you wish to use the monitor's audio passthrough.

This image displays the rear of the monitor, highlighting the available connectivity options: two HDMI 2.0 ports, one DisplayPort 1.4, an audio output jack, and the VESA 75x75mm mounting pattern.
6. Operating the Monitor
6.1 Power On/Off
- Press the power button located on the monitor to turn it on or off.
- The power indicator light will illuminate when the monitor is on.
6.2 On-Screen Display (OSD) Menu
The OSD menu allows you to adjust various monitor settings. Typically, buttons are located on the back or bottom right of the monitor.
- Press one of the OSD buttons to activate the menu.
- Use the navigation buttons (usually directional or a joystick) to browse through menu options.
- Press the select button to enter a sub-menu or confirm a setting.
- Press the exit button to close the OSD menu.
7. Display Settings
7.1 Resolution and Refresh Rate
The monitor supports a native resolution of 2560x1440 (QHD) and a maximum refresh rate of 200Hz. Ensure your graphics card and operating system are configured to use these settings for the best experience.

This image illustrates the difference in motion clarity between a 75Hz and a 200Hz refresh rate, emphasizing the 1ms response time for reduced blur and ghosting.
7.2 Adaptive Sync (FreeSync)
This monitor supports Adaptive Sync technology (compatible with AMD FreeSync) to synchronize the monitor's refresh rate with your graphics card's frame rate, eliminating screen tearing and reducing stuttering.
- Enable Adaptive Sync in the monitor's OSD menu.
- Ensure Adaptive Sync (or FreeSync) is enabled in your graphics card control panel.

This image visually compares the display with Adaptive Sync enabled versus disabled, demonstrating how Adaptive Sync eliminates screen tearing for a smoother visual experience.
7.3 HDR 400
The monitor supports HDR 400, providing a wider dynamic range for brighter whites and deeper blacks, resulting in more vibrant and realistic images.
- Enable HDR in your operating system's display settings and in the monitor's OSD menu if available.
7.4 Color Settings
The Fast IPS panel offers excellent color reproduction and wide viewing angles.
- Adjust color temperature, gamma, and saturation through the OSD menu to suit your preferences.
- The monitor features a 178-degree wide viewing angle, ensuring consistent color and image quality from various perspectives.
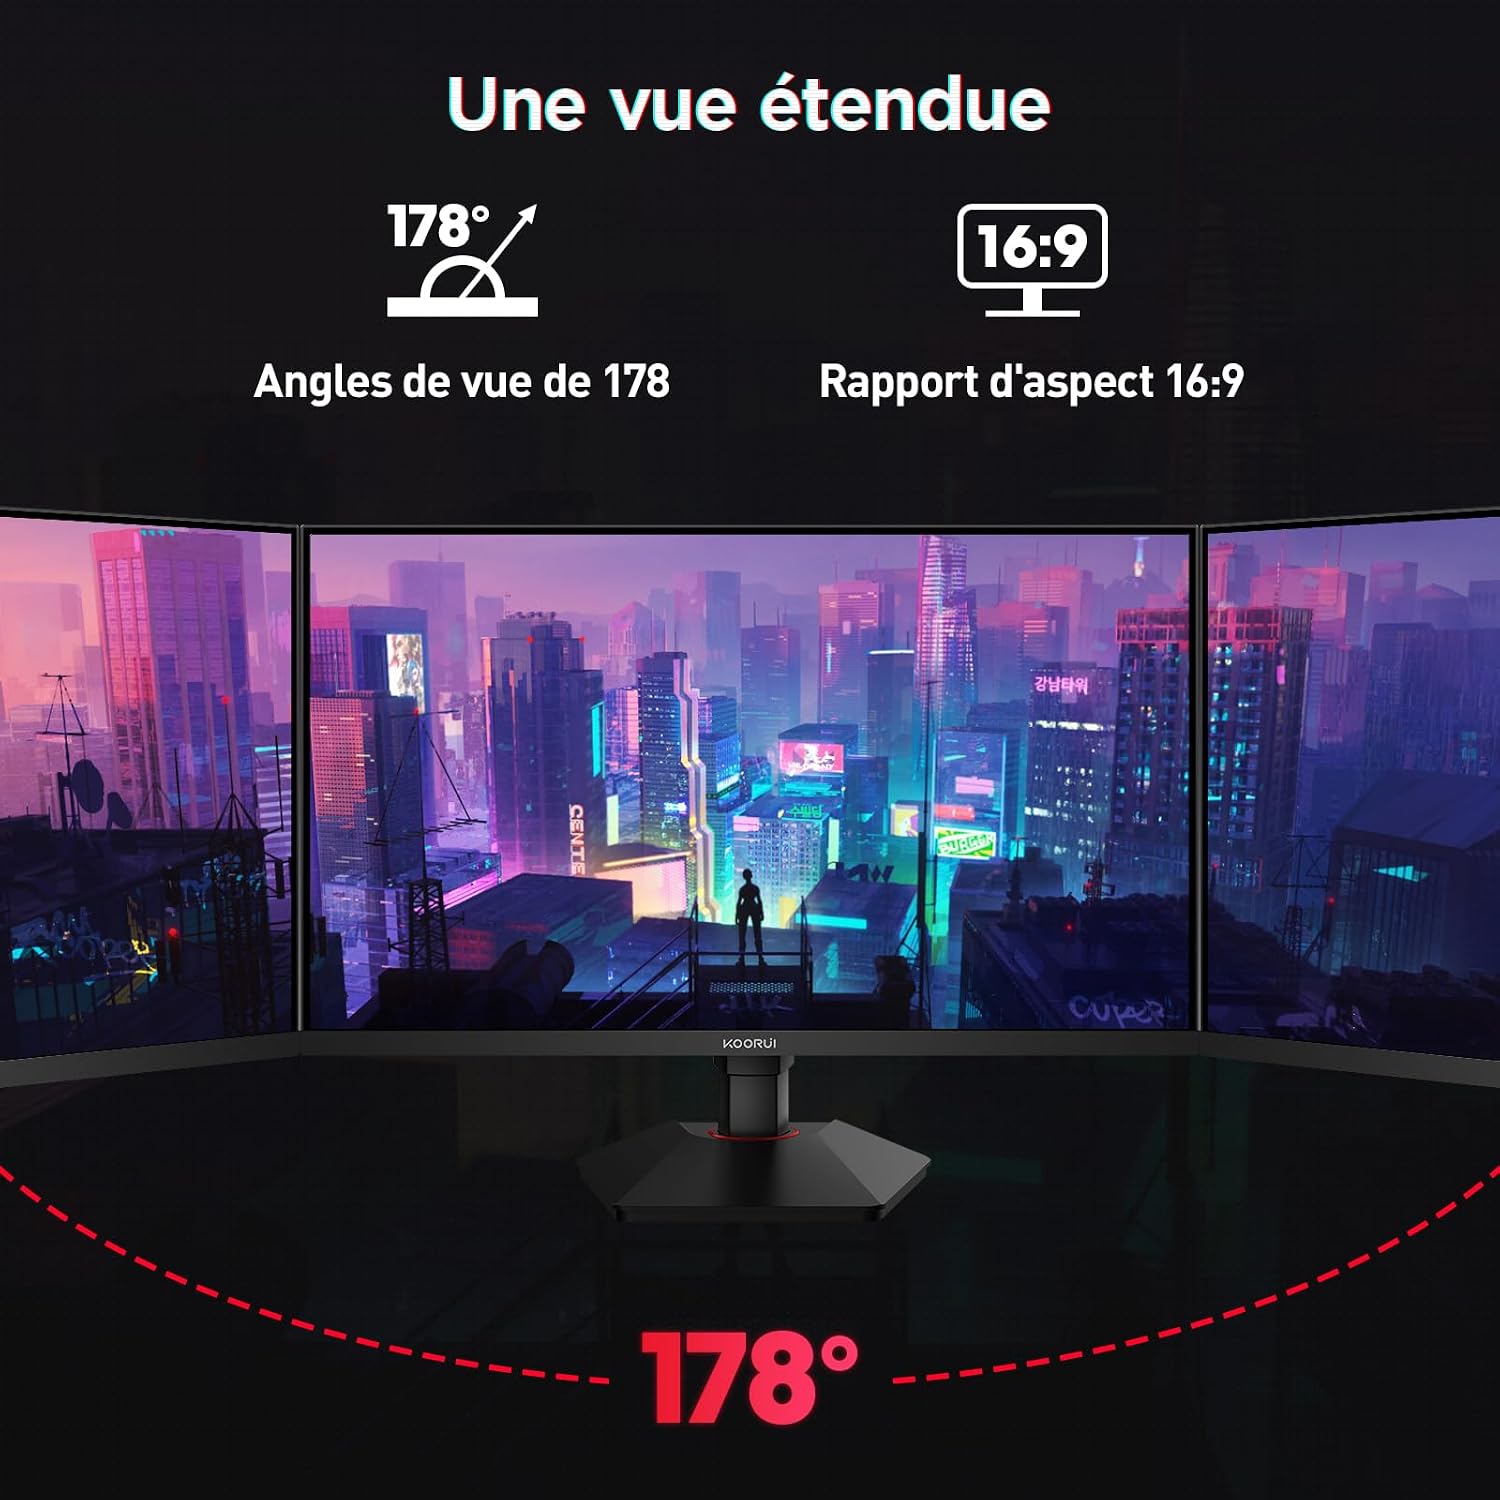
This image demonstrates the monitor's wide 178-degree viewing angle, illustrating how the display maintains clarity and color consistency even when viewed from extreme angles, ideal for multi-monitor setups.
8. Ergonomic Adjustments
The monitor stand allows for various adjustments to optimize your viewing comfort:
- Height Adjustment: Adjust the monitor height by up to 100mm by gently pushing or pulling the monitor up or down.
- Tilt Adjustment: Tilt the screen from -5° (forward) to +20° (backward) to find your preferred viewing angle.
- Pivot (Rotation): Rotate the screen 90° to switch between landscape and portrait orientations.
This image illustrates the full range of ergonomic adjustments available: 100mm height adjustment, -5° to +20° tilt, and 90° pivot rotation for optimal viewing comfort.
9. Eye Care Features
The KOORUI G2722P monitor incorporates features designed to reduce eye strain during prolonged use:
- Flicker-Free Technology: Reduces screen flickering, which can cause eye fatigue.
- Low Blue Light Filter: Minimizes harmful blue light emissions to protect your eyes. This feature can usually be adjusted or enabled/disabled in the OSD menu.
10. Maintenance
Proper maintenance ensures the longevity and optimal performance of your monitor.
- Cleaning the Screen: Gently wipe the screen with a soft, lint-free cloth. For stubborn marks, use a monitor-specific cleaning solution applied to the cloth, not directly to the screen.
- Cleaning the Casing: Use a soft, dry cloth to clean the monitor casing. Avoid using abrasive cleaners or solvents.
- Handling: Avoid touching the screen directly with your fingers or sharp objects. Do not place heavy objects on the monitor.
11. Troubleshooting
If you encounter issues with your monitor, refer to the following common problems and solutions:
| Problem | Possible Solution |
|---|---|
| No image on screen |
|
| Image flickering or tearing |
|
| No sound from audio output |
|
| Monitor not reaching 200Hz |
|
12. Specifications
Key technical specifications for the KOORUI G2722P monitor:
| Feature | Specification |
|---|---|
| Screen Size | 27 inches |
| Panel Type | Fast IPS |
| Resolution | QHD (2560 x 1440) |
| Refresh Rate | 200Hz |
| Response Time | 1ms |
| HDR Support | HDR 400 |
| Adaptive Sync | FreeSync |
| Contrast Ratio | 1000:1 (Static) |
| Brightness | 350 cd/m² |
| Viewing Angle | 178° (H/V) |
| Color Gamut | 95% DCI-P3 |
| Video Inputs | 2x HDMI 2.0, 1x DisplayPort 1.4 |
| Audio Output | 1x 3.5mm Audio Out |
| VESA Compatibility | 75x75mm |
| Power Consumption | 19 Watts (Typical) |
| Ergonomics | Height, Tilt, Pivot Adjustment |

This diagram provides the physical dimensions of the monitor, including width, height, and depth.
For detailed energy information, please refer to the EPREL database: https://eprel.ec.europa.eu/qr/2216313
13. Warranty and Support
The KOORUI G2722P monitor comes with a 2-year manufacturer's warranty. This warranty covers defects in materials and workmanship under normal use.
For technical support, warranty claims, or further assistance, please contact KOORUI customer service through their official website or the retailer where the product was purchased.


