1. Introduction
Thank you for choosing the ONEED Haute42 M Ultra Gen2 Leverless Arcade Controller. This manual provides essential information for setting up, operating, maintaining, and troubleshooting your device. Please read it thoroughly to ensure optimal performance and longevity of your controller.
2. Safety Information
- Keep the device away from water and high humidity environments.
- Avoid exposing the controller to direct sunlight or extreme temperatures.
- Do not attempt to disassemble or repair the device yourself. Refer to qualified personnel for service.
- Use only the provided cables and accessories to prevent damage.
- Keep out of reach of children.
3. Product Overview
The Haute42 M Ultra Gen2 is a high-performance leverless arcade controller designed for precision gaming. It features a durable aluminum alloy body, low-profile Kailh Shadow Hunting switches, and customizable RGB lighting.

Figure 3.1: Haute42 M Ultra Gen2 Leverless Arcade Controller showcasing GP2040-CE, sub-1ms input latency, RGB Lock, Tournament Lock Switch, Hot-Swappable switches, M1/M2 custom keys, dual Type-C ports, and Web Configuration capabilities.
Key Features:
- GP2040-CE Firmware: Utilizes the Raspberry Pi RP2040 chip for ultra-low latency (less than 1ms).
- Kailh Shadow Hunting Switches: Equipped with low-profile, hot-swappable mechanical switches for responsive and reliable input.
- Aluminum Alloy Body: Premium, durable construction with a smooth finish.
- OLED Screen: Larger screen for easy information display.
- RGB Lighting: Button LED rings with reactive lighting and a dedicated light lock button.
- Tournament Lock Function: Disables unnecessary buttons during competitive play.
- Dual Type-C Ports: Offers flexible connection options.
- Web Configuration: Easy customization of settings via a web interface.

Figure 3.2: Close-up of the controller's features including Type-C Port 1.0, Type-C Port 2.0, Tournament Lock Switch, RGB Lock button, and non-slip mat. Note: The EXT port is for expansion functions and should not be used to connect a game console.

Figure 3.3: Physical dimensions of the Haute42 M Ultra Gen2 controller, measuring 30.00cm (11.81 inches) in width, 20.00cm (7.87 inches) in depth, and 1.35cm (0.53 inches) in height.
4. Setup
4.1 System Compatibility
The Haute42 M Ultra Gen2 is compatible with a wide range of systems:
- Windows 10 or above
- Steam Deck
- PS3
- PS4 (requires an adapter, not included)
- Switch
- Switch2
- Windows (Keyboard mode only)
4.2 Connecting to Consoles
To connect to a Switch2, press and hold the 'A' button while plugging in the cable to switch to SWITCH mode. Then, press and hold 'BACK' + 'START' + 'Left Directional Button' to switch to Left Stick mode.
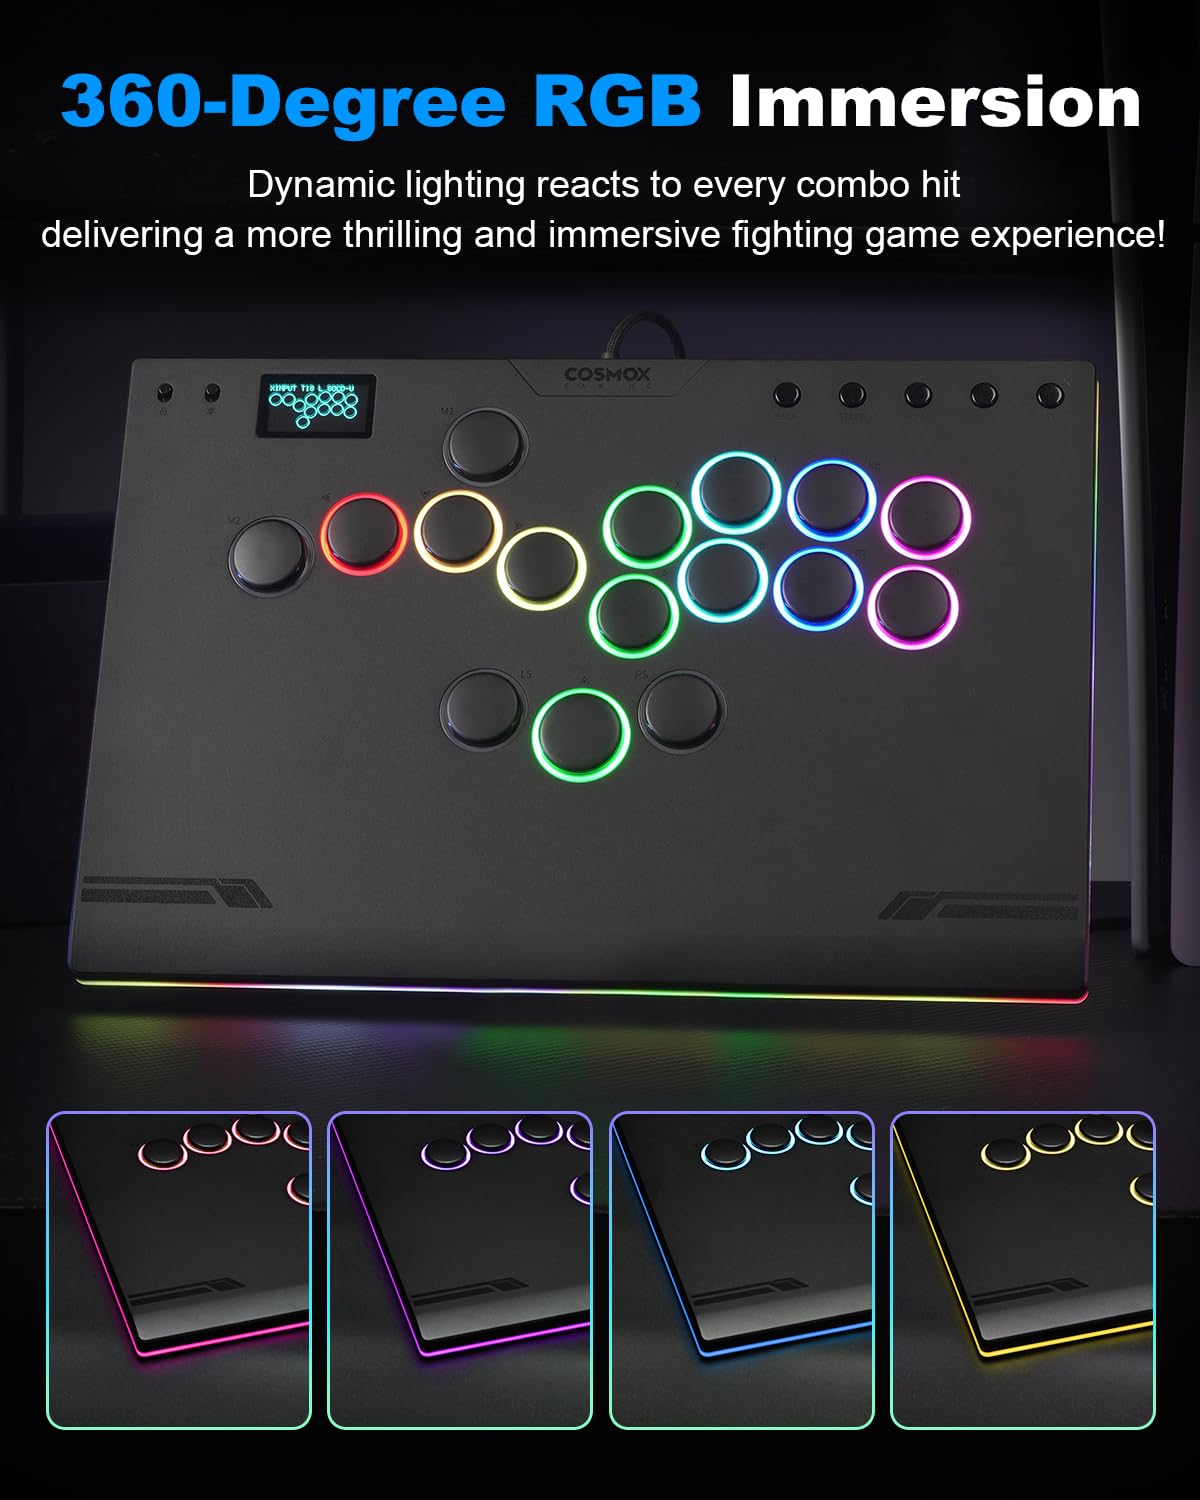
Figure 4.1: The Haute42 M Ultra Gen2 controller supports various platforms including PC, Android, Nintendo Switch, PS3, PS4, Steam, and Arcade systems. PS4/PS5/Xbox One compatibility may require an adapter.
4.3 Input Mode Settings
The controller's input mode can be configured via a web interface. Connect the controller to a PC, open a web browser, and navigate to 192.168.7.1. From there, you can select the desired input mode (e.g., Xinput for PC, Nintendo Switch, PS3/DirectInput, Keyboard, PS4, PS5, Xbox One, etc.).
Video 4.1: This video demonstrates how to access and configure the input mode settings for the Haute42 M Ultra Gen2 controller via the web interface. It shows how to select different input modes like Xinput, Nintendo Switch, PS3/DirectInput, Keyboard, PS4, PS5, and Xbox One, and explains authentication requirements for PS4/PS5/Xbox One.
For PS4/PS5/Xbox One, you may need to select 'Host USB' under Authentication Settings and insert a compatible USB dongle into the extension port for proper authentication. Without authentication, PS4/PS5 modes may timeout after 8 minutes.
5. Operating Instructions
5.1 Button Functions and Customization
The controller features 16 buttons, including standard directional and action buttons, along with M1/M2 custom keys. You can customize the key mapping and LED behavior through the web configuration interface.
Video 5.1: This video provides guidance on how to customize RGB lighting and button mappings using the web configurator. It demonstrates navigating to 'Pin Mapping' and 'LED Configuration' to adjust settings and emphasizes not to disrupt the LED button order.
To customize button mappings:
- Connect the controller to a PC and open a web browser to 192.168.7.1.
- Navigate to Configuration > Pin Mapping.
- Select the desired key value for each pin from the dropdown menus.
- Remember to click 'Save' after making changes.
5.2 RGB Lighting Control
The controller features immersive RGB lighting with reactive effects. You can customize the LED colors and animations.

Figure 5.1: The controller features 360-degree RGB immersion with dynamic lighting that reacts to every combo hit, enhancing the gaming experience.
To customize RGB lighting:
- Connect the controller to a PC and open a web browser to 192.168.7.1.
- Navigate to Configuration > LED Configuration or Custom LED Theme.
- Adjust settings such as LED format, brightness, and individual button colors.
- Ensure the order of assigned buttons in LED Configuration is not altered to avoid issues.
- Remember to click 'Save' after making changes.
Quick Shortcuts for RGB Control:
- BACK + START + X: Next Animation
- BACK + START + A: Previous Animation
- BACK + START + Y: Brightness Up
- BACK + START + B: Brightness Down
- BACK + START + RB: LED Parameter Up
- BACK + START + RT: LED Parameter Down
- BACK + START + LB: Pressed Parameter Up
- BACK + START + LT: Pressed Parameter Down
5.3 Tournament Lock
The Tournament Lock function disables non-essential buttons to prevent accidental inputs during competitive matches, ensuring uninterrupted focus.

Figure 5.2: The Lock Switch Technology includes an RGB Lock to disable LEDs and a Tournament Lock Switch to disable non-essential buttons, providing error-proof precision.
Locate the Tournament Lock Switch on the controller and toggle it to activate or deactivate the function.
6. Maintenance
6.1 Cleaning
To clean your controller, use a soft, dry cloth. For stubborn dirt, slightly dampen the cloth with water. Avoid using harsh chemicals or abrasive materials, as these can damage the finish and components.
6.2 Hot-Swappable Switches
The Haute42 M Ultra Gen2 features hot-swappable Kailh Shadow Hunting switches, allowing for easy replacement without soldering. If a switch becomes unresponsive or you wish to change the feel, you can replace individual switches.

Figure 6.1: The Haute42 M Ultra Gen2 is equipped with Kailh Shadow Hunting Switches, designed for ultimate control and flawless execution. These switches are hot-swappable for easy replacement.
To replace a switch:
- Gently pull the keycap off the switch.
- Use a switch puller tool (not included) to carefully remove the switch from its socket.
- Align the pins of the new switch with the holes on the PCB and press firmly until it clicks into place.
- Reattach the keycap.
7. Troubleshooting
- Controller not recognized: Ensure the USB cable is securely connected to both the controller and the device. Try a different USB port or cable. Verify the correct input mode is selected in the web configuration.
- Buttons not responding: Check button mappings in the web configuration. If using PS4/PS5/Xbox One, ensure proper authentication with a dongle if required.
- RGB lights not working: Check LED configuration in the web interface. Ensure the RGB Lock is not activated.
- PS4/PS5 timeout: If the controller disconnects after 8 minutes on PS4/PS5, ensure 'Host USB' authentication is selected in the web configuration and a compatible USB dongle is plugged into the extension port.
- Firmware updates: For optimal performance and new features, regularly check for firmware updates. Information on updates can typically be found on the manufacturer's website or community forums.
8. Specifications
| Feature | Specification |
|---|---|
| Model | M Ultra2 |
| Brand | ONEED |
| Button Quantity | 16 |
| Item Weight | 2.42 Pounds |
| Item Dimensions (L x W x H) | 11.81 x 7.87 x 0.53 inches |
| Switches | Kailh Shadow Hunting Switches (Hot-Swappable) |
| Firmware | GP2040-CE (Raspberry Pi RP2040 chip) |
| Input Latency | <1 ms |
| Connectivity | Dual Type-C ports |
9. Warranty Information
This product is covered by a manufacturer's warranty against defects in materials and workmanship. Please refer to the warranty card included with your purchase or contact customer support for detailed warranty terms and conditions.
10. Support
For technical assistance, troubleshooting, or general inquiries, please visit the ONEED official website or contact their customer support team. You may also find helpful resources and community support on forums dedicated to GP2040-CE firmware.