1. Introduction
This manual provides detailed instructions for the safe installation, operation, and maintenance of your PARTPHONER Modern Outdoor Lamp Post Light. Please read all instructions carefully before beginning installation and retain this manual for future reference.
The PARTPHONER Modern Outdoor Lamp Post Light features a durable metal structure with a matte black finish and water-seeded glass shades, designed for outdoor use in various weather conditions. It is a hardwired lighting fixture, providing stable illumination for your garden, patio, backyard, walkway, or driveway.
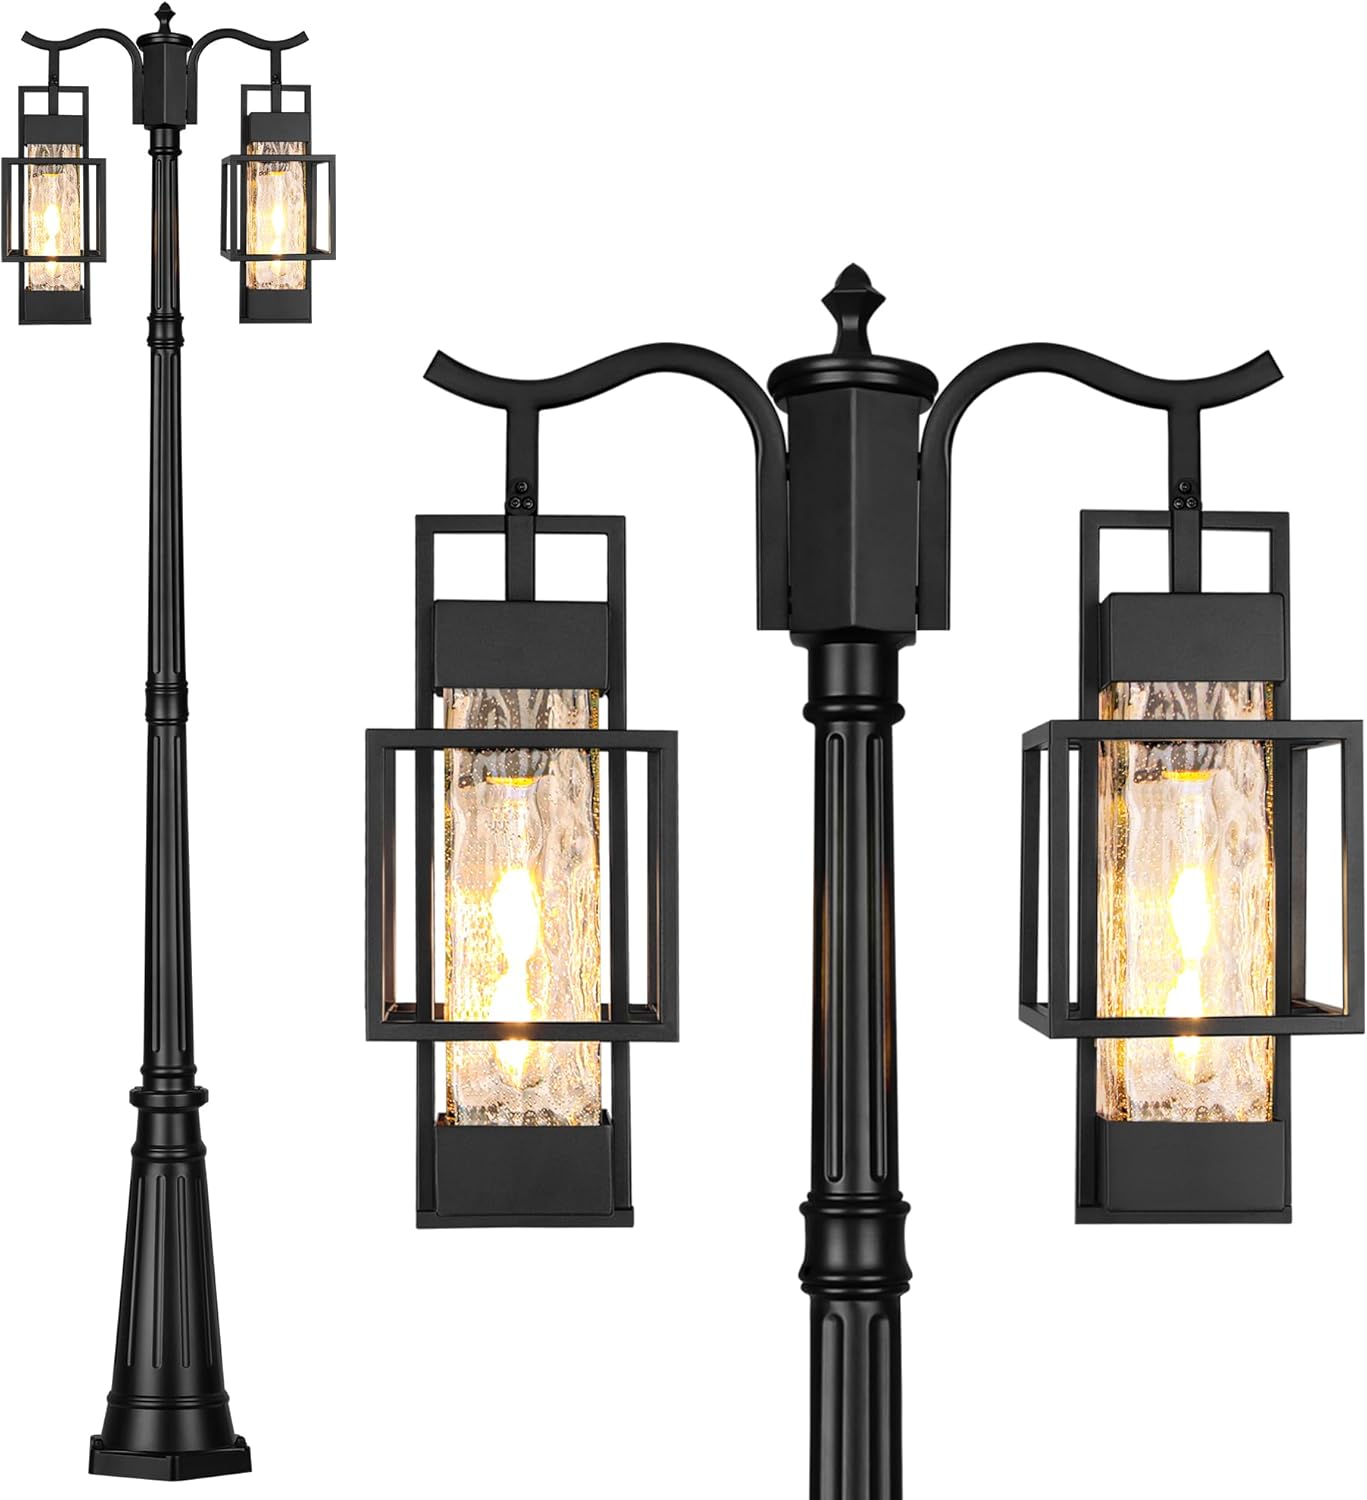
Image 1.1: Overview of the PARTPHONER Modern Outdoor Lamp Post Light.
2. Safety Information
WARNING: RISK OF ELECTRIC SHOCK. Ensure power is turned off at the circuit breaker before installation, maintenance, or bulb replacement.
- This product must be installed in accordance with the applicable installation code by a person familiar with the construction and operation of the product and the hazards involved.
- Consult a qualified electrician if you are not experienced with electrical installations.
- Use only bulbs of the specified wattage and type (2 x 100-Watt max, E26 Base).
- Do not exceed the maximum wattage.
- Ensure all electrical connections are secure and properly insulated.
- Do not modify the fixture in any way.
- Keep flammable materials away from the light fixture.
- The fixture is designed for outdoor use and is water-resistant (IP65). However, ensure all seals and connections are properly secured during installation to maintain water resistance.
- Wear appropriate safety gear, including gloves and eye protection, during installation.
3. What's in the Box
Please check that all components are present and undamaged before beginning installation.
- Lamp Post Assembly (Arms, Lanterns, Top Column, Middle Column, Post Base)
- Bulbs (2x E26 Base, 100W max)
- Mounting Bracket
- Hex Nuts
- Cap Nuts
- Wire Nuts
- Screws (various sizes)
- Silicone Washers
- Allen Wrench
- Instruction Manual
Note: Additional tools for ground installation (e.g., concrete, anchor bolts) are not included.
4. Installation Instructions
Important: Installation requires masonry work for ground preparation (digging holes, setting anchor bolts, pouring concrete) and electrical wiring. It is recommended to hire a qualified electrician for these tasks.
Refer to the installation video below for a visual guide to the assembly steps.
Video 4.1: How to Install the PARTPHONER 2-Head Lamp Post.
Assembly Steps:
- Prepare the Lanterns:
Unscrew the bottom cover of each lantern and carefully remove the glass shade. Insert the recommended E26 bulb into the socket. Replace the glass shade and secure the bottom cover with the screws. - Attach Lanterns to Arms:
Insert the lantern terminal connector into the arm terminal connector. Remove the protective film from the waterproof silicone washer and place it into the arm. Insert the socket screw into the three designated holes to secure the lantern to the arm. Repeat for the second lantern and arm. - Assemble Top Column:
Remove the preassembled Philips machine screw from the top column. Insert a silicone washer into the upper threaded ends of the arm. Guide the electrical wire from the fixture through the top hole of the top column. Secure the assembly from the inside with washers and nuts. Insert the Philips machine screw into the bottom hole of the top column. - Connect Wiring:
Connect the black lantern wire to the black supply box wire with a wire nut. Connect the white lantern wire to the white supply box wire with a wire nut. Connect the ground wire (copper) to the ground wire from the supply box. - Attach Finial:
Secure the finial to the top of the assembled arms and top column using the provided screws. - Connect Columns:
Pull the wires through the middle and bottom columns. Carefully connect the top column to the middle column, and then the middle column to the bottom column by screwing them together. Ensure wires are not pinched. - Secure to Post Base:
Place the bottom column over the post base, aligning the three screw holes. Secure the bottom column to the post base with three machine screws. - Ground Installation:
Place the entire assembled lamp post base over the pre-installed anchor bolts in the ground. Secure the post base with hex nuts and cap nuts.
Dimensions:

Image 4.1: Product dimensions for installation planning.
5. Operating Instructions
The PARTPHONER Modern Outdoor Lamp Post Light is a hardwired fixture controlled by an external switch (not included). Once installed and wired to your home's electrical system, operate the light using the wall switch or other control mechanism connected to the circuit.
- Ensure the correct type and wattage of bulbs are installed.
- Turn on the external switch to illuminate the lamp post.
- Turn off the external switch to turn off the lamp post.
6. Maintenance
Regular maintenance ensures the longevity and optimal performance of your lamp post light.
- Cleaning: Clean the fixture regularly with a soft, damp cloth. Do not use abrasive cleaners or solvents, as these can damage the finish or glass.
- Bulb Replacement: Always turn off the power at the circuit breaker before replacing bulbs. Allow bulbs to cool completely before handling. Replace with E26 base bulbs, maximum 100 watts per socket.
- Inspection: Periodically inspect the fixture for any signs of wear, damage, or loose connections. Ensure all screws and nuts are tight. Check the glass shades for cracks or chips.
- Weather Protection: While the fixture is water-resistant (IP65), extreme weather conditions may require additional inspection. Ensure seals remain intact.

Image 6.1: The lamp post light is designed to withstand various weather conditions.
7. Troubleshooting
| Problem | Possible Cause | Solution |
|---|---|---|
| Light does not turn on. | No power to the fixture. Loose wiring connection. Faulty bulb. | Check circuit breaker and wall switch. Verify all wire connections are secure (power off first). Replace bulb with a new one. |
| Light flickers. | Loose bulb. Loose wiring connection. Incompatible dimmer switch (if applicable). | Tighten bulb. Check and secure all wiring connections (power off first). Ensure dimmer switch is compatible with LED bulbs (if using LED). |
| Water inside the fixture. | Improperly sealed components. Damaged glass or seals. | Ensure all screws and seals are tight during installation. Inspect for cracks in glass or worn seals and replace if necessary. |
8. Specifications
- Brand: PARTPHONER
- Model Number: STR-PO-003
- Color: Black
- Material: Metal, Glass
- Style: Modern
- Light Fixture Form: Post Light
- Indoor/Outdoor Usage: Outdoor
- Power Source: Corded Electric
- Number of Light Sources: 2
- Bulb Base: E26
- Wattage: 100 watts max per bulb (Total 200 watts)
- Water Resistance Level: Water Resistant
- Item Dimensions (L x W x H): 20"L x 90"W x 20"H
- Required Assembly: Yes

Image 8.1: Detail of the water-seeded glass and matte black metal structure.
9. Warranty & Support
This PARTPHONER product comes with a 1-year manufacturer's warranty. This warranty covers defects in materials and workmanship under normal use.
For warranty claims, technical support, or any questions regarding your product, please contact PARTPHONER customer service. Refer to your purchase documentation for contact details or visit the official PARTPHONER website.
Please have your model number (STR-PO-003) and proof of purchase ready when contacting support.