1. Introduction
Thank you for choosing the Kelvinator Built-in Electric Oven. This appliance is designed for modern kitchens, offering 9 cooking functions and a 61-liter capacity. Constructed from stainless steel with a triple-layer glass door, it combines durability with ease of cleaning. This manual provides essential information for safe installation, operation, maintenance, and troubleshooting to ensure optimal performance and longevity of your oven.
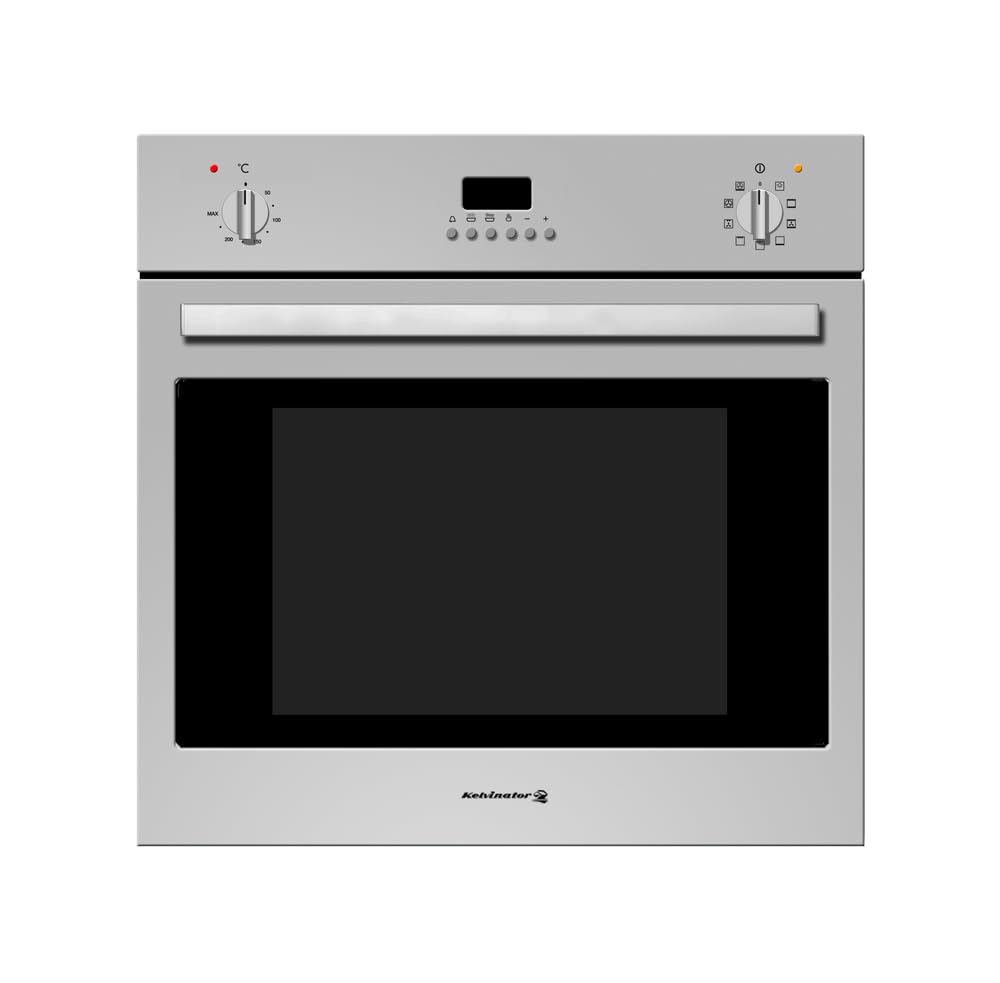
Image 1.1: Front view of the Kelvinator Built-in Electric Oven, showcasing its stainless steel finish and control panel.
2. Safety Information
Read all instructions carefully before using the appliance. Keep this manual for future reference. Improper installation, adjustment, alteration, service, or maintenance can cause injury or property damage. Refer to this manual. For assistance or additional information, consult a qualified installer, service agency, or the manufacturer.
- Electrical Safety: Ensure the oven is correctly earthed. Do not use adapters or extension cords. Disconnect the appliance from the power supply before any maintenance or cleaning.
- Hot Surfaces: The oven and its accessible parts become hot during use. Exercise caution to avoid touching heating elements. Keep children away.
- Burn Hazard: Always use oven mitts when removing items from the oven. Steam released when opening the door can cause burns.
- Flammable Materials: Do not store flammable materials in or near the oven.
- Supervision: Never leave the oven unattended during operation, especially when cooking with oil or fat.
- Cleaning: Follow cleaning instructions carefully. Do not use harsh abrasive cleaners or sharp metal scrapers to clean the oven door glass as they can scratch the surface, which may result in shattering of the glass.
3. Installation (Setup)
This oven is designed for built-in installation. Professional installation is recommended. Ensure the installation area meets the specified dimensions and ventilation requirements.
3.1. Required Cut-out Dimensions
The cabinet opening must accommodate the oven's dimensions. Refer to the following measurements:
- Oven Product Dimensions (D x W x H): 53.5 cm x 59.4 cm x 59.4 cm
- Recommended Cut-out Width: 56 cm
- Recommended Cut-out Height: 59.5 cm
- Minimum Depth: 55 cm
Ensure adequate space for air circulation around the appliance. The electrical connection should be accessible after installation.
3.2. Electrical Connection
Connect the oven to a suitable electrical supply as per local regulations. The oven requires a 2900 Watt power supply. A dedicated circuit is recommended. If in doubt, consult a qualified electrician.
4. Operating Instructions
Your Kelvinator oven features an intuitive control panel with an LED display and rotary knobs for function and temperature selection. It offers 9 distinct cooking functions.

Image 4.1: Close-up of the oven's control panel, showing the LED display and function/temperature selection knobs.
4.1. First Use
Before first use, remove all packaging materials and accessories from the oven cavity. Clean the interior with a damp cloth. Heat the empty oven at maximum temperature for approximately 30 minutes to burn off any manufacturing residues. Ensure good ventilation during this process.
4.2. Setting the Time
Upon first connection to power, the LED display will flash. Use the time setting controls (refer to the specific icons on your control panel) to set the current time. This is often done by pressing a button and rotating a knob.
4.3. Selecting a Cooking Function
Rotate the function selector knob to choose one of the 9 available cooking functions. Common functions include:
- Conventional Heating: Top and bottom heating elements for traditional baking and roasting.
- Convection (Fan-Assisted) Heating: Fan distributes heat evenly for faster cooking and multi-level baking.
- Grill: For grilling small quantities of food, toast, or browning.
- Fan Grill: Combines grill with fan for more even grilling and larger items.
- Bottom Heating: For crisping bases or slow cooking.
- Defrost: Fan-only operation to gently thaw frozen foods.
4.4. Setting the Temperature
After selecting a function, rotate the temperature selector knob to set the desired cooking temperature. The oven will begin to heat up, and the indicator light will turn off once the set temperature is reached.
4.5. Using the Adjustable Shelf
The oven includes an adjustable shelf, allowing you to position your dishes at various heights for optimal cooking results. Always ensure the shelf is securely placed before putting food on it.

Image 4.2: The oven interior with the door open, illustrating the adjustable shelf for flexible cooking positions.
5. Cleaning and Maintenance
Regular cleaning and maintenance will prolong the life of your oven and ensure hygienic operation. The oven features an easy-to-clean interior and a triple-layer glass door.
5.1. General Cleaning
- Always ensure the oven is cool and disconnected from the power supply before cleaning.
- Clean the interior with a soft cloth and mild detergent after each use to prevent food residues from baking on.
- For stubborn stains, use a specialized oven cleaner, following the product instructions carefully. Avoid abrasive cleaners.
- The stainless steel exterior should be cleaned with a soft cloth and a non-abrasive stainless steel cleaner.
- The triple-layer glass door can be wiped clean with a damp cloth. Do not use harsh chemicals or sharp objects that could scratch the glass.
5.2. Cooling Fan
The integrated cooling fan helps to dissipate heat from the oven's exterior and control panel. Ensure the ventilation openings are not blocked.
6. Troubleshooting
If you encounter issues with your oven, refer to the following common troubleshooting steps. If the problem persists, contact customer support.
| Problem | Possible Cause | Solution |
|---|---|---|
| Oven does not heat up. | No power supply; Oven settings incorrect; Faulty heating element. | Check power connection and circuit breaker. Ensure function and temperature are set. If problem persists, contact service. |
| Food cooks unevenly. | Incorrect shelf position; Overcrowding; Door not fully closed. | Adjust shelf position. Avoid overcrowding the oven. Ensure door is fully closed. Use convection function for better heat distribution. |
| Oven light not working. | Bulb needs replacement. | Ensure oven is cool and disconnected from power. Replace bulb with a suitable high-temperature oven bulb. |
| Excessive smoke during cooking. | Food spills or grease buildup. | Clean the oven thoroughly, especially the bottom and sides. Use a baking tray to catch drips. |
7. Specifications
Detailed technical specifications for the Kelvinator Built-in Electric Oven Model KRBO-E9TDTLT-1661/X.
| Feature | Specification |
|---|---|
| Brand | Kelvinator |
| Model Number | KRBO-E9TDTLT-1661/X |
| Type | Built-in Electric Oven |
| Size | 60 cm |
| Capacity | 61 Liters |
| Number of Functions | 9 |
| Power Source | Electric |
| Electrical Power | 2900 Watts |
| Material | Stainless Steel |
| Color | Steel |
| Finish | Polished/Brushed Stainless Steel |
| Door Type | Triple-layer Glass |
| Heating Method | Convection |
| Product Dimensions (D x W x H) | 53.5 cm x 59.4 cm x 59.4 cm |
| Item Weight | 35 Kilograms |
| Special Features | Adjustable shelf, Large capacity, LED display, Cooling fan, Easy to clean |
| Included Components | Appliance, User Manual |
8. Warranty and Support
For warranty information and customer support, please refer to the warranty card included with your appliance or visit the official Kelvinator website. Keep your purchase receipt as proof of purchase for any warranty claims.
If you require technical assistance or spare parts, please contact Kelvinator customer service directly, providing your model number (KRBO-E9TDTLT-1661/X) and the date of purchase.